How to Add a New Property (Guidde)
90 views 0 April 10, 2024 Updated on September 25, 2024 mippsupportadmin
1. Access the Admin Portal by logging in

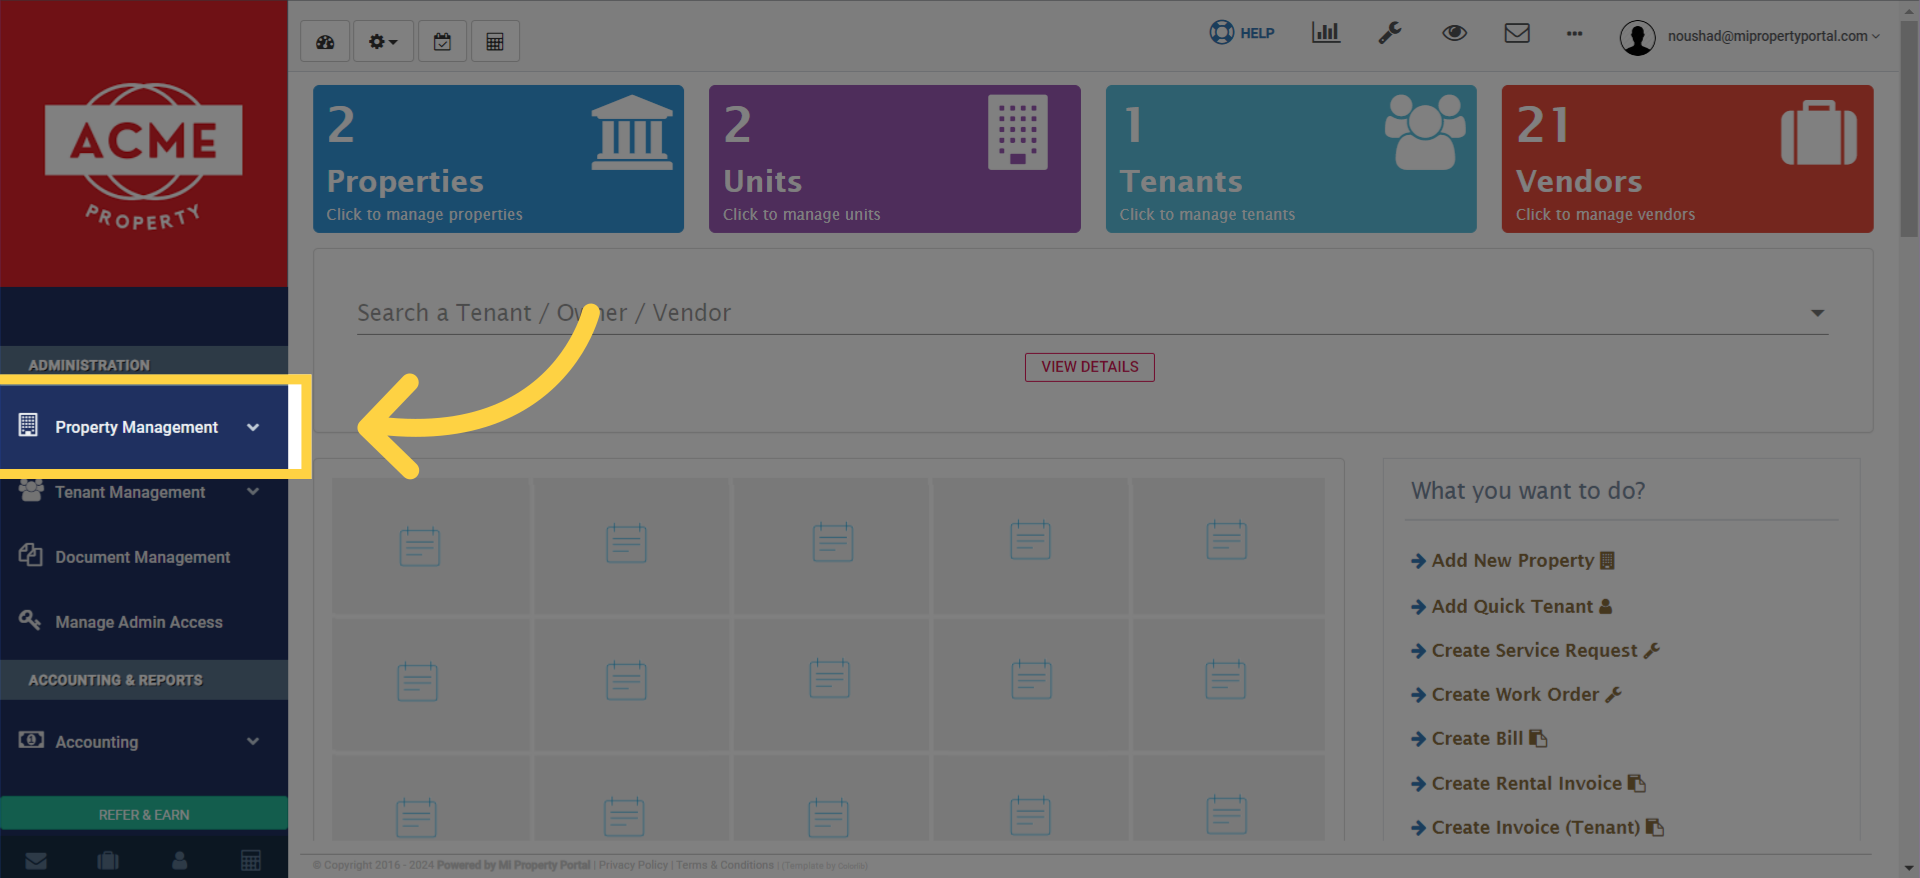
2. Click on “Property Management” dropdown
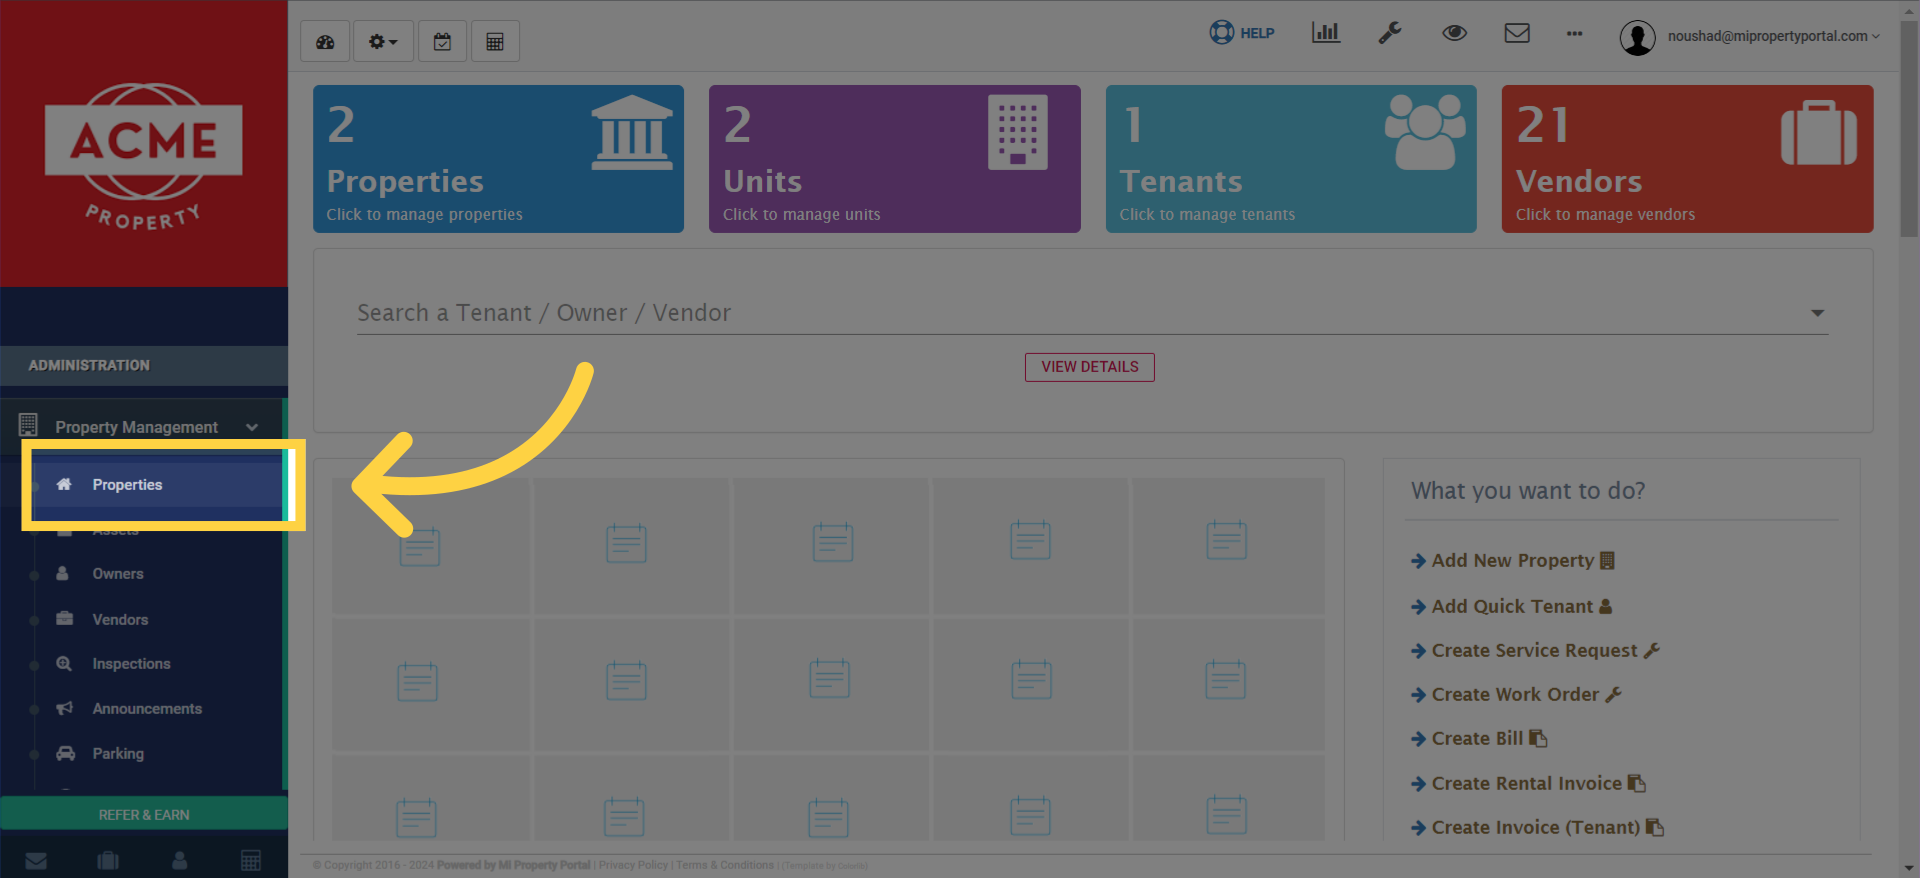
3. Go to “Properties” Tab
4. Click on this “New Property” icon

5. Fill out the details required in this section
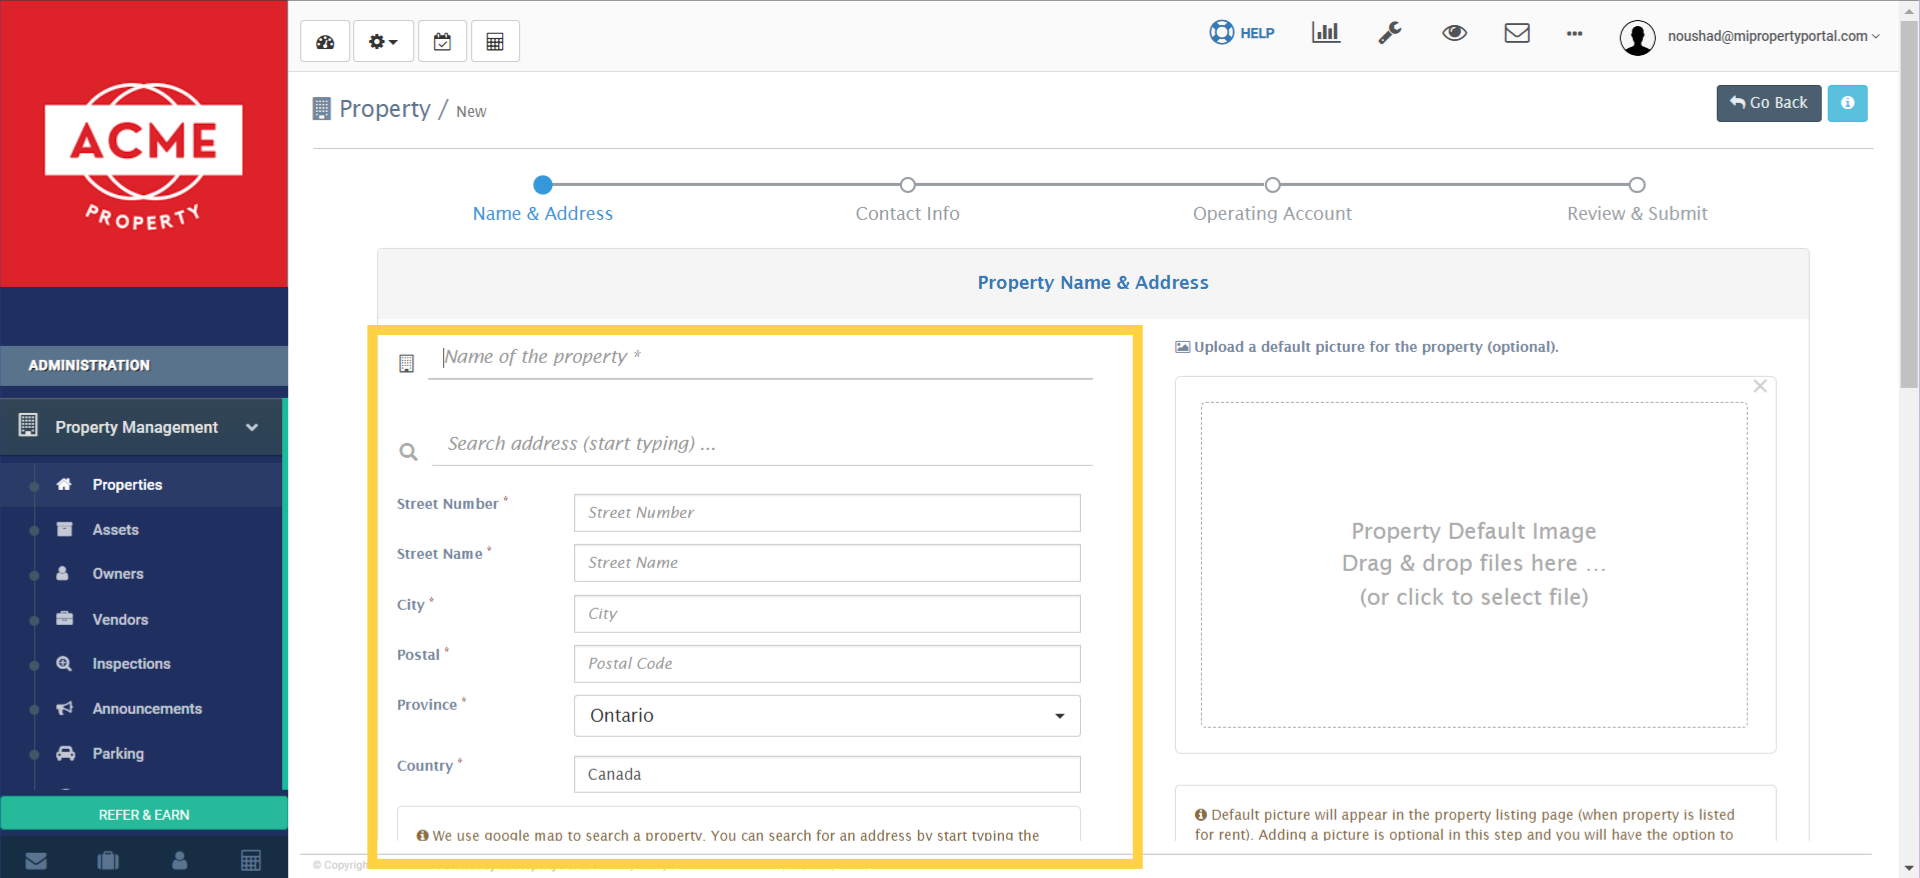
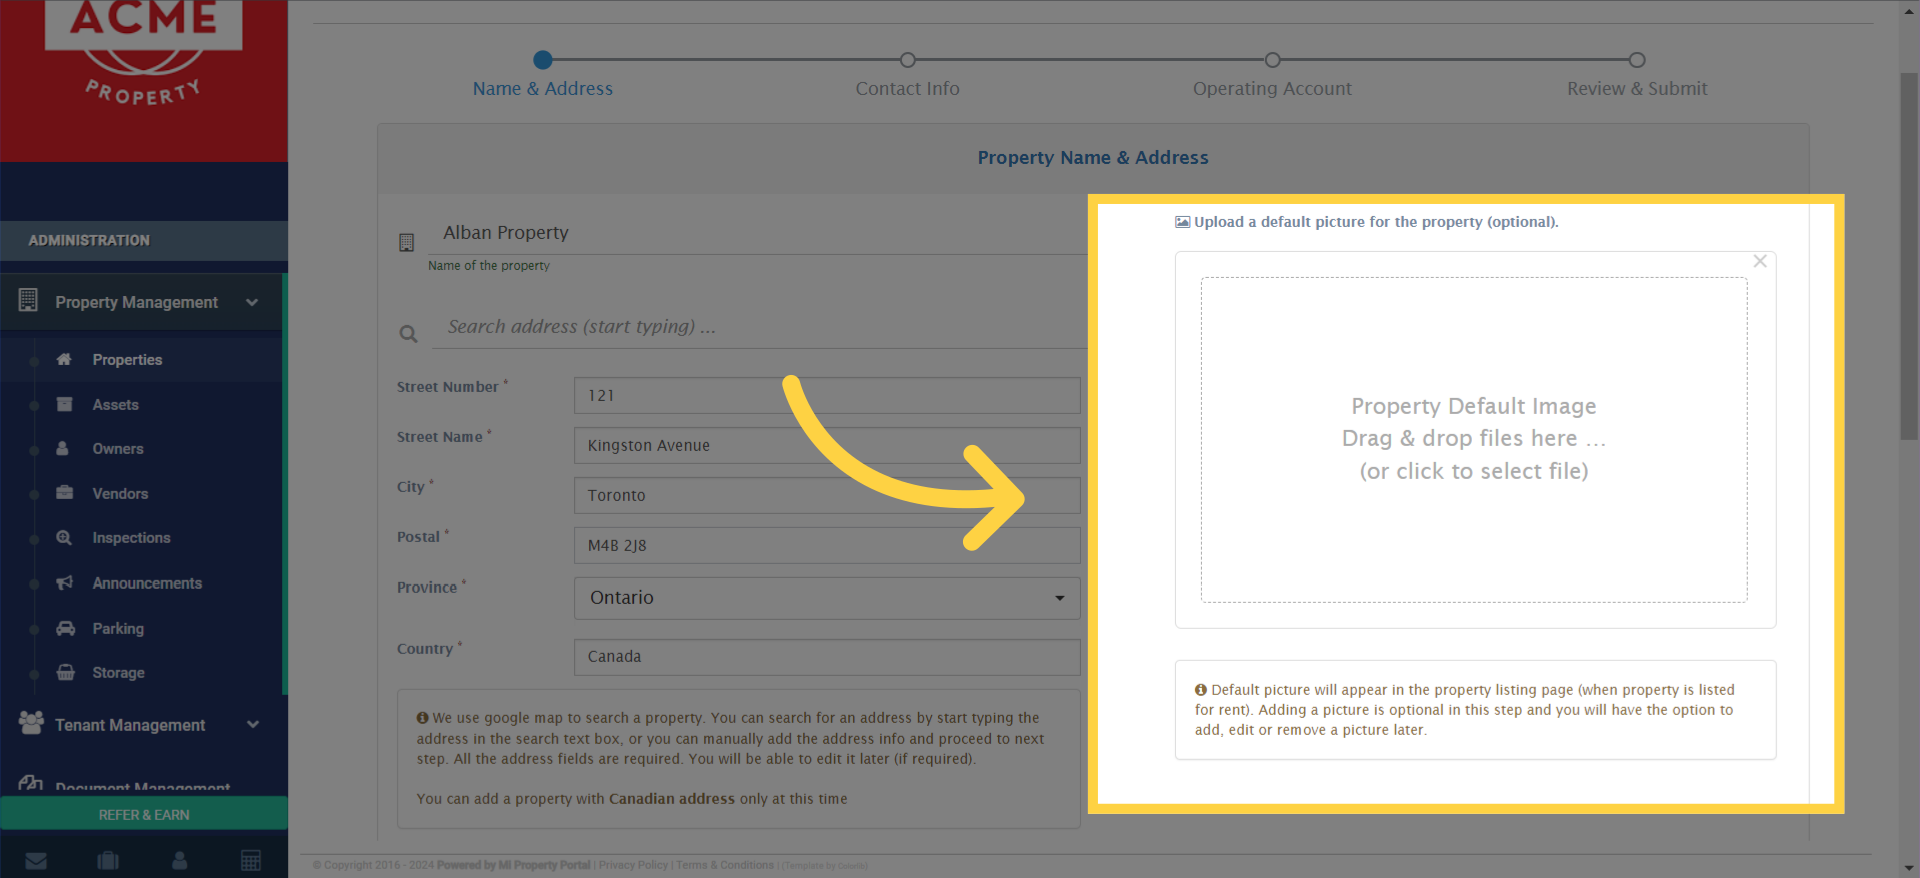
6. Click on this box or drag and drop an image to “Upload a default picture for the property (optional).
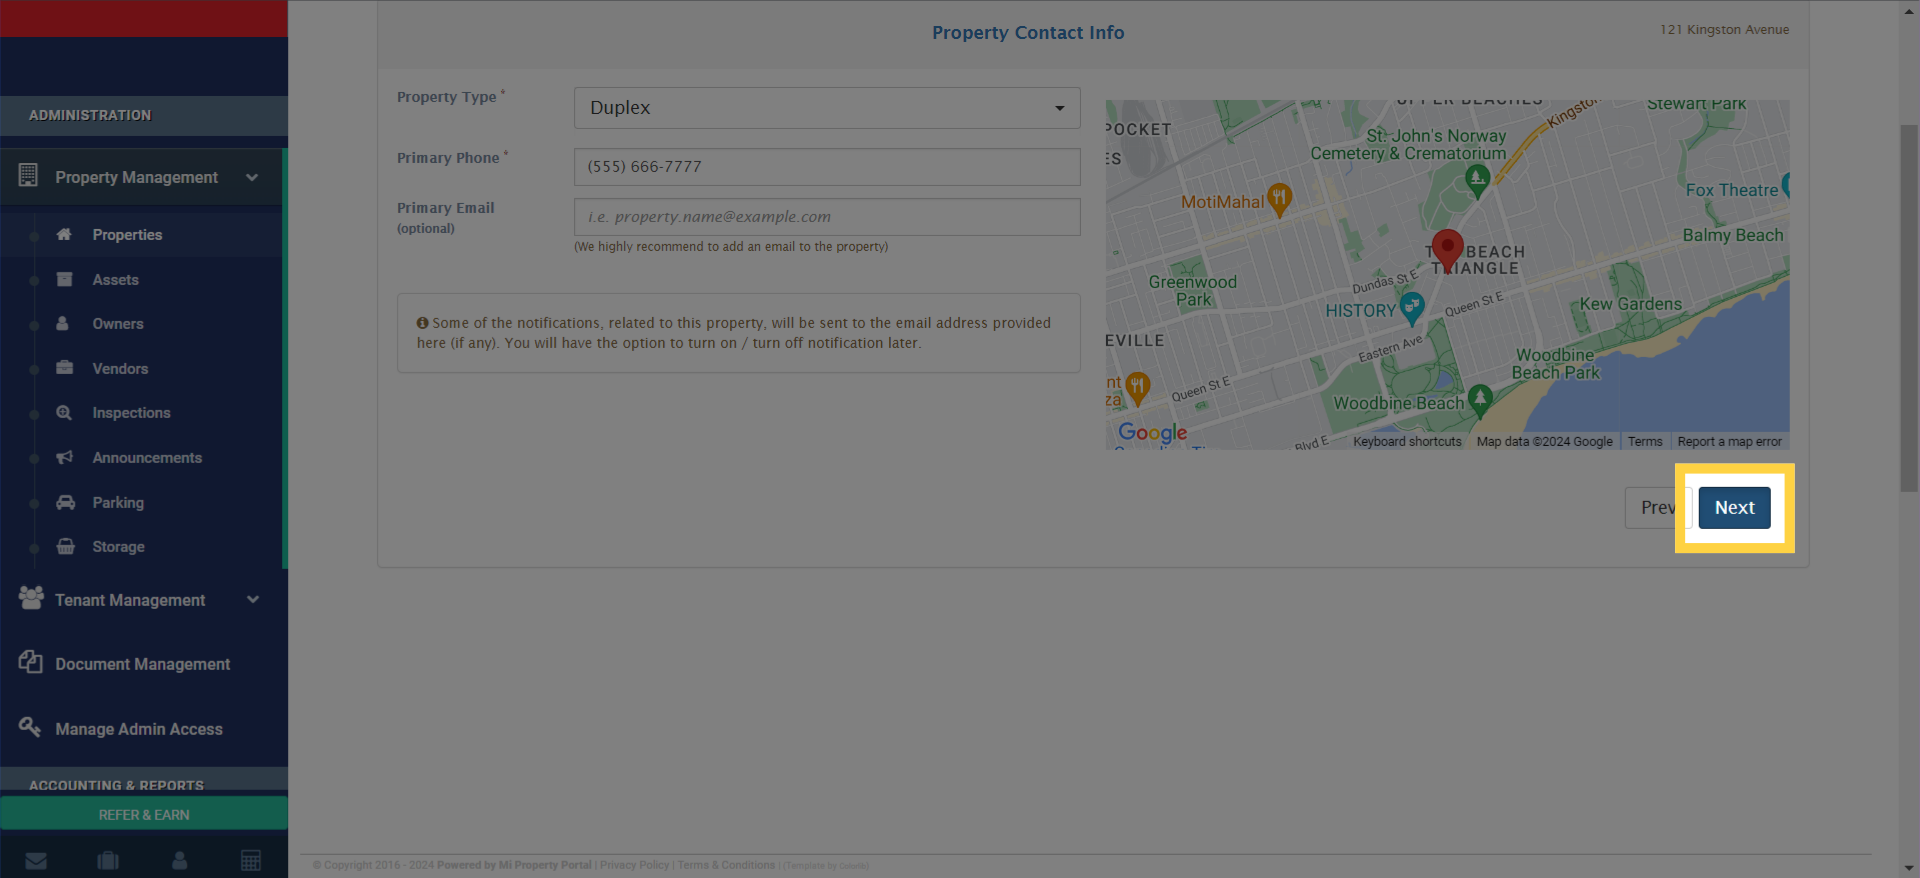
7. Go to the “Next” step

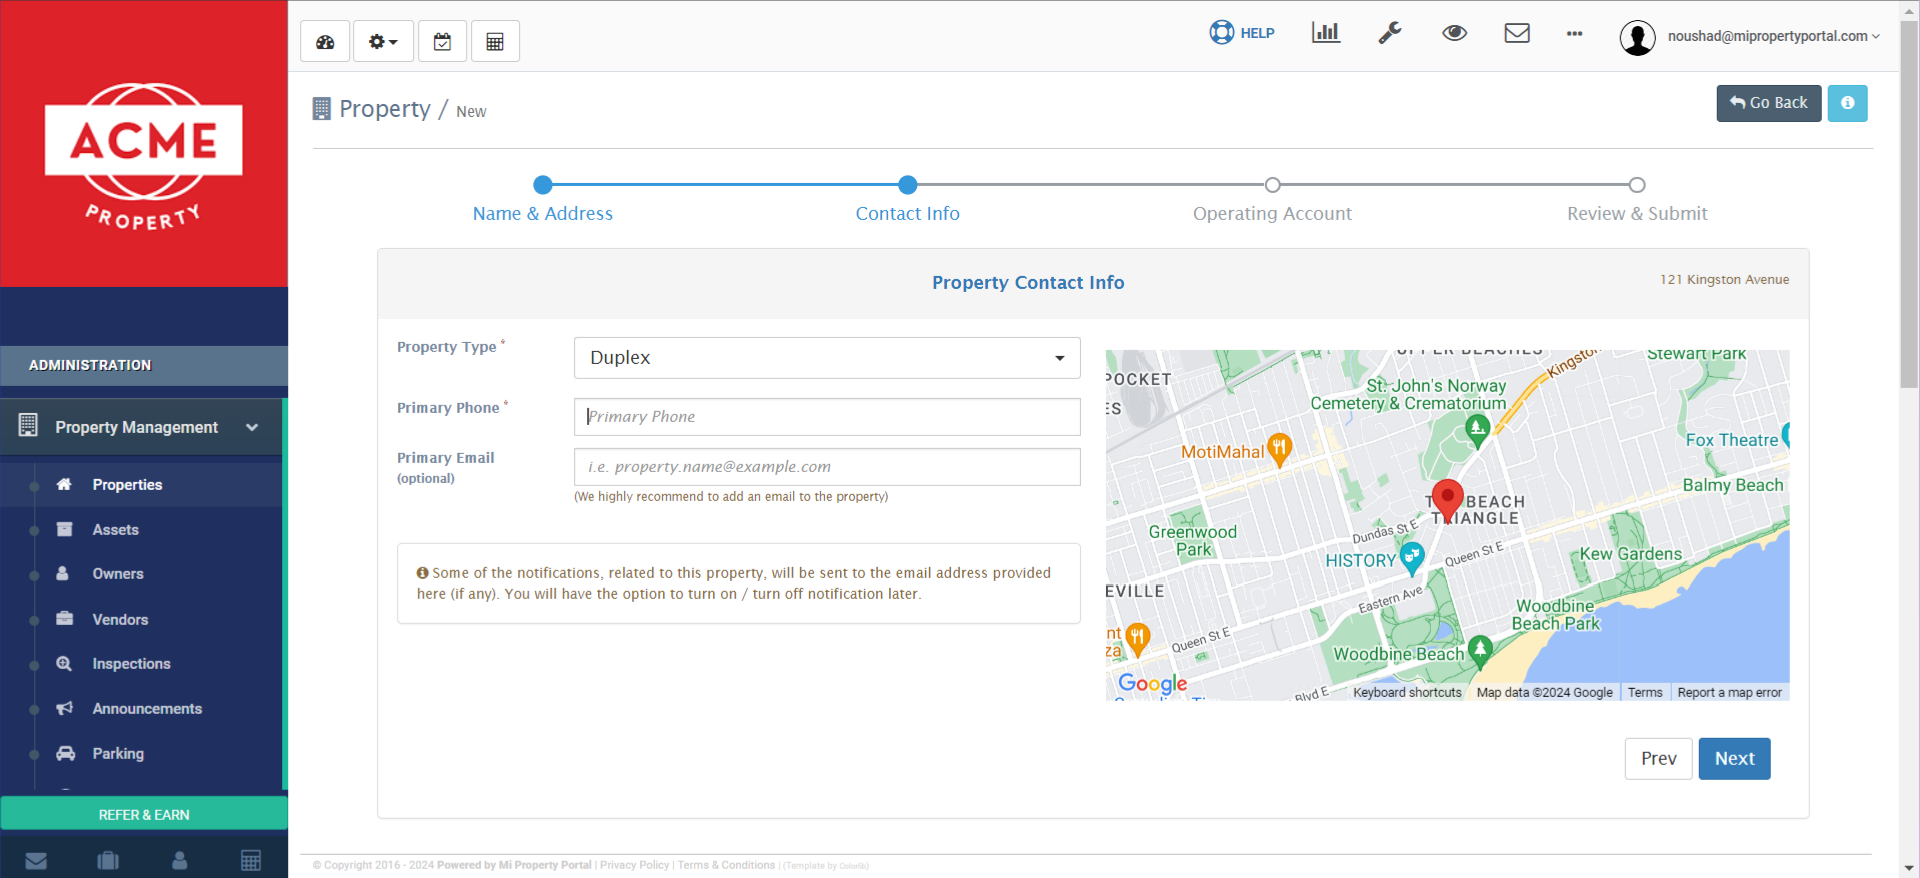
8. Add “Property Type”, “Primary Phone” and “Primary Email (Optional)”
9. Click “Next”
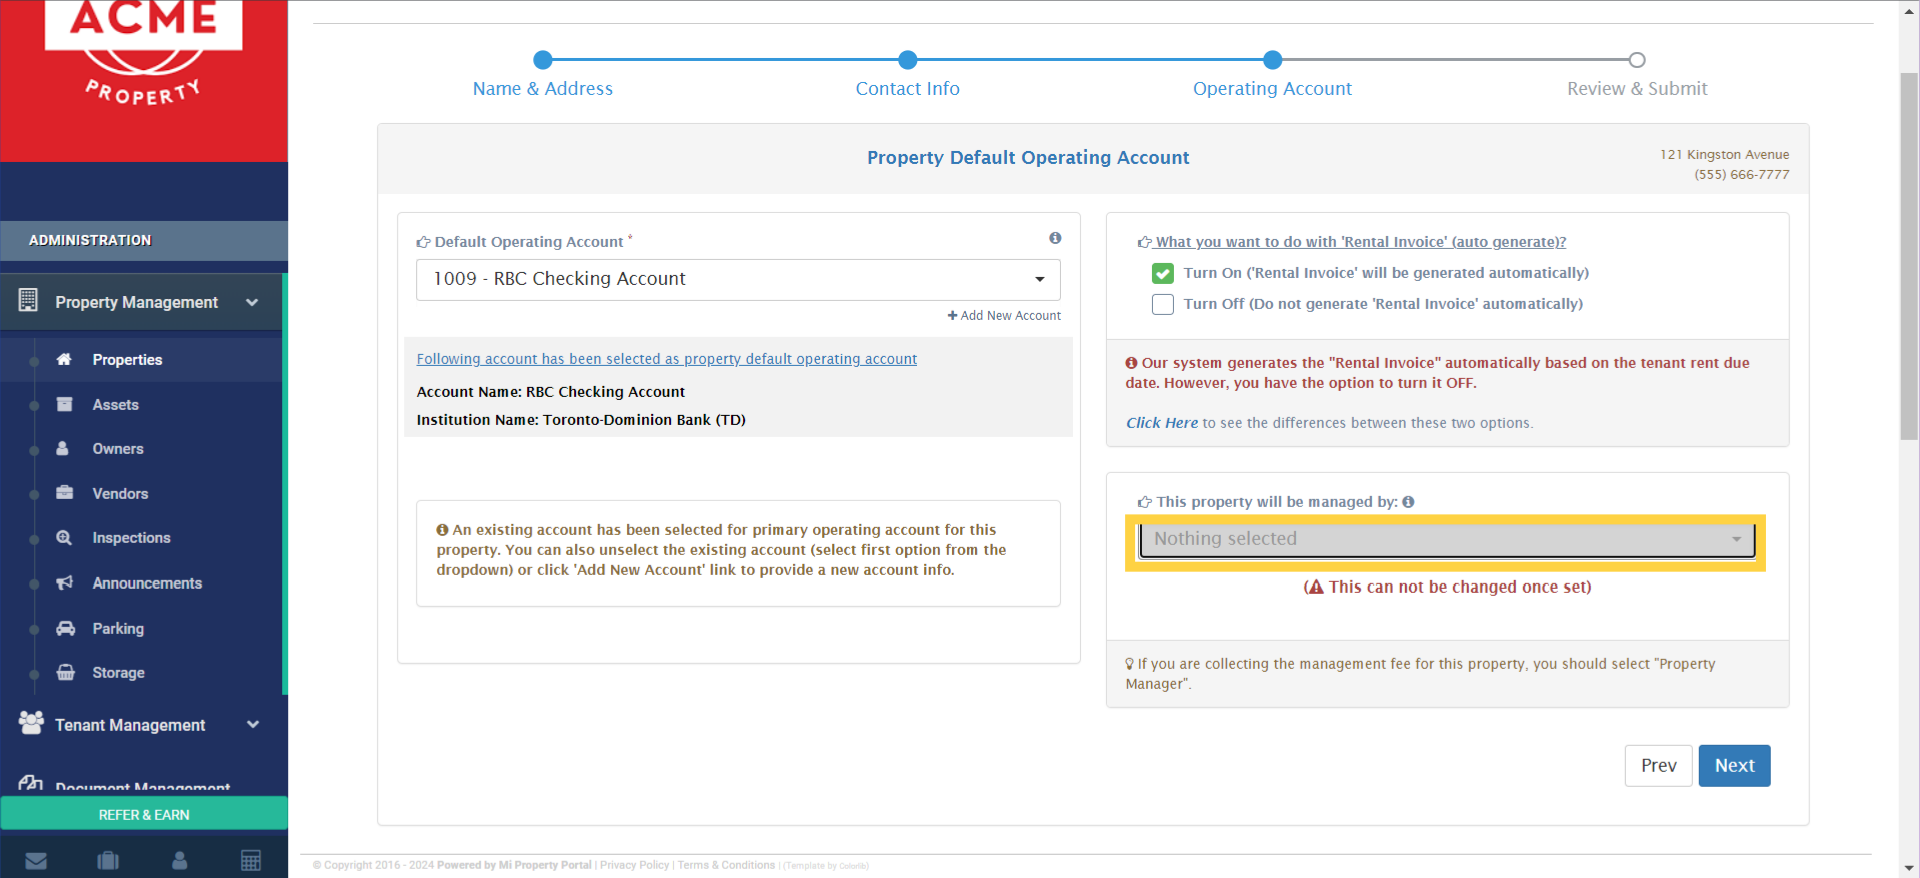
10. Select a “Default Operating Account” by clicking on this dropdown. Also, Tick the box on the right side to “Turn On Rental Invoice (Generated Automatically)” option if required
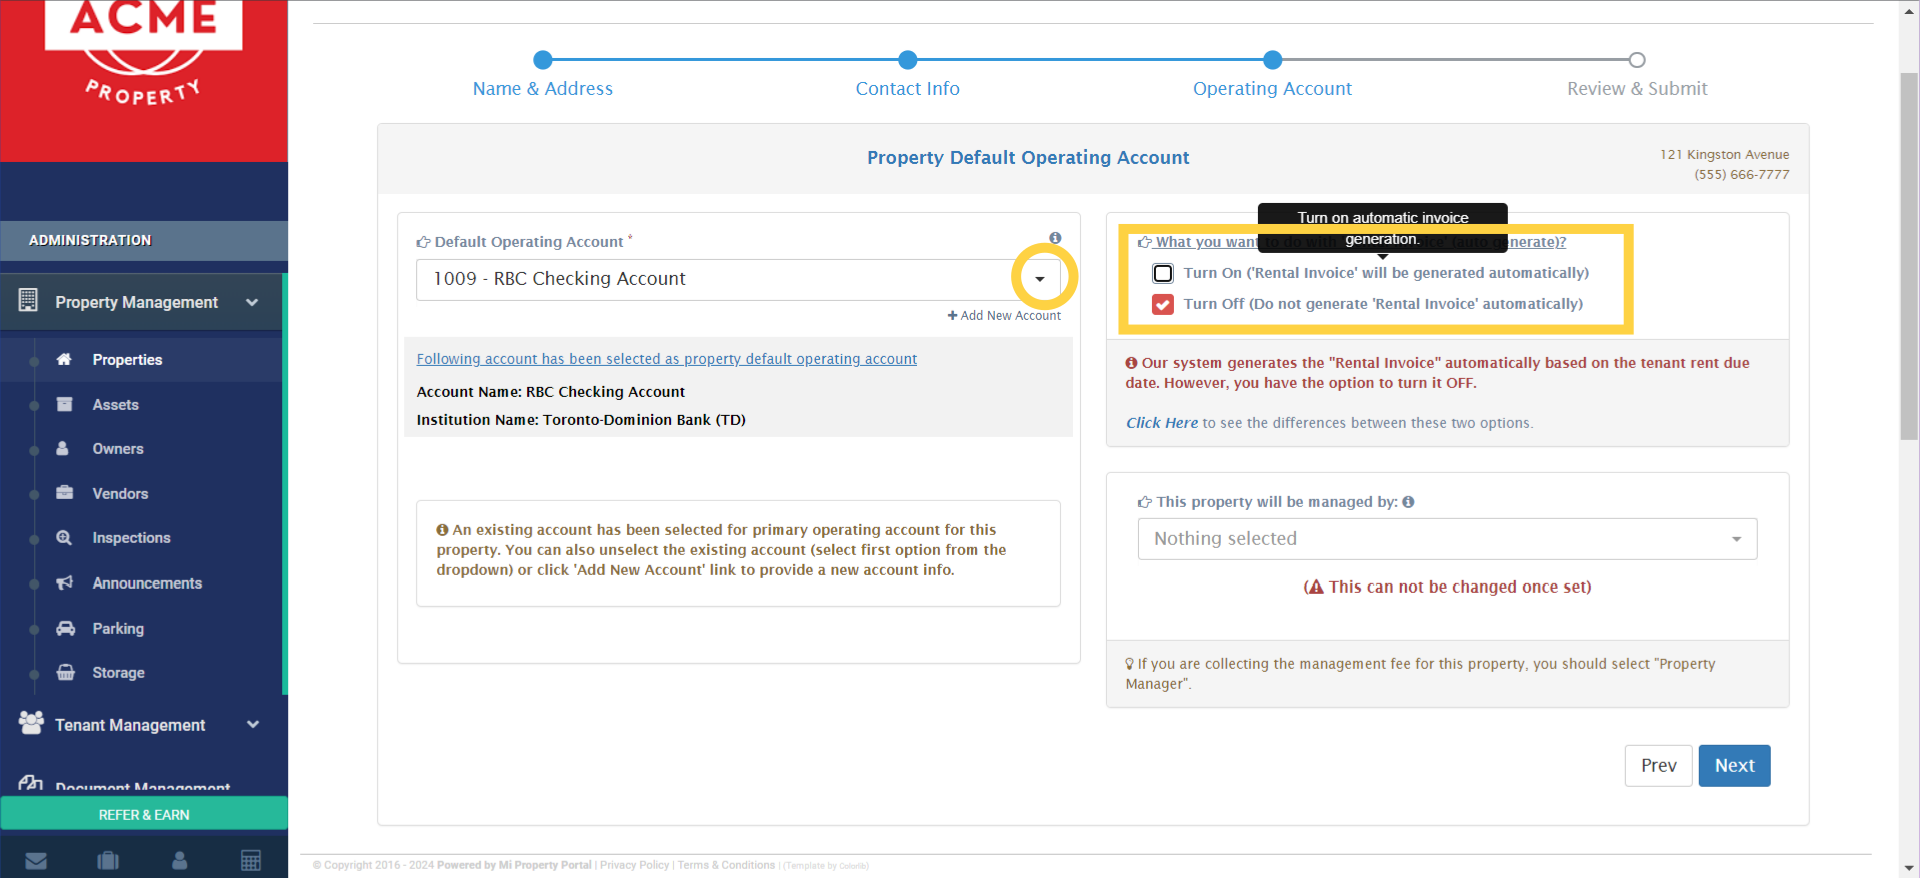
11. Click on the Dropdown, to select who will manage the property
12. Go to the “Next” step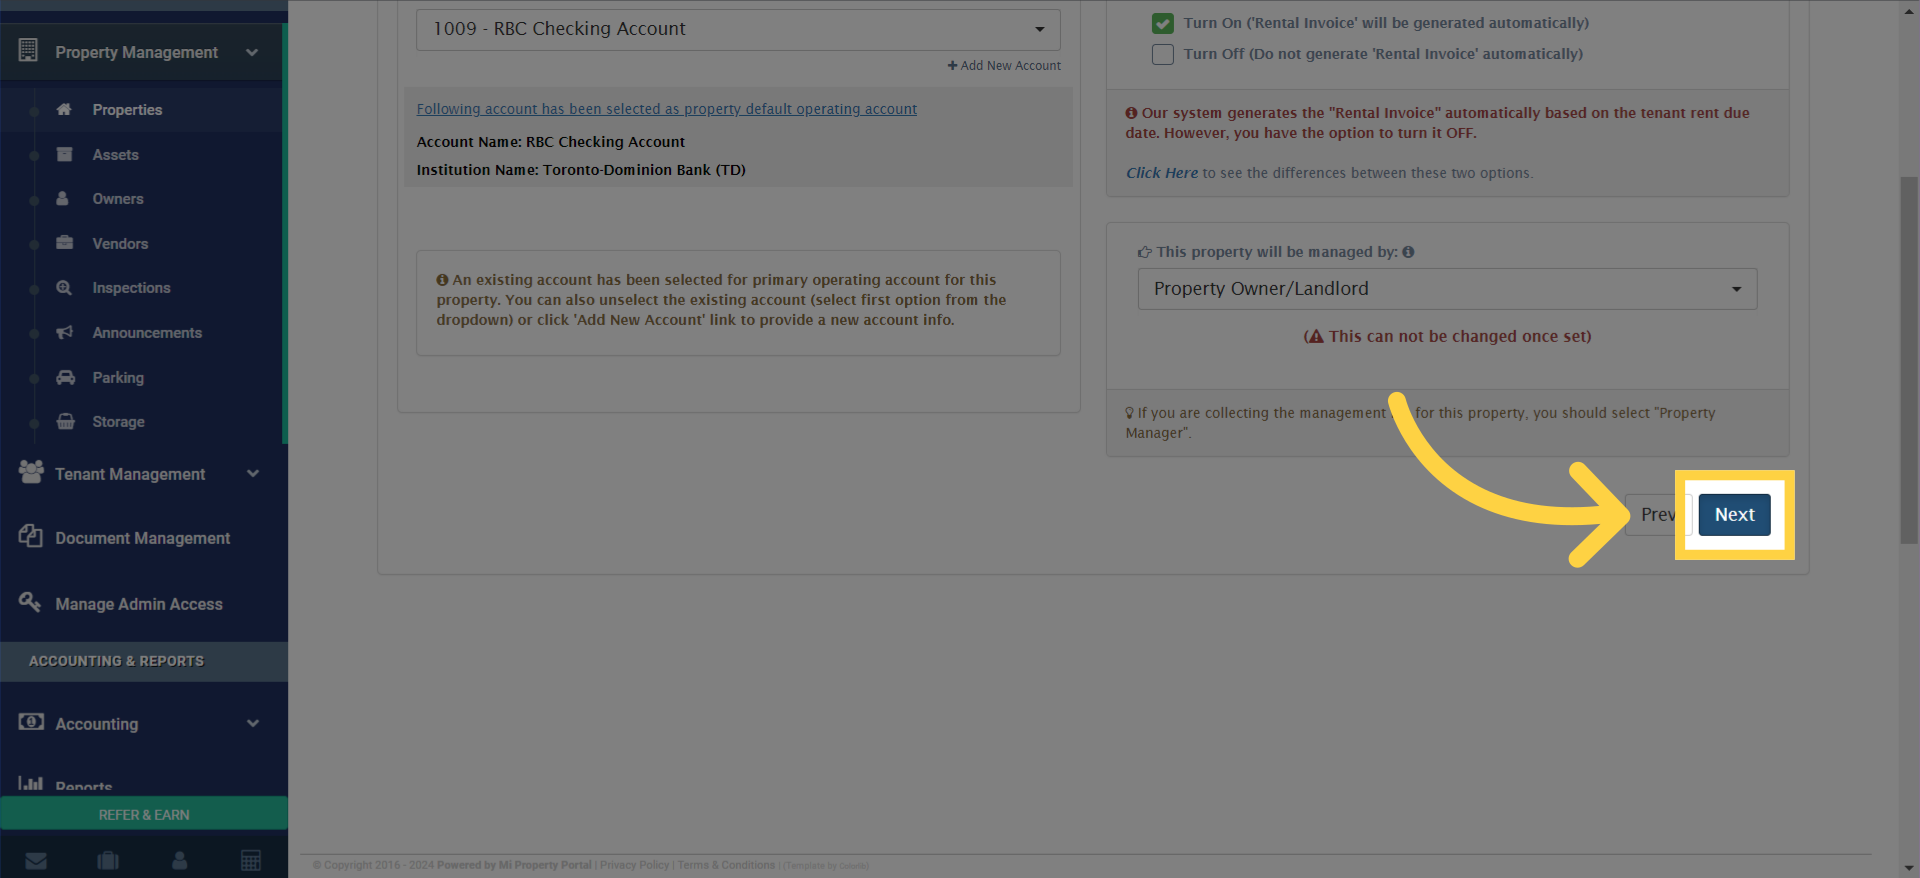
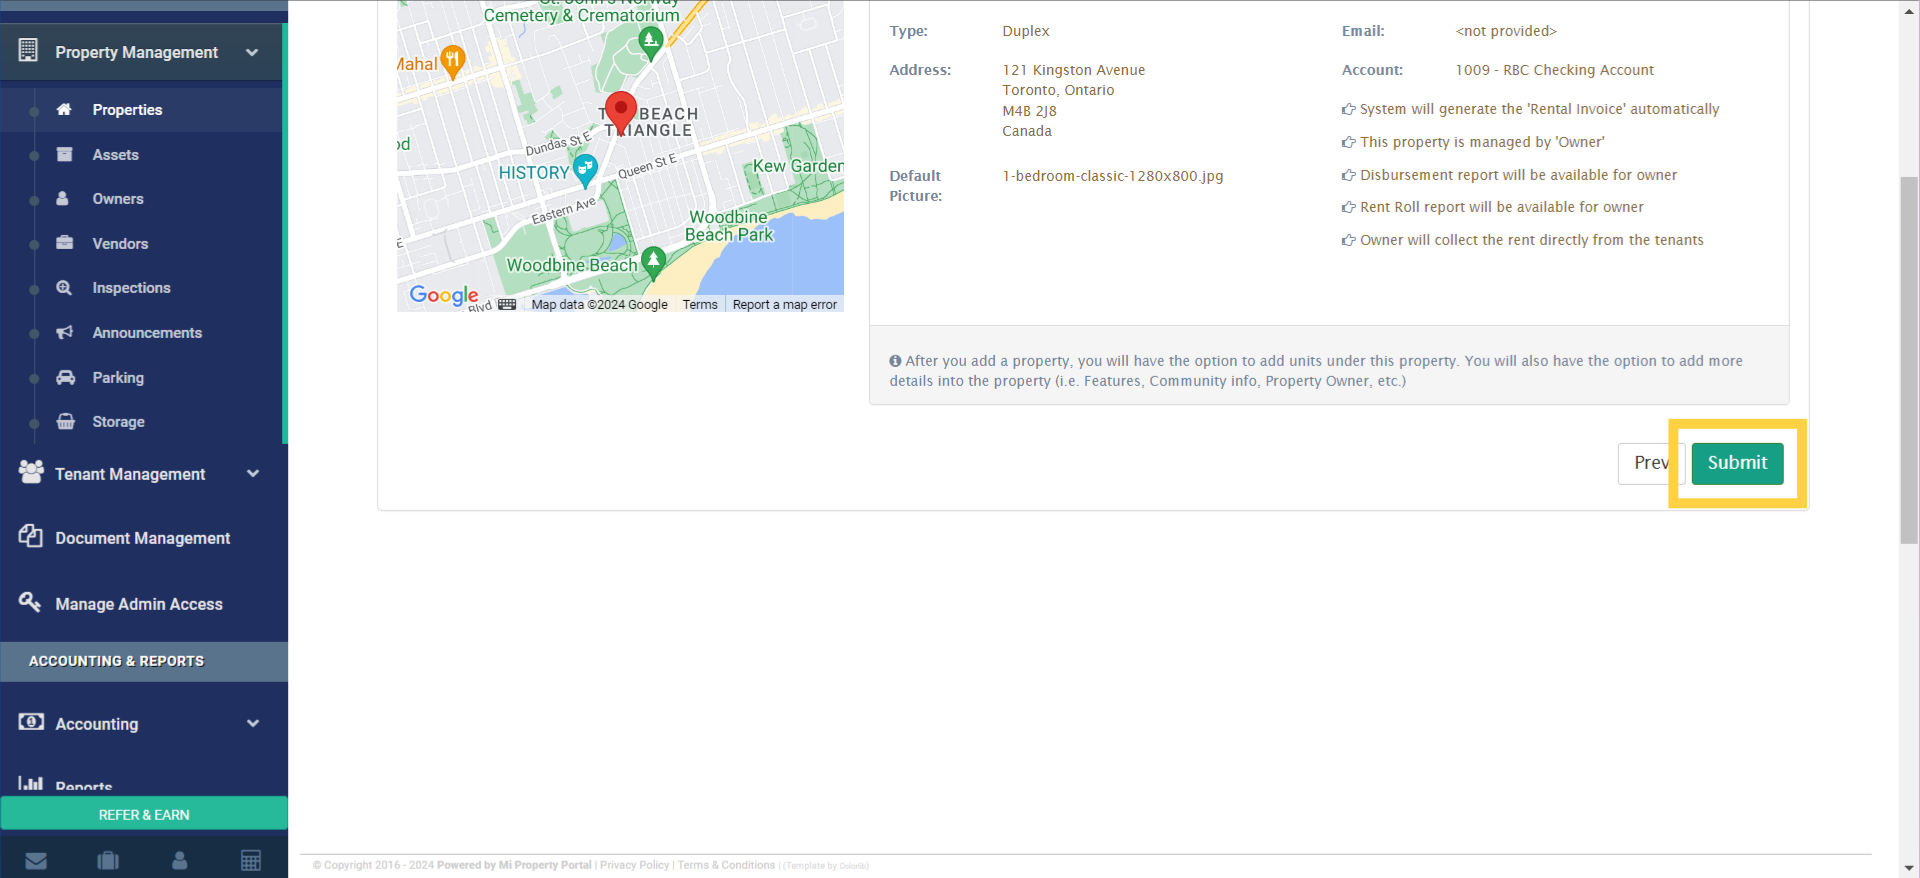
13. Review & Submit
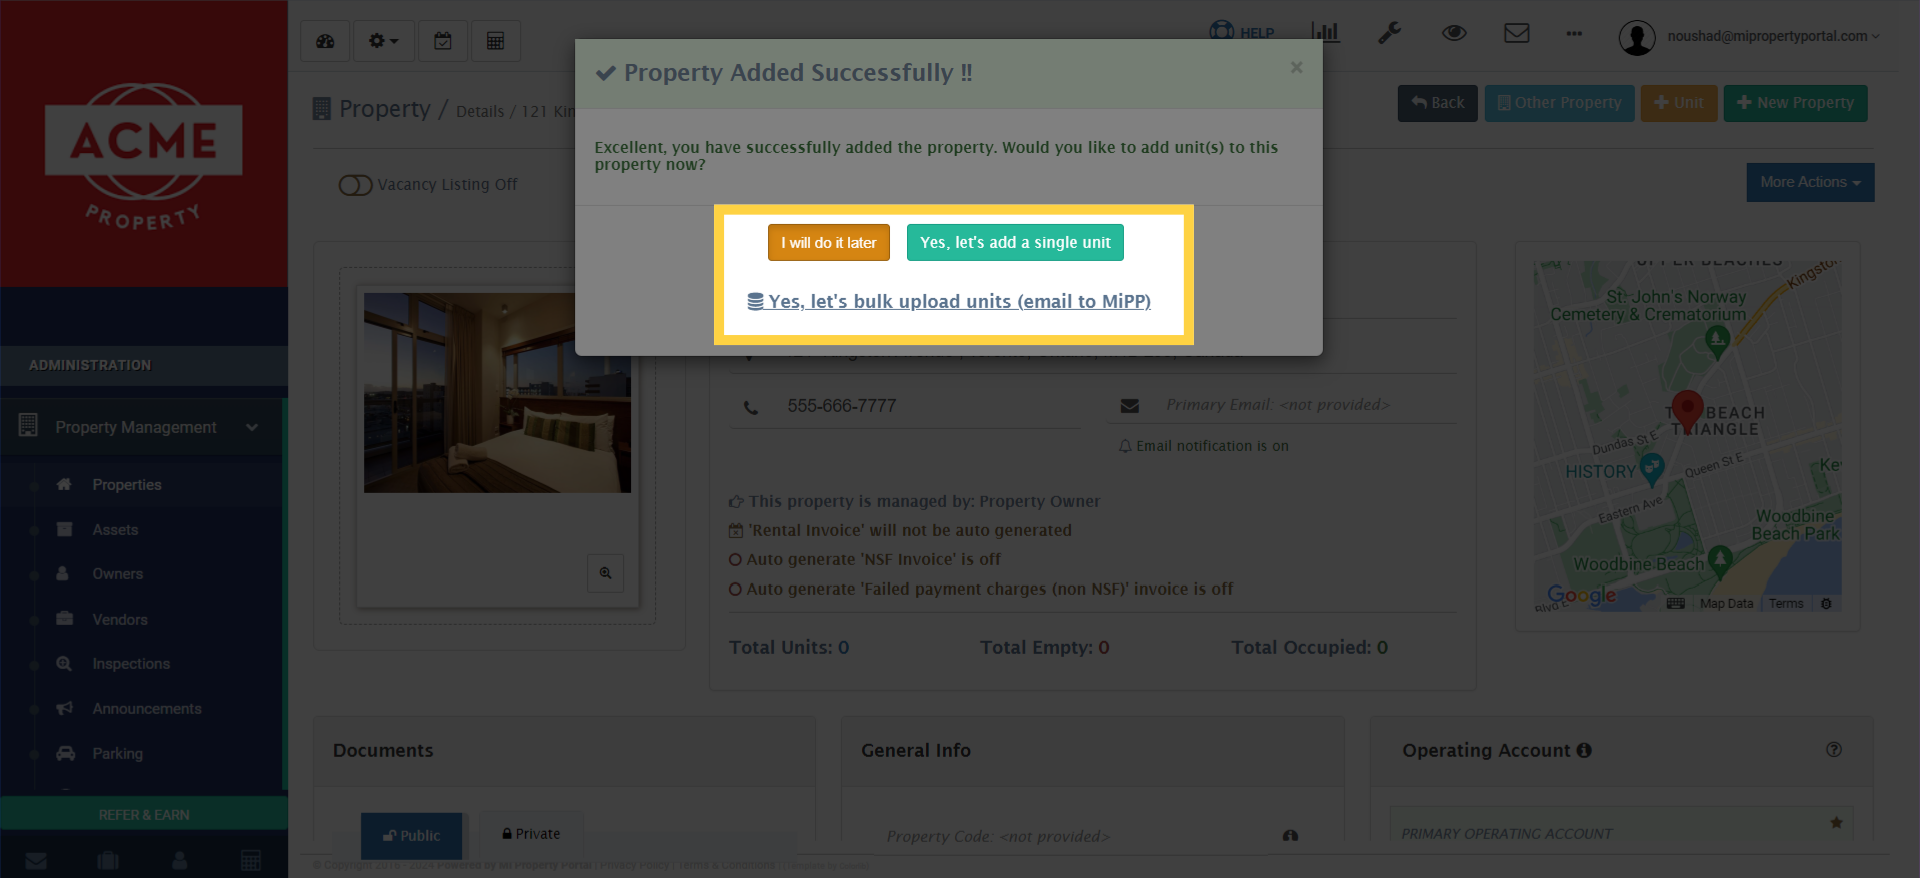
14. “Property Added Successfully !!” Pop-up will appear
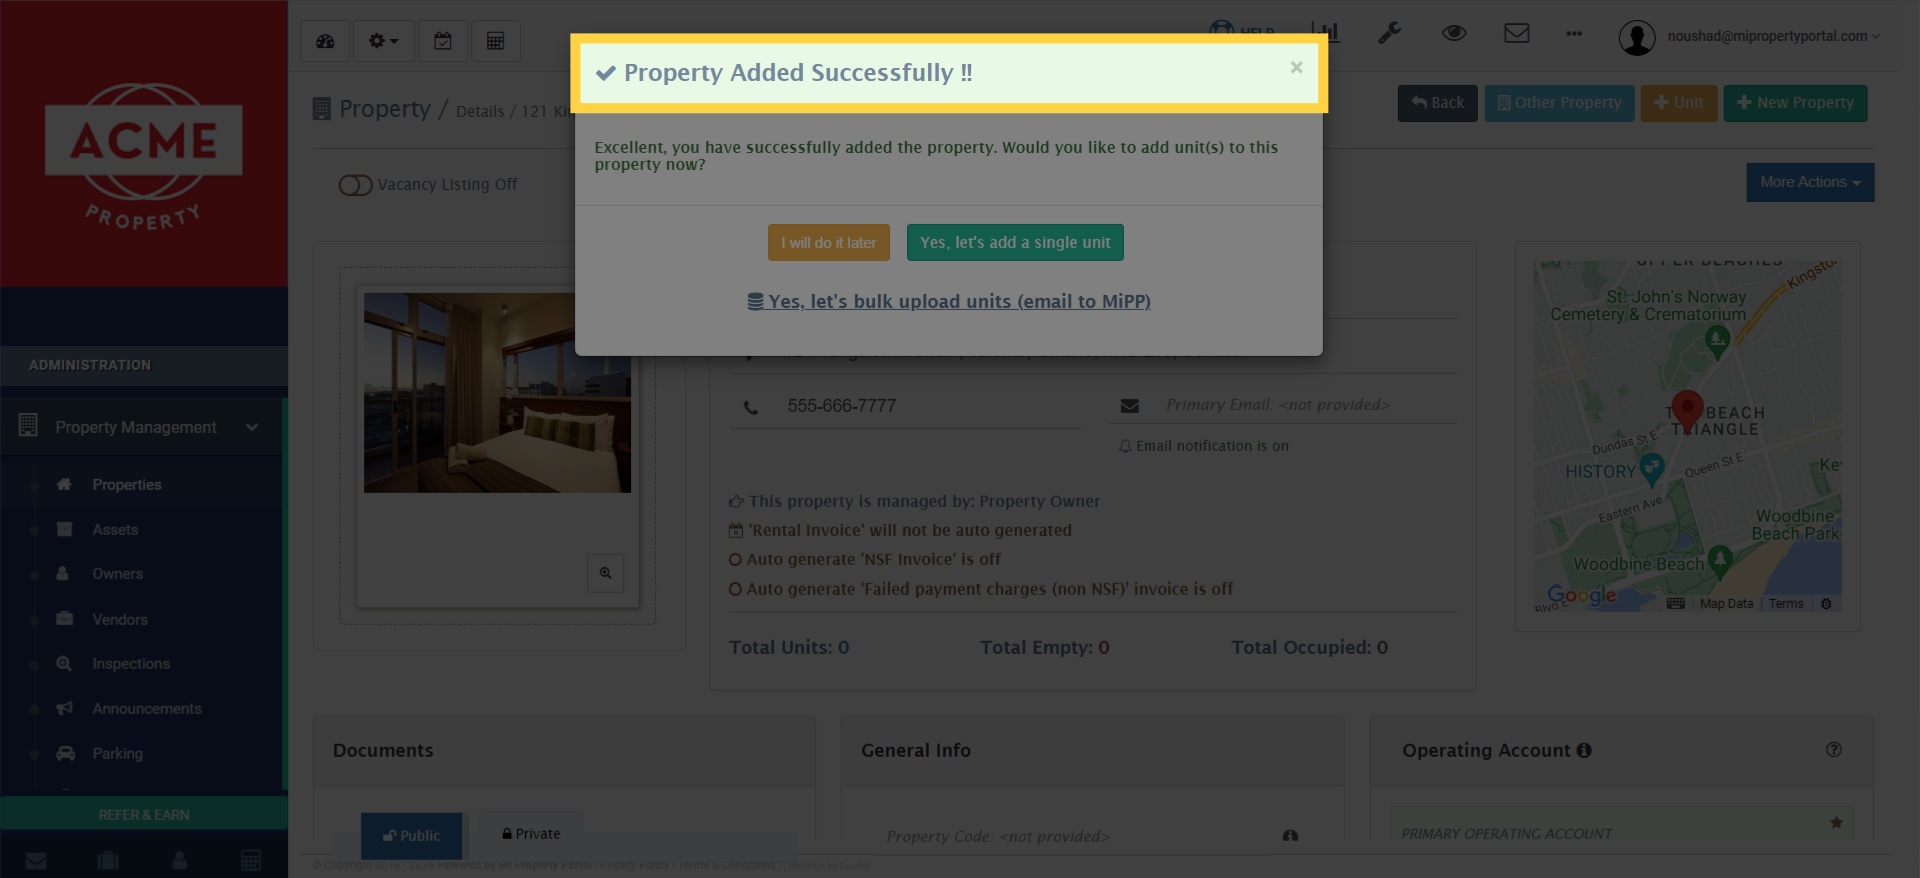
15. Chose any of the Options or close the pop-up