In this video, we will discuss adding Quick Income to the portal. But first, let’s understand what a quick income is and when to use it.
1. What is a quick income and when to use it?
Quick income logging involves directly recording income as it’s received, without creating formal invoices. This method is simpler and faster, especially for businesses with frequent, small transactions or those that receive payments before providing goods or services.

2. To add a quick income, go to the income list under the Accounting and Reporting section on the left navigation
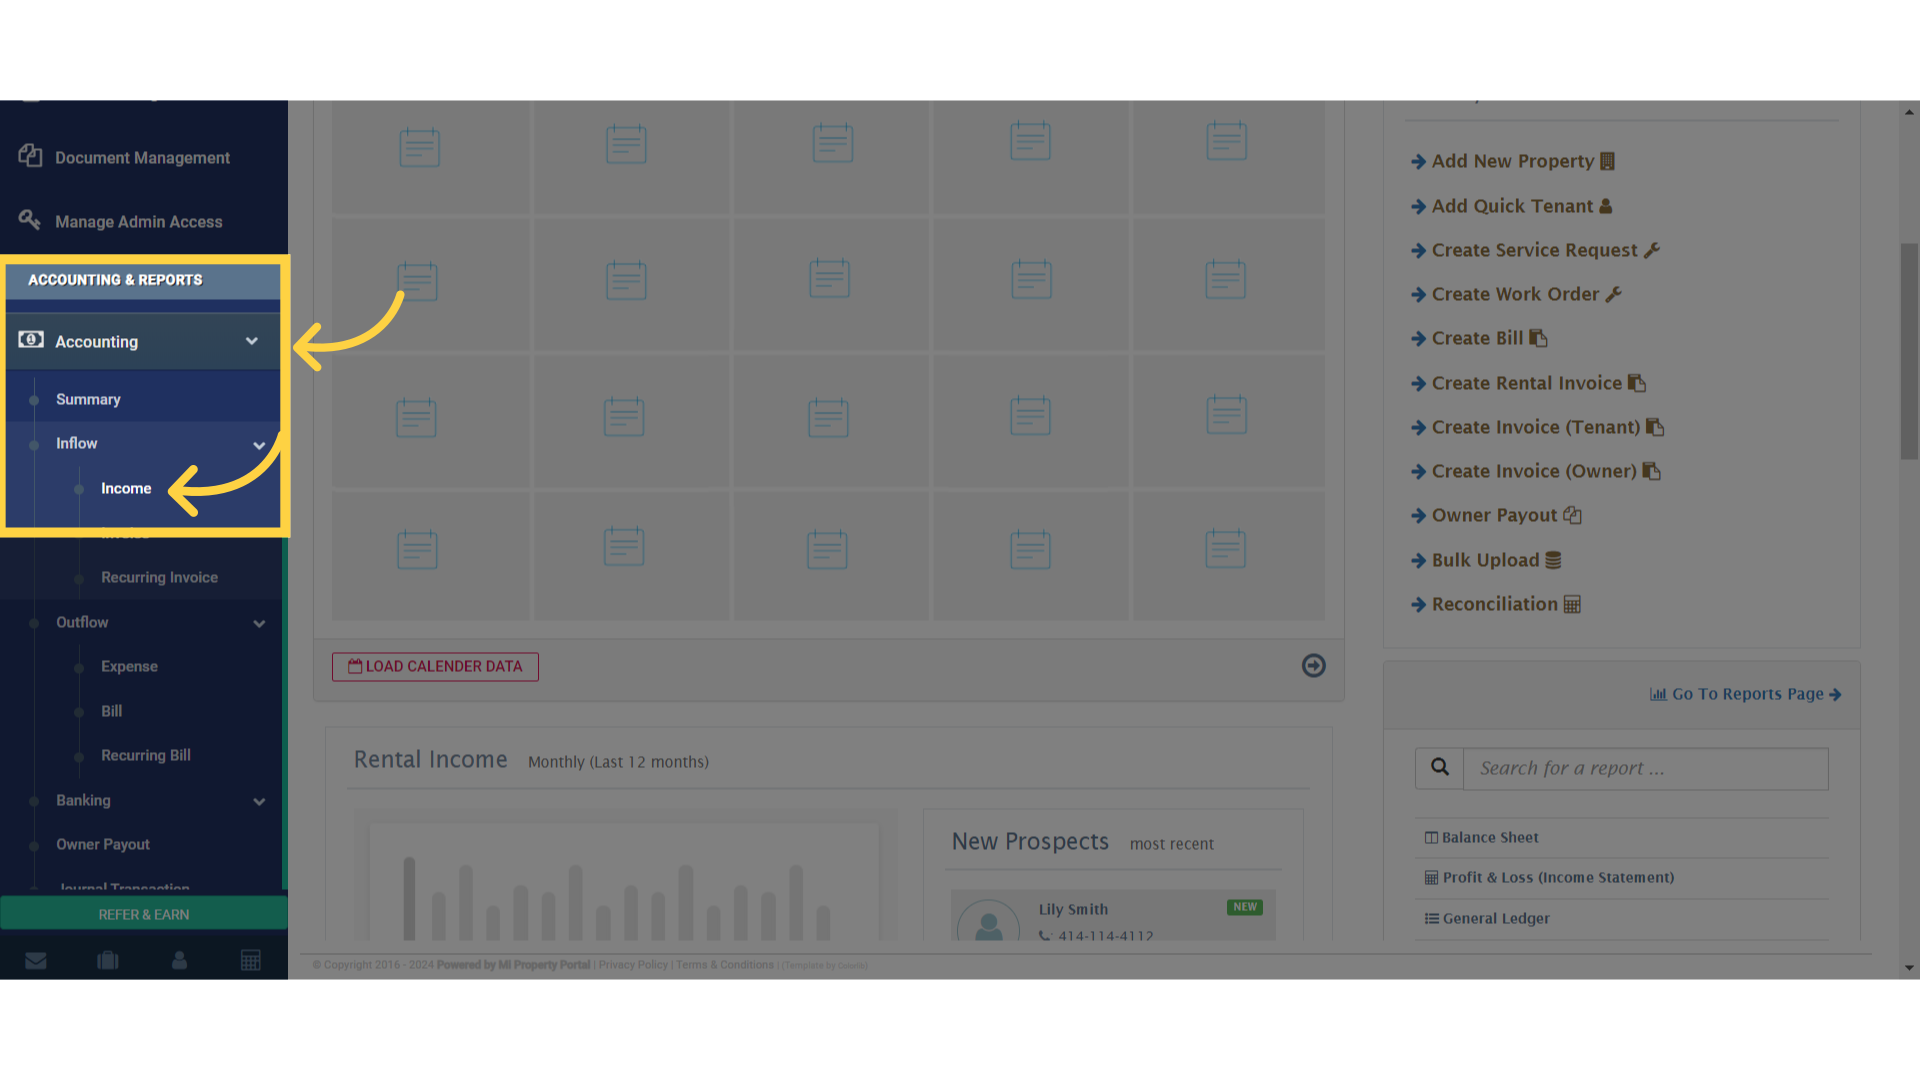
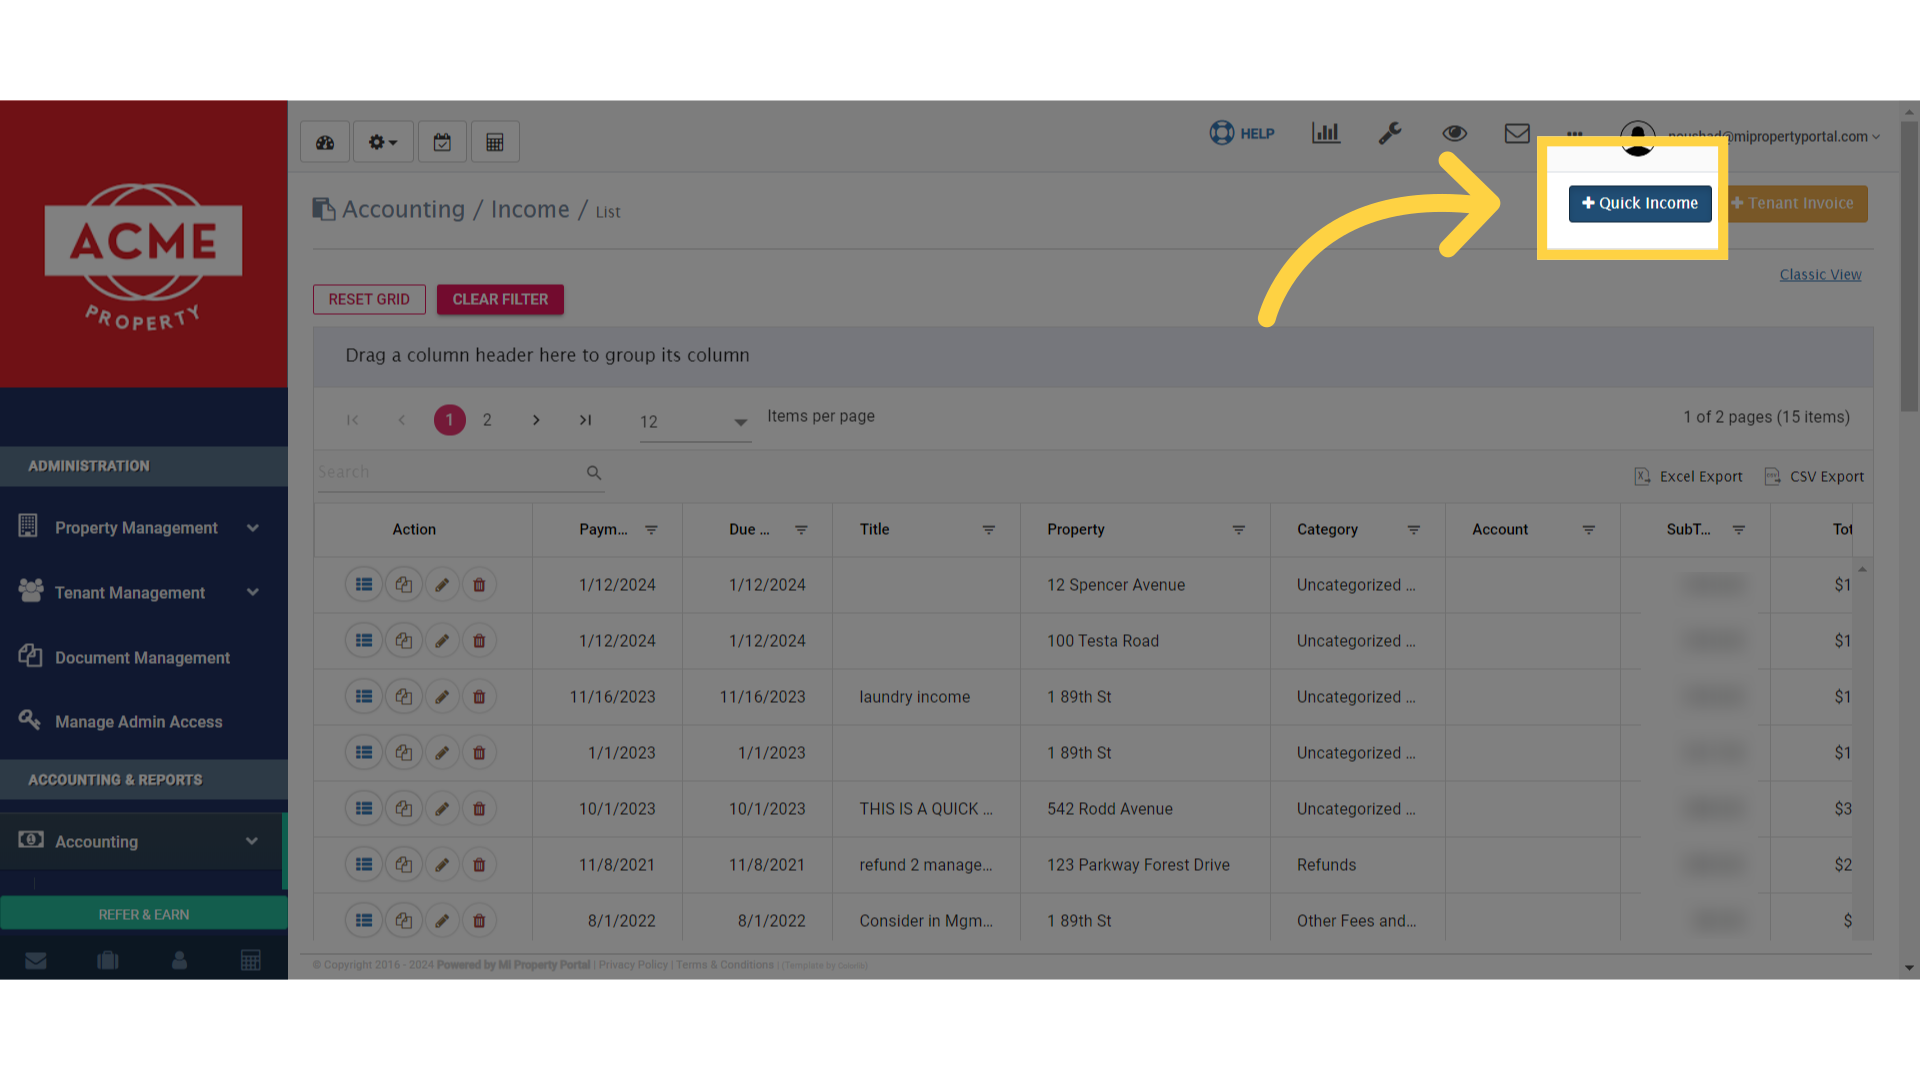
3. Next, click on “Quick Income”
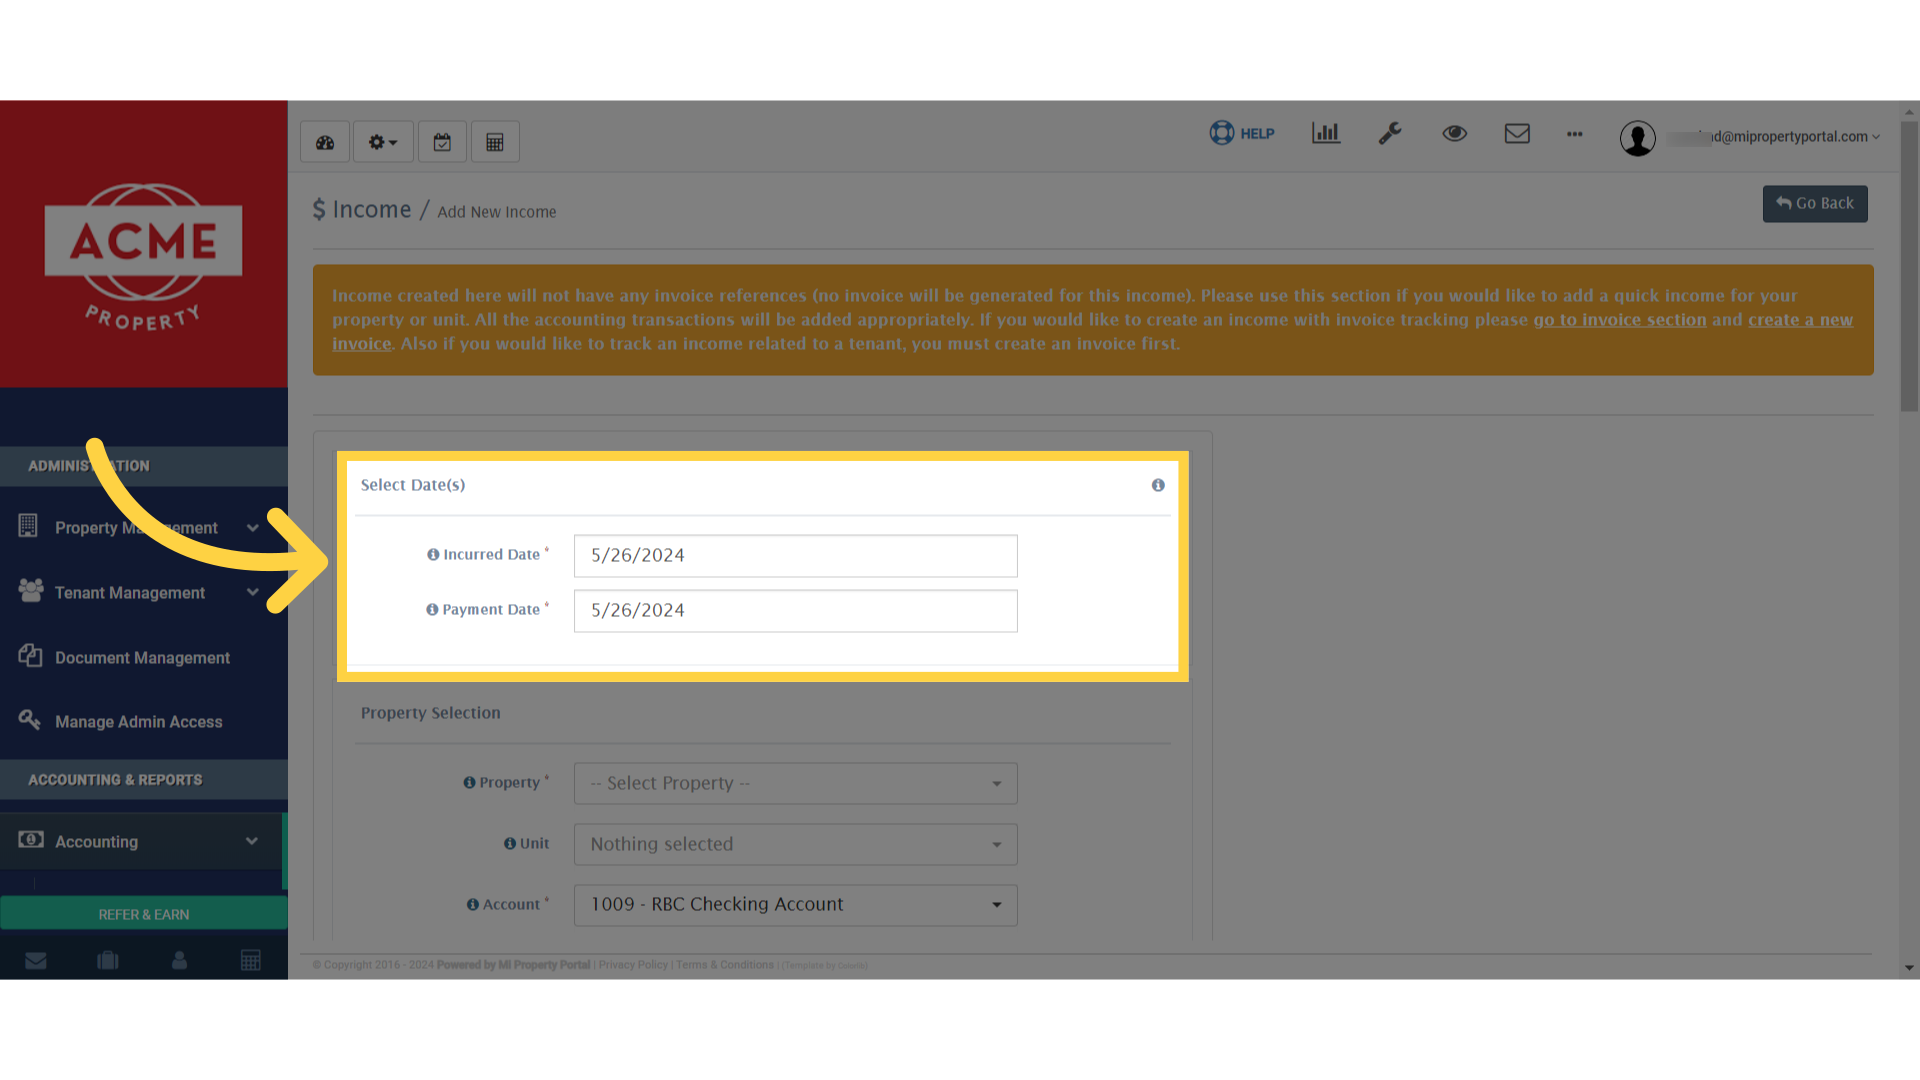
4. Fill out the required fields under “Select Date(s)”
It is essential to choose the proper dates for any accounting transactions. For your information, the Incurred Date represents when you earned the income, regardless of when you’ll be paid.
5. Then, complete the fields under “Property Selection”
Under the Property Selection section, start by choosing the property from the dropdown, then select the corresponding unit. Next, pick an account from the dropdown, which refers to the Chart of Accounts where the payment will be recorded or deposited.

6. In the Income Info section, make sure to fill out all the required fields, and select the appropriate options from the dropdowns. This includes specifying the income category, choosing the payment method, and adding any relevant details to ensure the invoice is accurate.
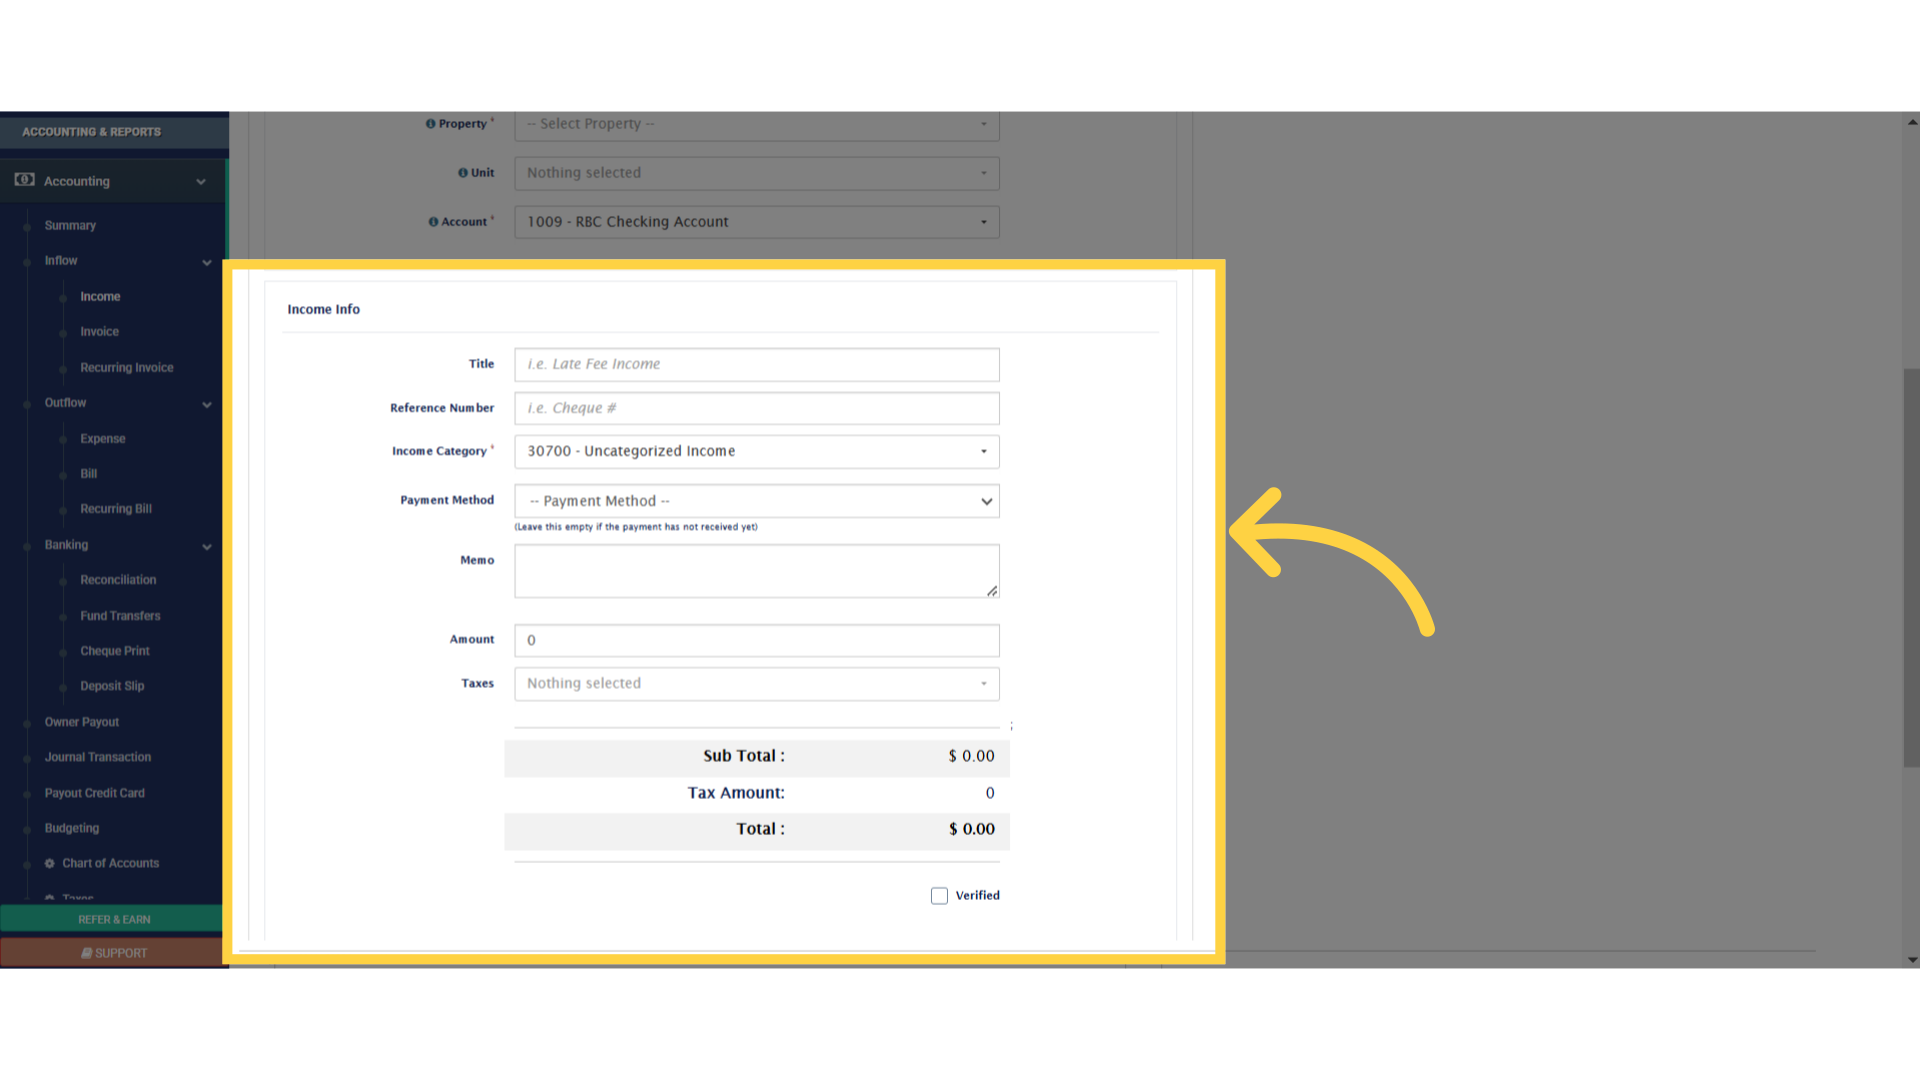
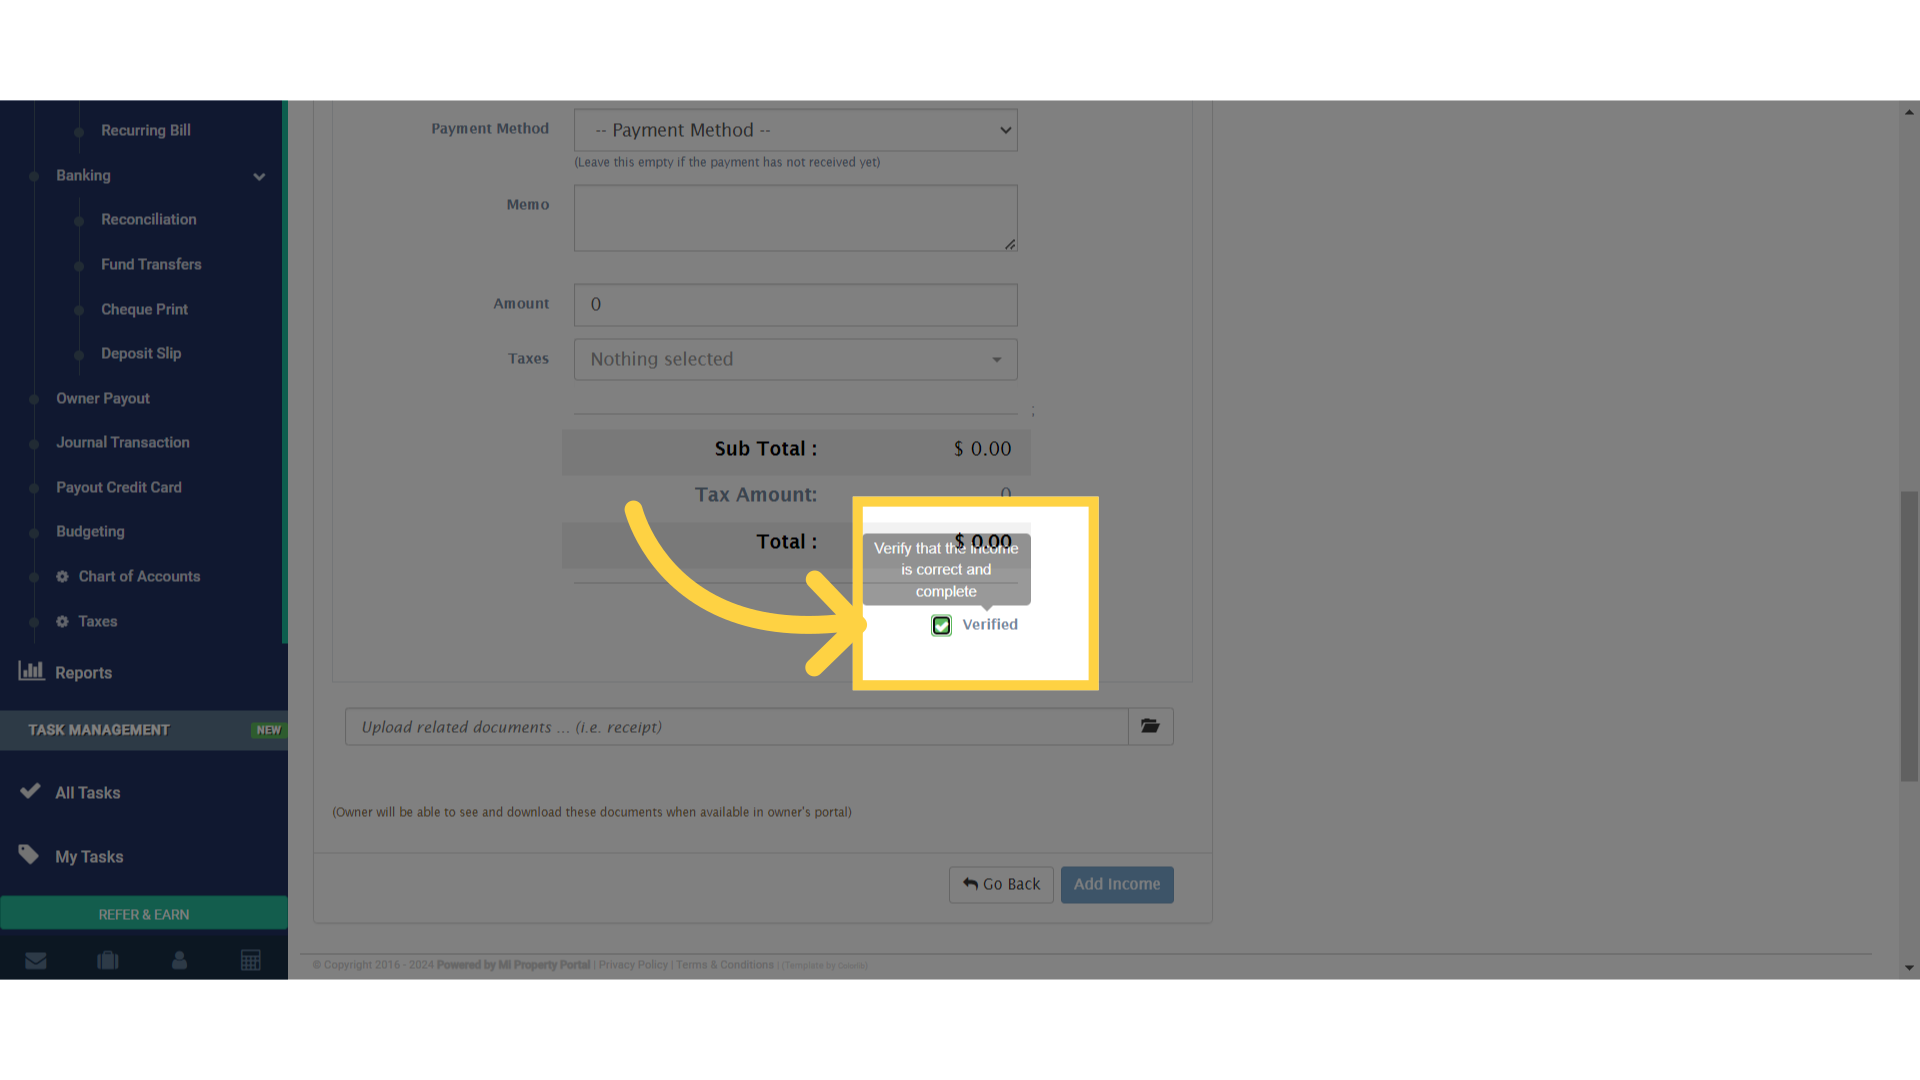
7. Make sure to tick the “Verified” box
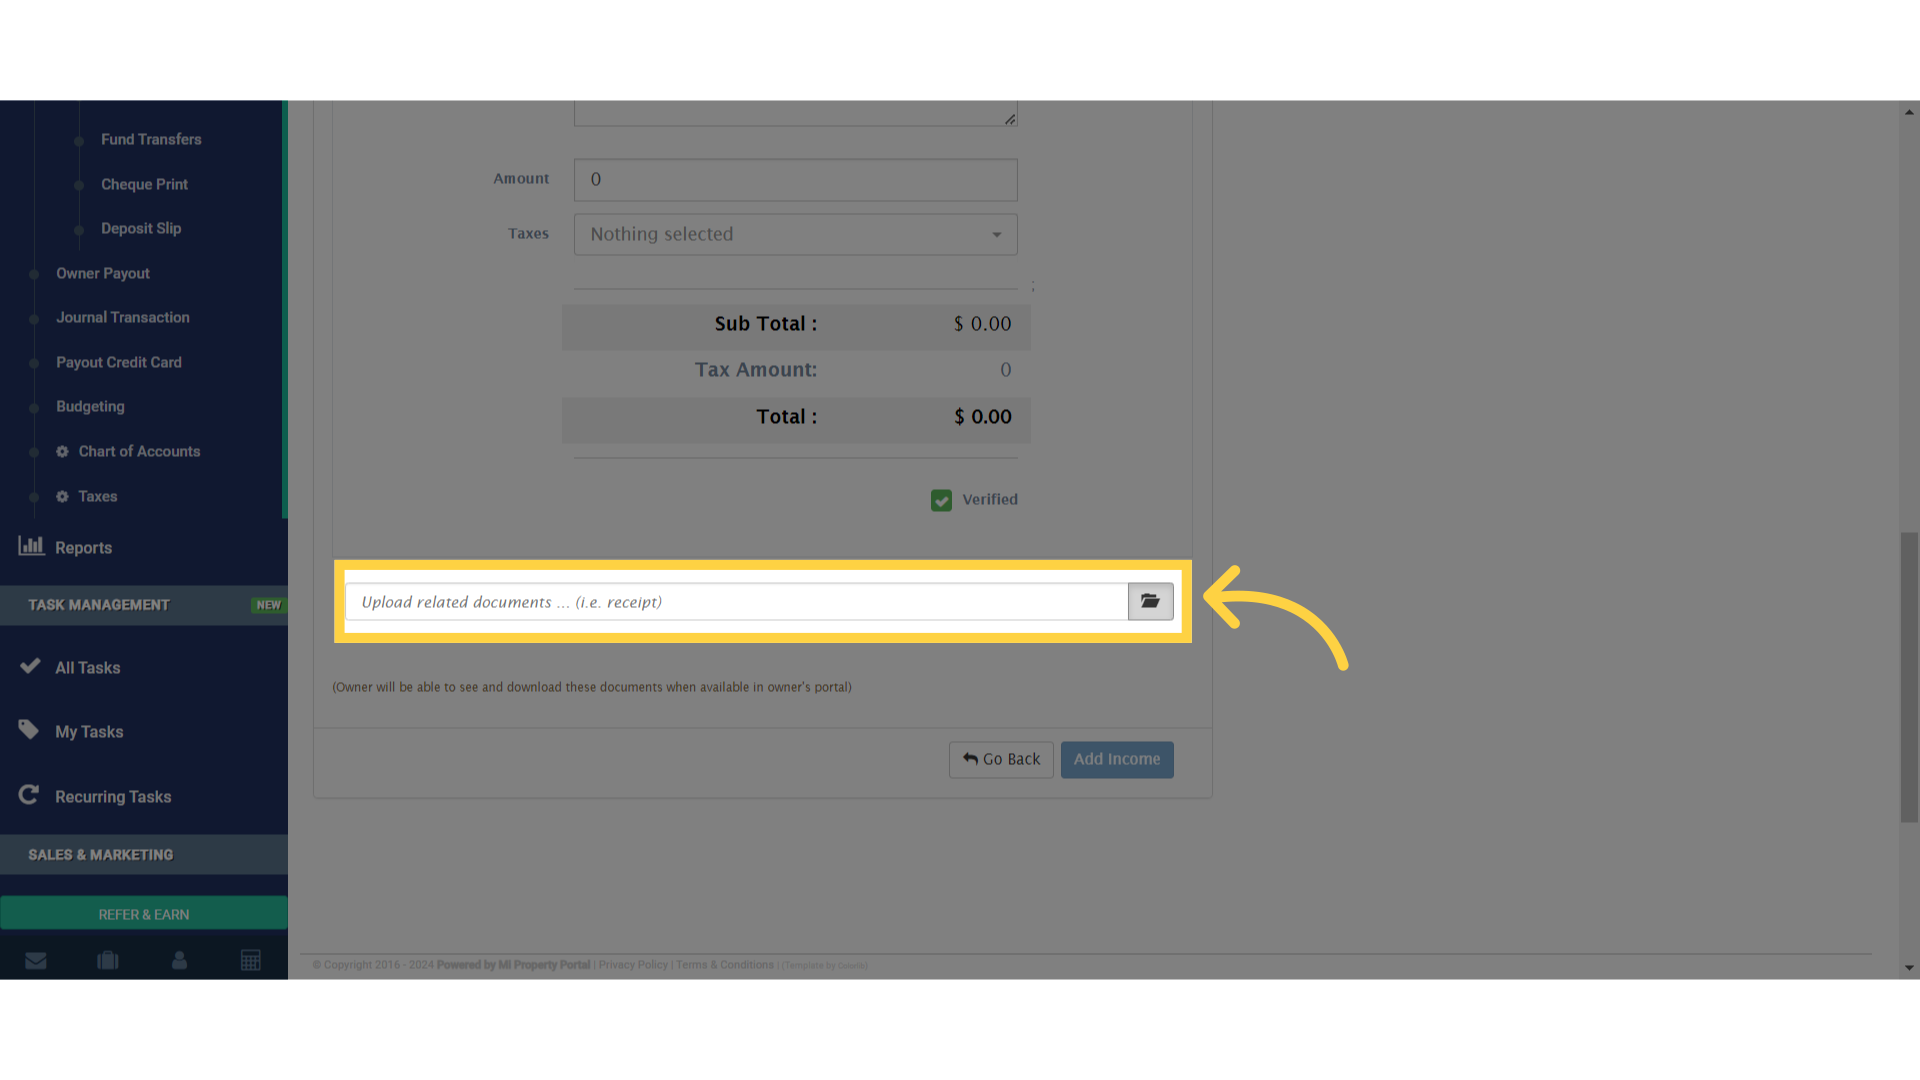
8. If you have any supporting documents, upload them by clicking here
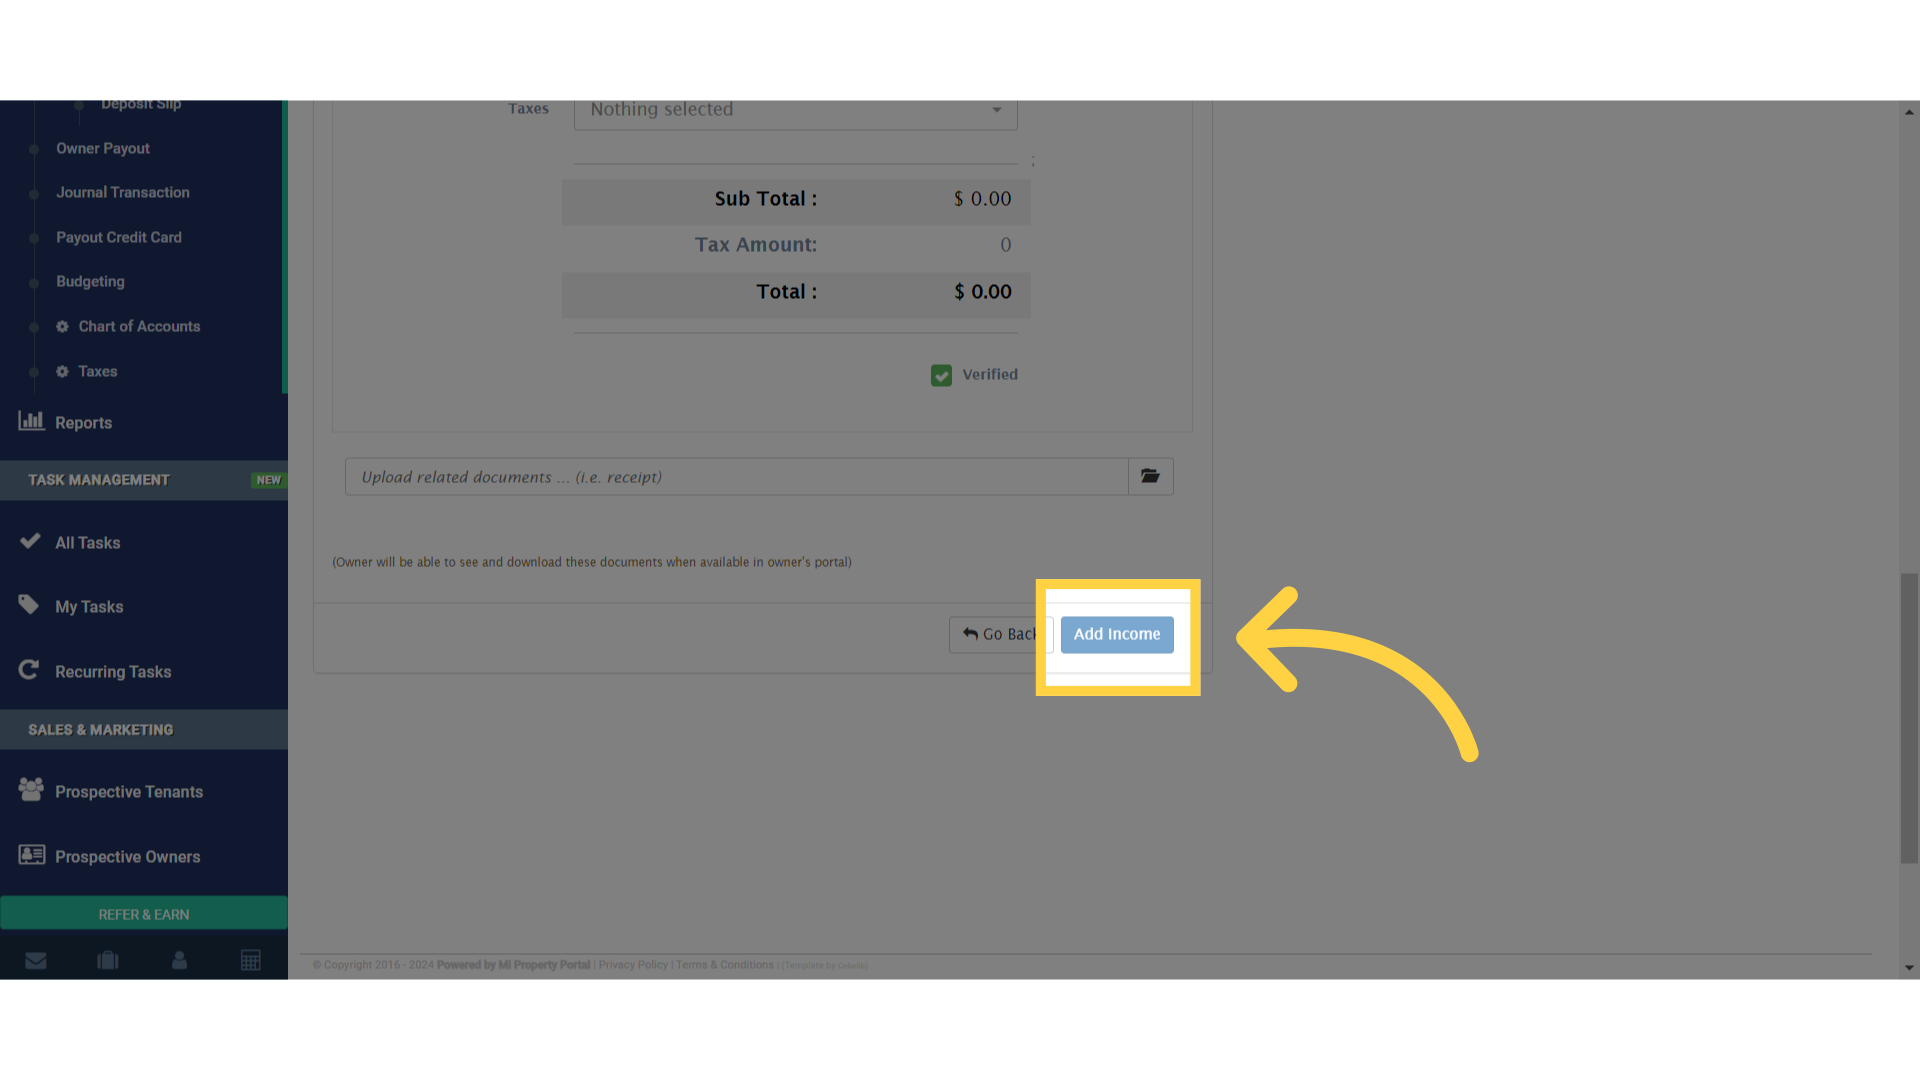
9. Finally, click the “Add Income” button to save the entry
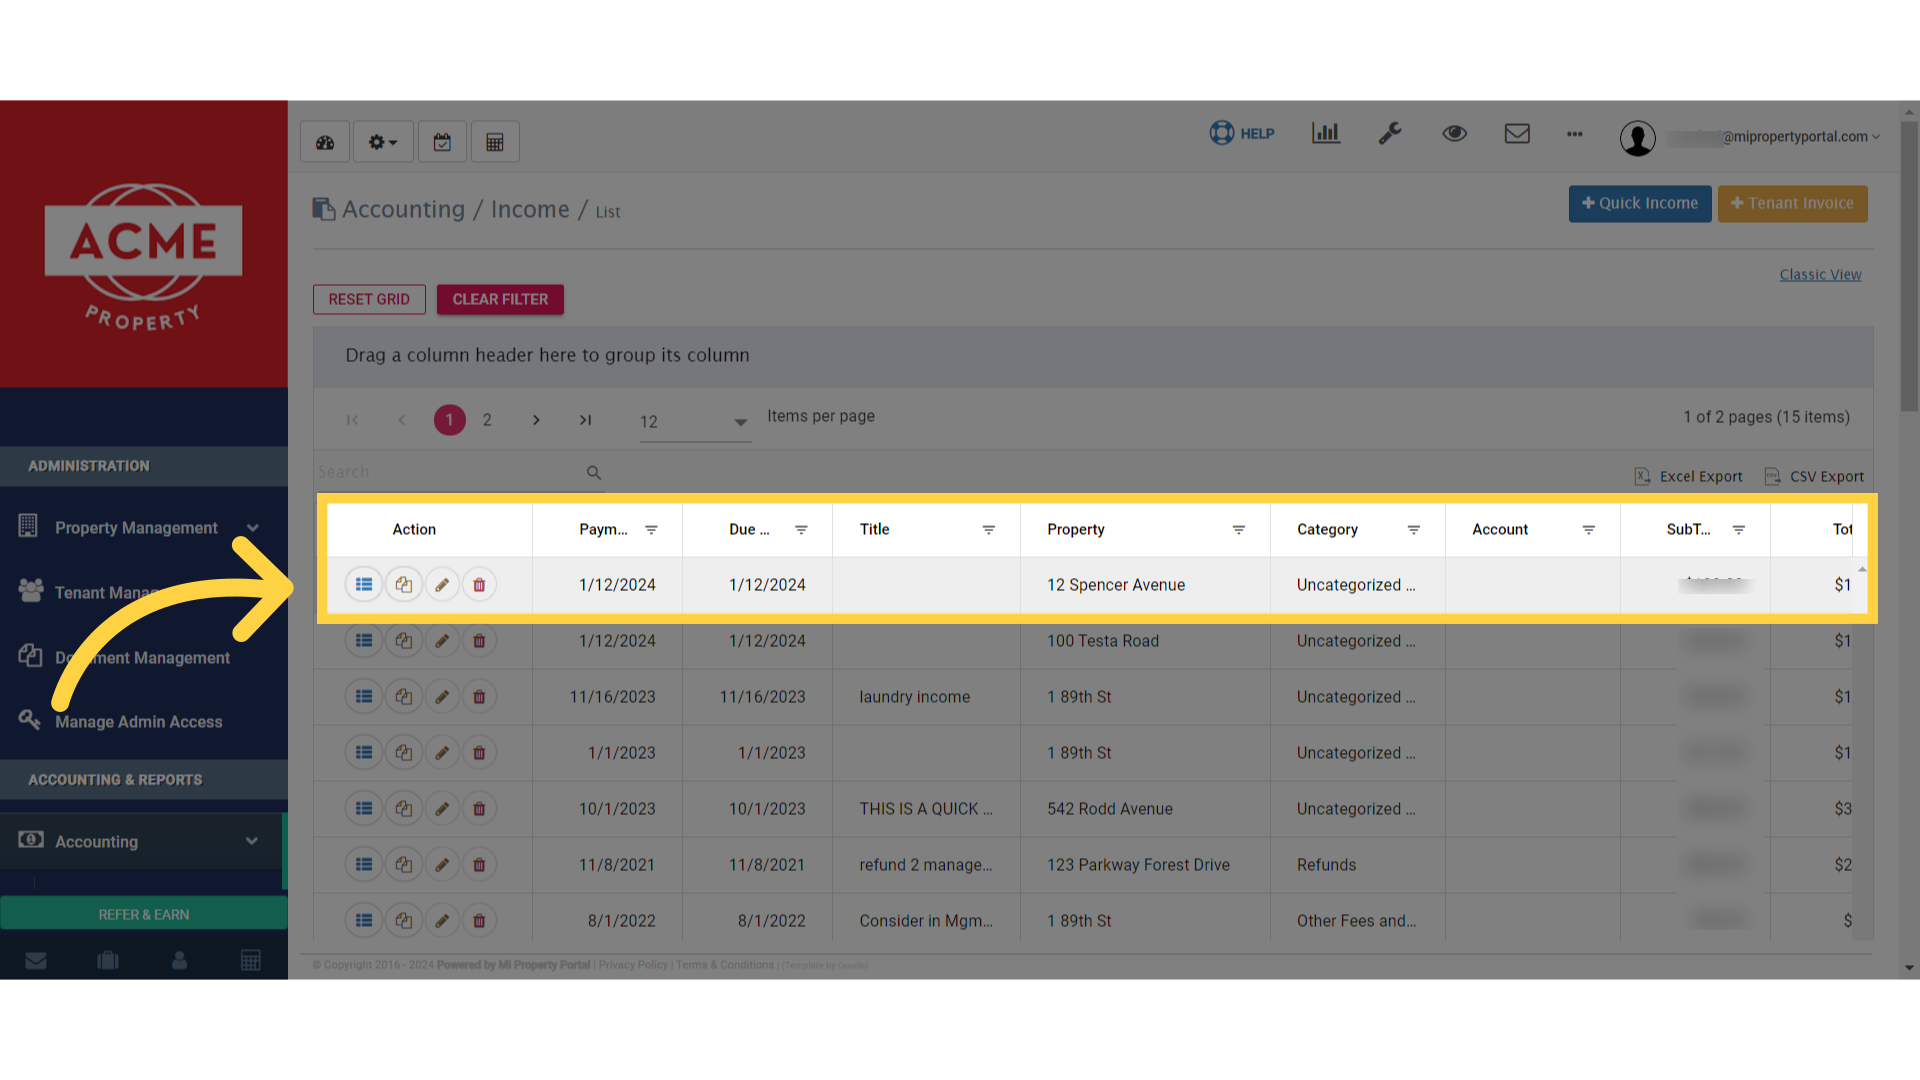
10. You will see icons for actions such as “View Details,” “Edit,” “Copy/Duplicate,” and “Delete”
Adding a Quick Income in the portal is quite easy, right? So, let’s get to the next one.