In this tutorial, we’ll show you how to quickly add an expense in our system. Let’s jump right in!
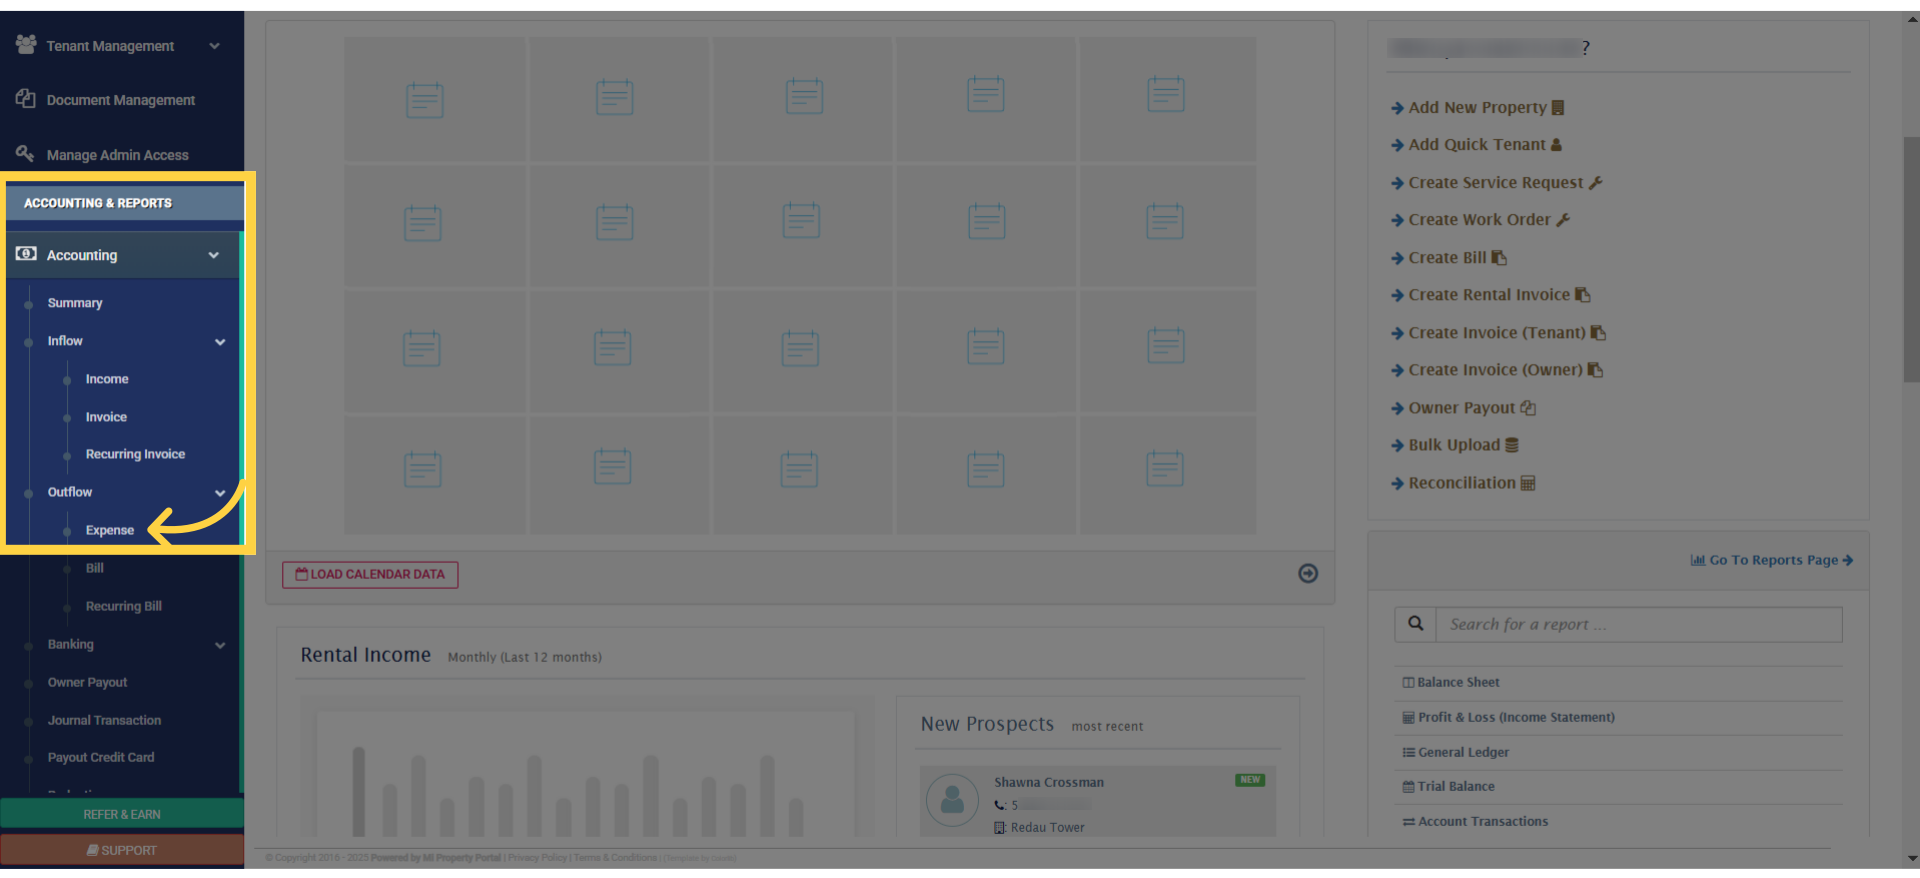
1. From the Accounting & Reports section in the left navigation menu, click on the Accounting dropdown and select Expense
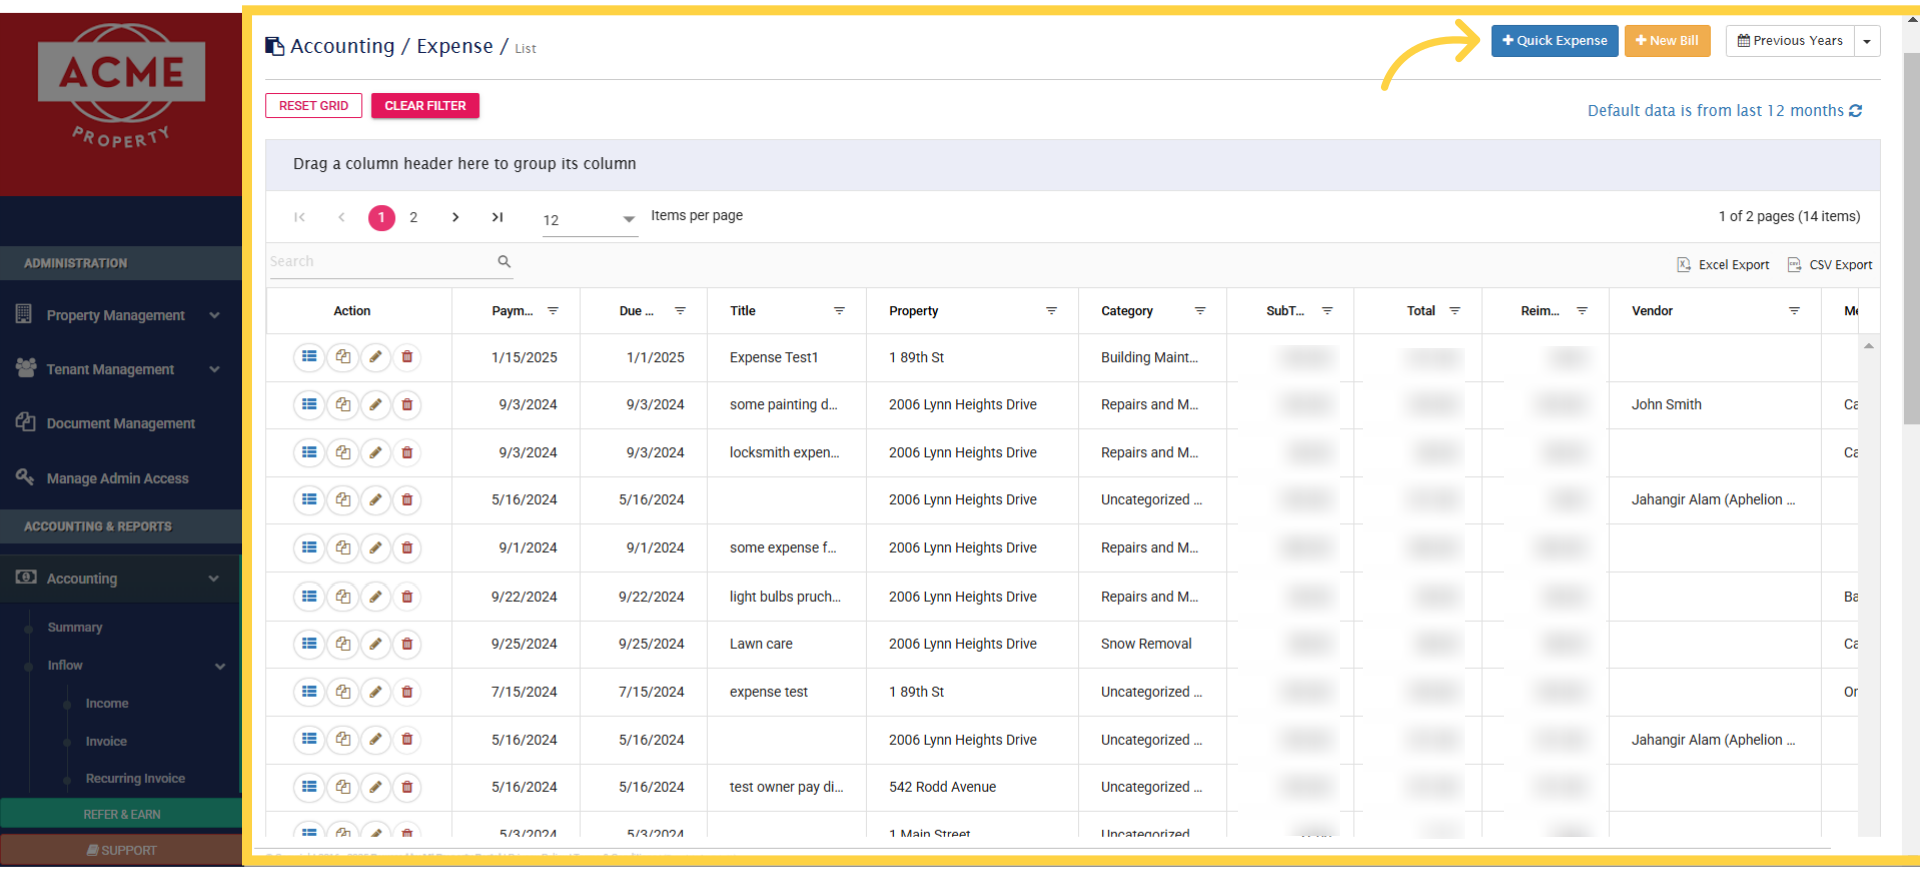
2. This is the Expense Management Dashboard, existing expenses appear here. To quickly add a new one, simply click on the Quick Expense button at the top
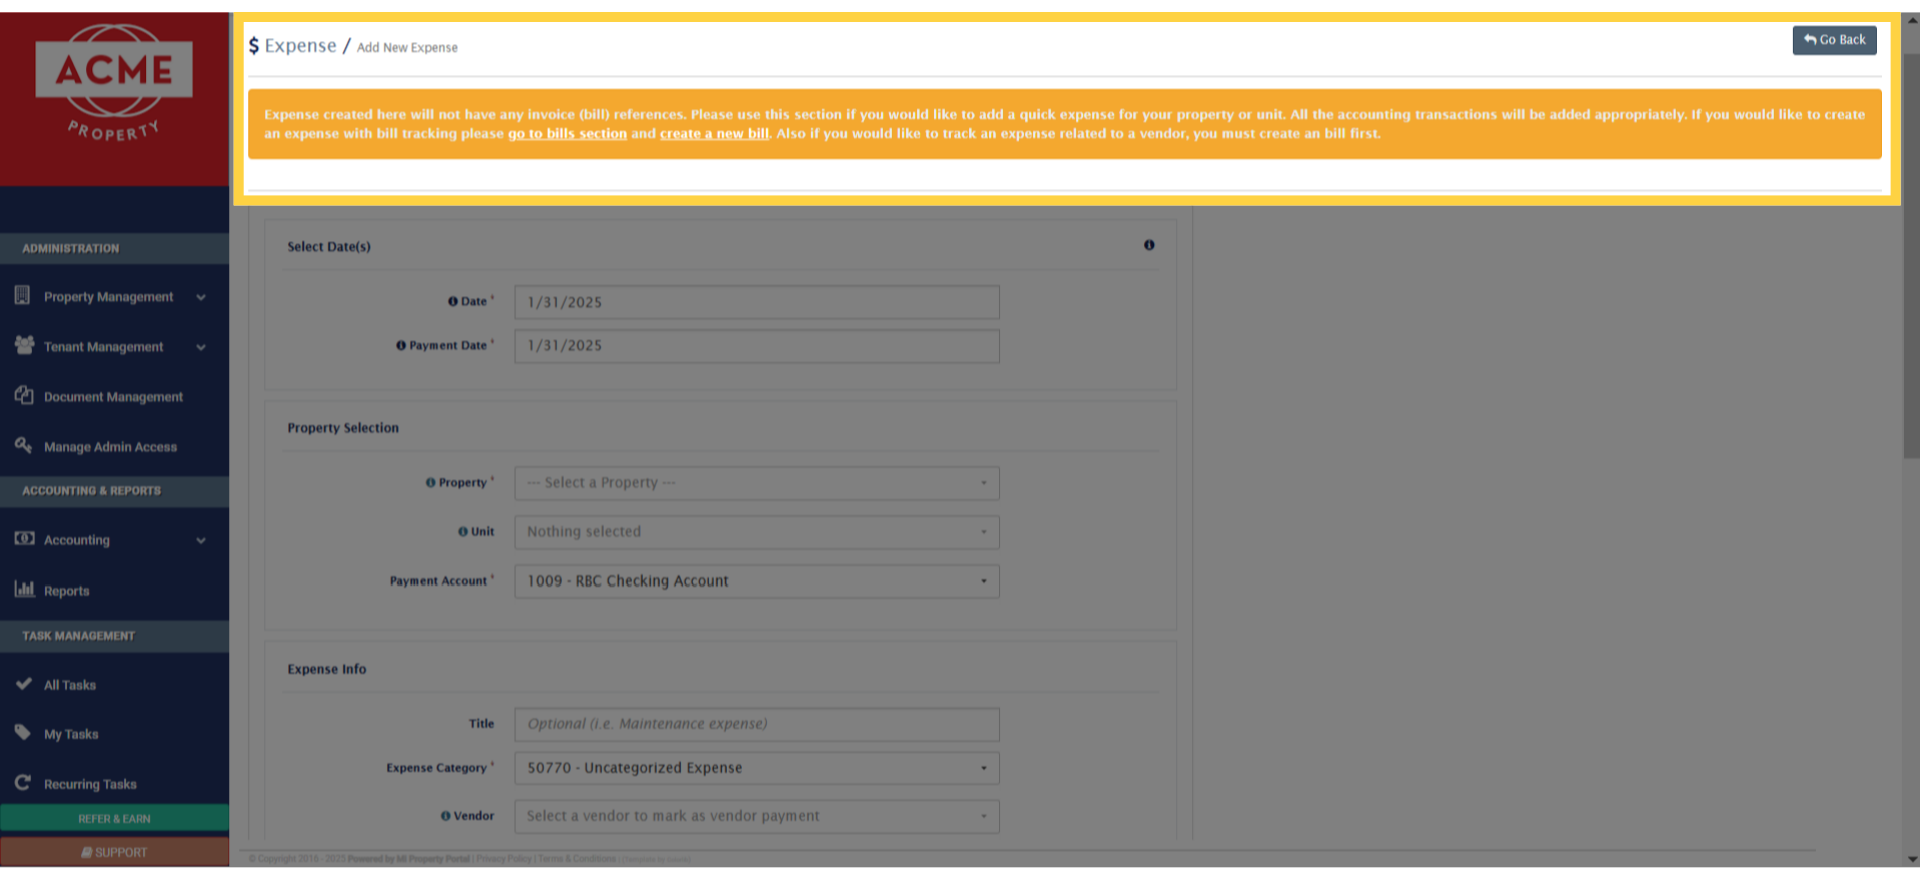
3. The Quick Expense section lets you add standalone expenses without bill references. To track expenses with a bill or vendor, use the Bills section instead
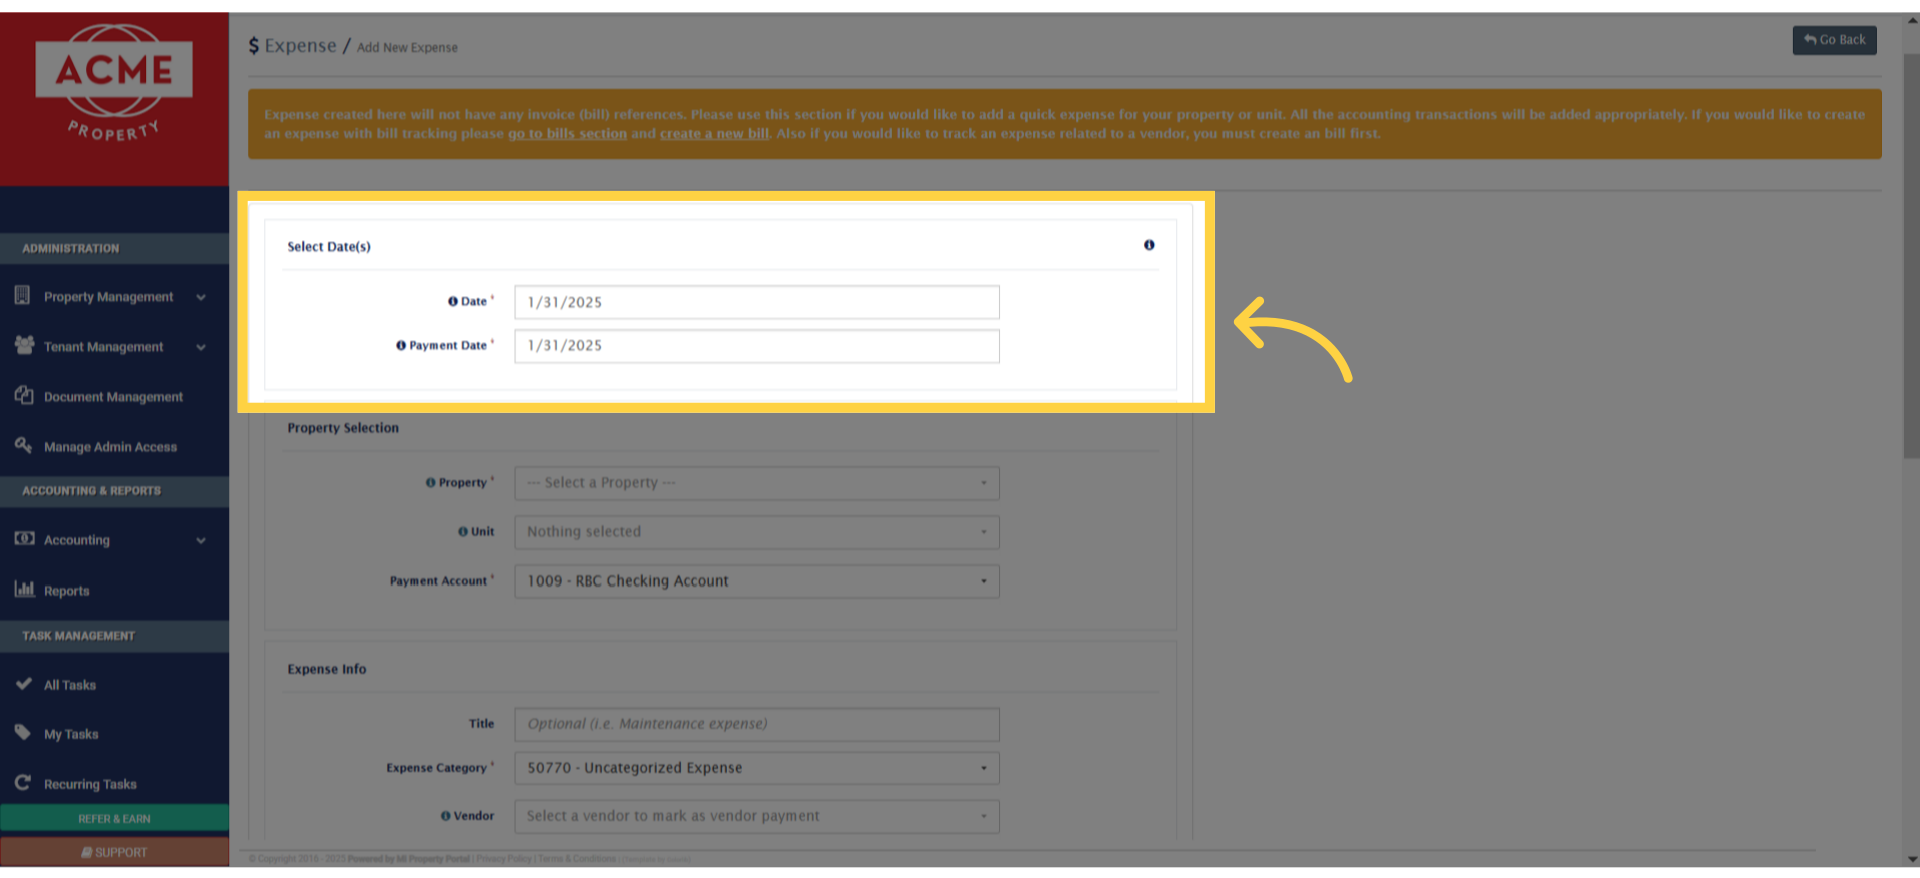
4. In this section, choose the invoice date and set the payment date to ensure accurate record-keeping
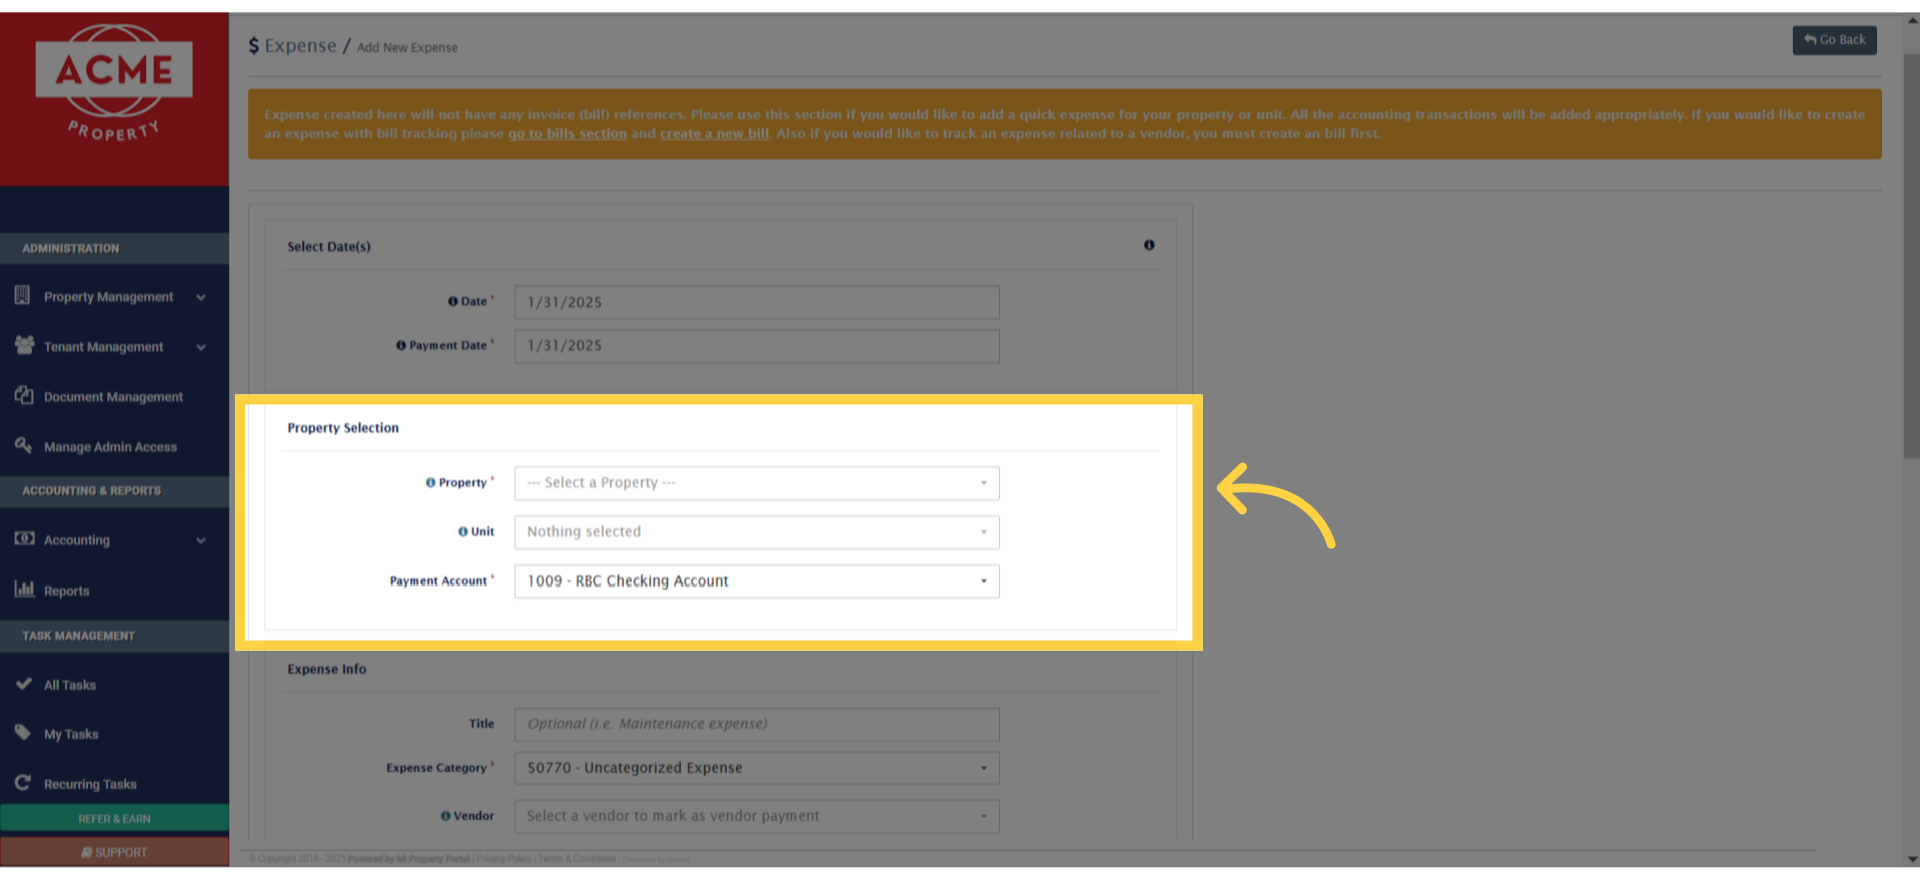
5. Here, select the property, unit, and payment account from the respective dropdowns, to allocate the expense correctly
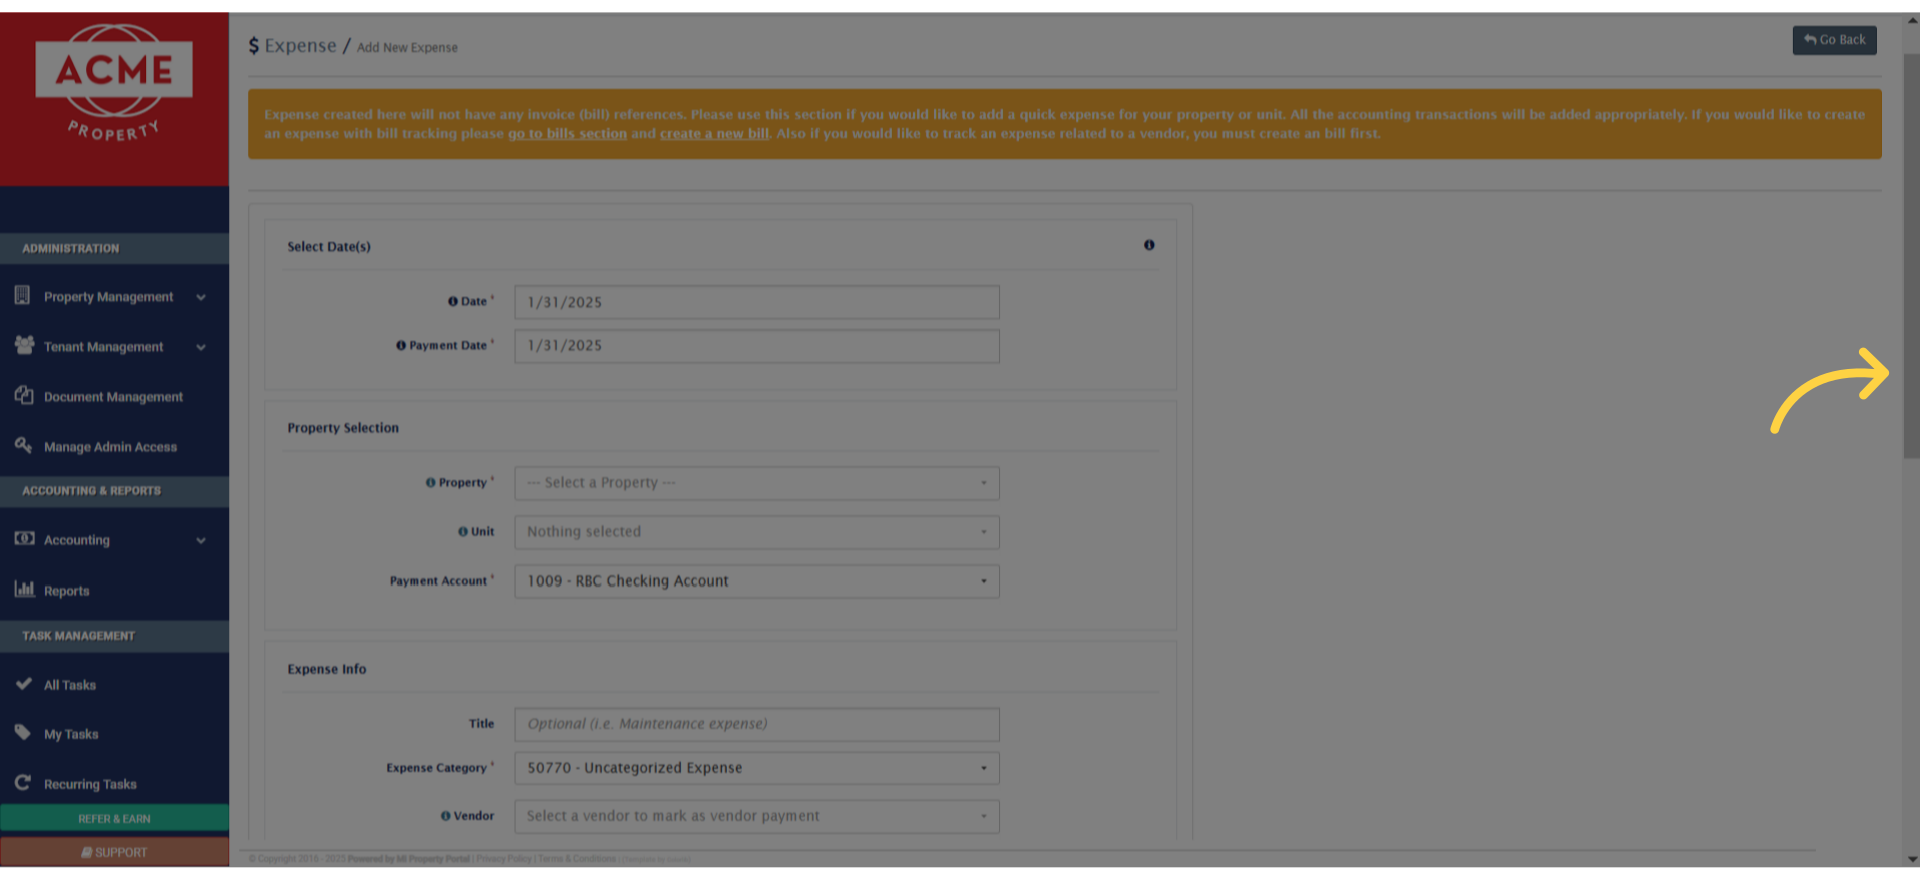
6. Scroll down
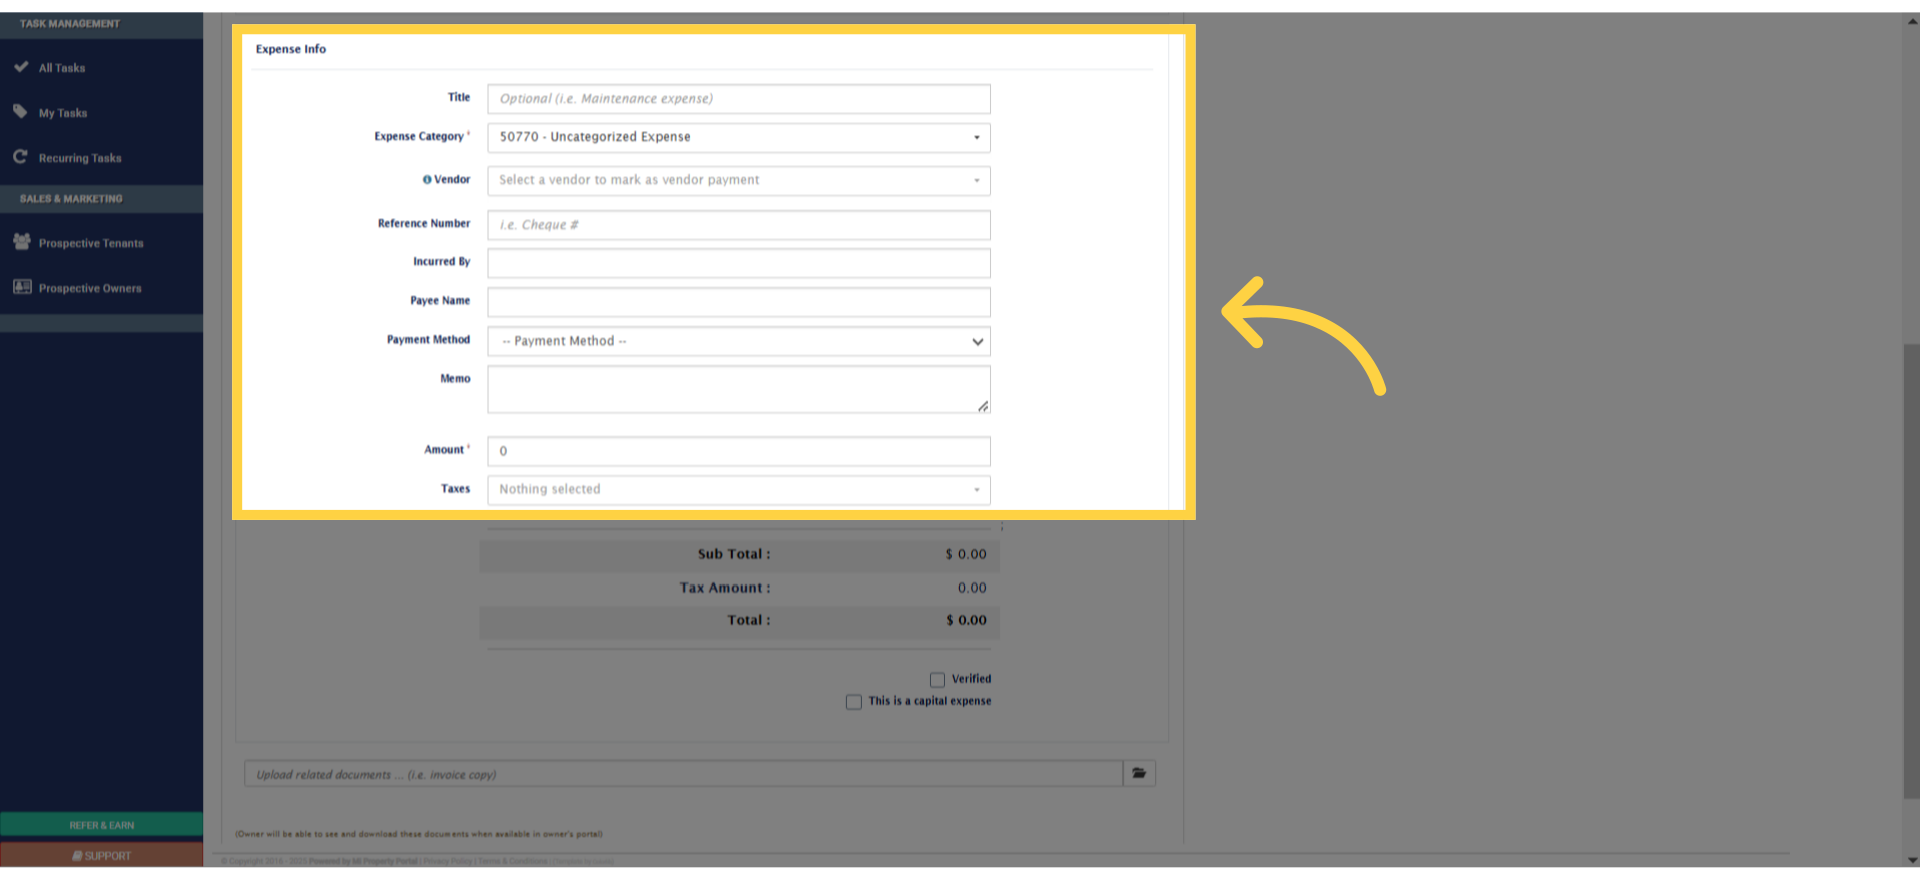
7. In this section, enter a title, select an expense category from the dropdown or search within it, choose a vendor, and continue filling out the required fields accordingly
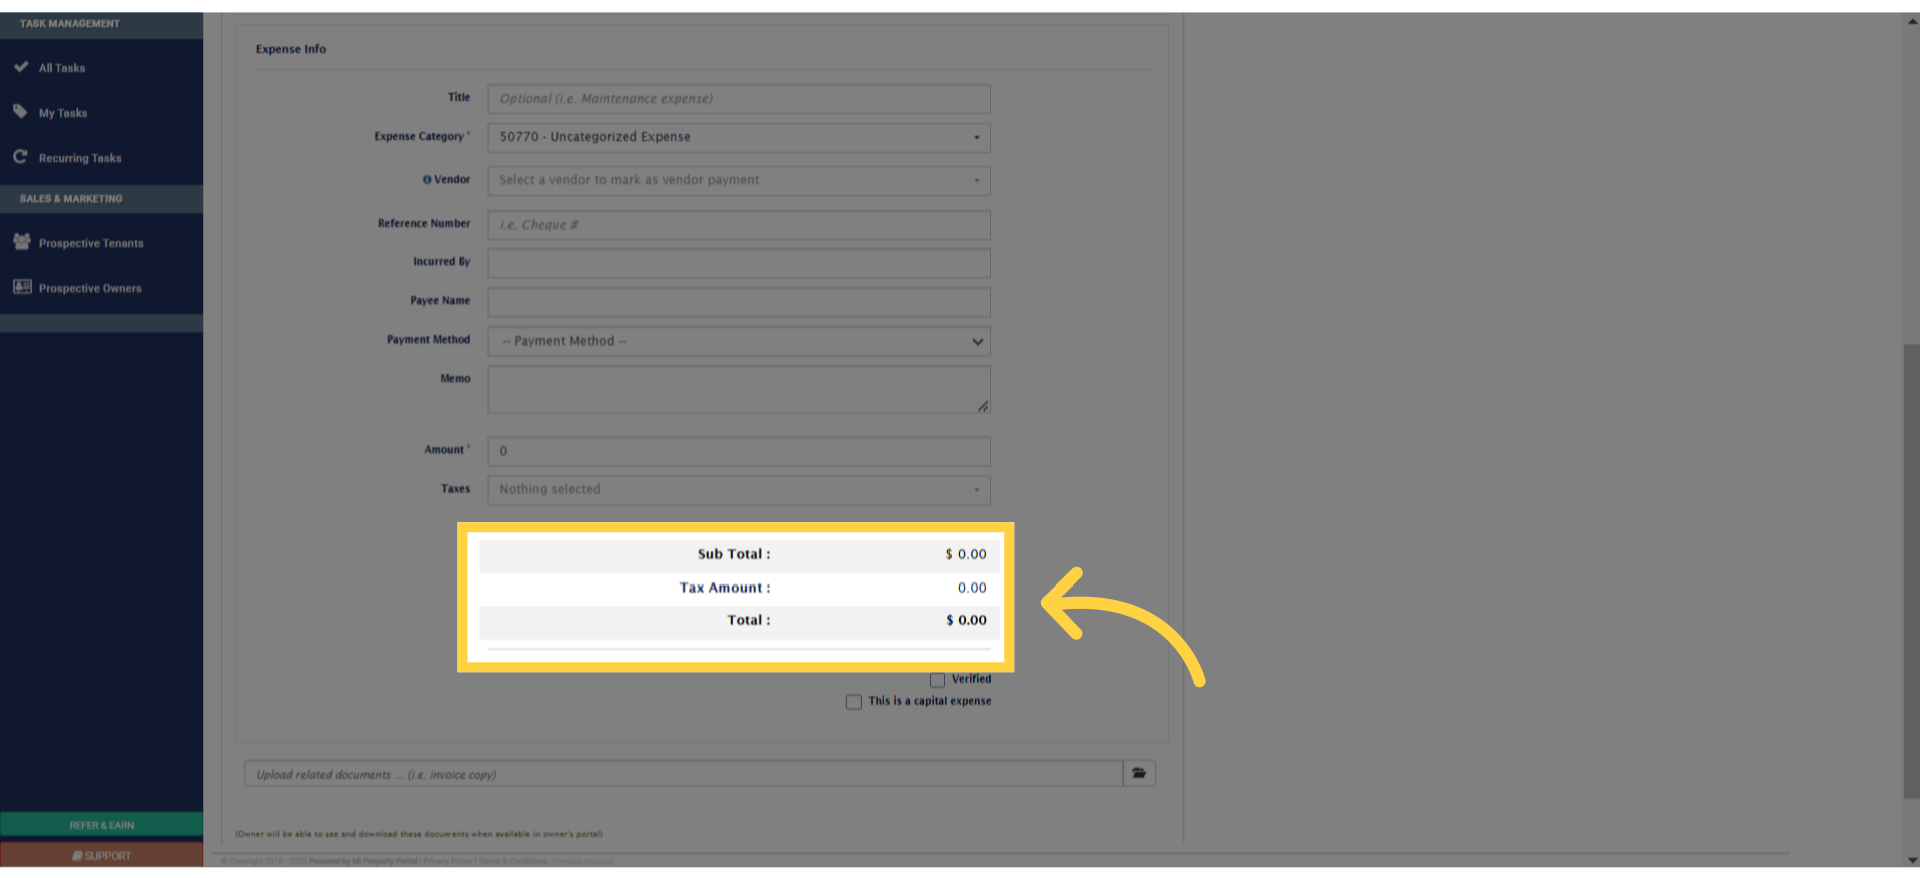
8. The Subtotal, Tax, and Total Amount will be automatically calculated, and displayed here, based on the entered values in the above section
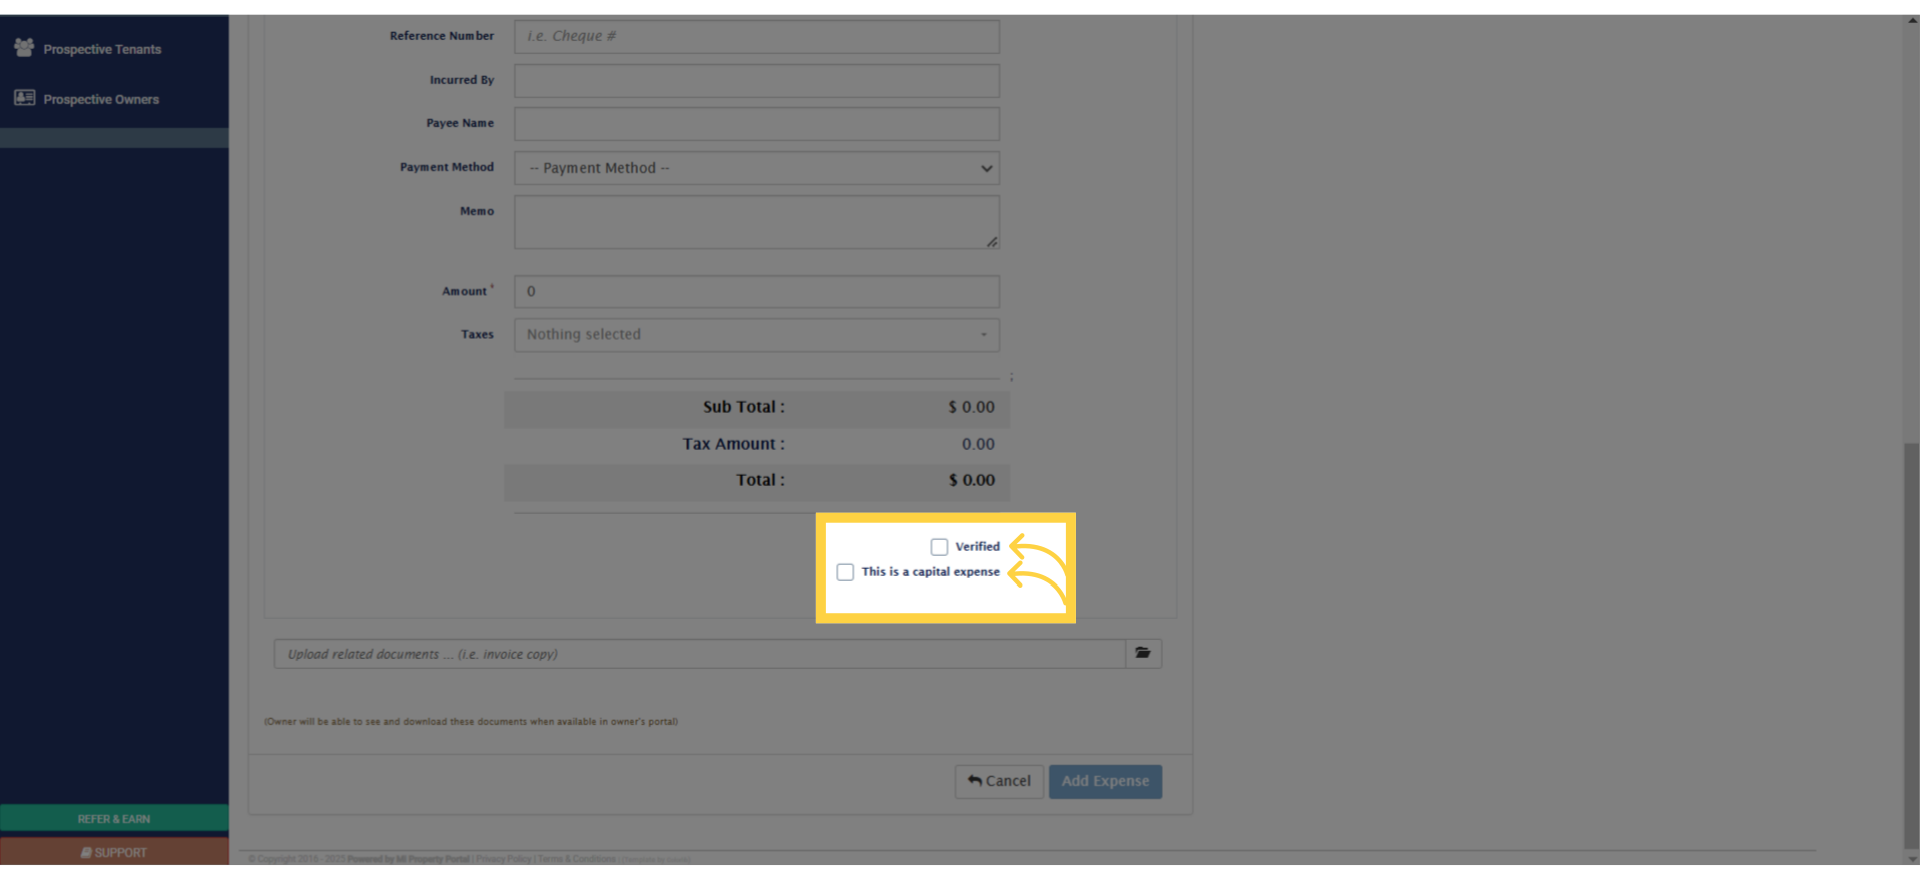
9. You can tick the necessary boxes here, to verify that the expense is correct and complete, or to mark it as a capital expense. If needed, you can select both options
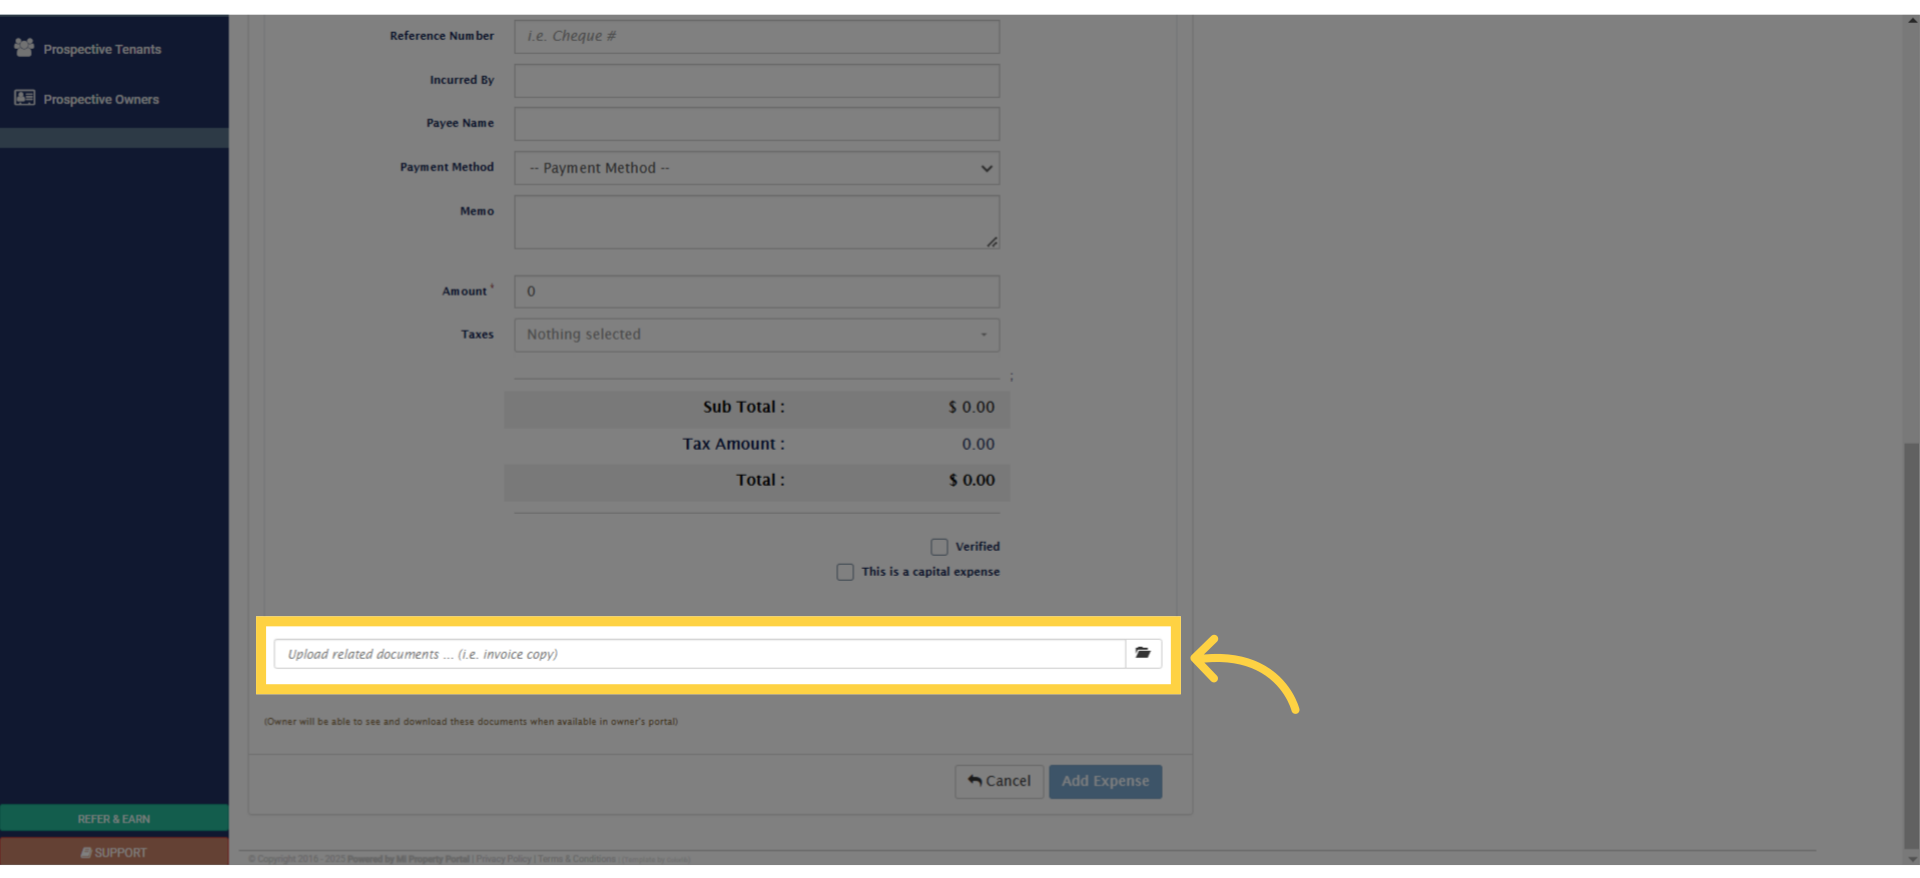
10. Upload any related documents here, by clicking on the folder icon (Optional)
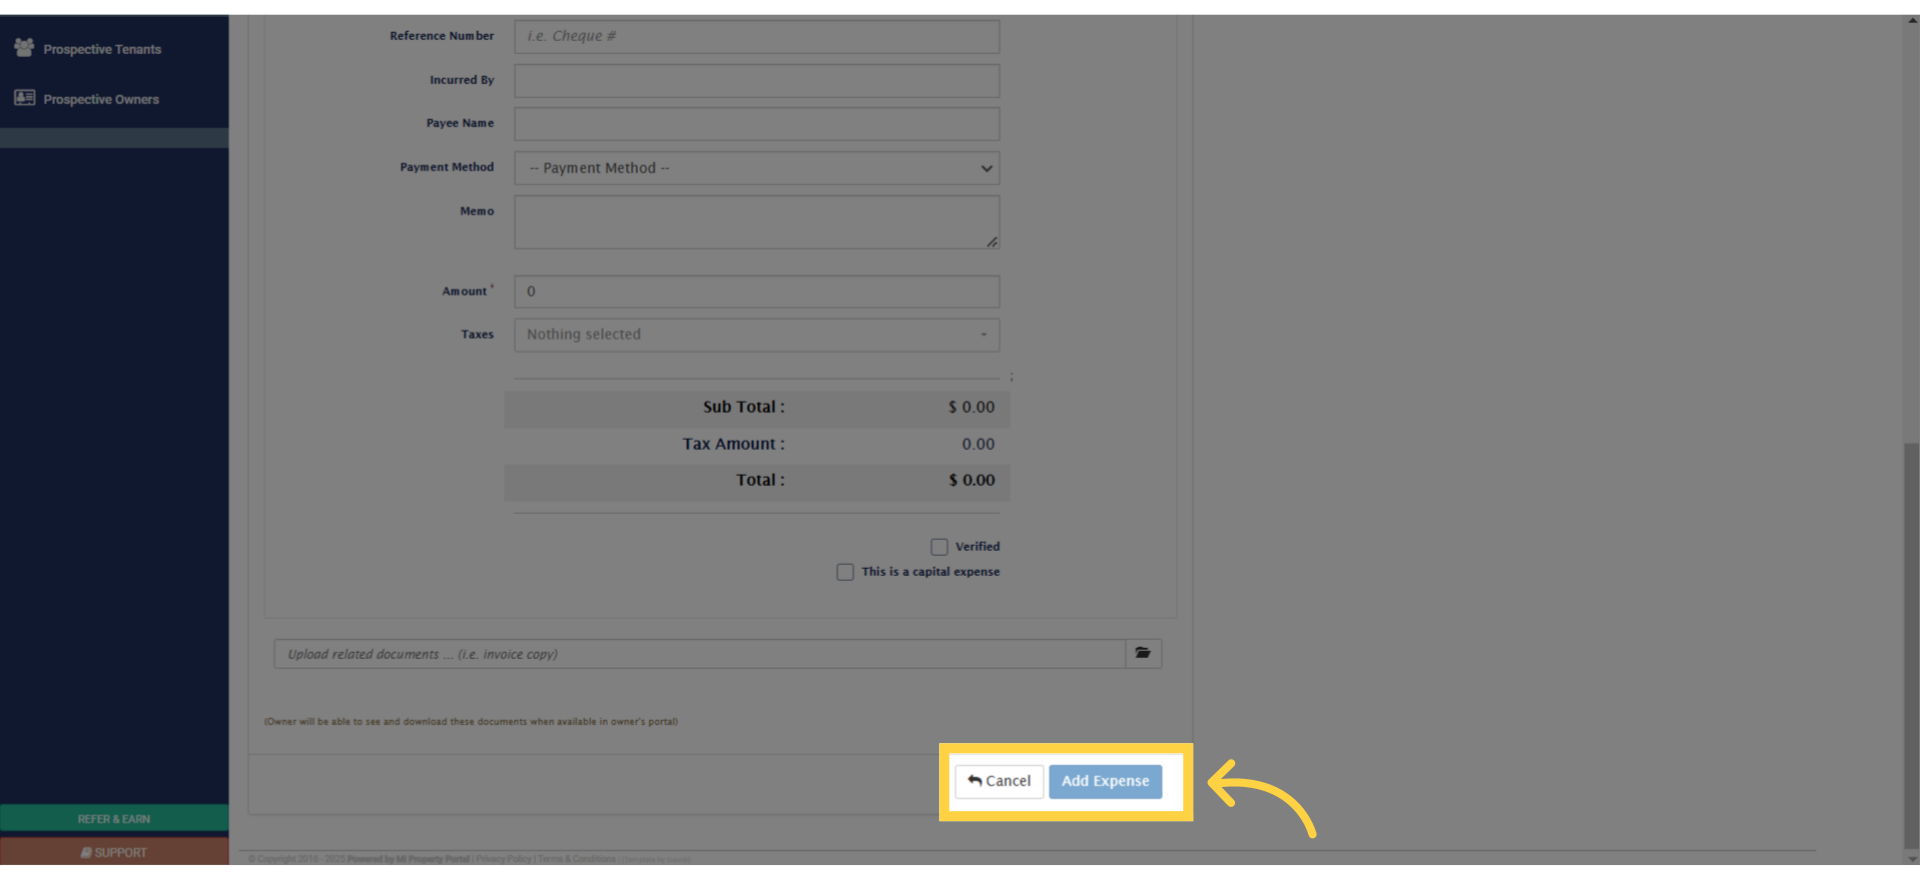
11. Click on the “Add Expense” button to finalize and save the quick expense
12. To view the quick expense, go the Expense page under the Accounting module

I hope this was helpful, and you feel more confident in managing your expenses. Let’s proceed to the next one