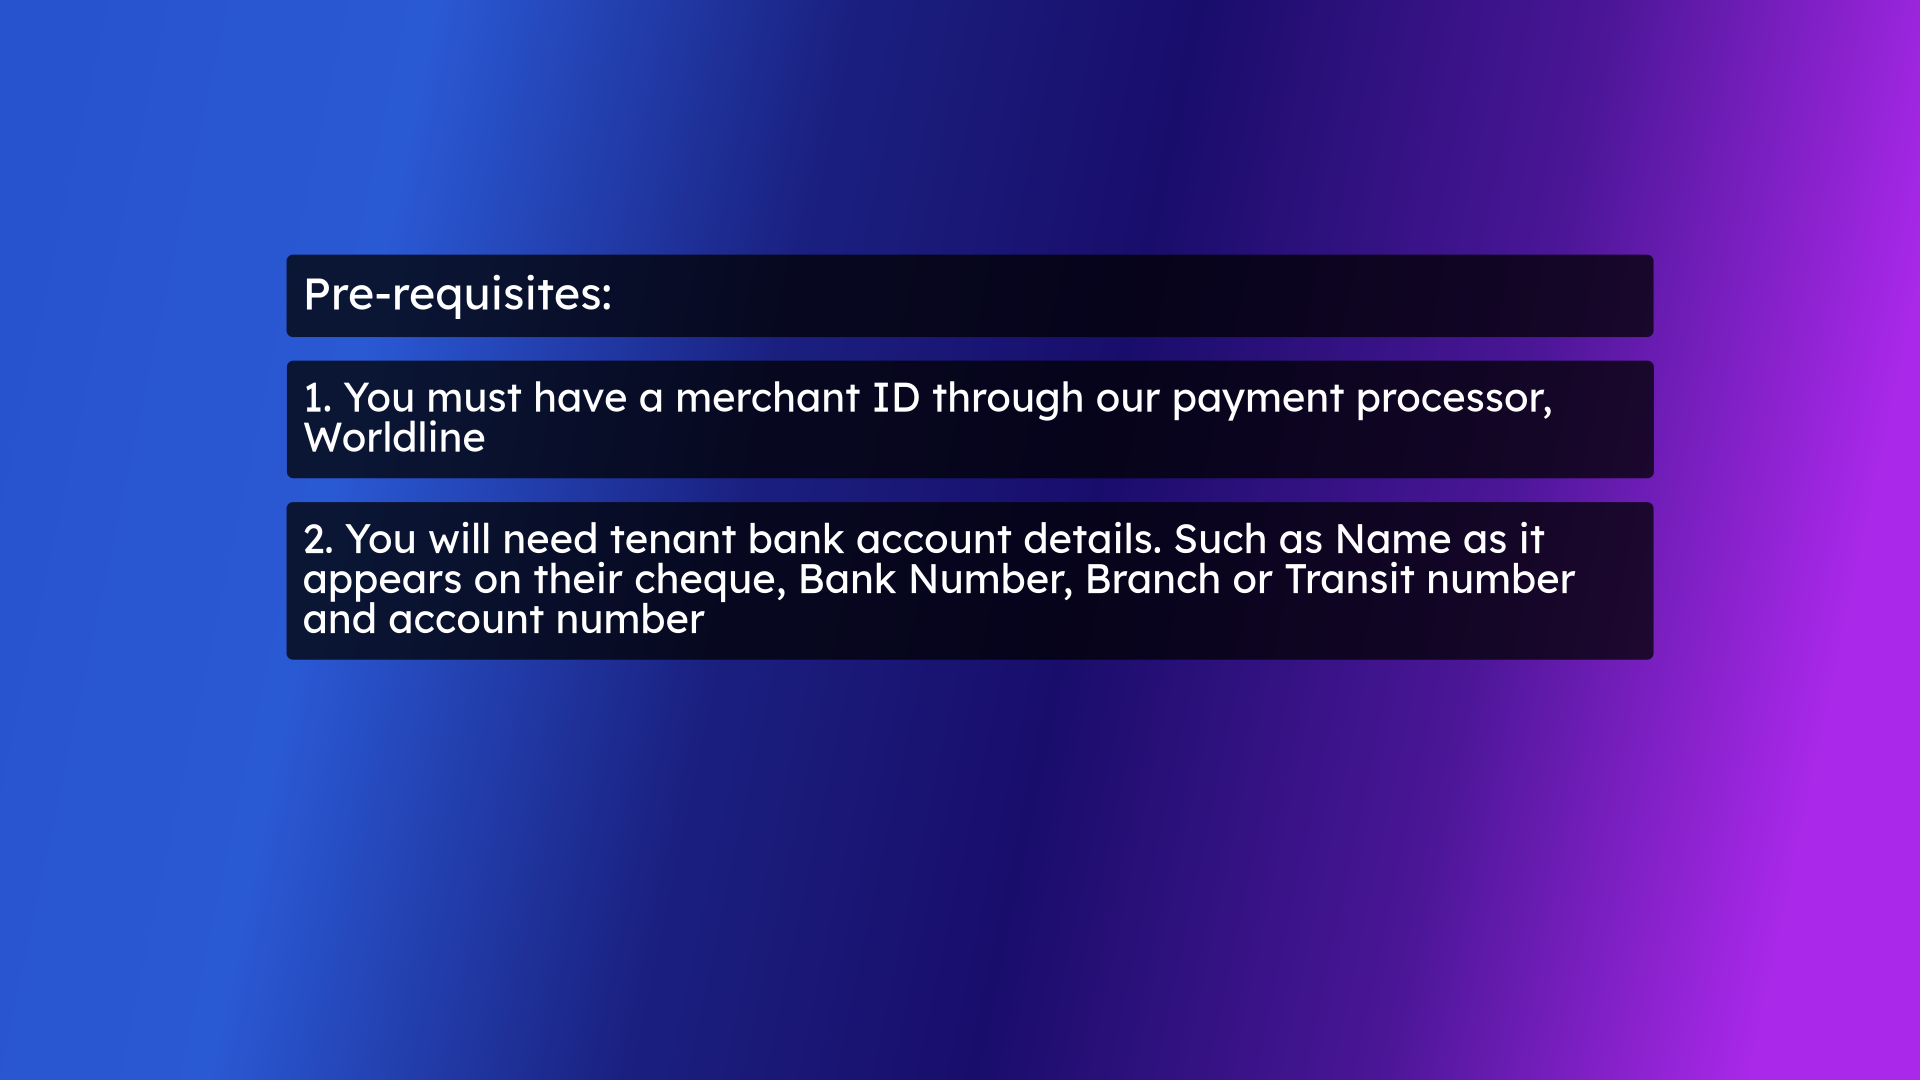
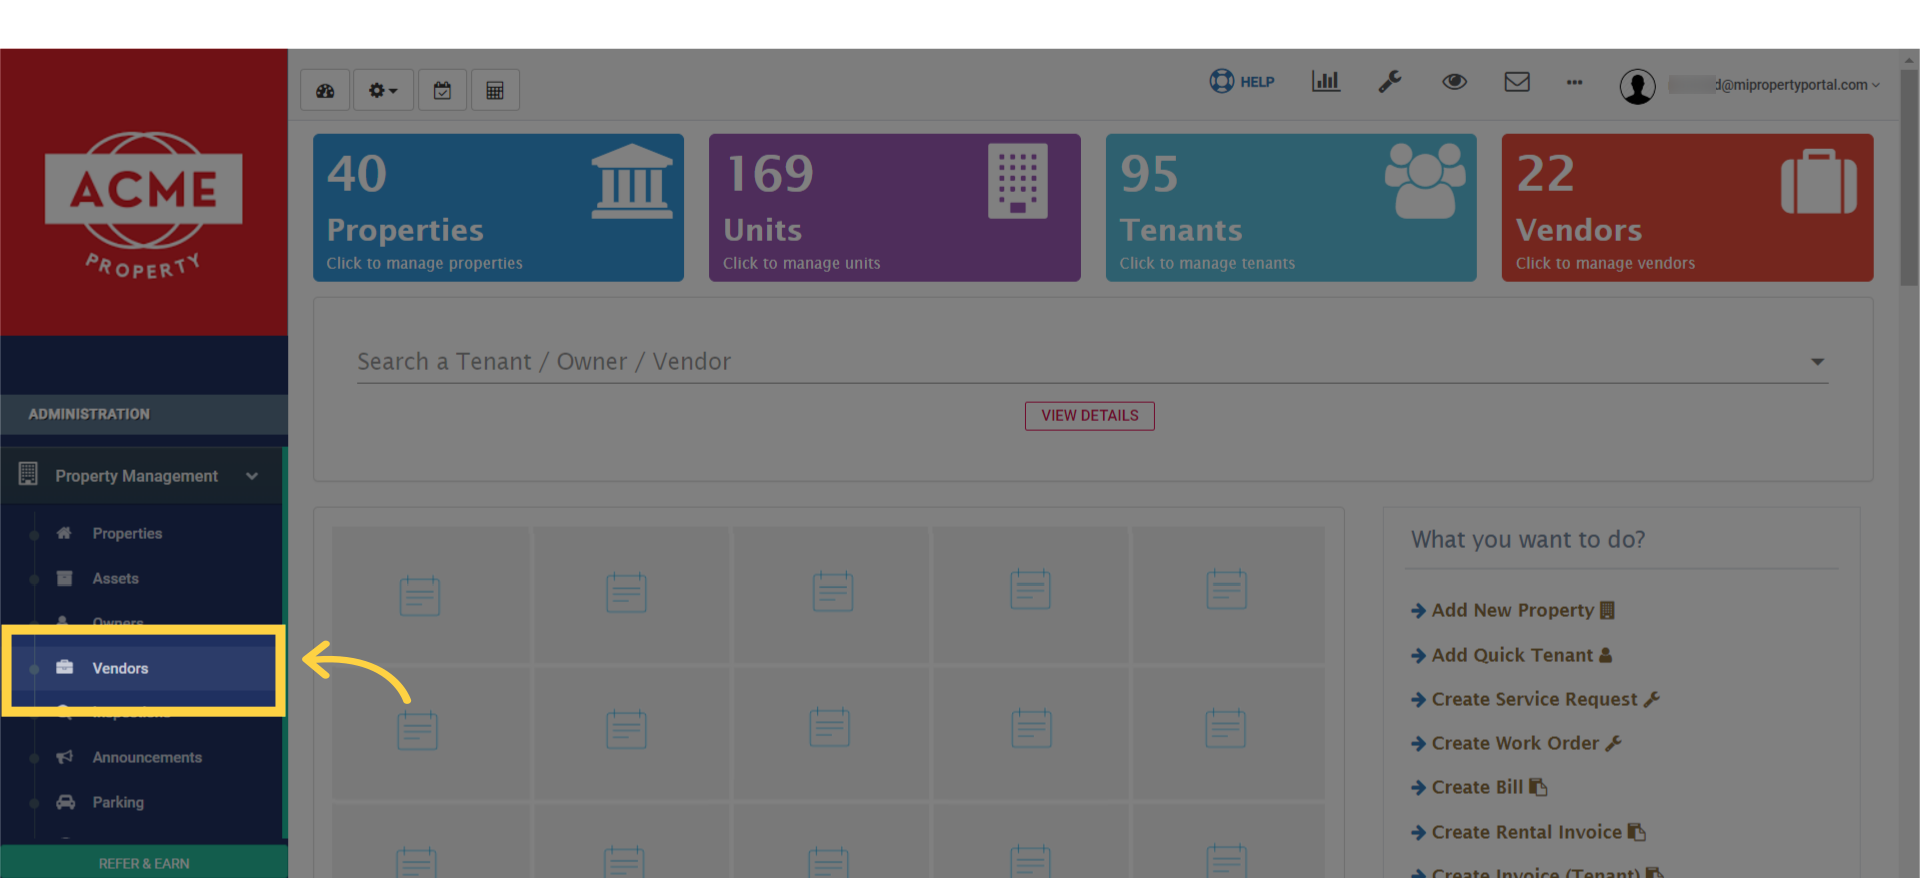
This tutorial will discuss adding bank account information to a vendor profile.
1. pre-requisites
Quick Prep Before You Begin.
First, ensure you have your Worldline merchant ID ready to go. If you don’t have it, watch the tutorial on subscribing for online payment processing.2nd, Grab the vendor’s bank details. Pro tip: Have their void cheque on hand. This makes the whole process much easier and helps prevent any annoying delays.
2. Within the “Property Management” dropdown, select “Vendors”
Go to vendor’s list from left navigation
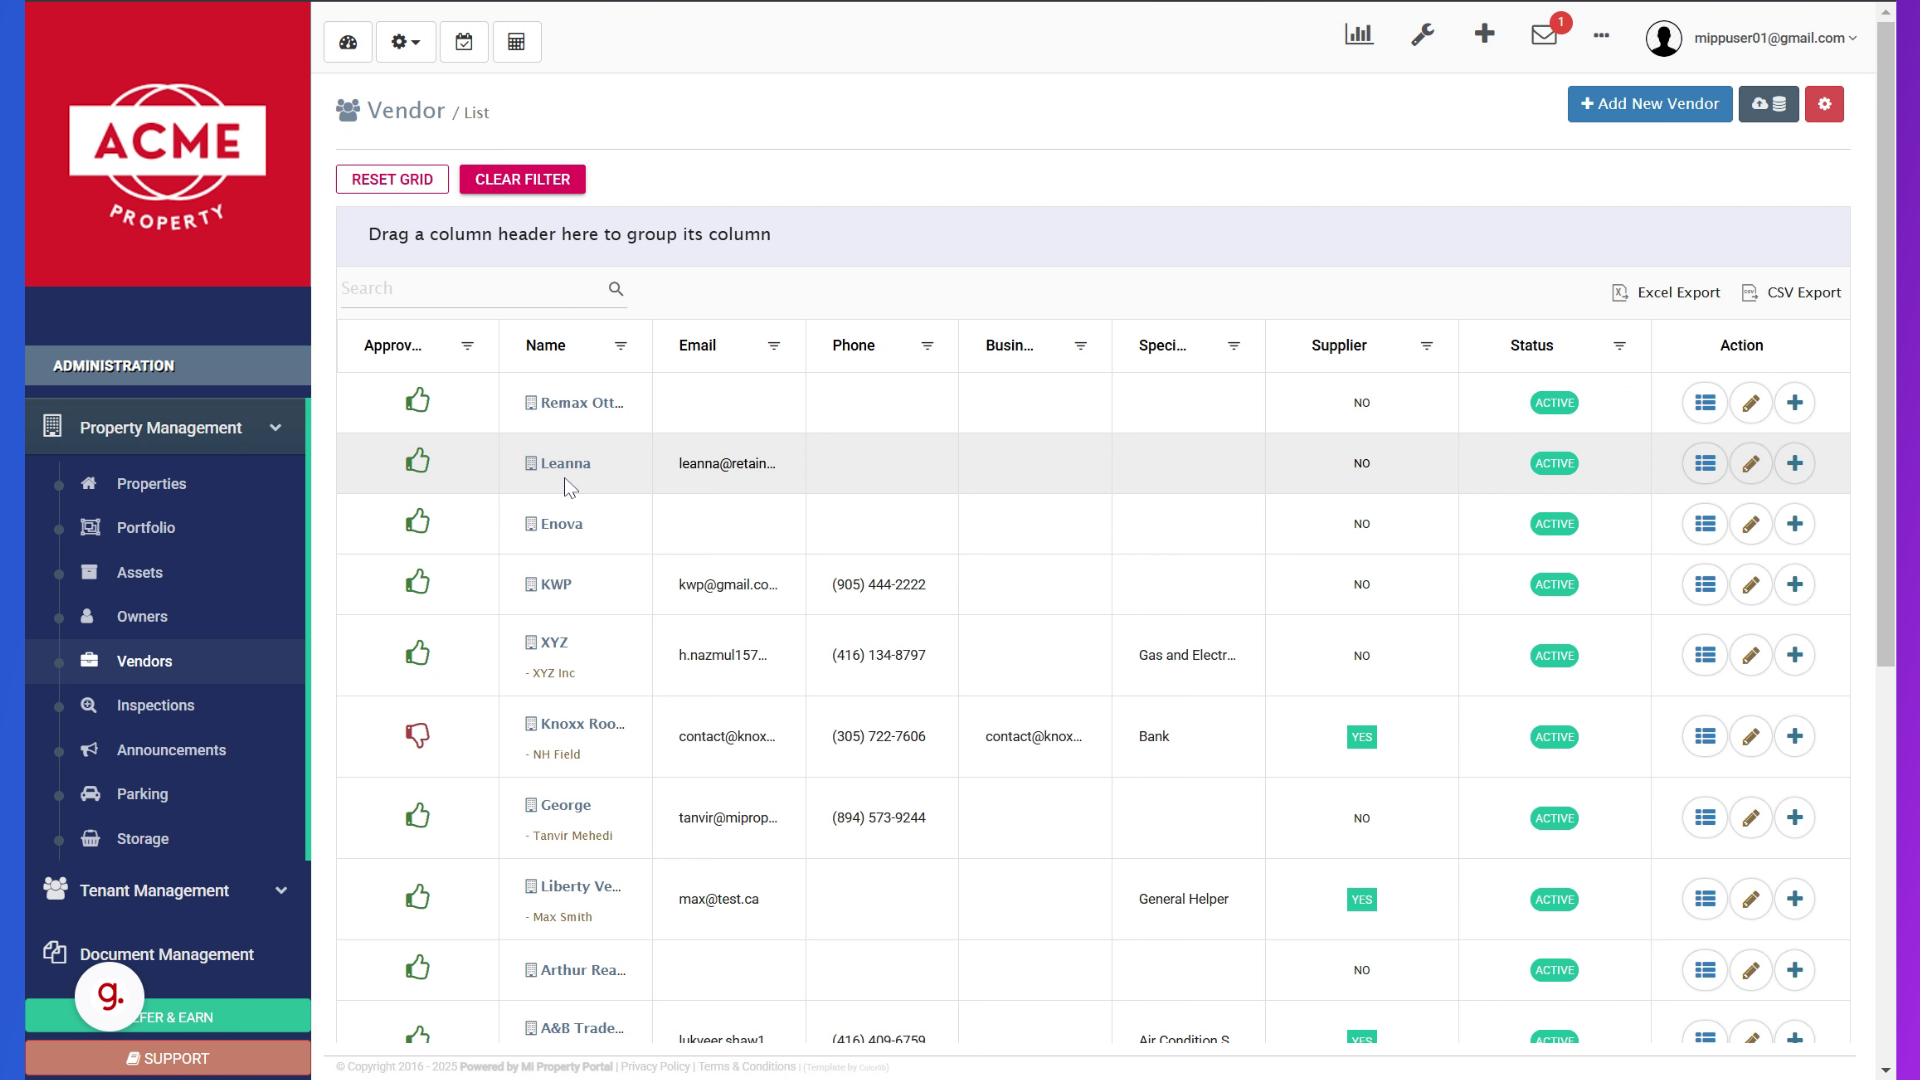
3. choose the vendor
Click the vendor name from the list to open the details page.
4. Click “Toggle Dropdown”
Select Edit vendor from the Other options dropdown
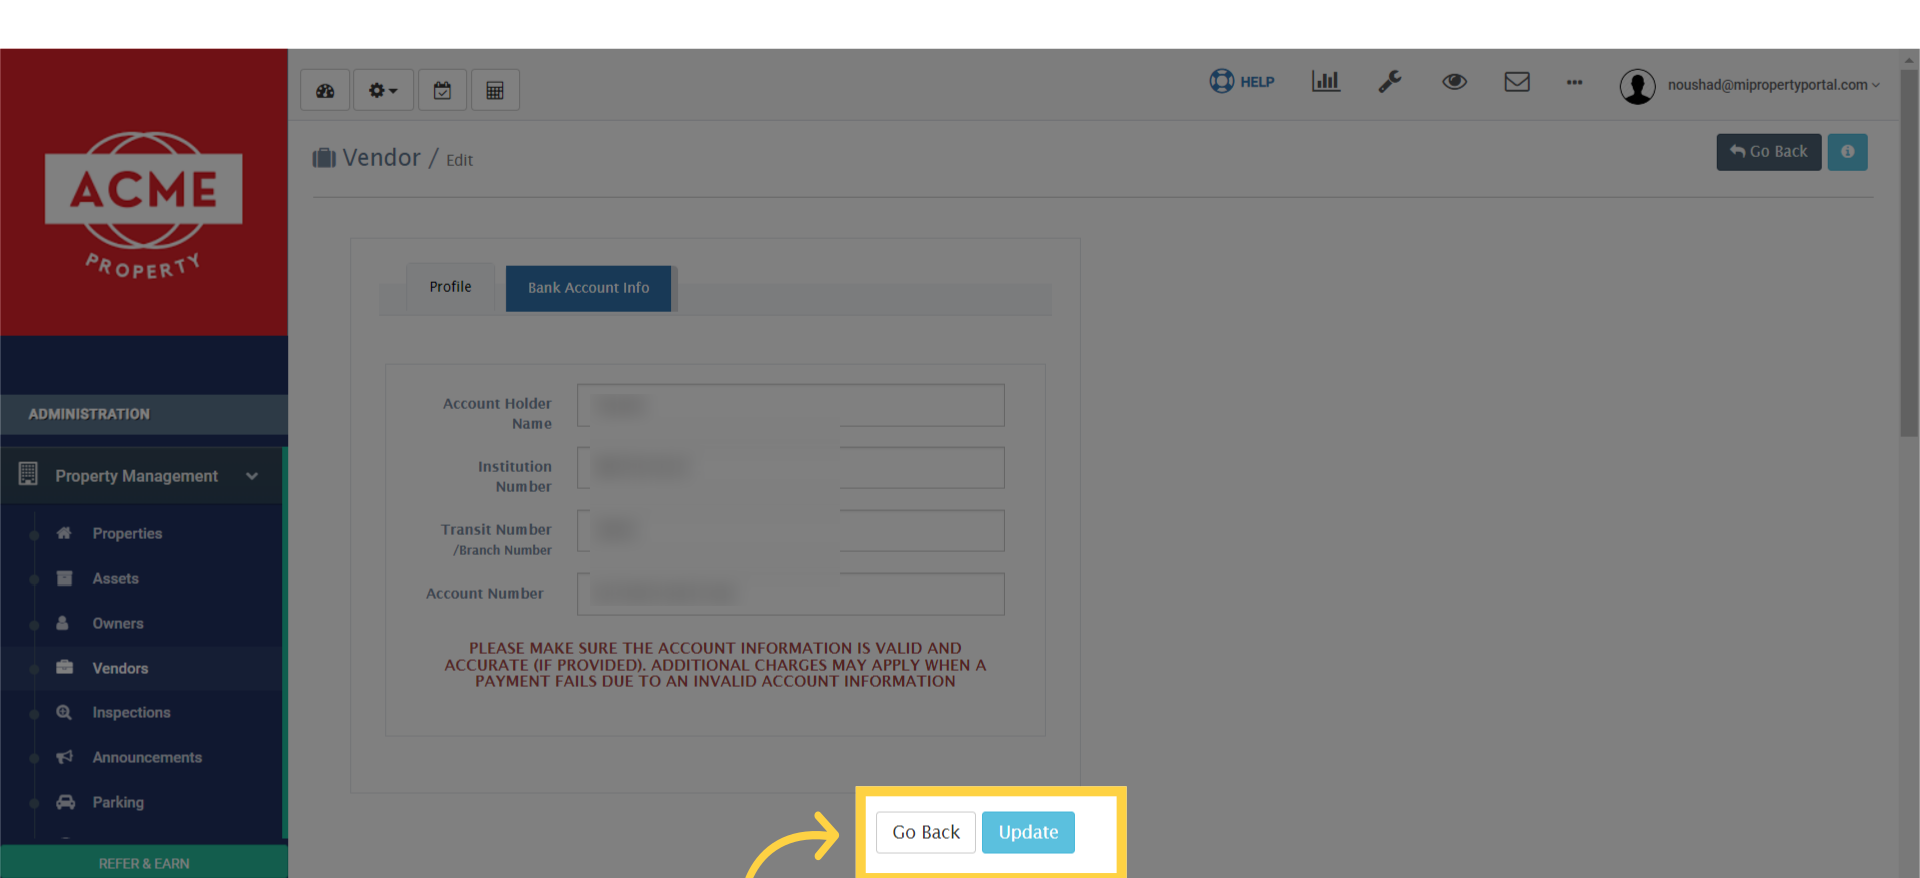
5. Now, fill in the required information for the vendor’s bank account
Go to the bank account info tab and accurately enter the vendor’s bank account details, using the information from the void cheque.
6. Finally, click on “Update” to save the changes to the vendor’s bank account information.
Click ‘Update’ to save the changes to the vendor’s bank account.
7. Thank You for Watching
And there you have it! Thank you for watching!