How to Update Business Profile, Customize Login Page and Upload Logo?
260 views 1 December 1, 2022 Updated on June 16, 2025 mippsupportadmin
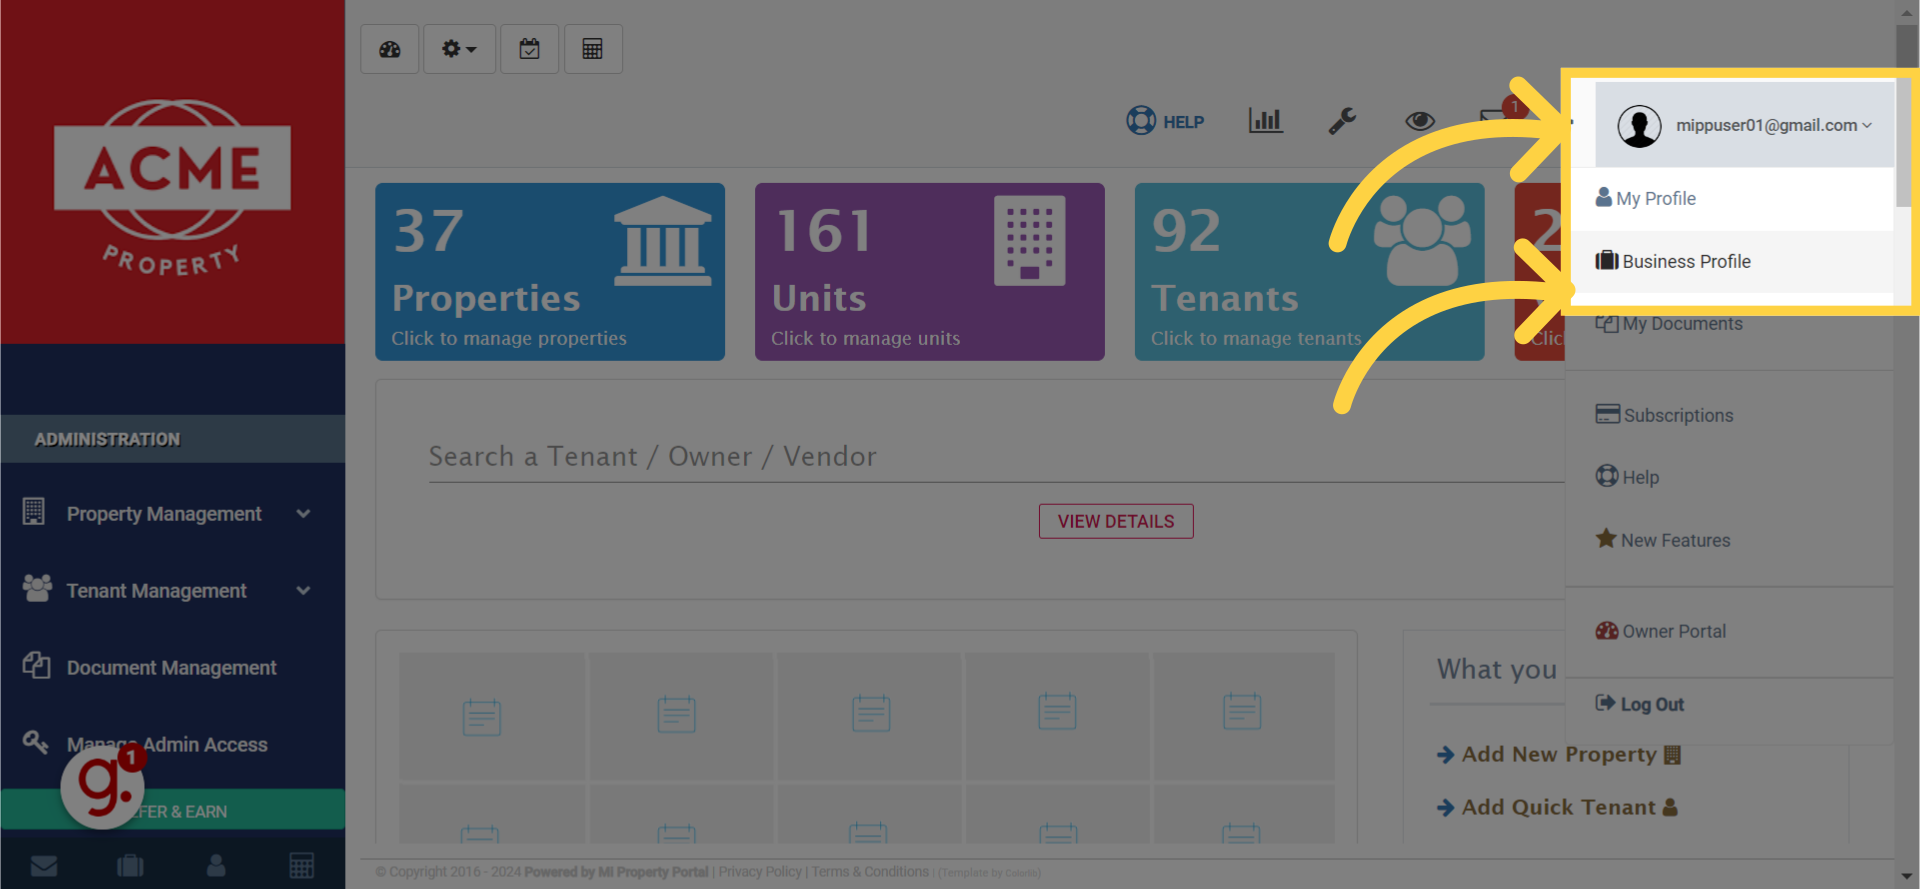
1. After logging in to the portal, Click the User Email Dropdown and select “Business Profile” to open the Business Profile page
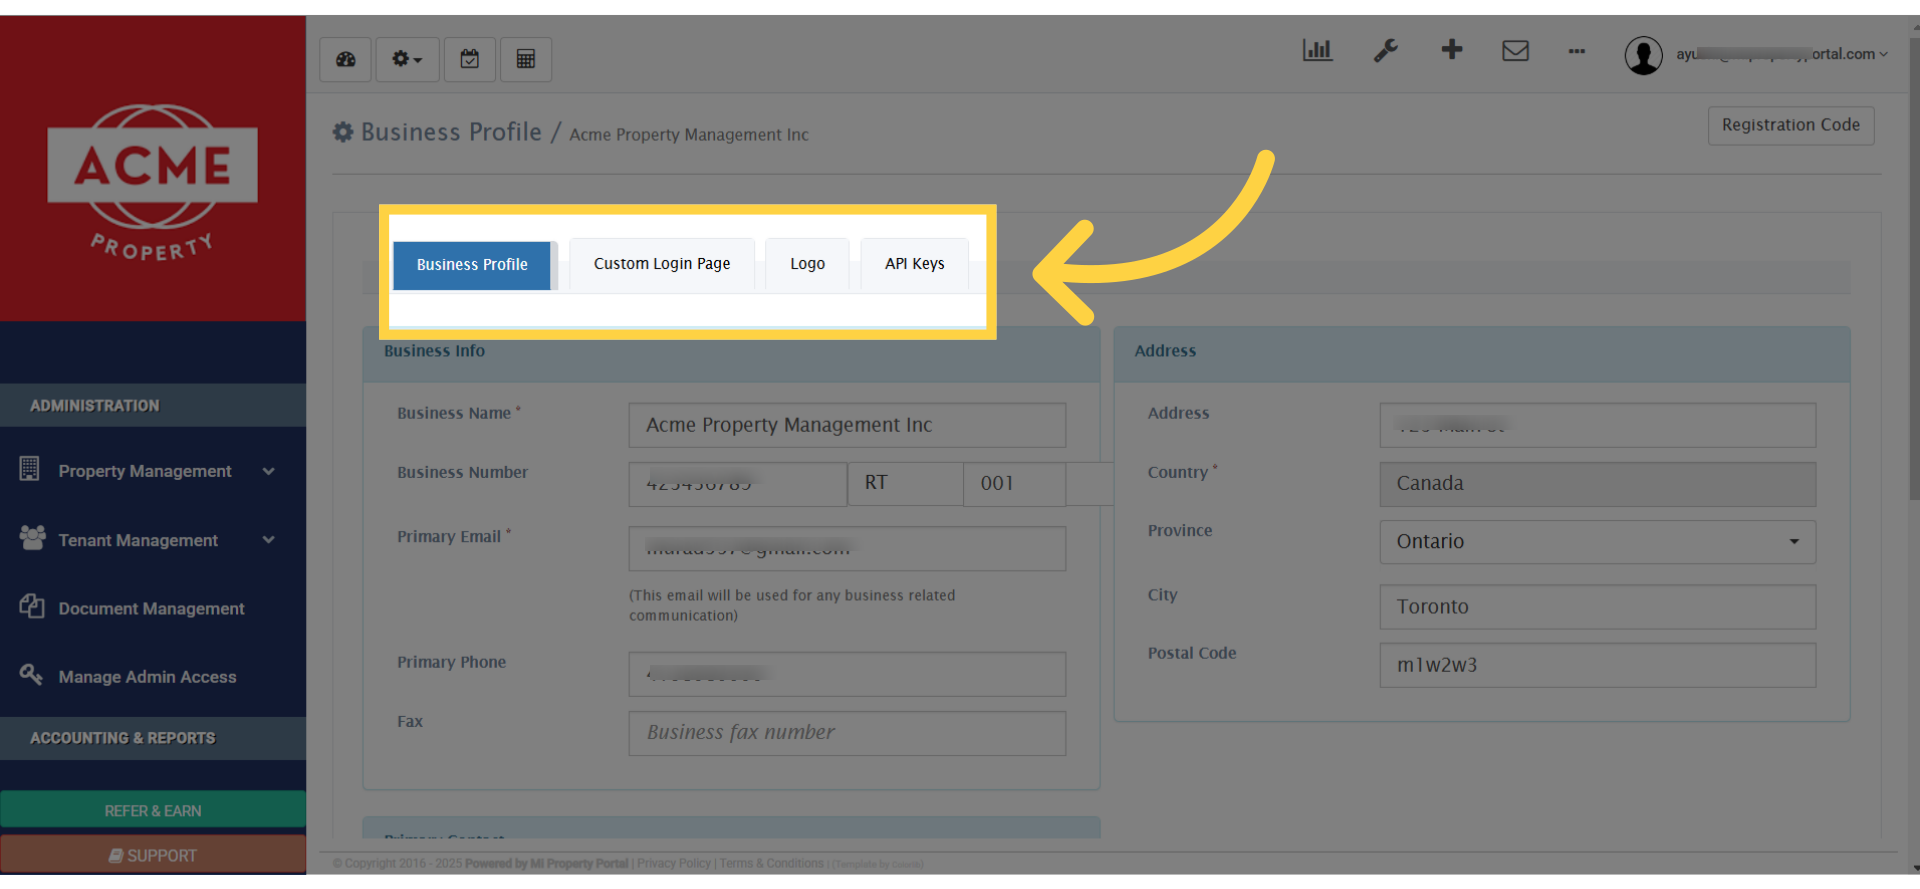
2. On the Business Profile setup page, you’ll notice: Business Profile, Custom Login Page, Logo, and API Keys tabs
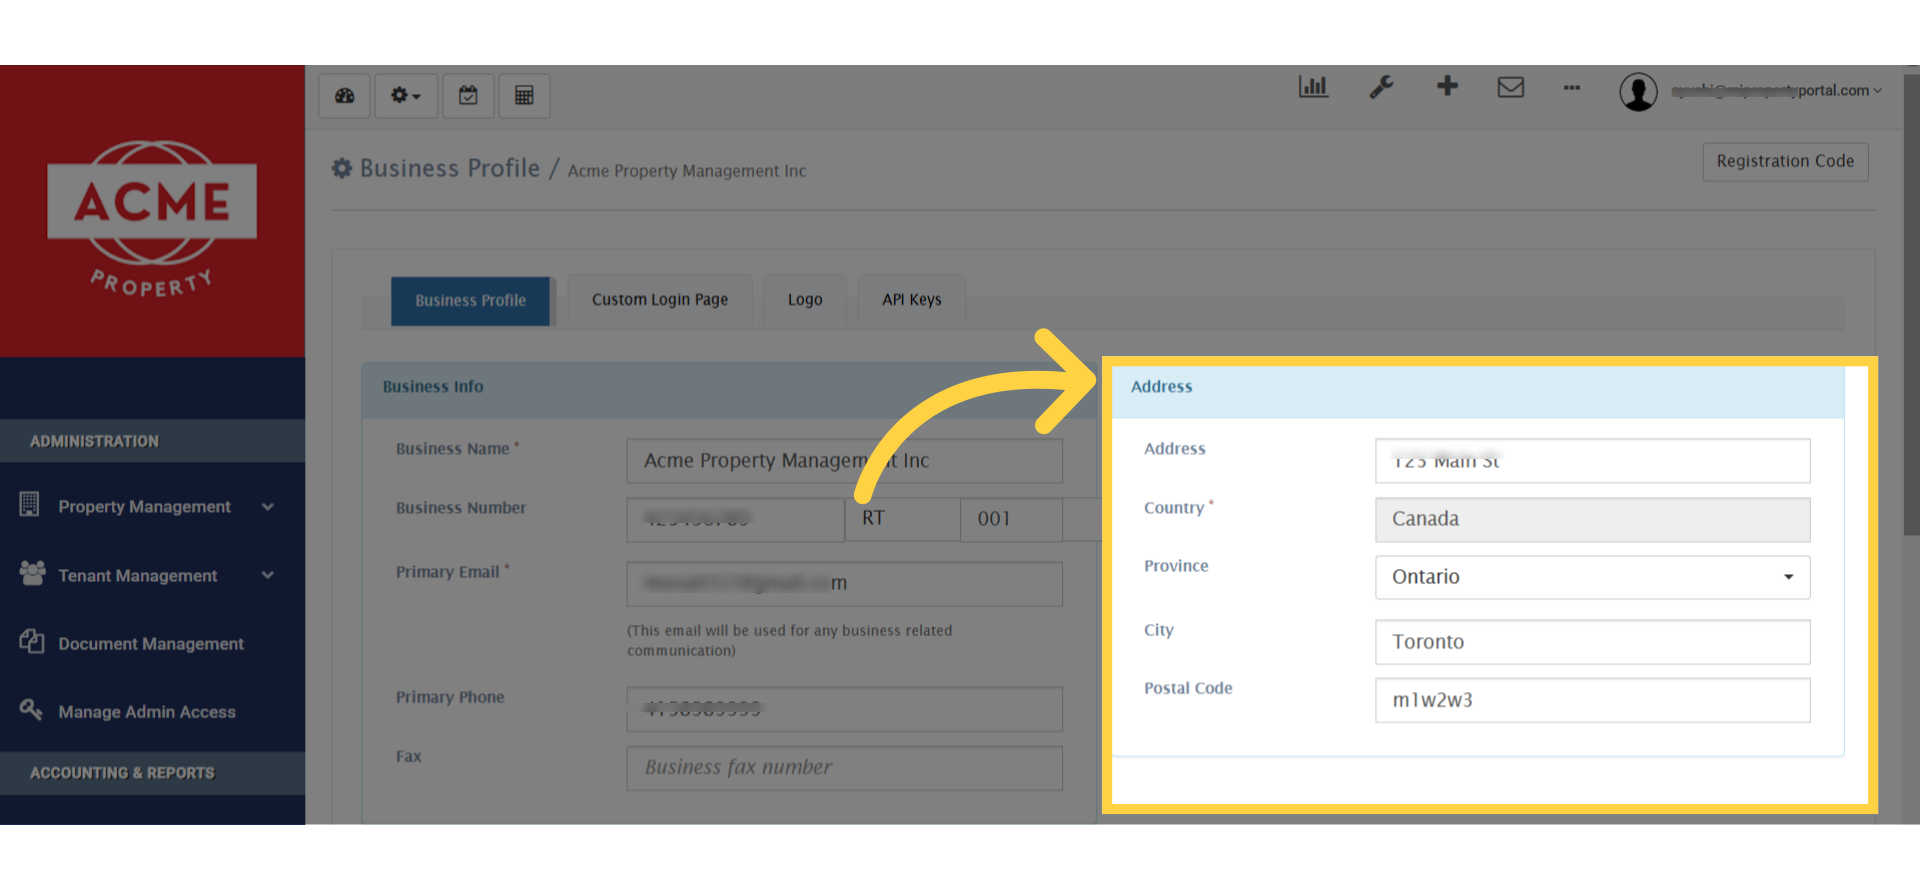
3. Fill out the information on the “Business Info” section
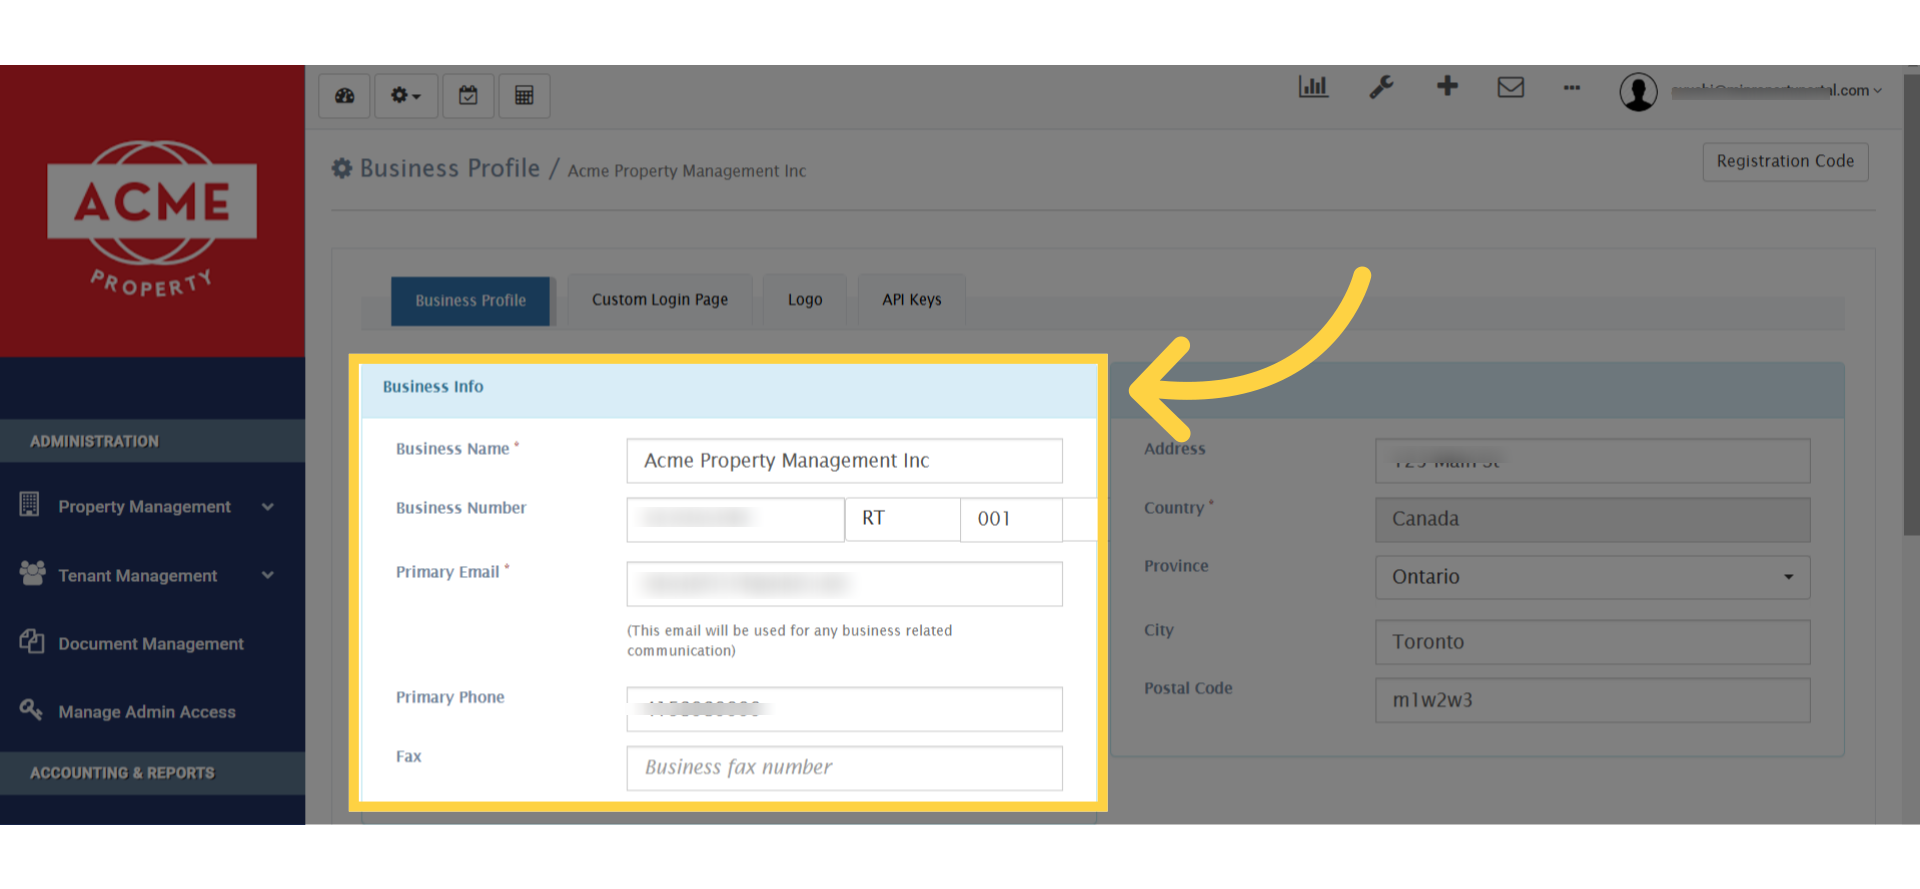
4. And on the right-side section, make sure to fill out the complete address details for your business
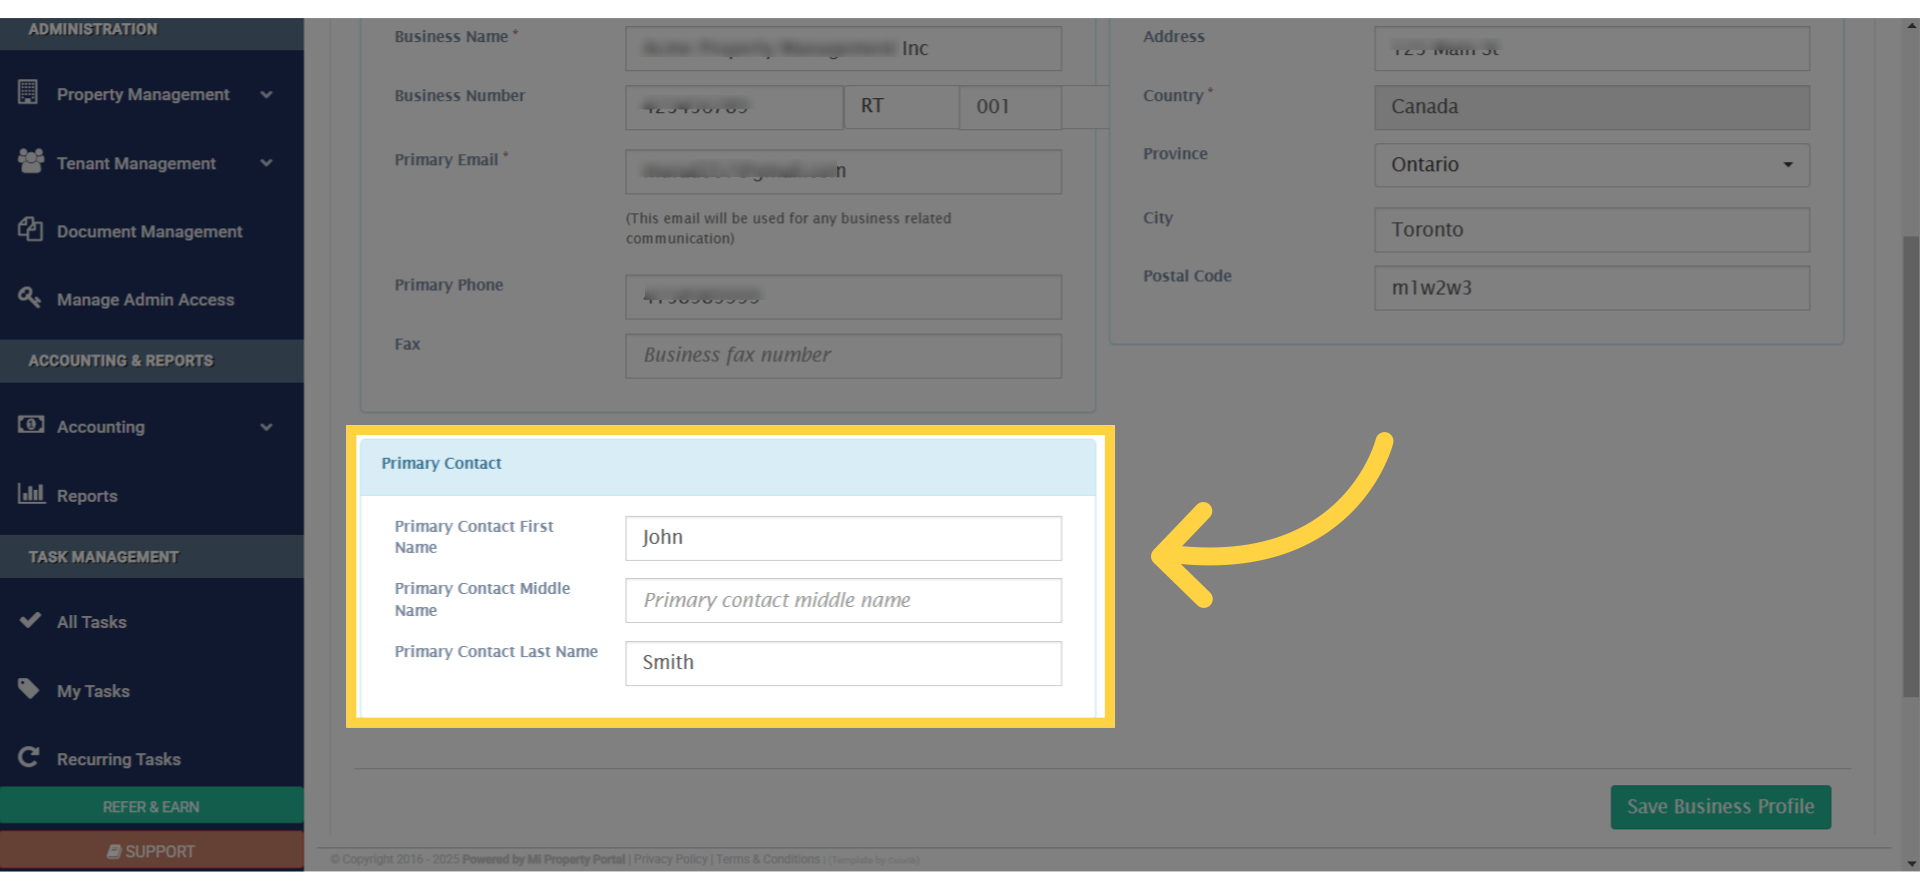
5. Now, scroll down slightly to the next section on the same page
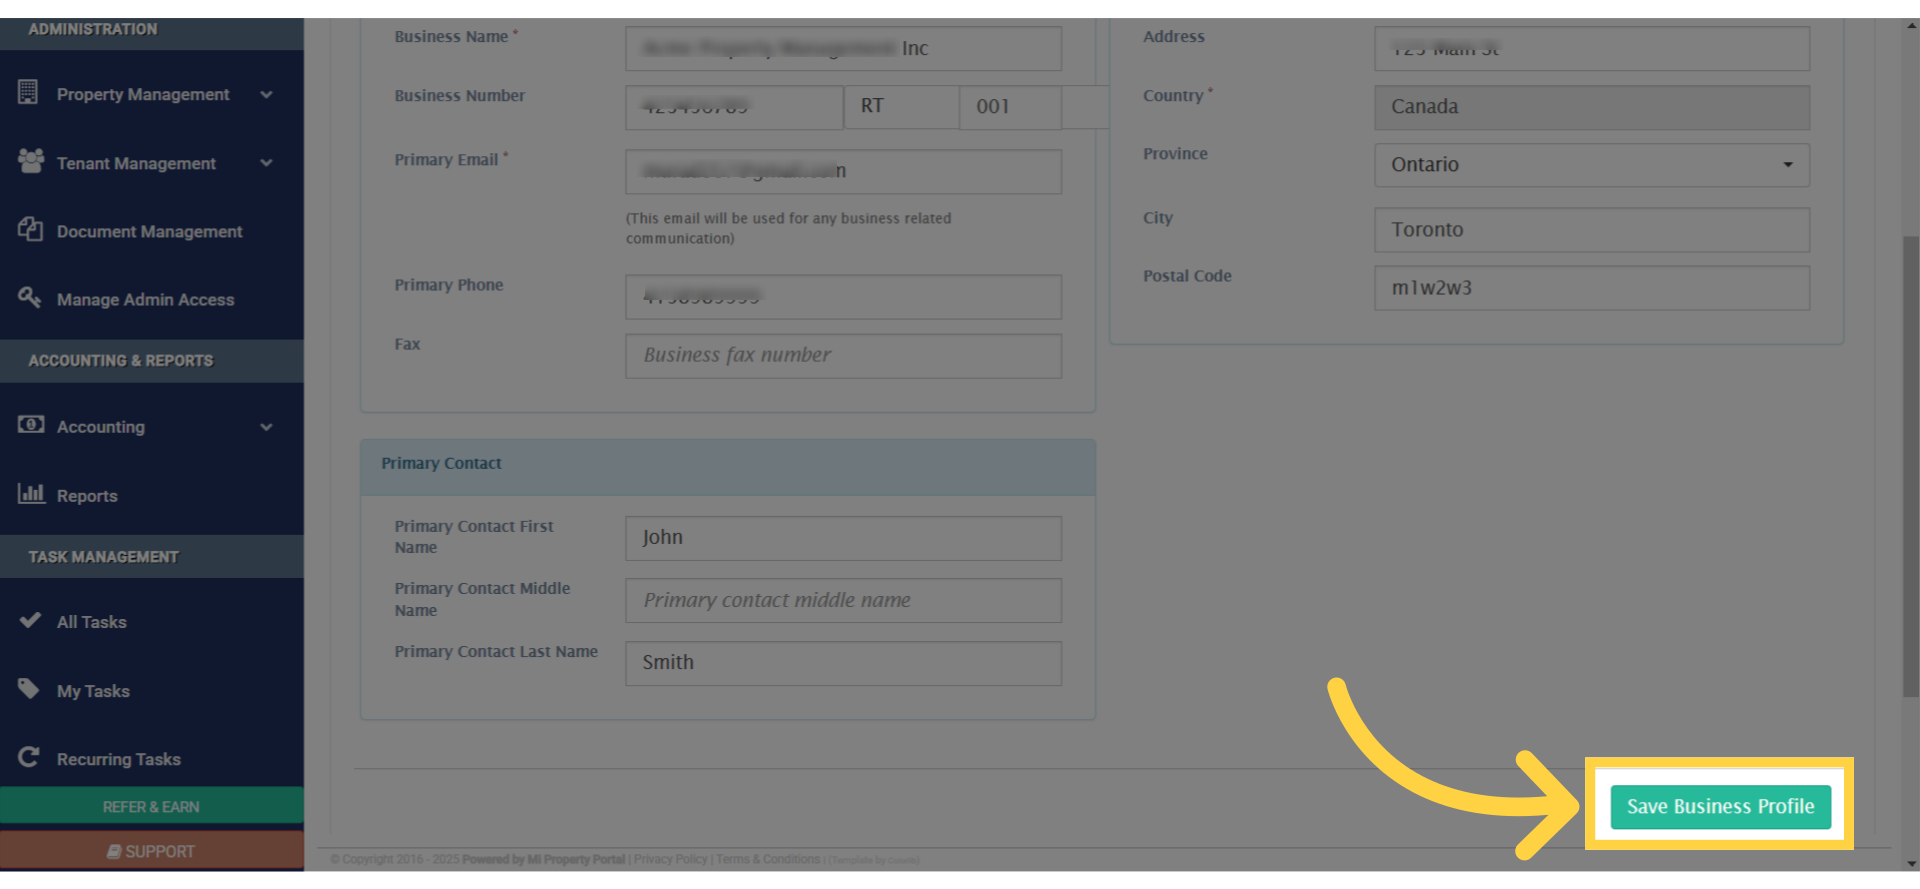
6. click on the “Save Business Profile” button located at the bottom to ensure your information is saved
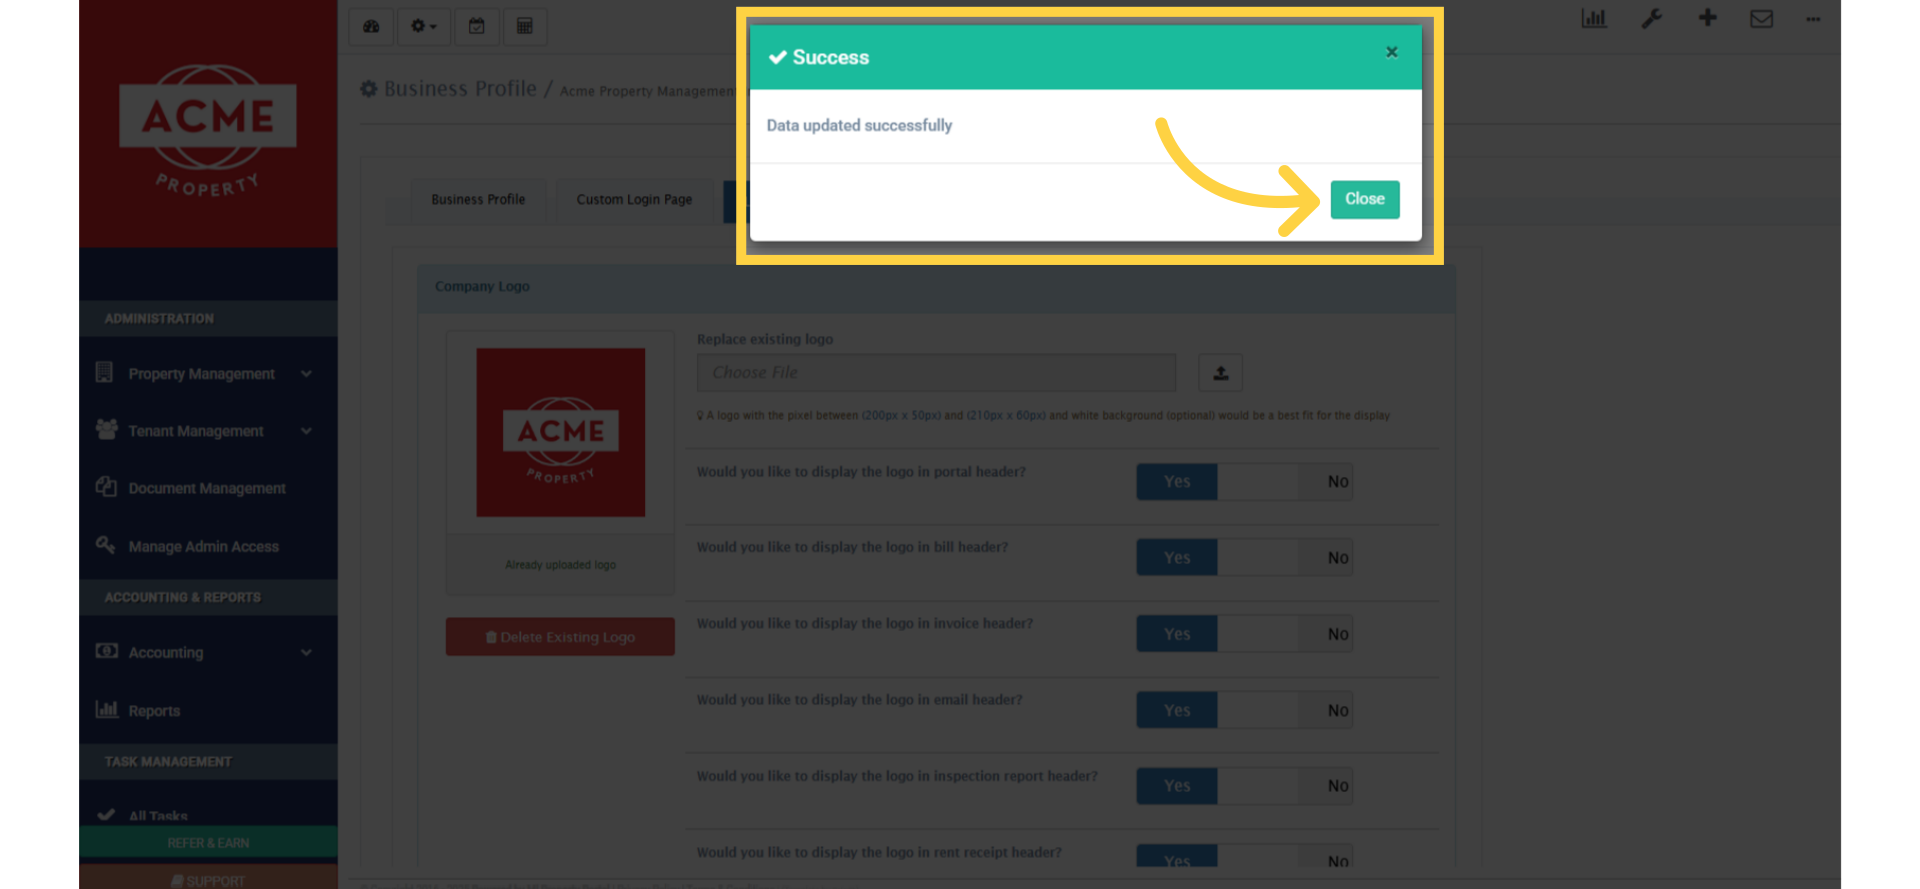
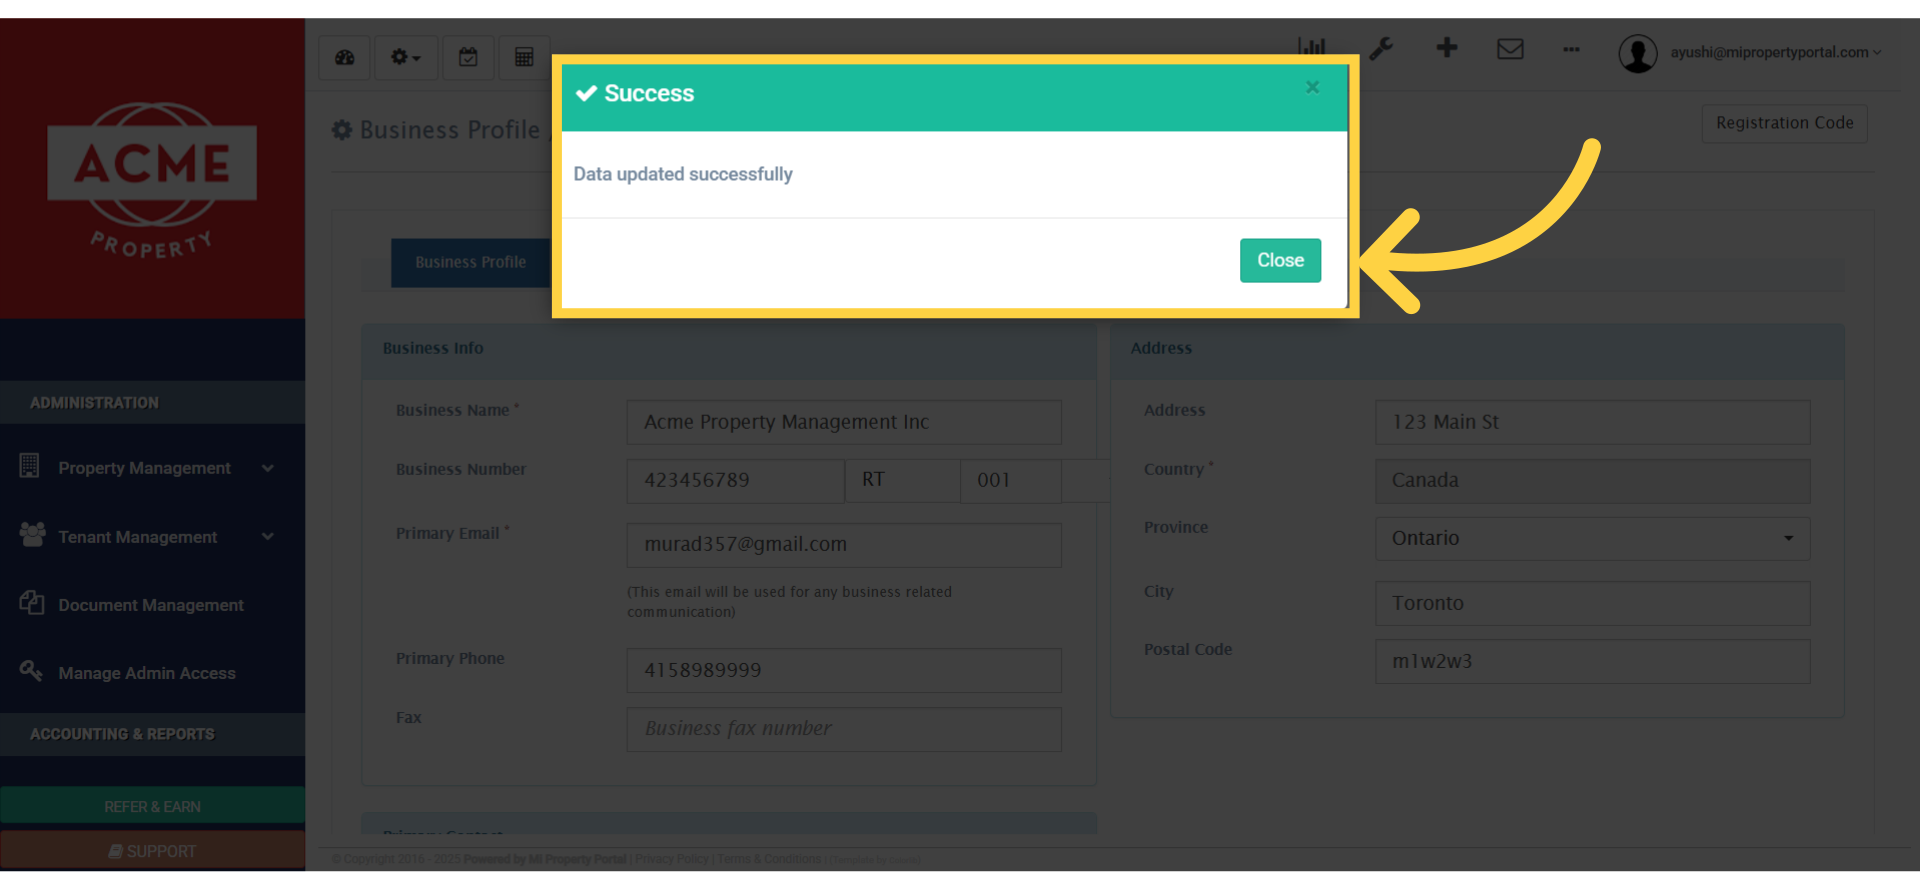
7. Close the success confirmation pop-up window
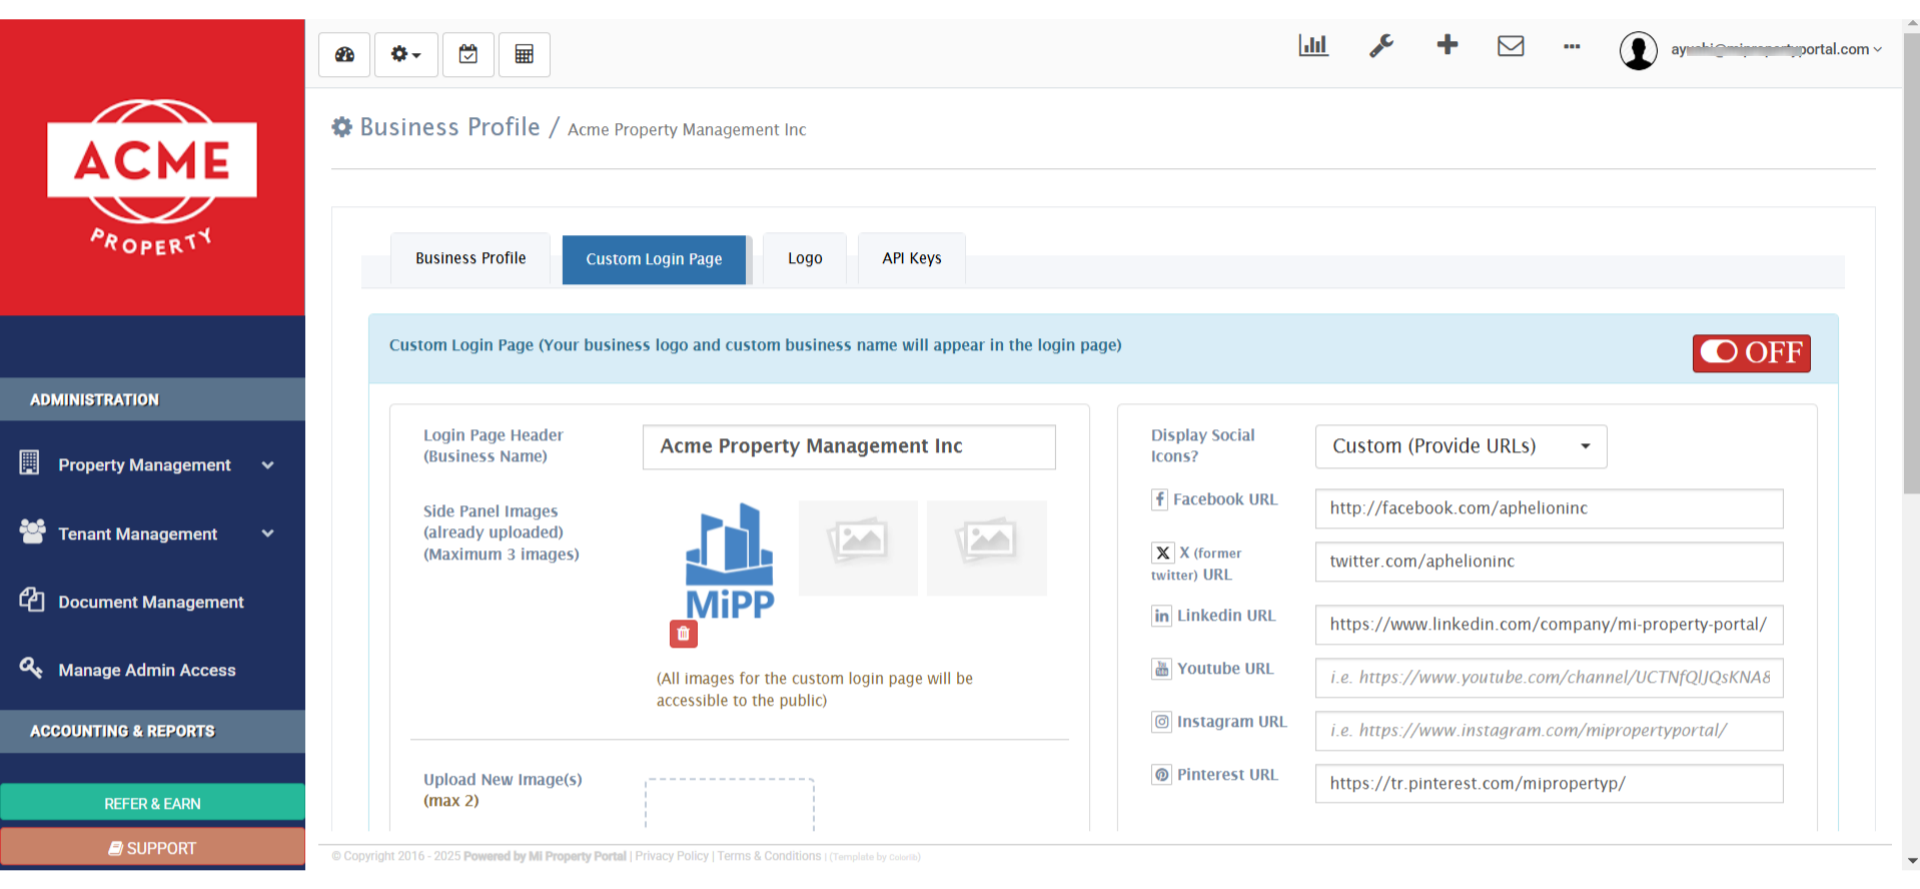
8. Alright, now let’s head over to the Custom Login Page tab from here, and set up our custom login page!

9. Here, you’ll see all the settings available for customizing your login page
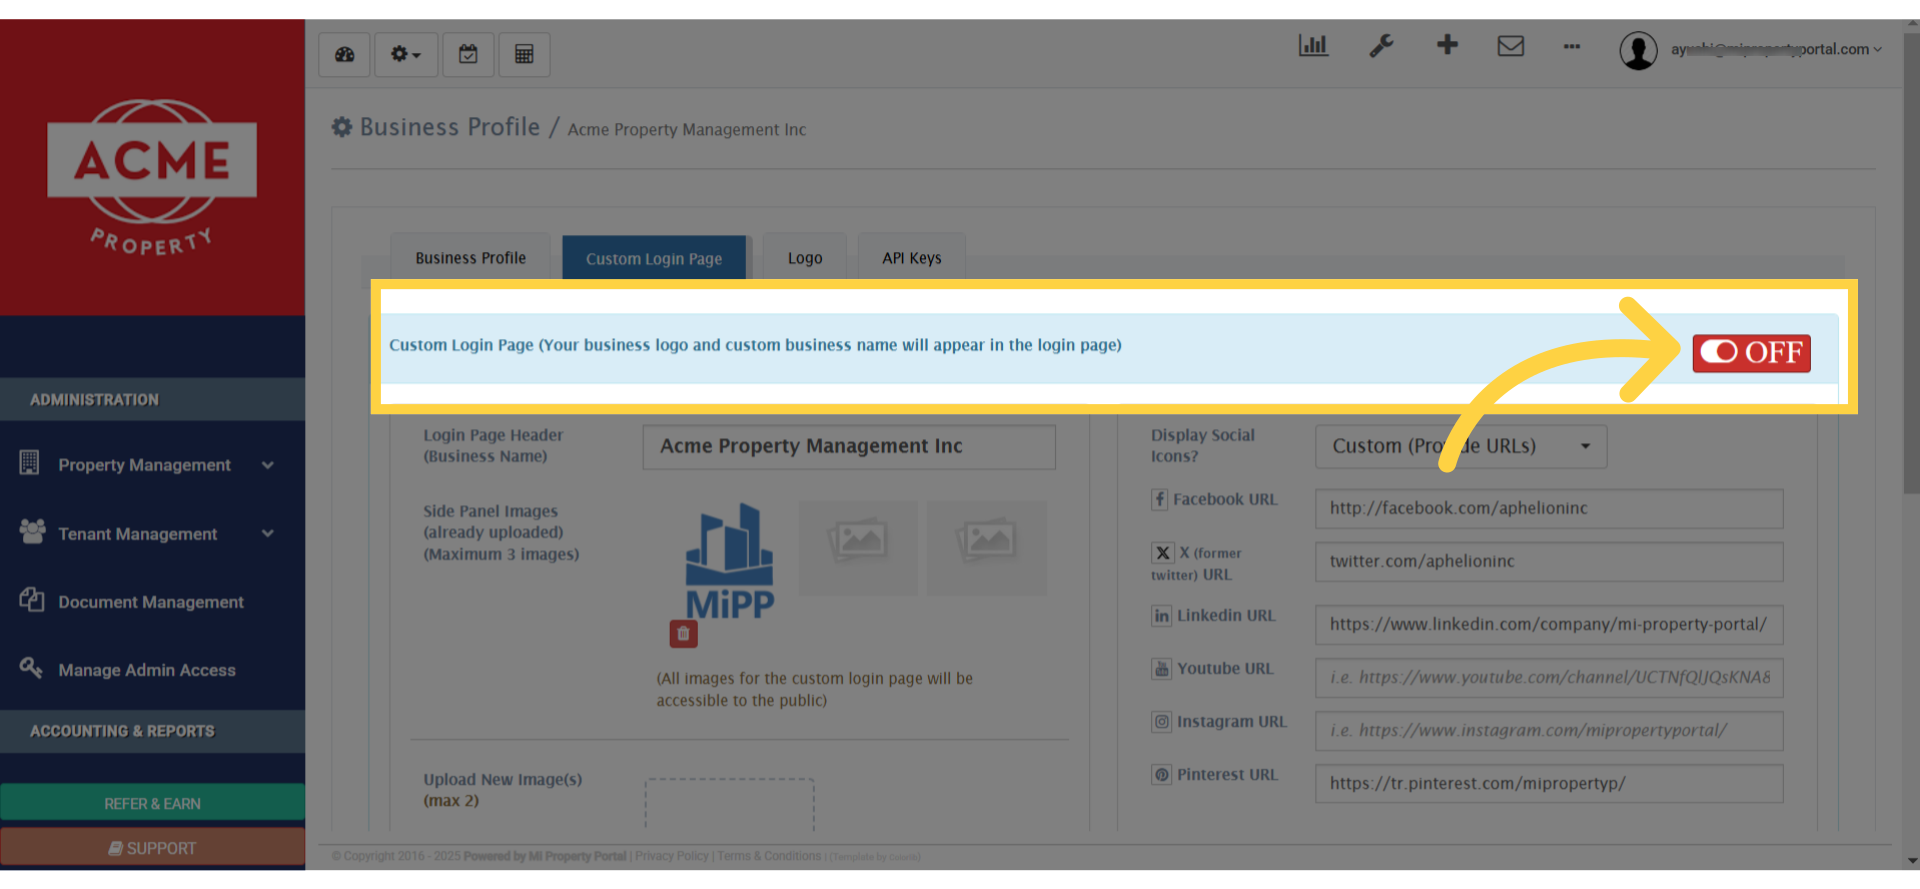
10. click on the button to turn it on
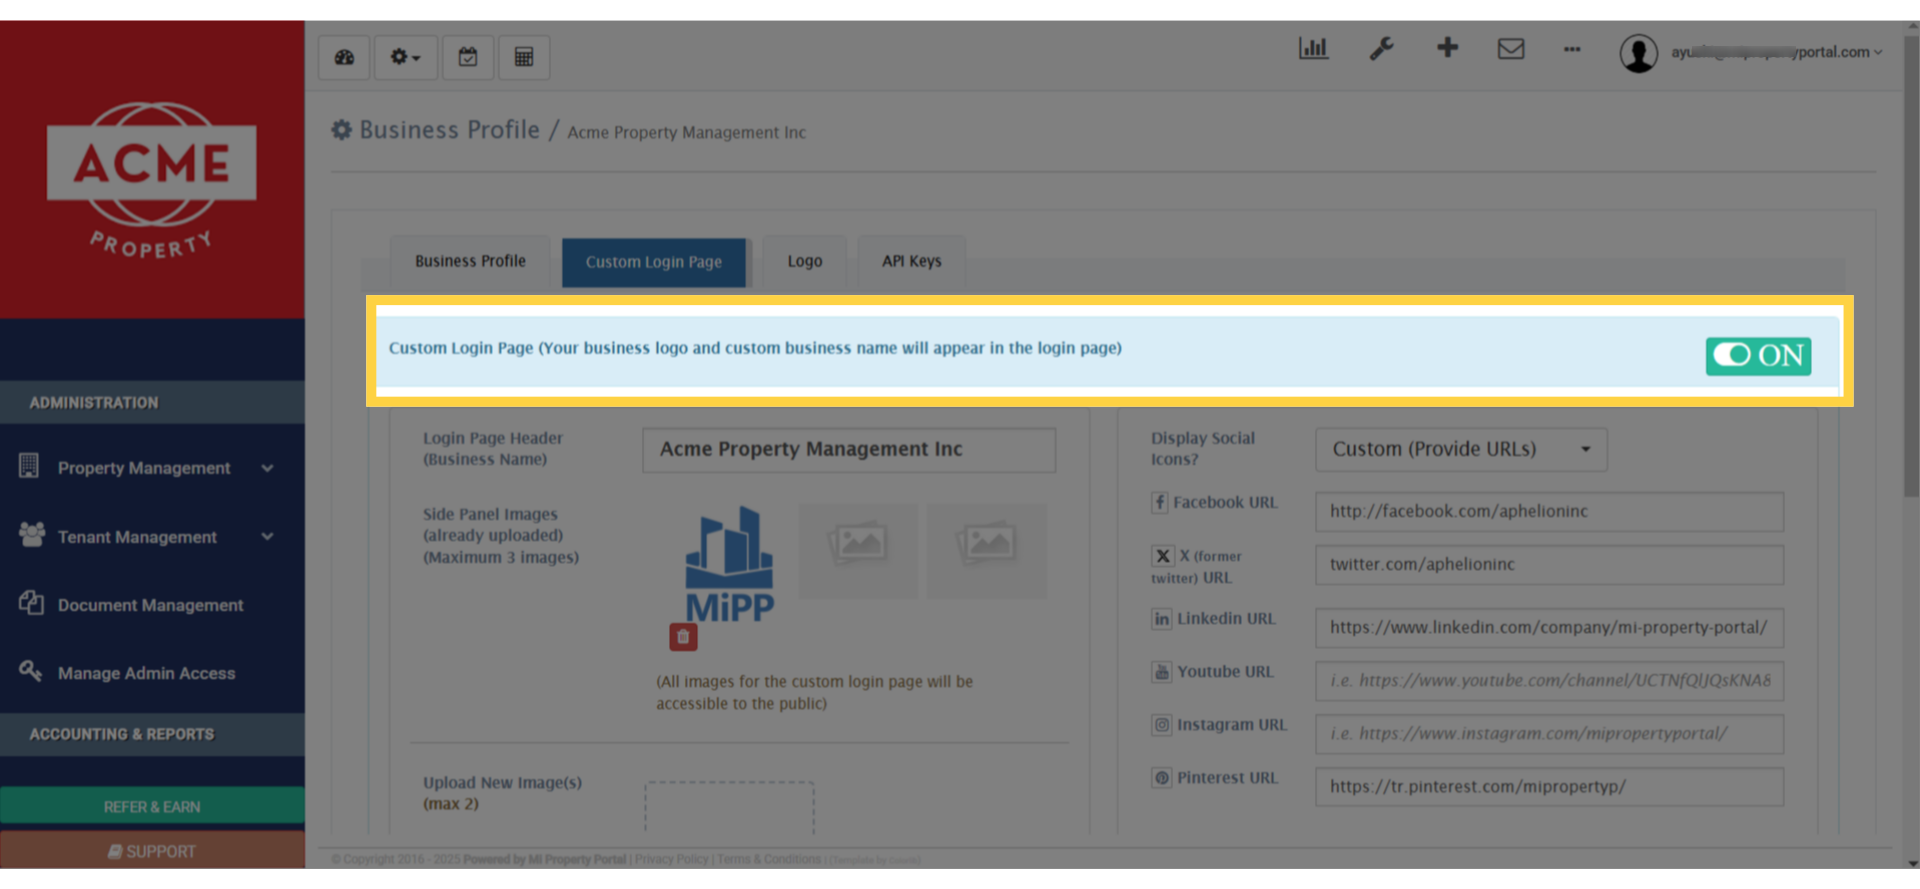
11. So when you toggle the button on, it will look like this
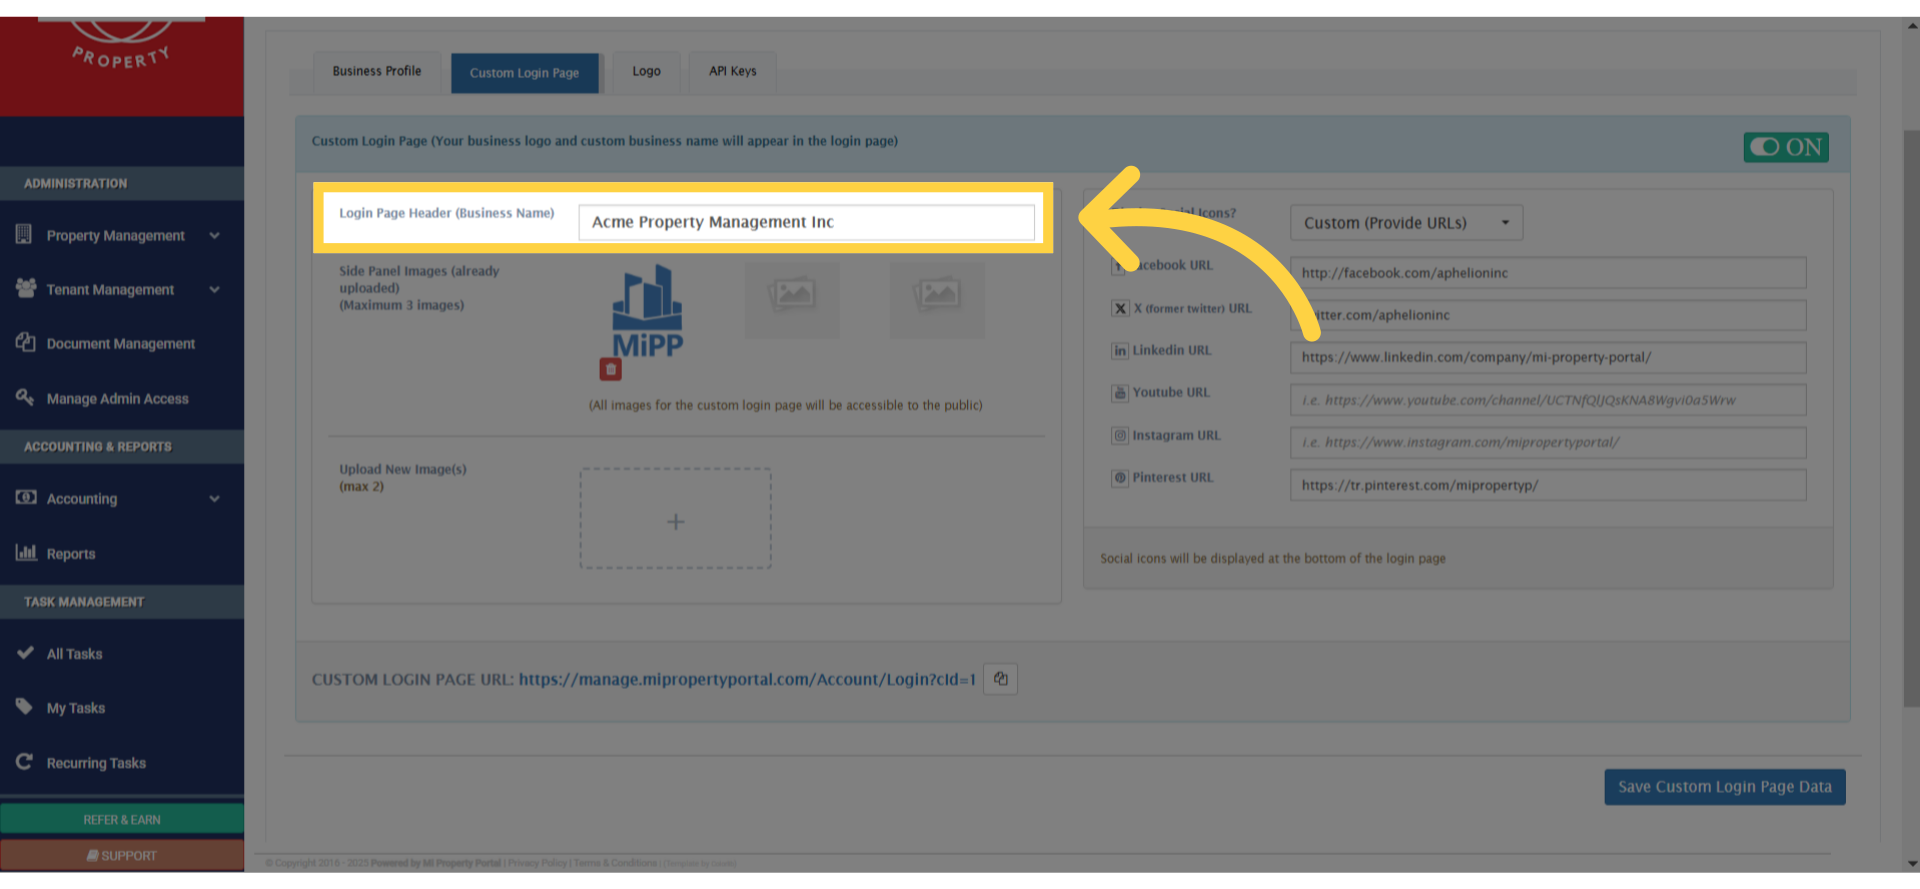
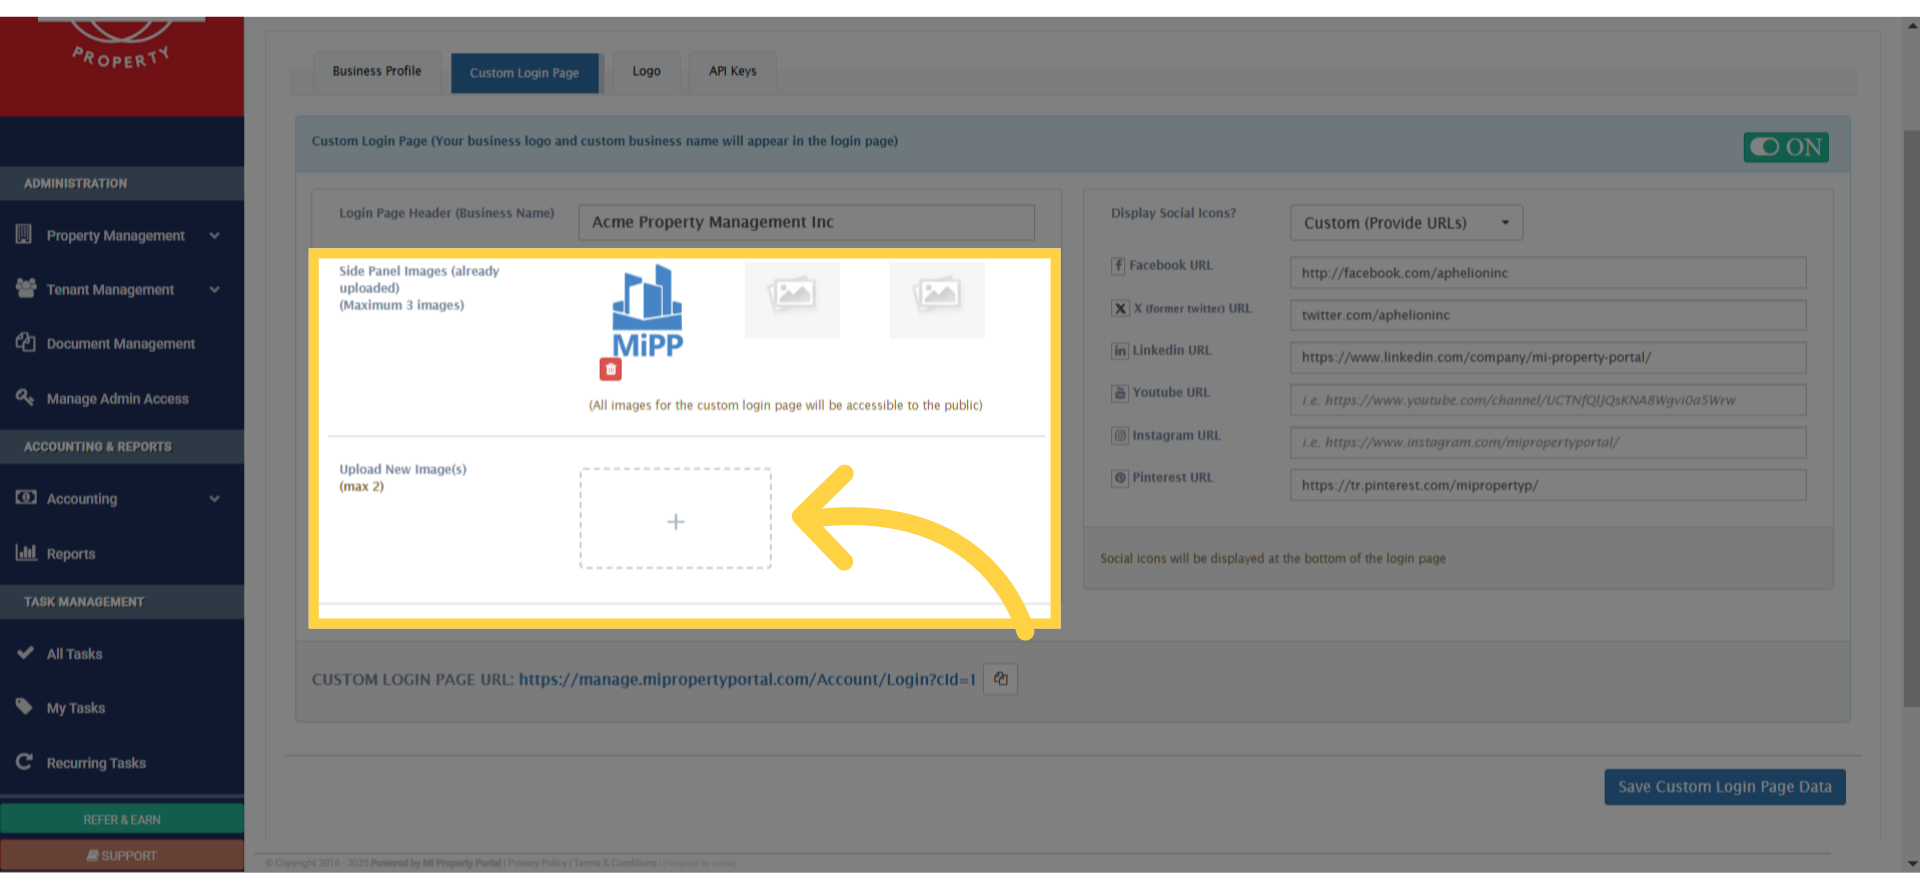
12. By default, your company name will appear as “Login Page Header”. Change it as you wish
13. Click on the “+” icon next to “Upload New Images”
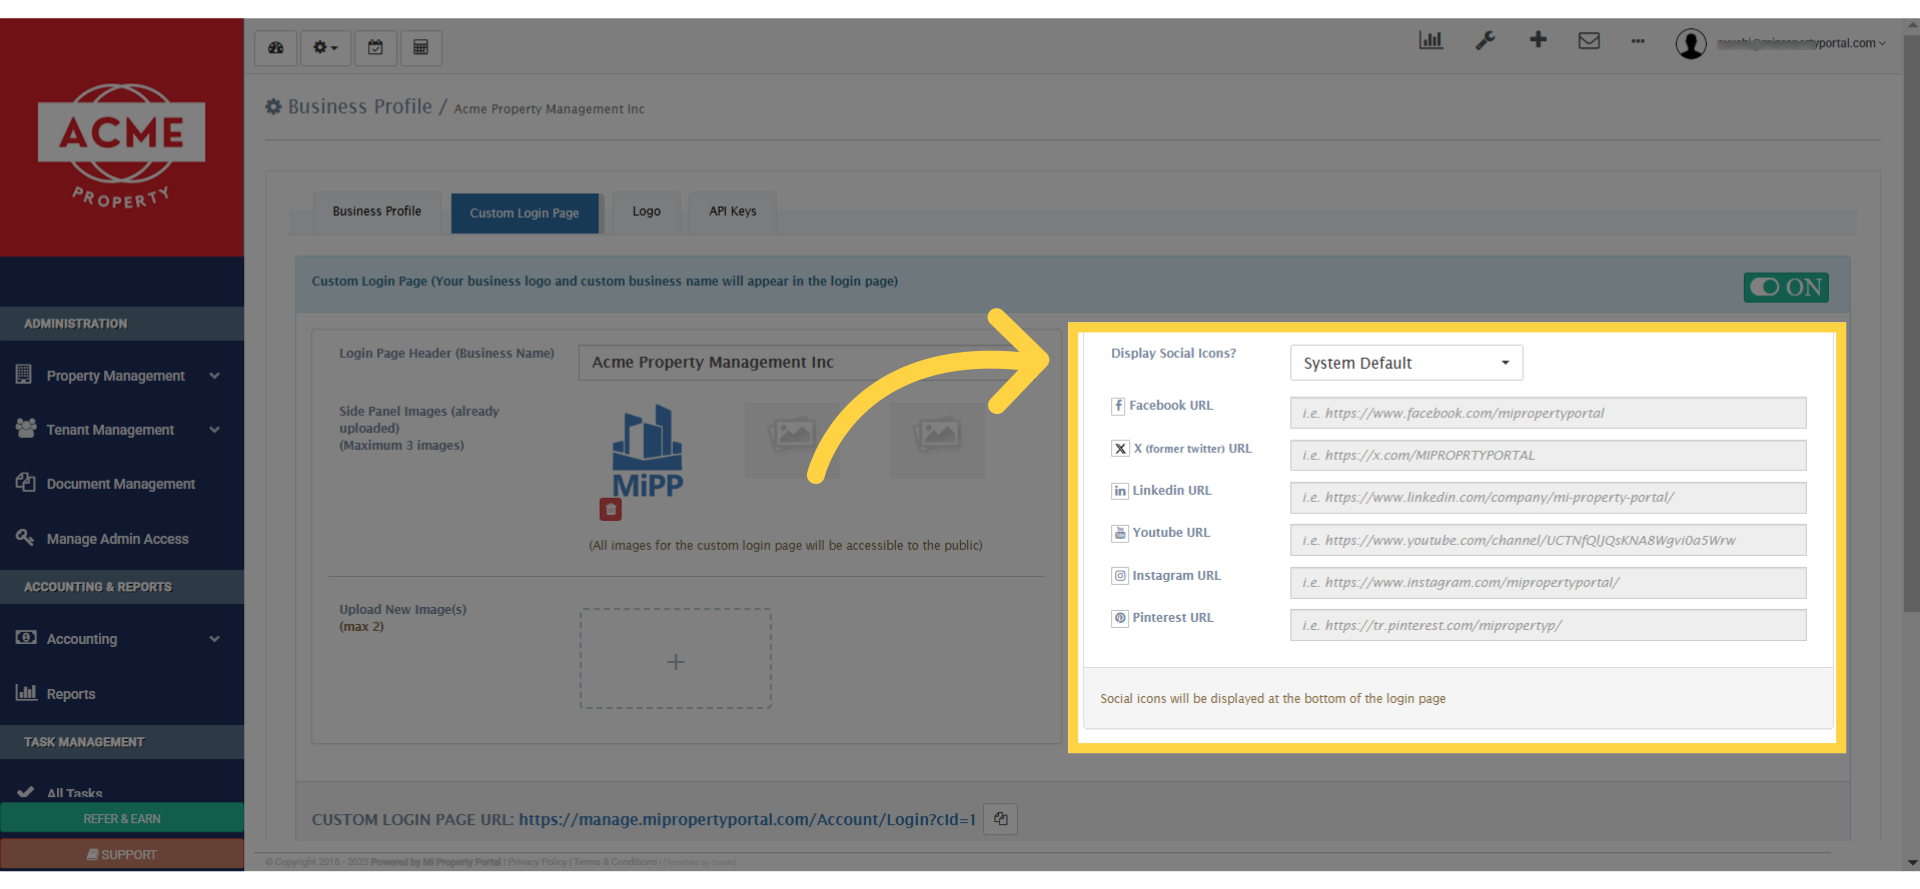
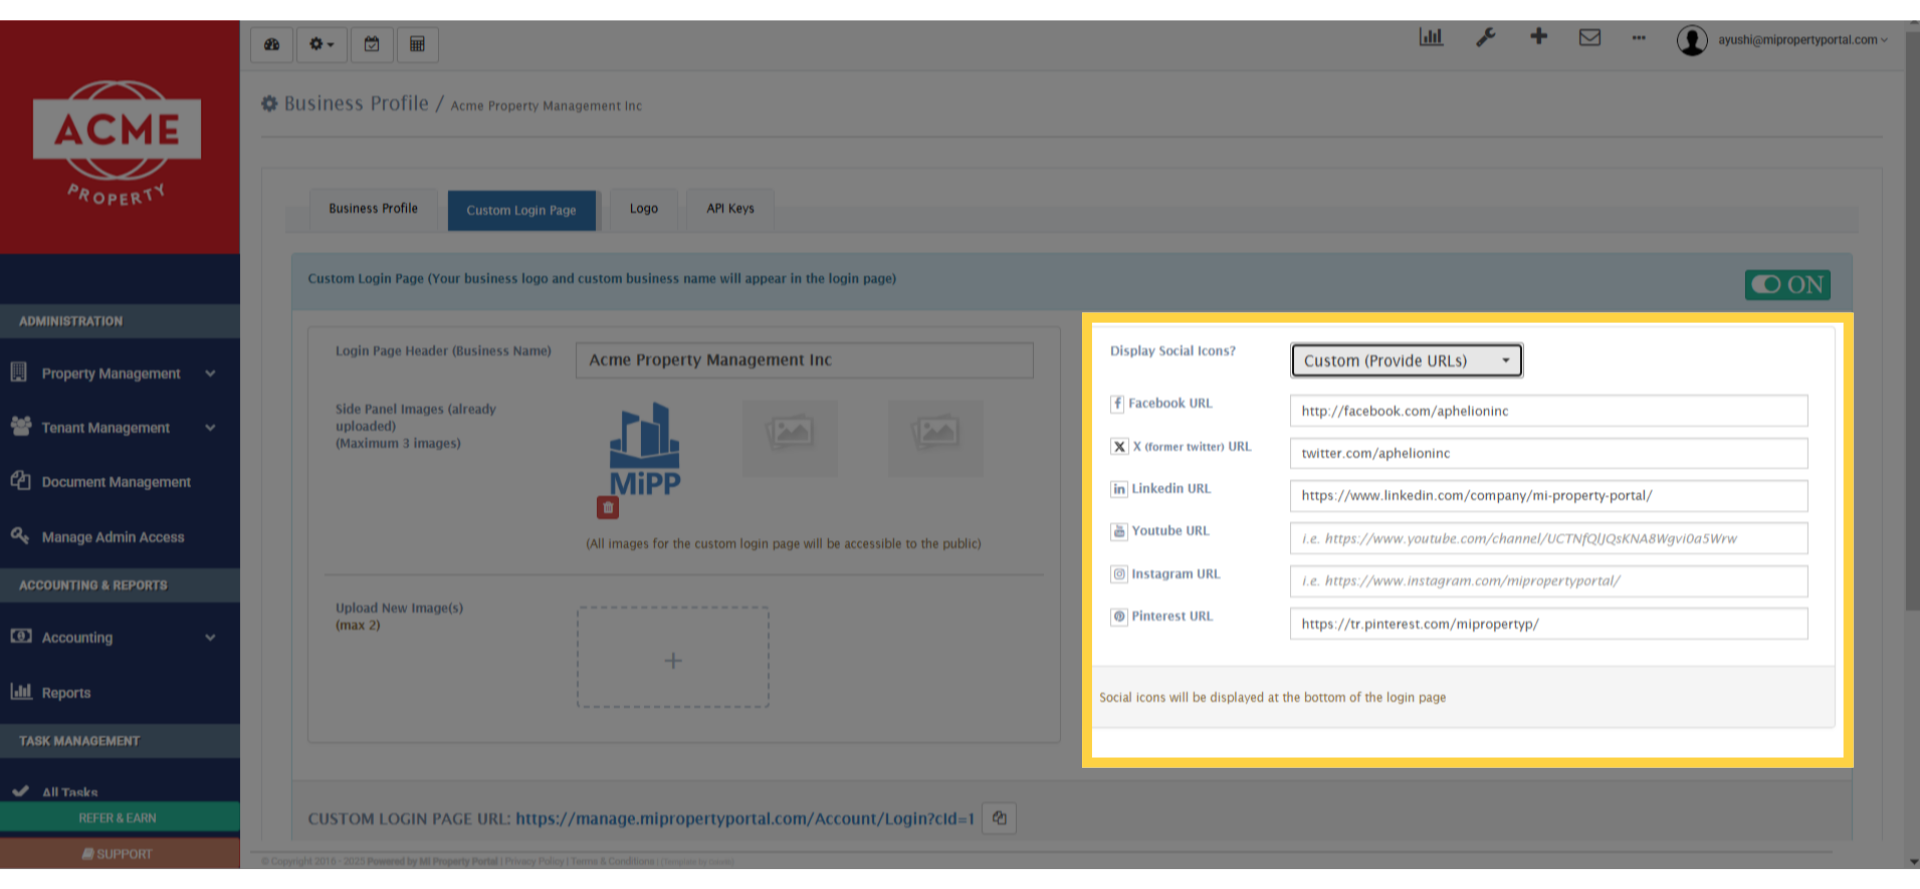
14. Now, take a look at this section on the right side, where you can set up the Social Icons, to display on the login page
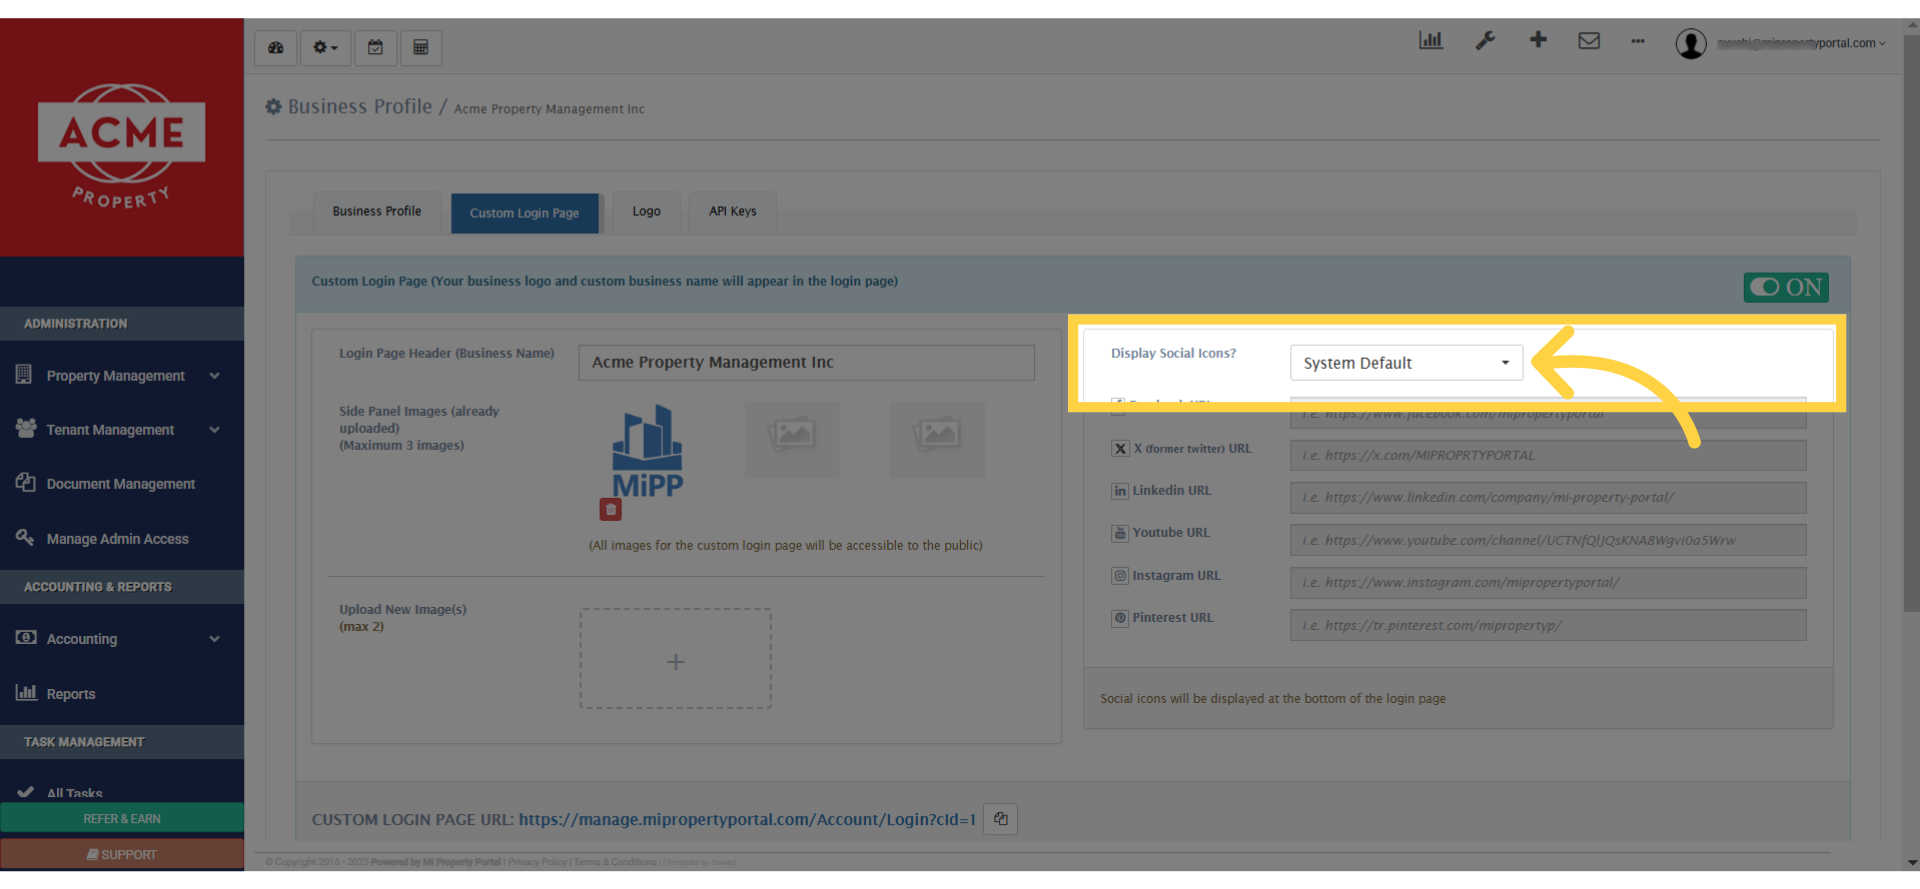
15. Click on the “System Default” dropdown, next to the “Display Social Icons” option
16. From the dropdown, select the second option, “Custom (Provide URLs)”
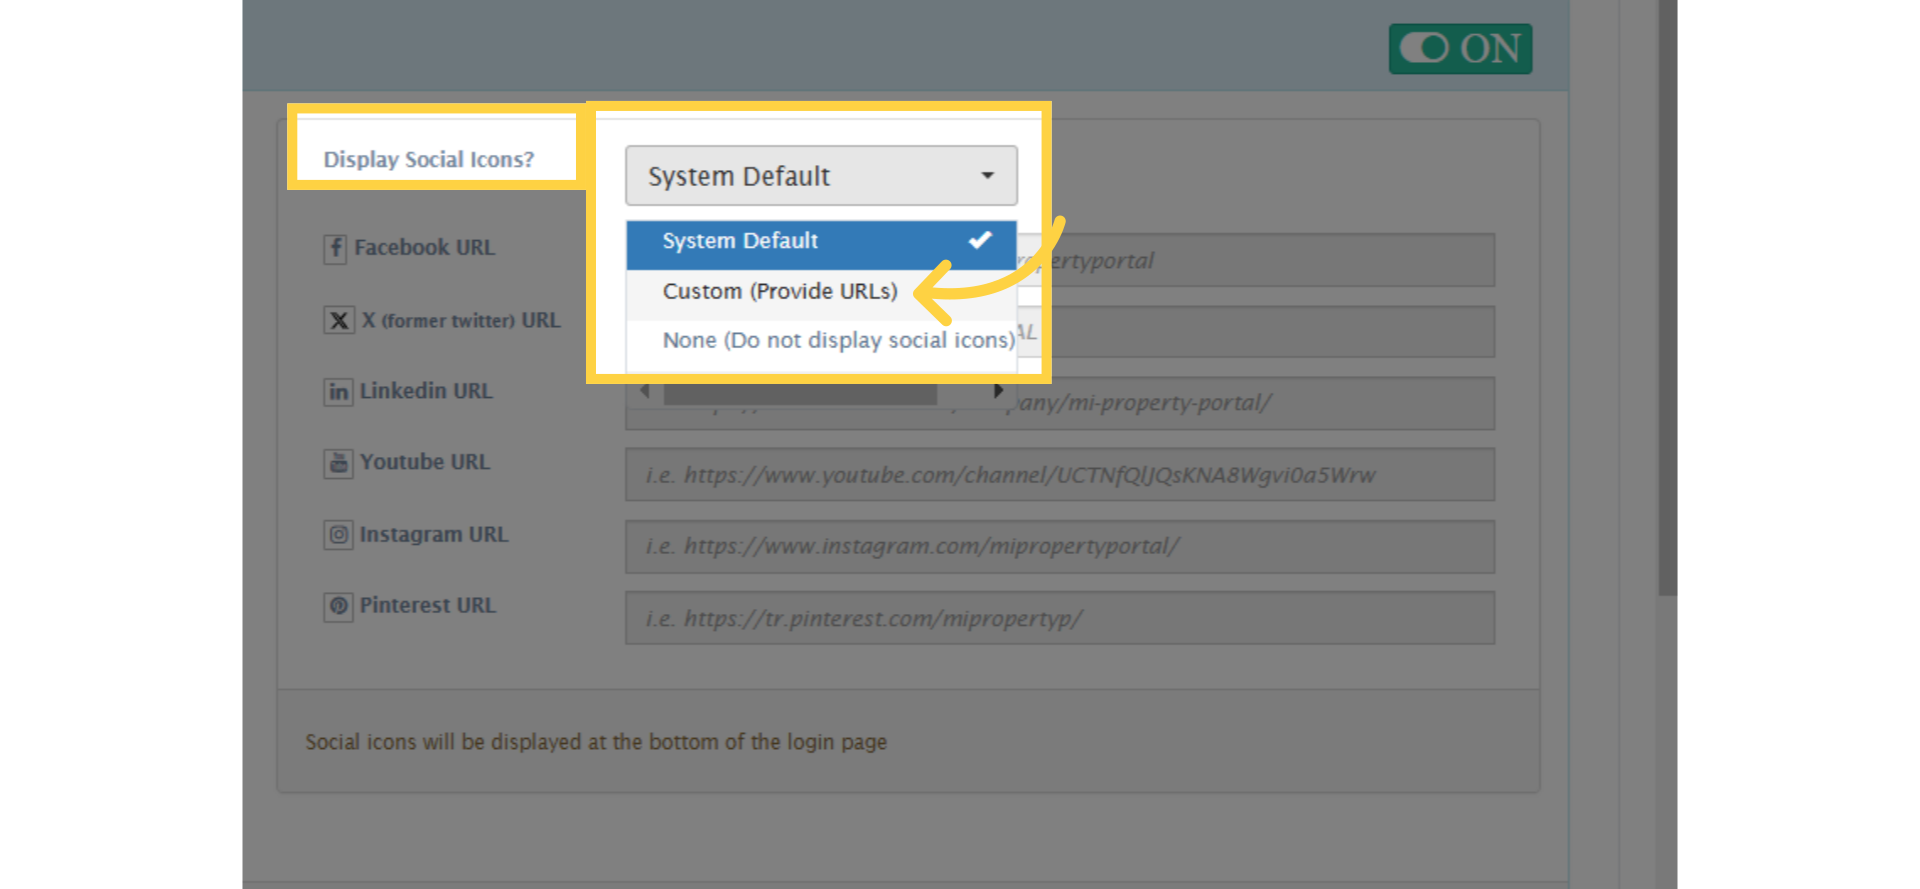
17. Once the Display Social Icons option, is set to Custom Provide URLs, simply copy and paste the social URLs into the corresponding boxes
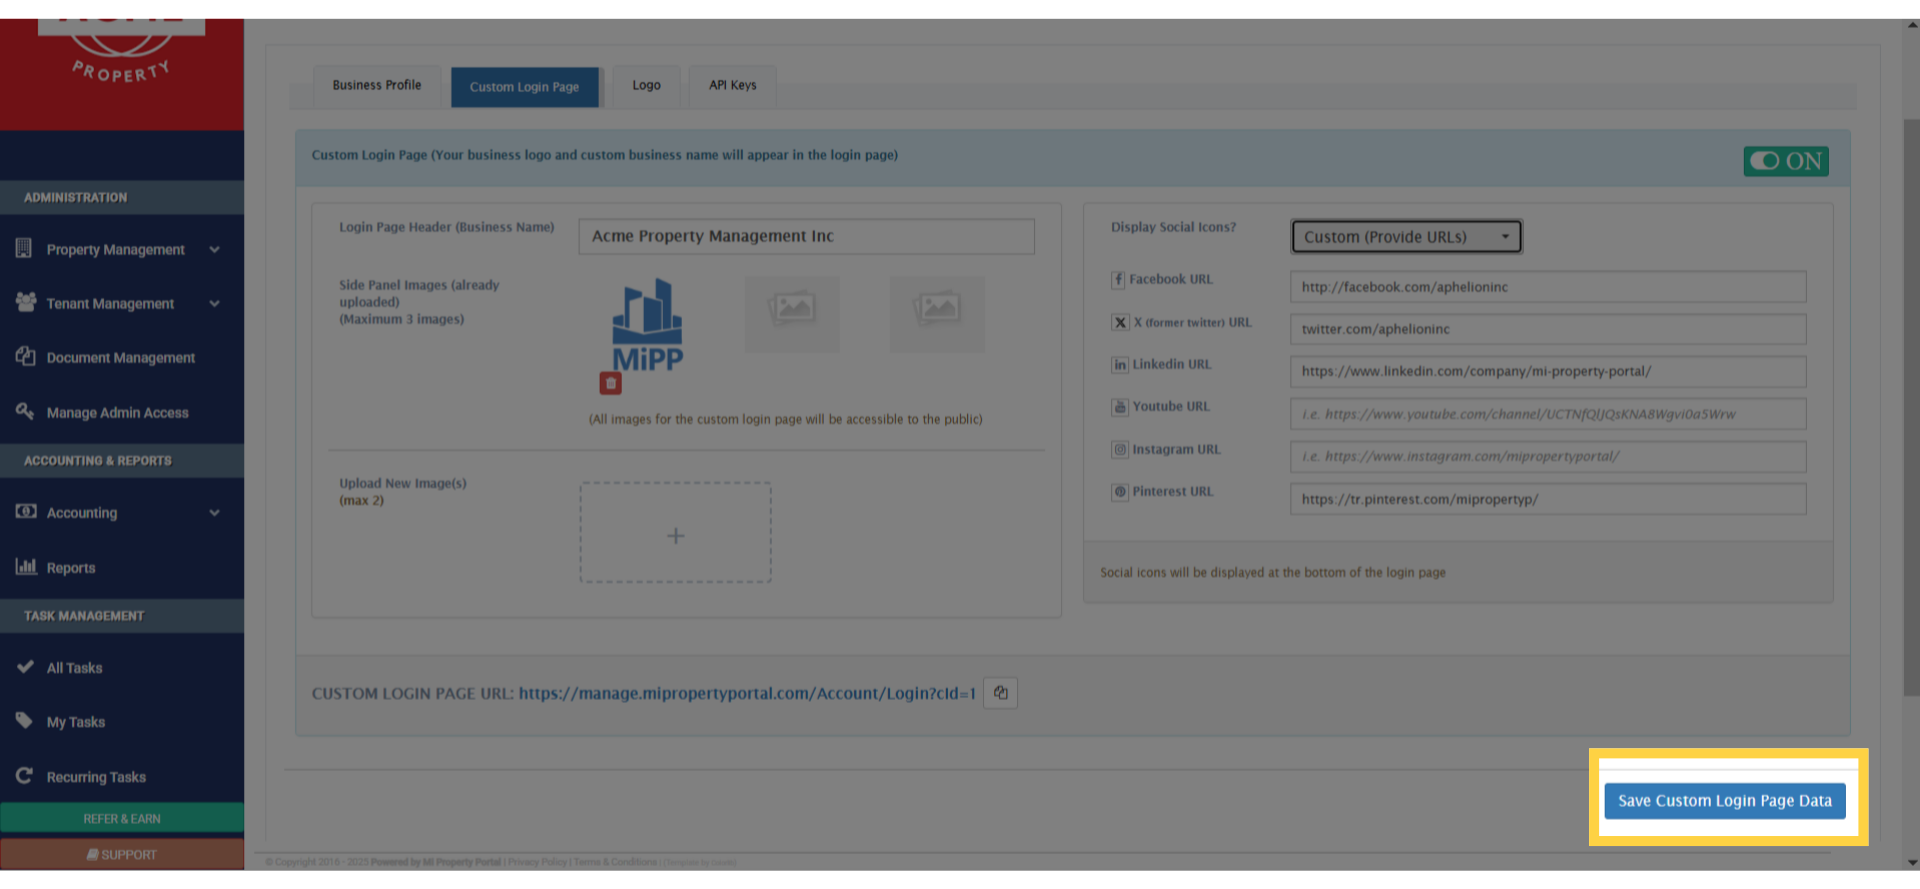
18. click on the “Save Custom Login Page Data” button
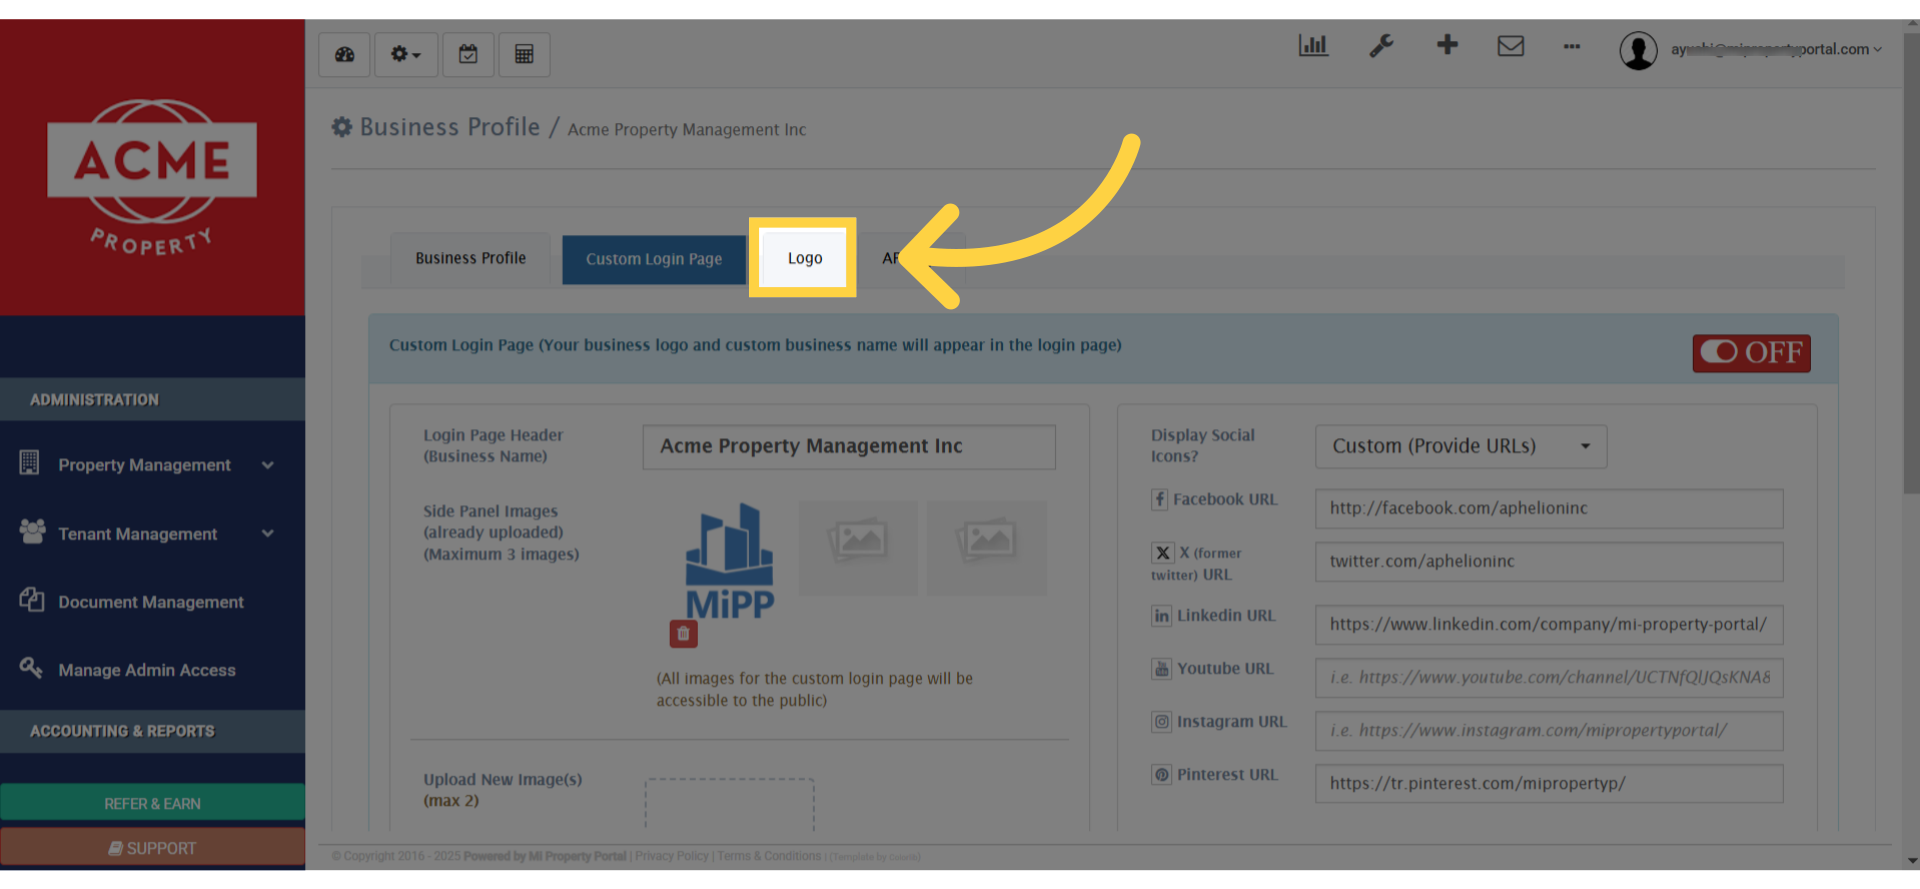
19. Alright, good! Now, let’s head over to the Logo tab from here
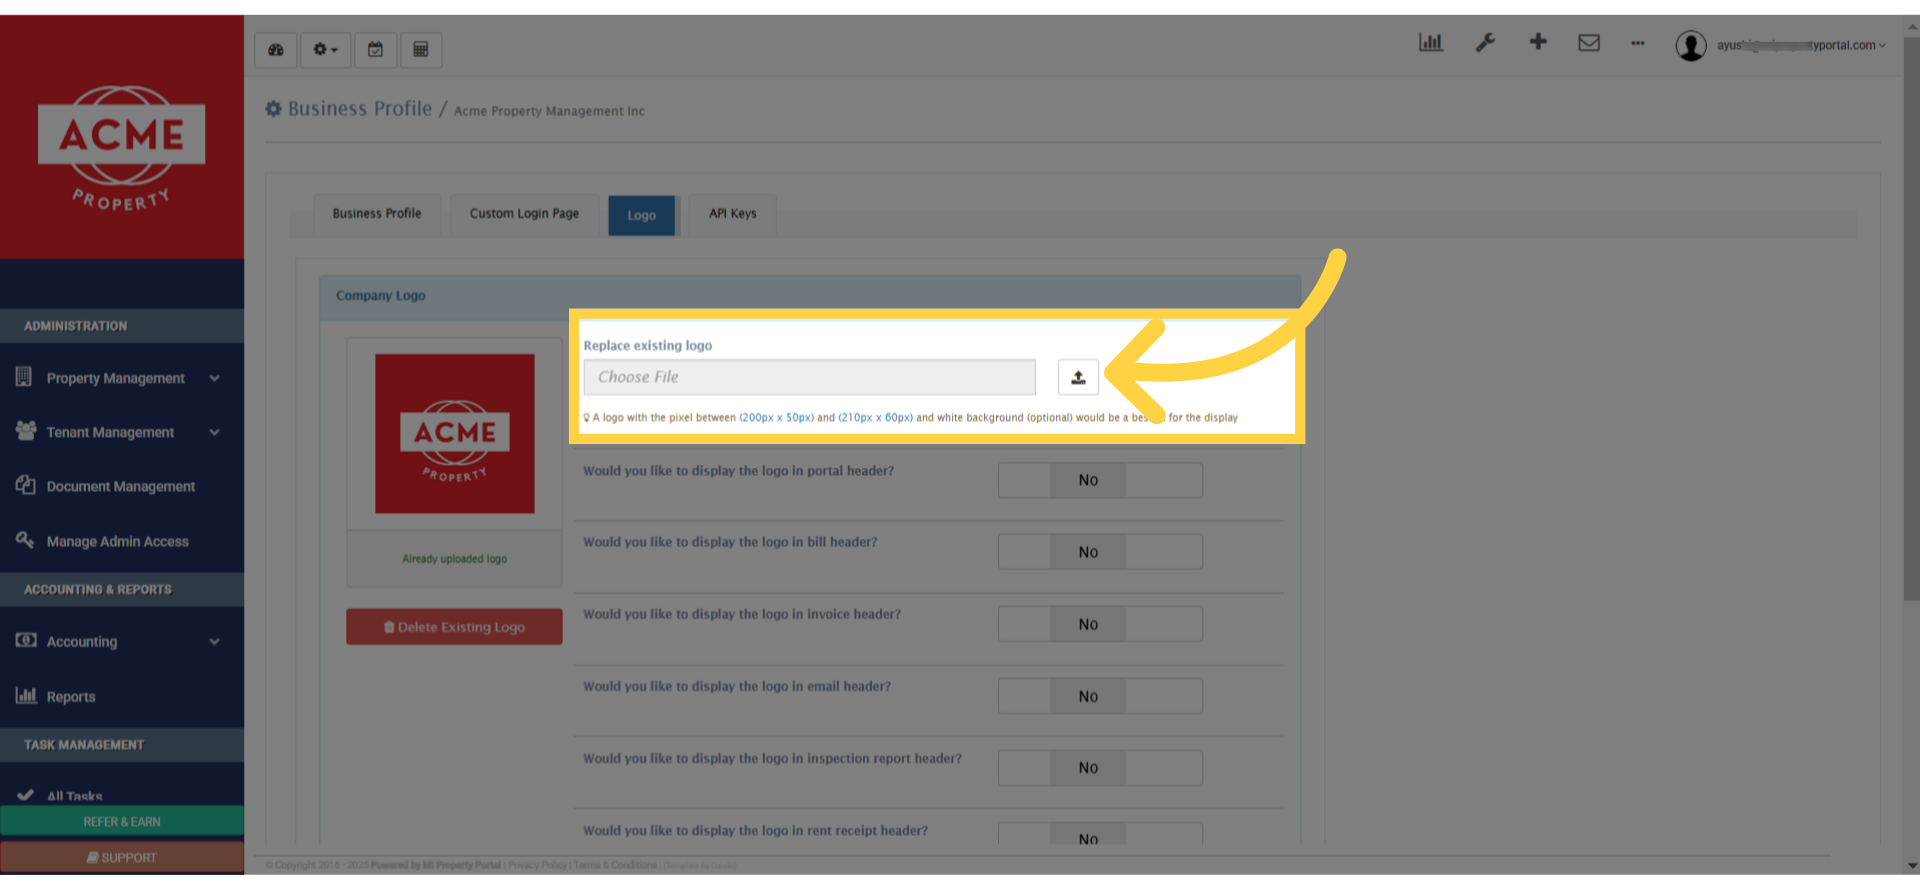
20. Once you’re in the Logo tab, you’ll notice this interface
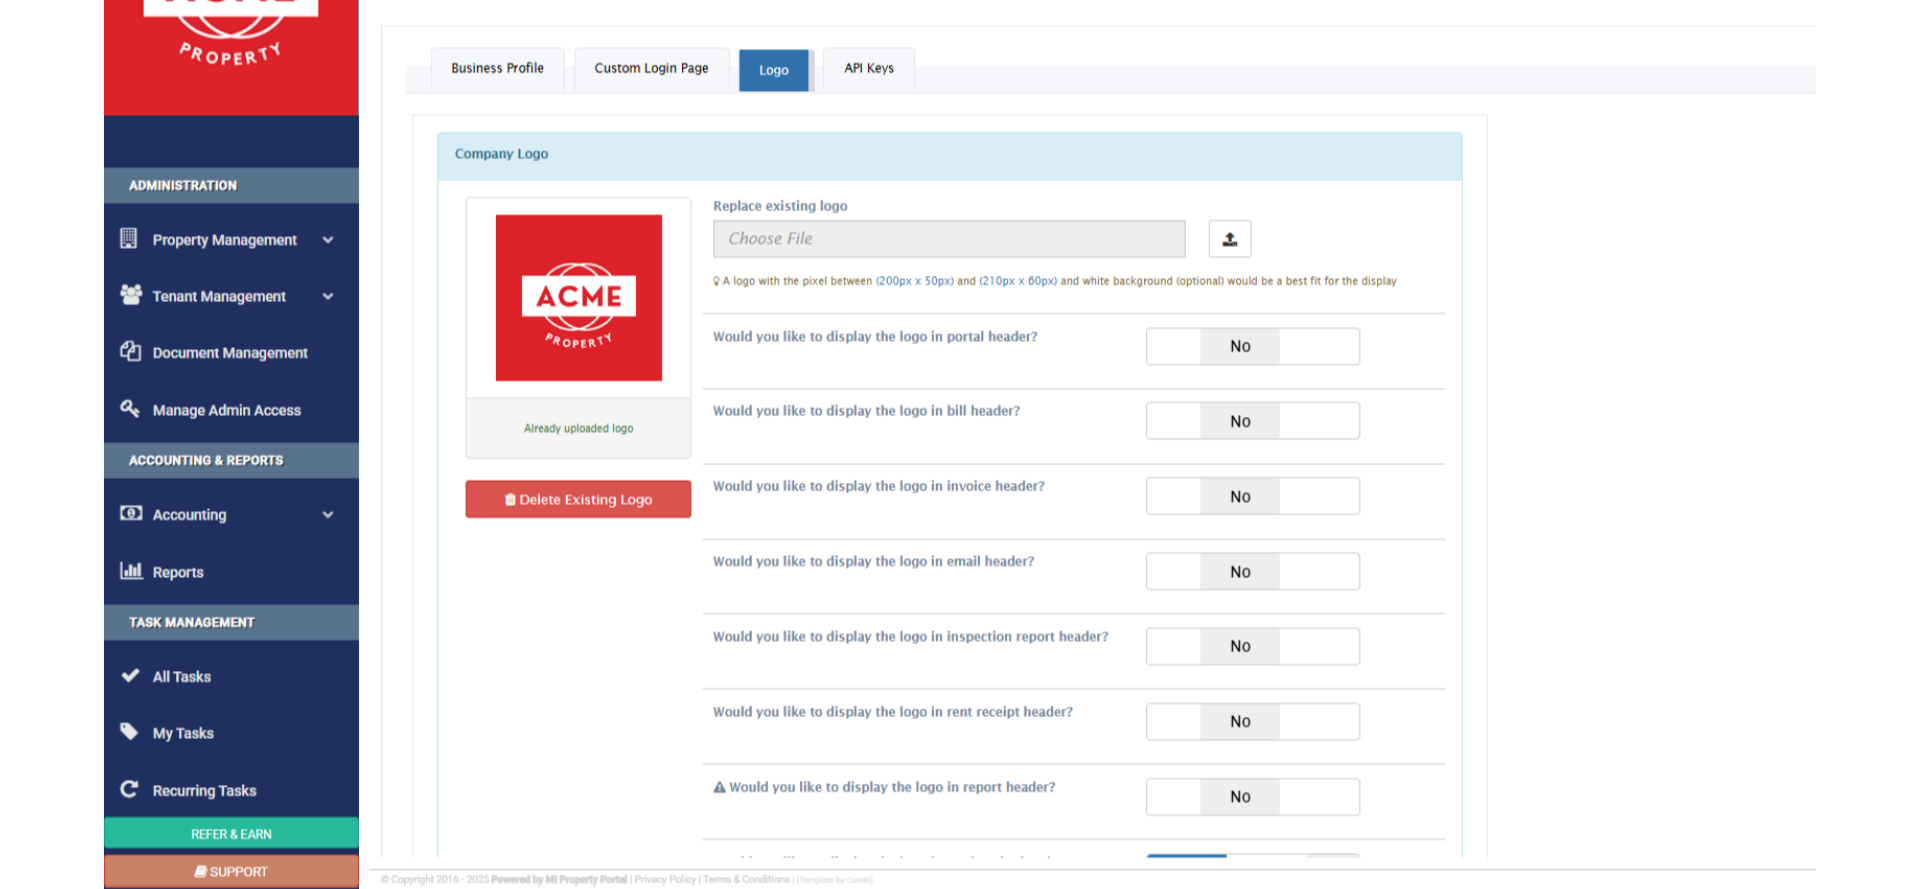
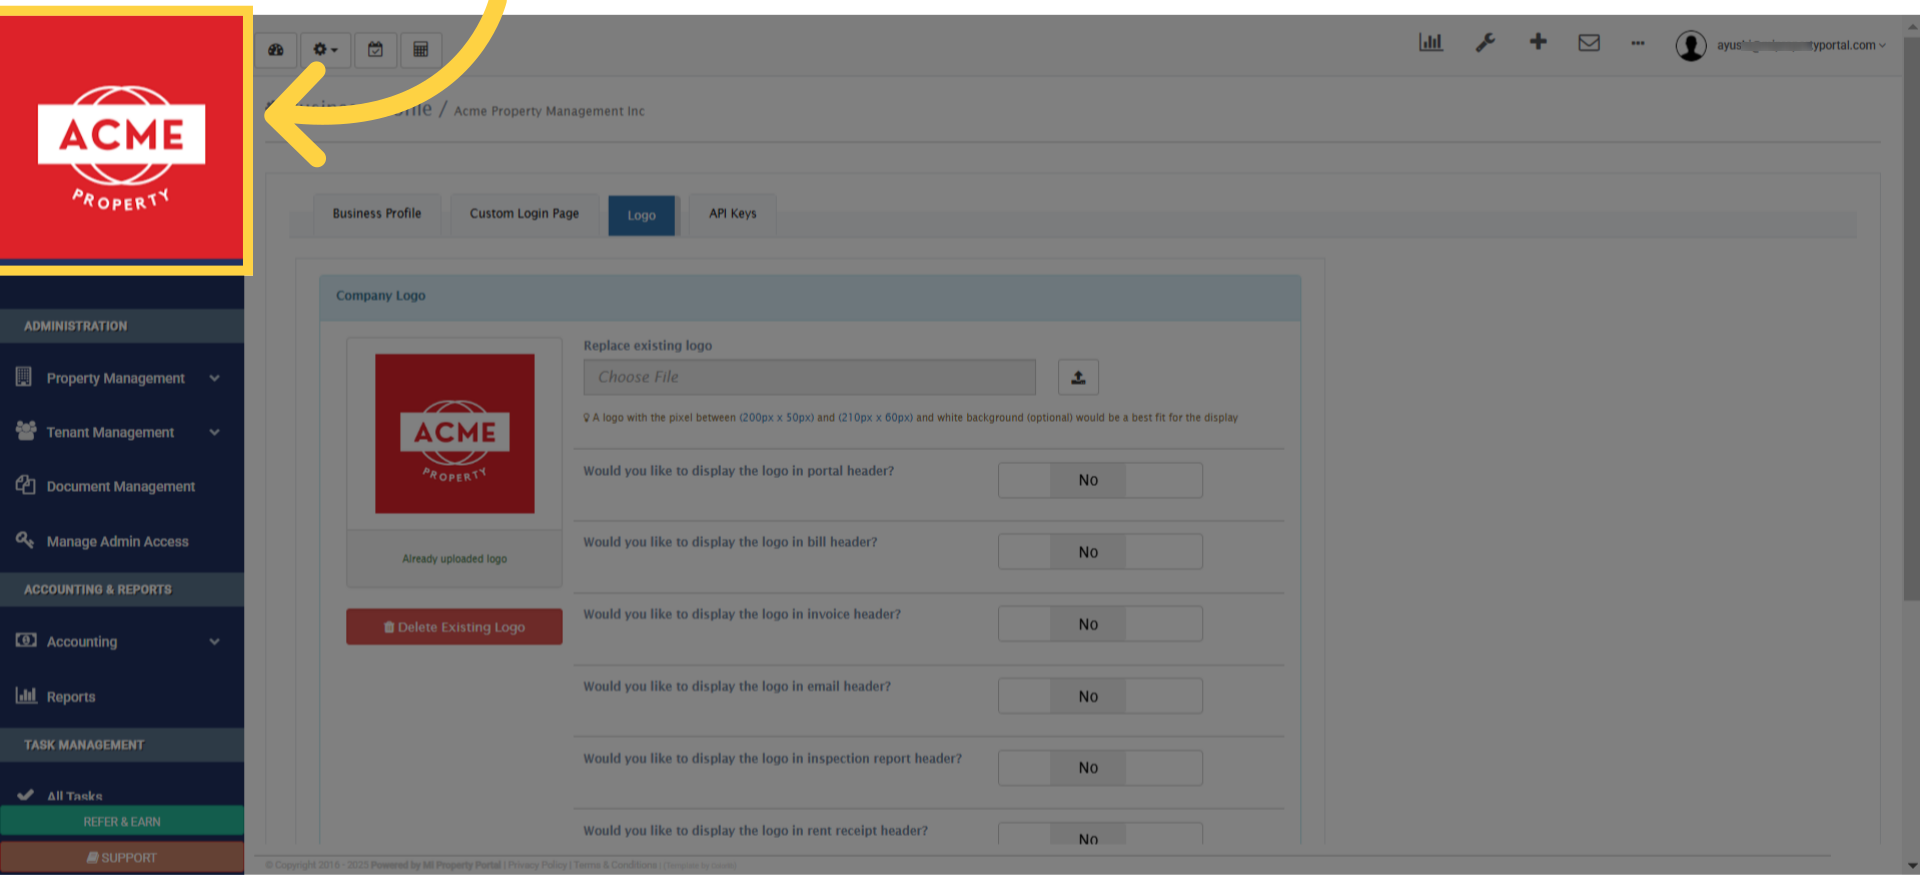
21. Click on the upload icon to choose a logo from your local system
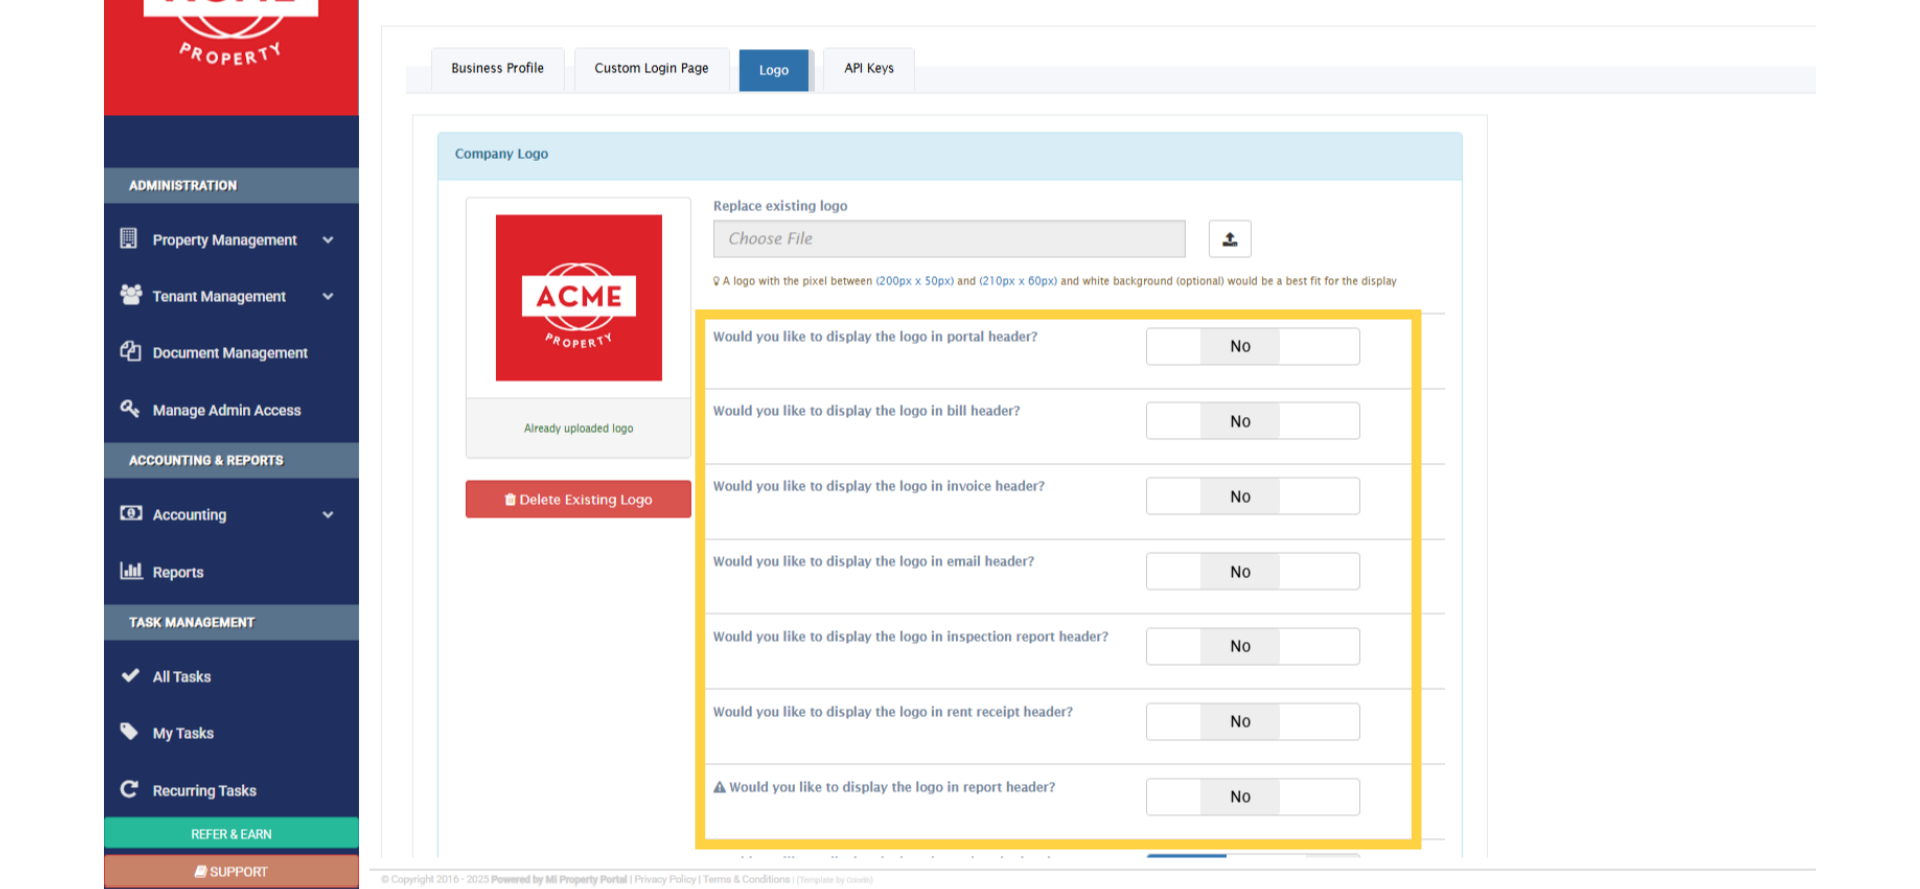
22. Basically, the logo you upload, it will display right here
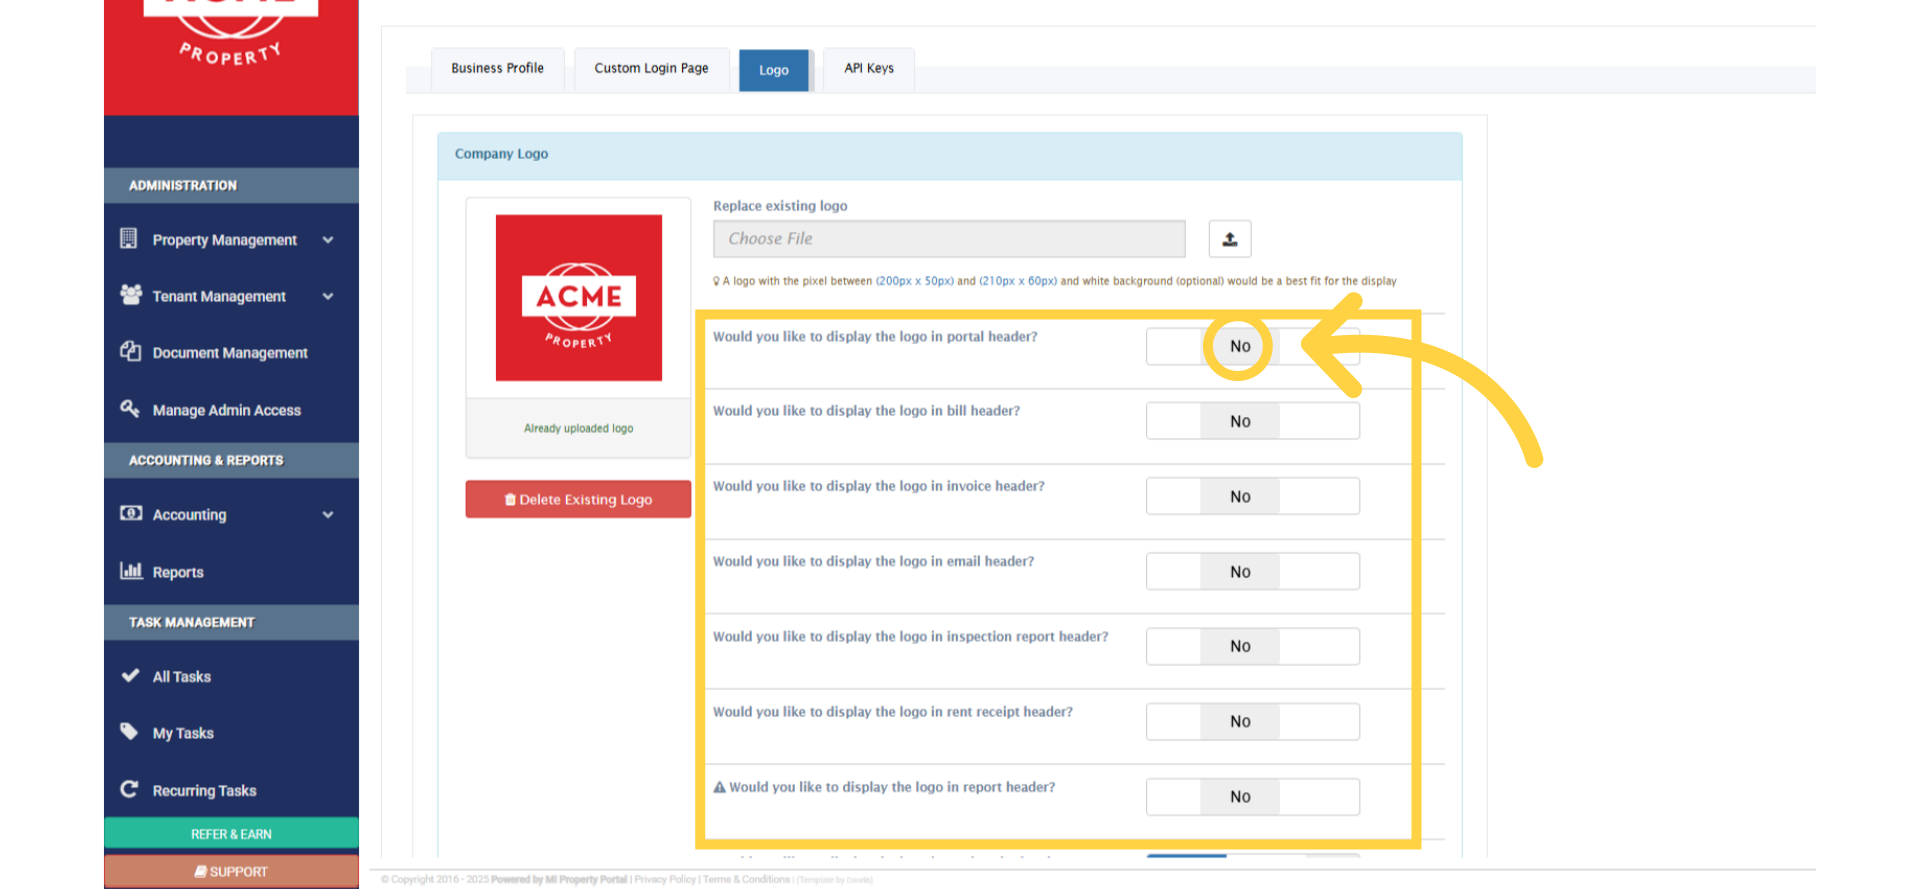
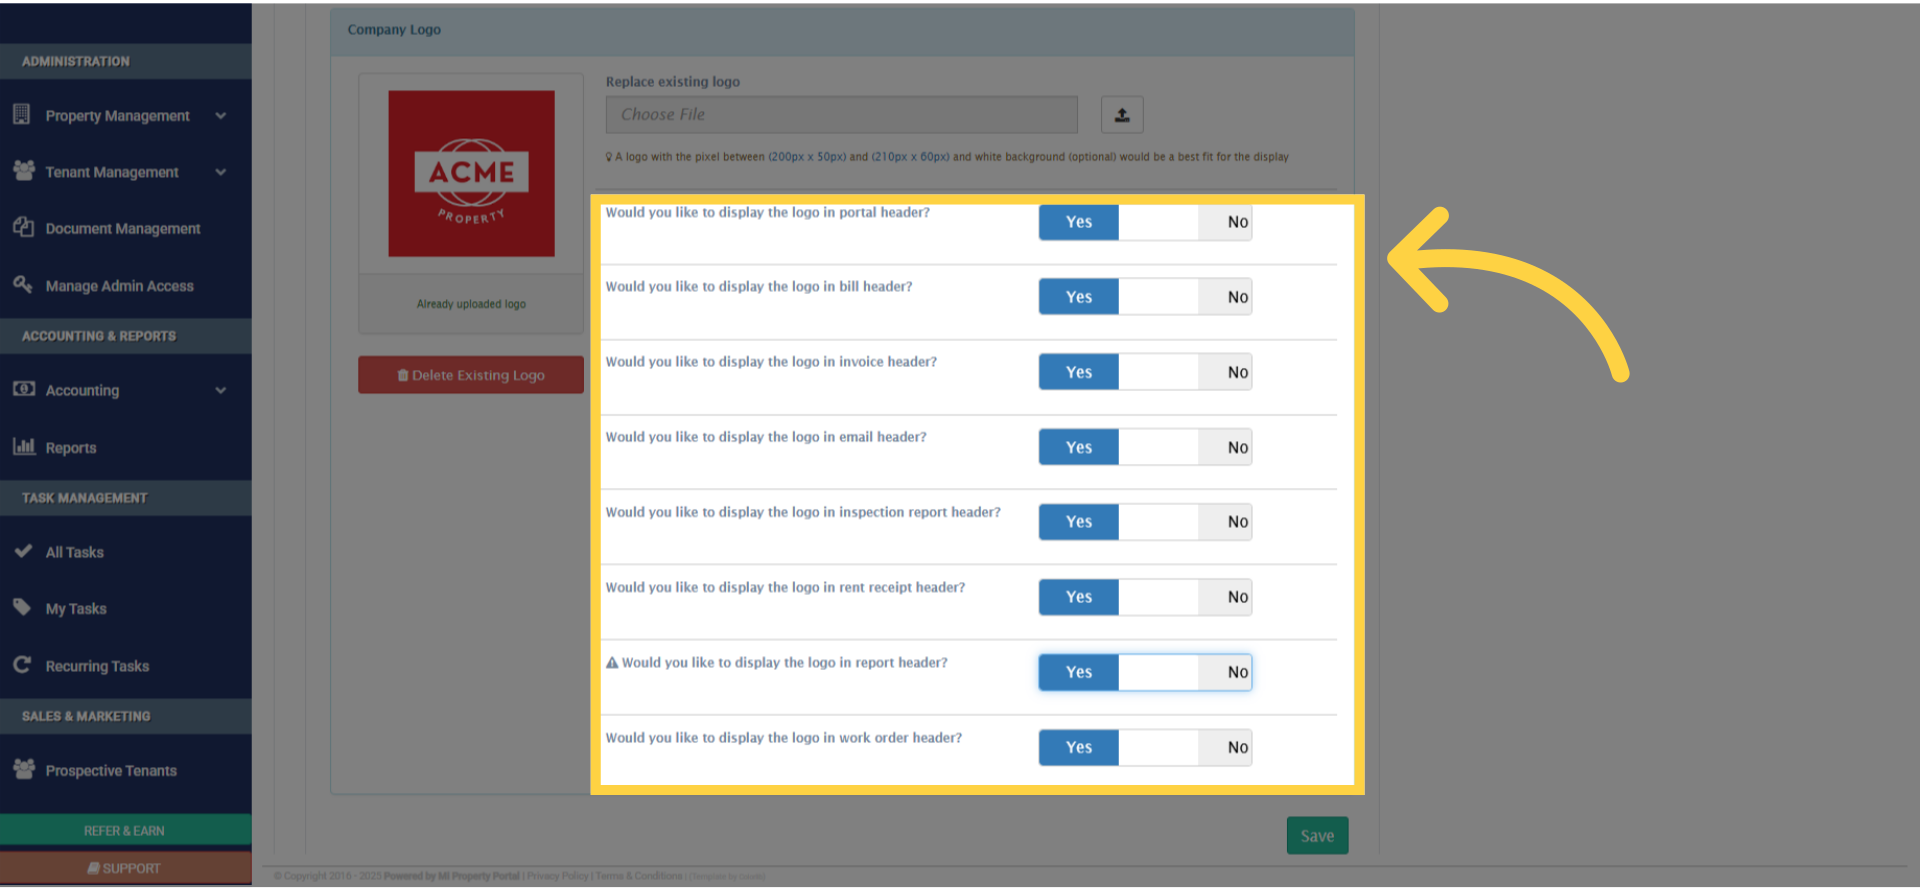
23. You’ll notice by default, these logo display buttons are set to be OFF
24. just click on the button that says ‘No’
25. Once you toggle the button to ‘Yes,’ it will look like this
26. Click “Save” to apply the changes
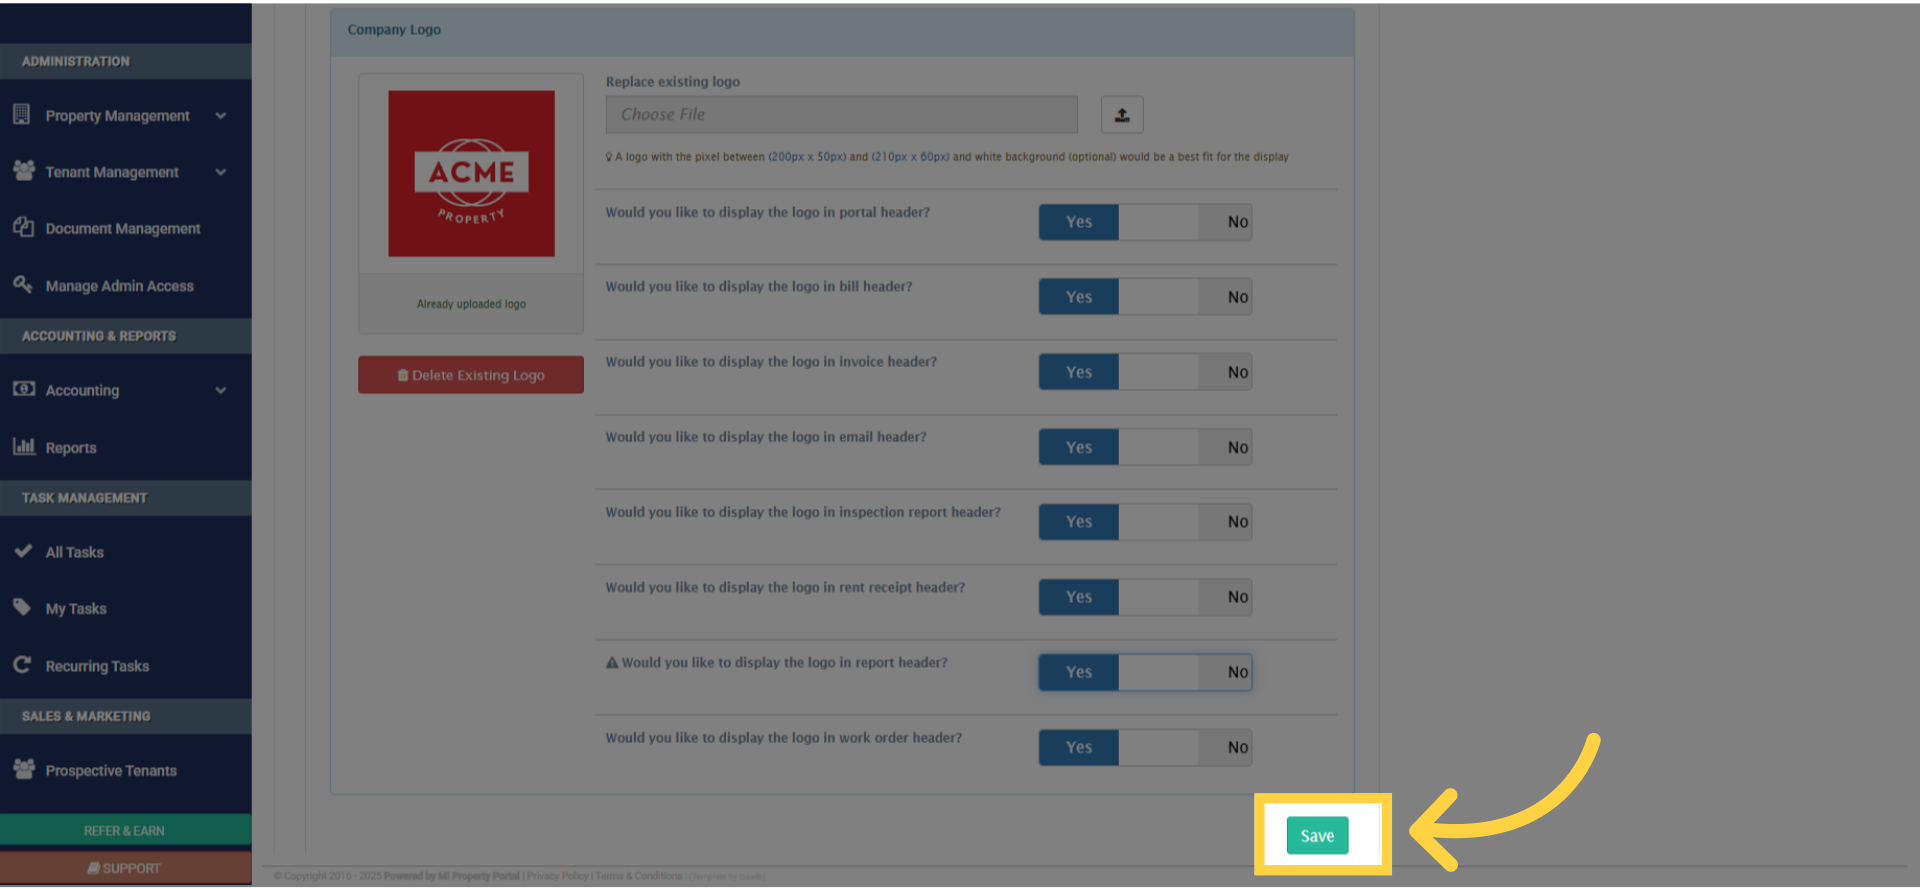
27. Simply, close the “success” pop-up window