Okay, so sometimes, you might find yourself stuck—maybe you can’t locate a specific functionality, or perhaps you encounter a glitch or bug in the system. What do you do next? In this one, we’ll explore how to get help in the portal.
1.
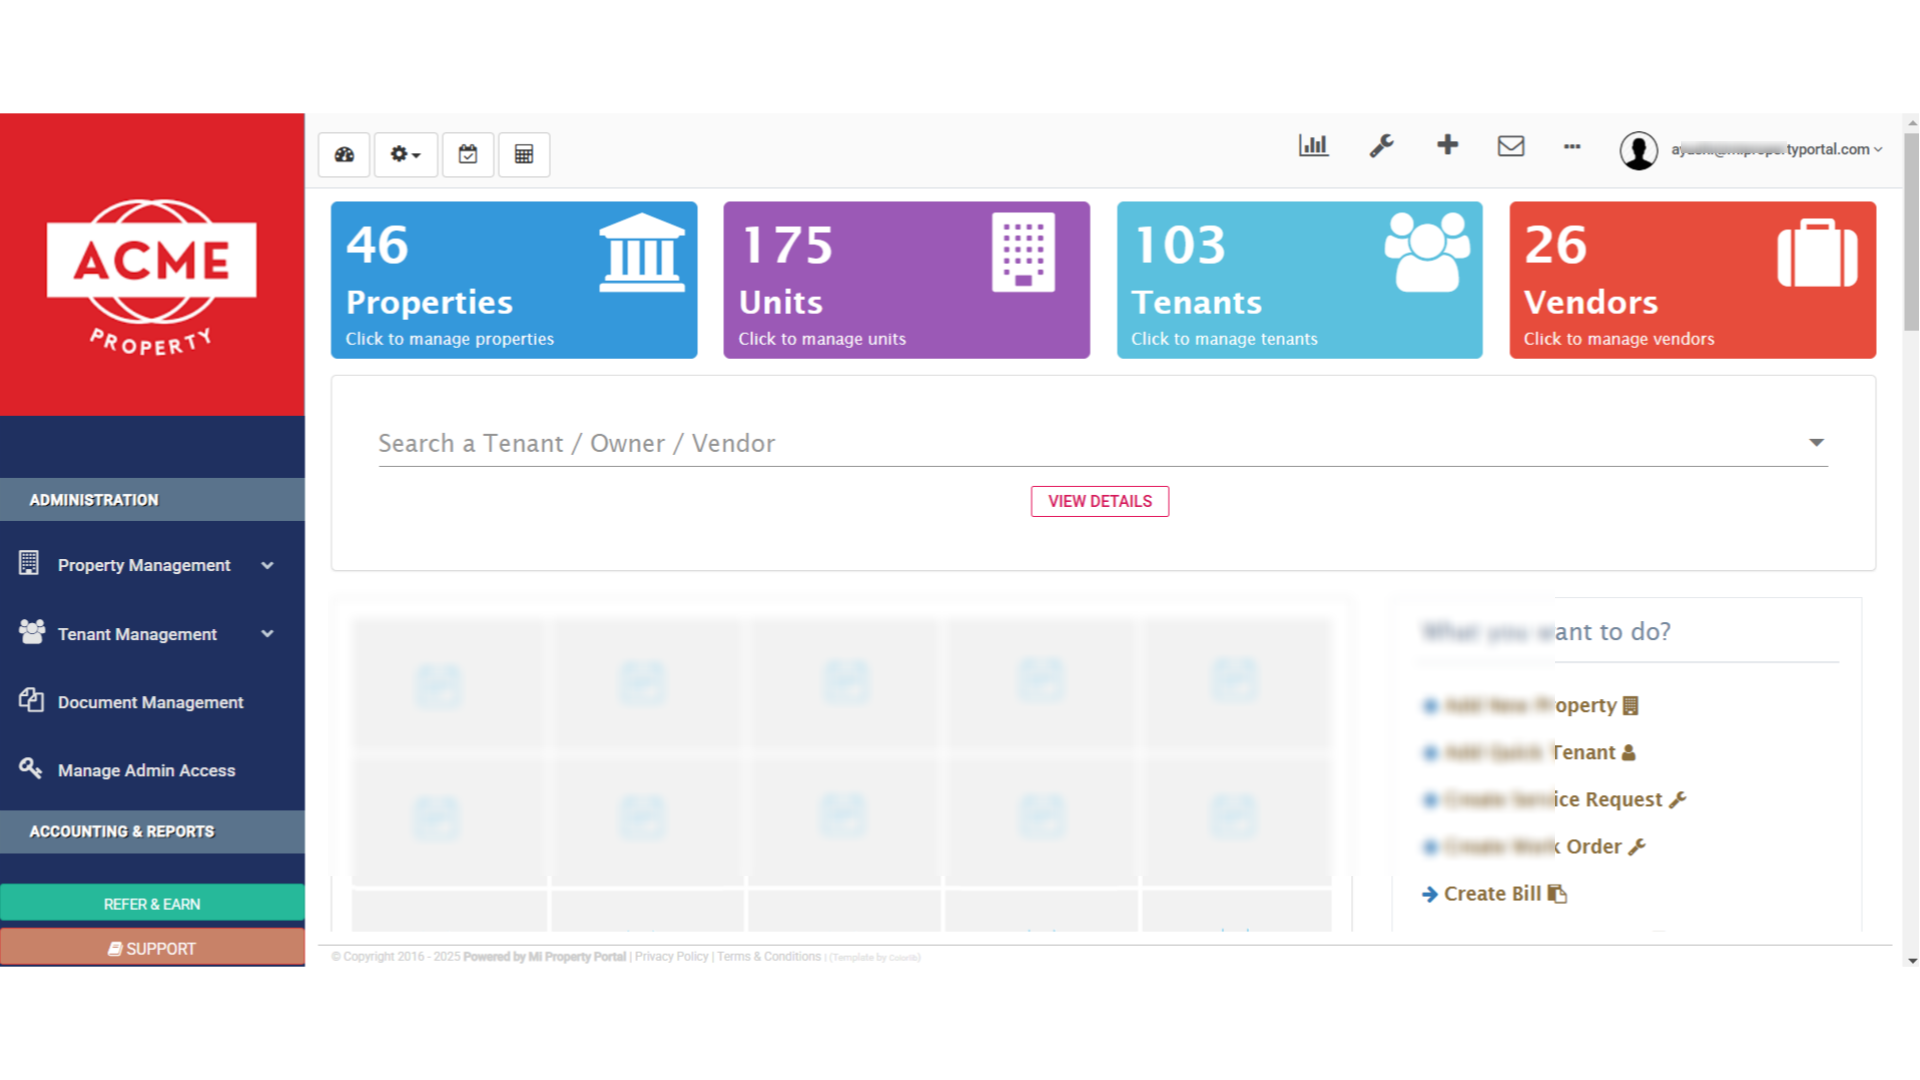
So after logging in to the portal, here’s your dashboard!This is where everything starts—your central hub for all the key features. Let’s take a look around, and figure out how to get help when you need it!
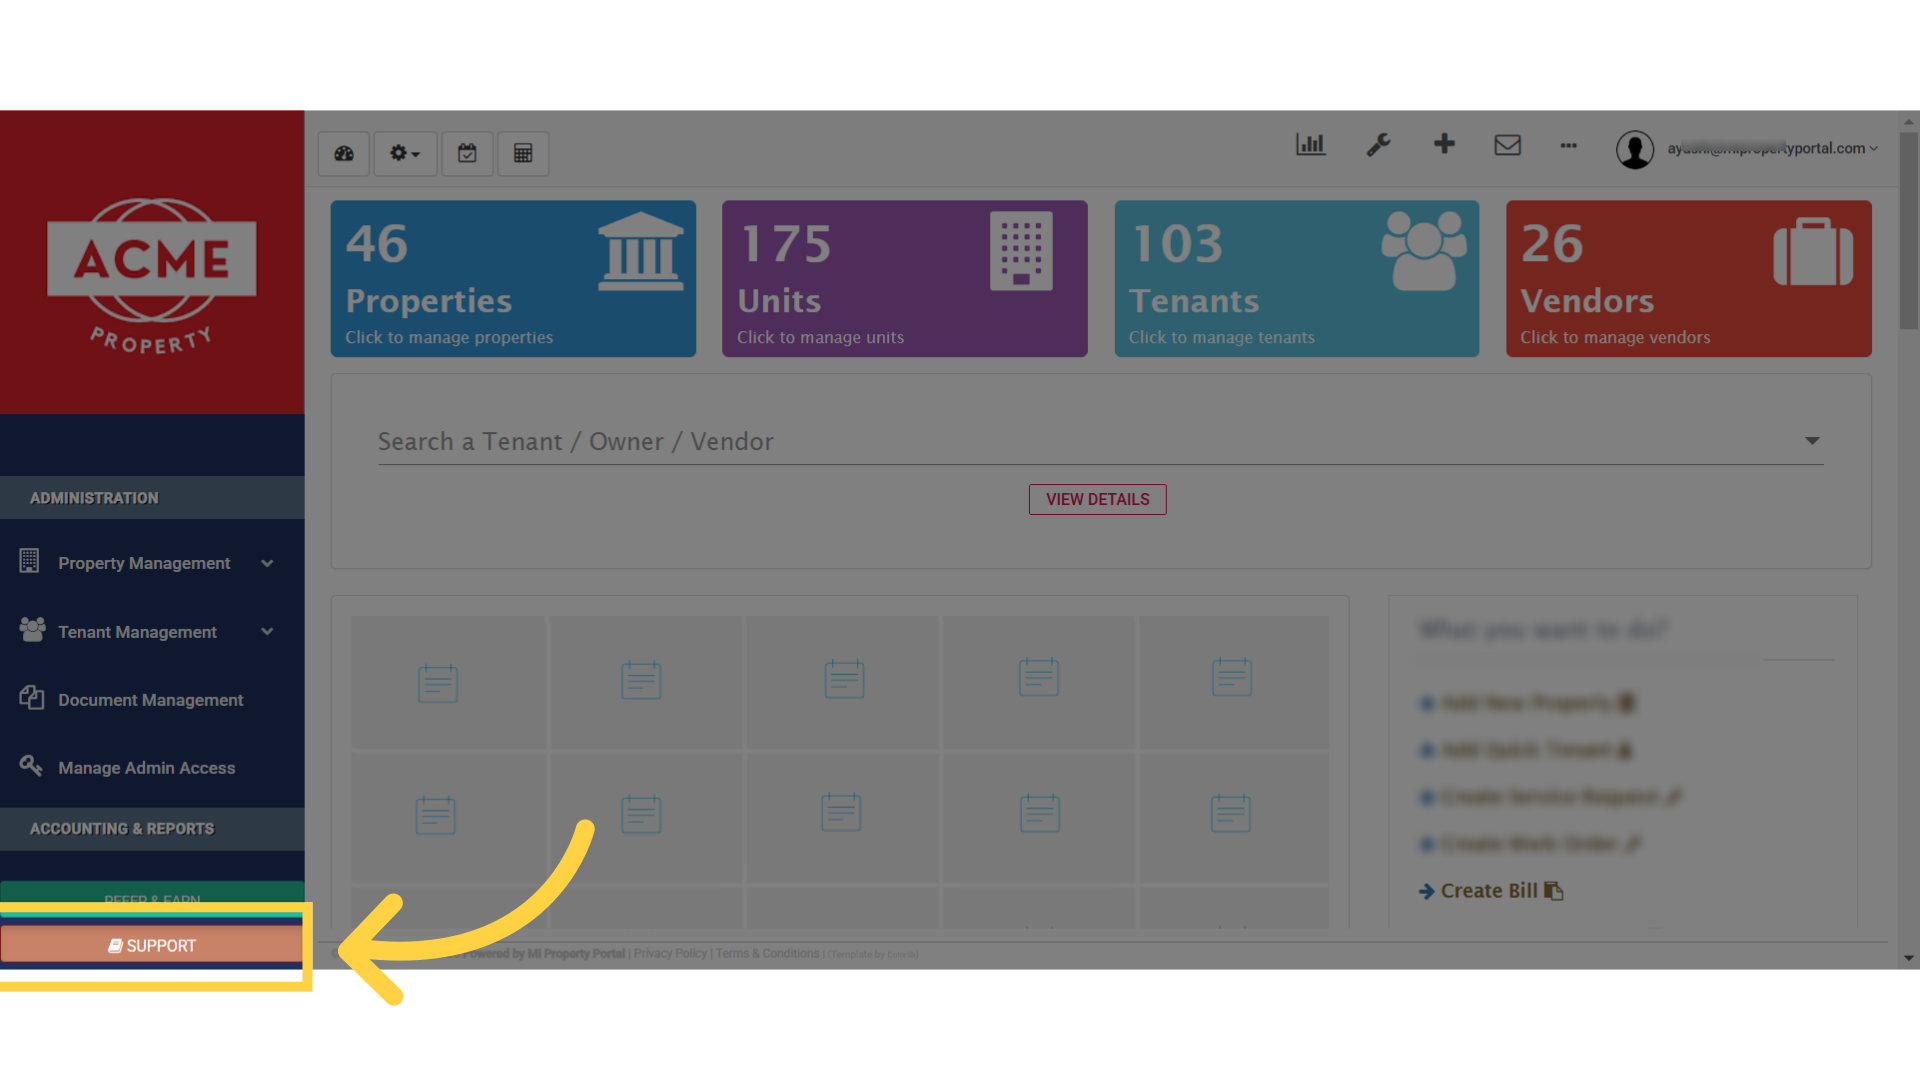
2. Click “SUPPORT”
Just simply click on the “Support” option, in the bottom left side navigation menu
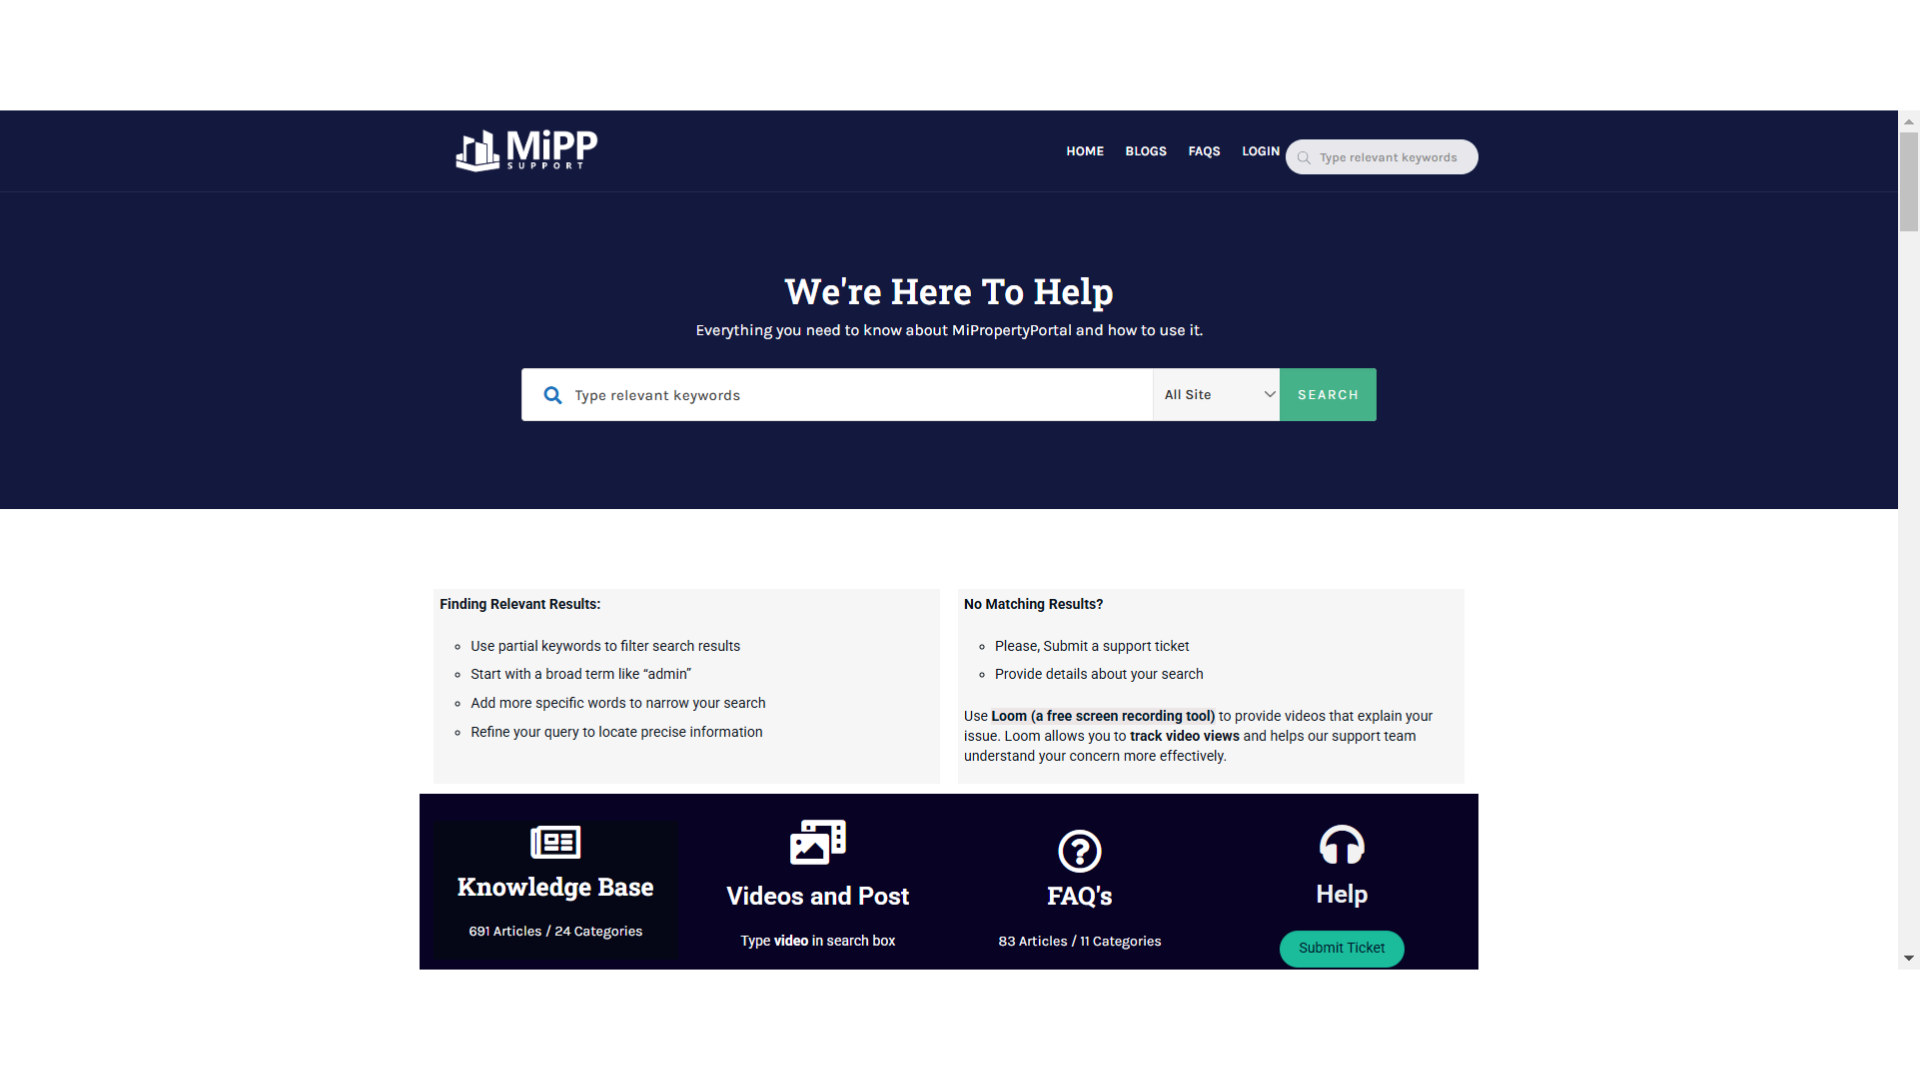
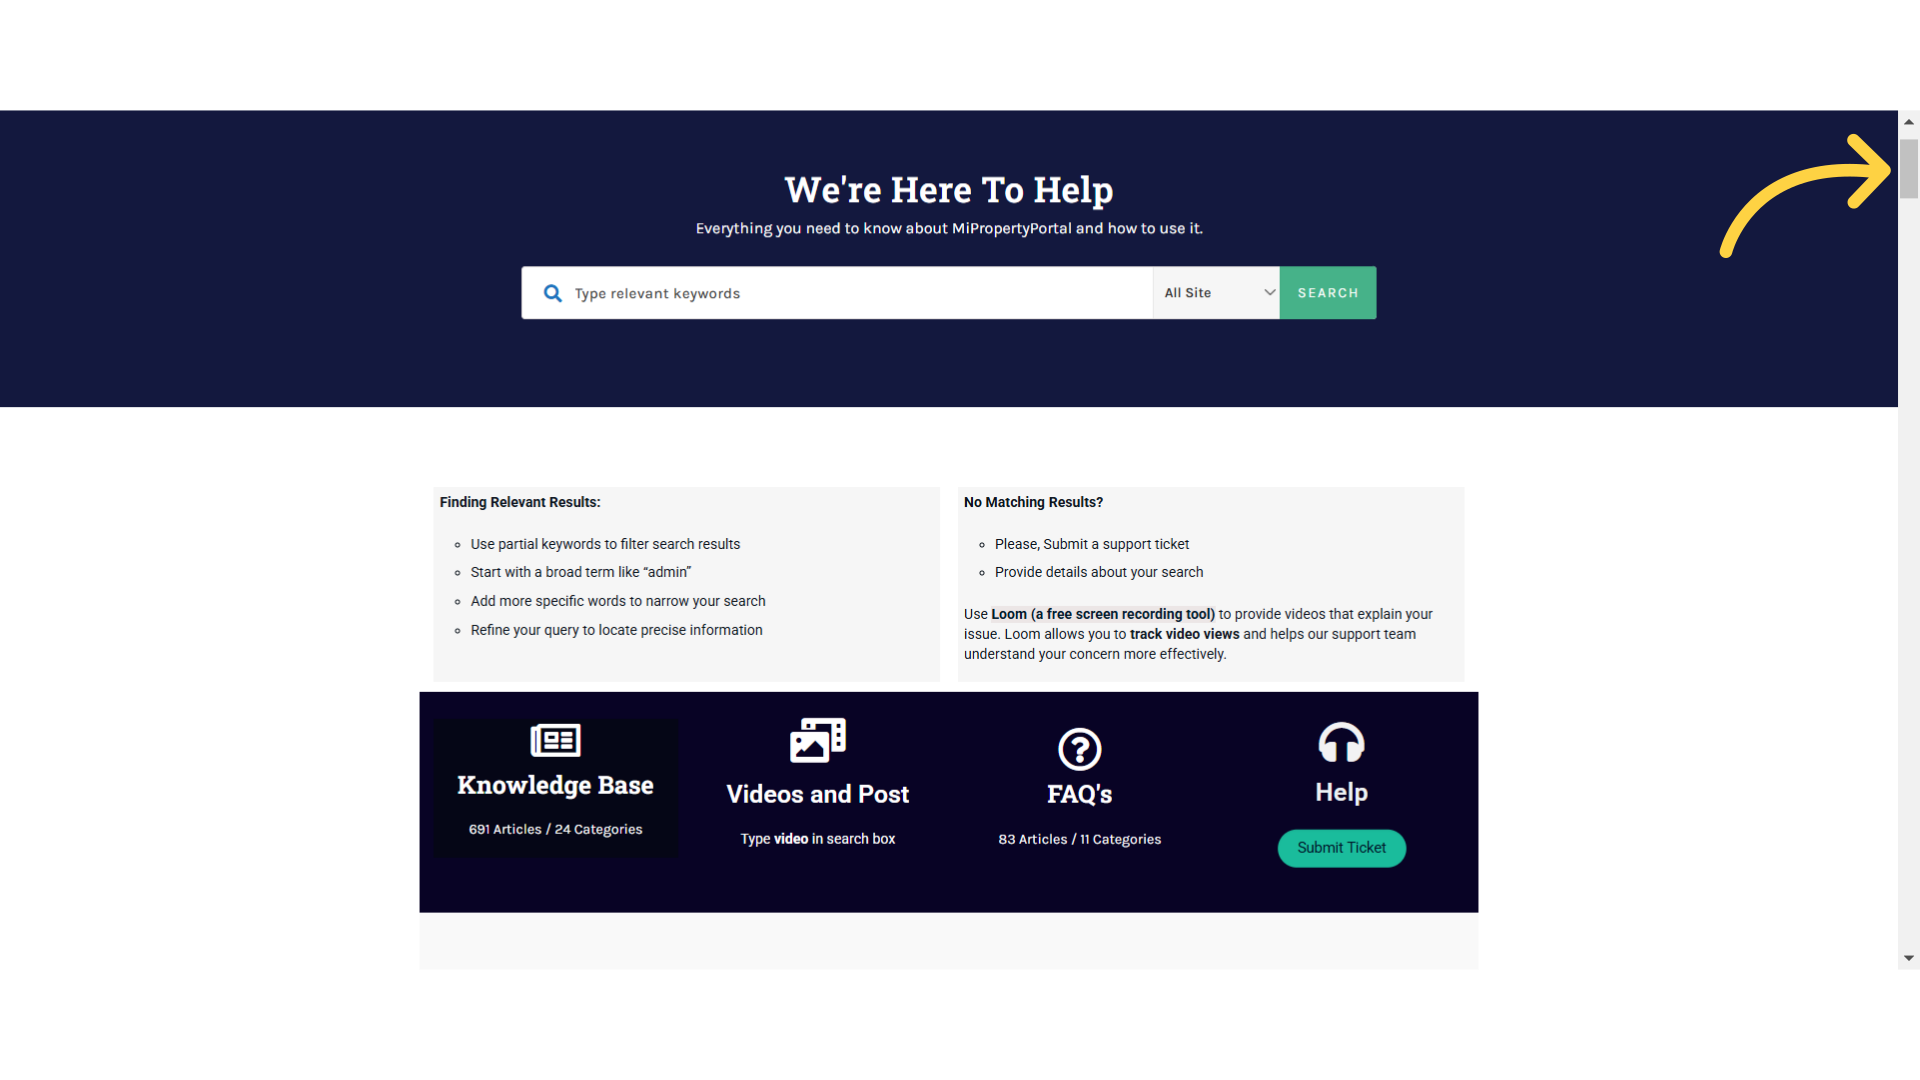
3. Click “We’re Here To Help”
When you click on the “Support” option, it’ll bring you right here to our main support page
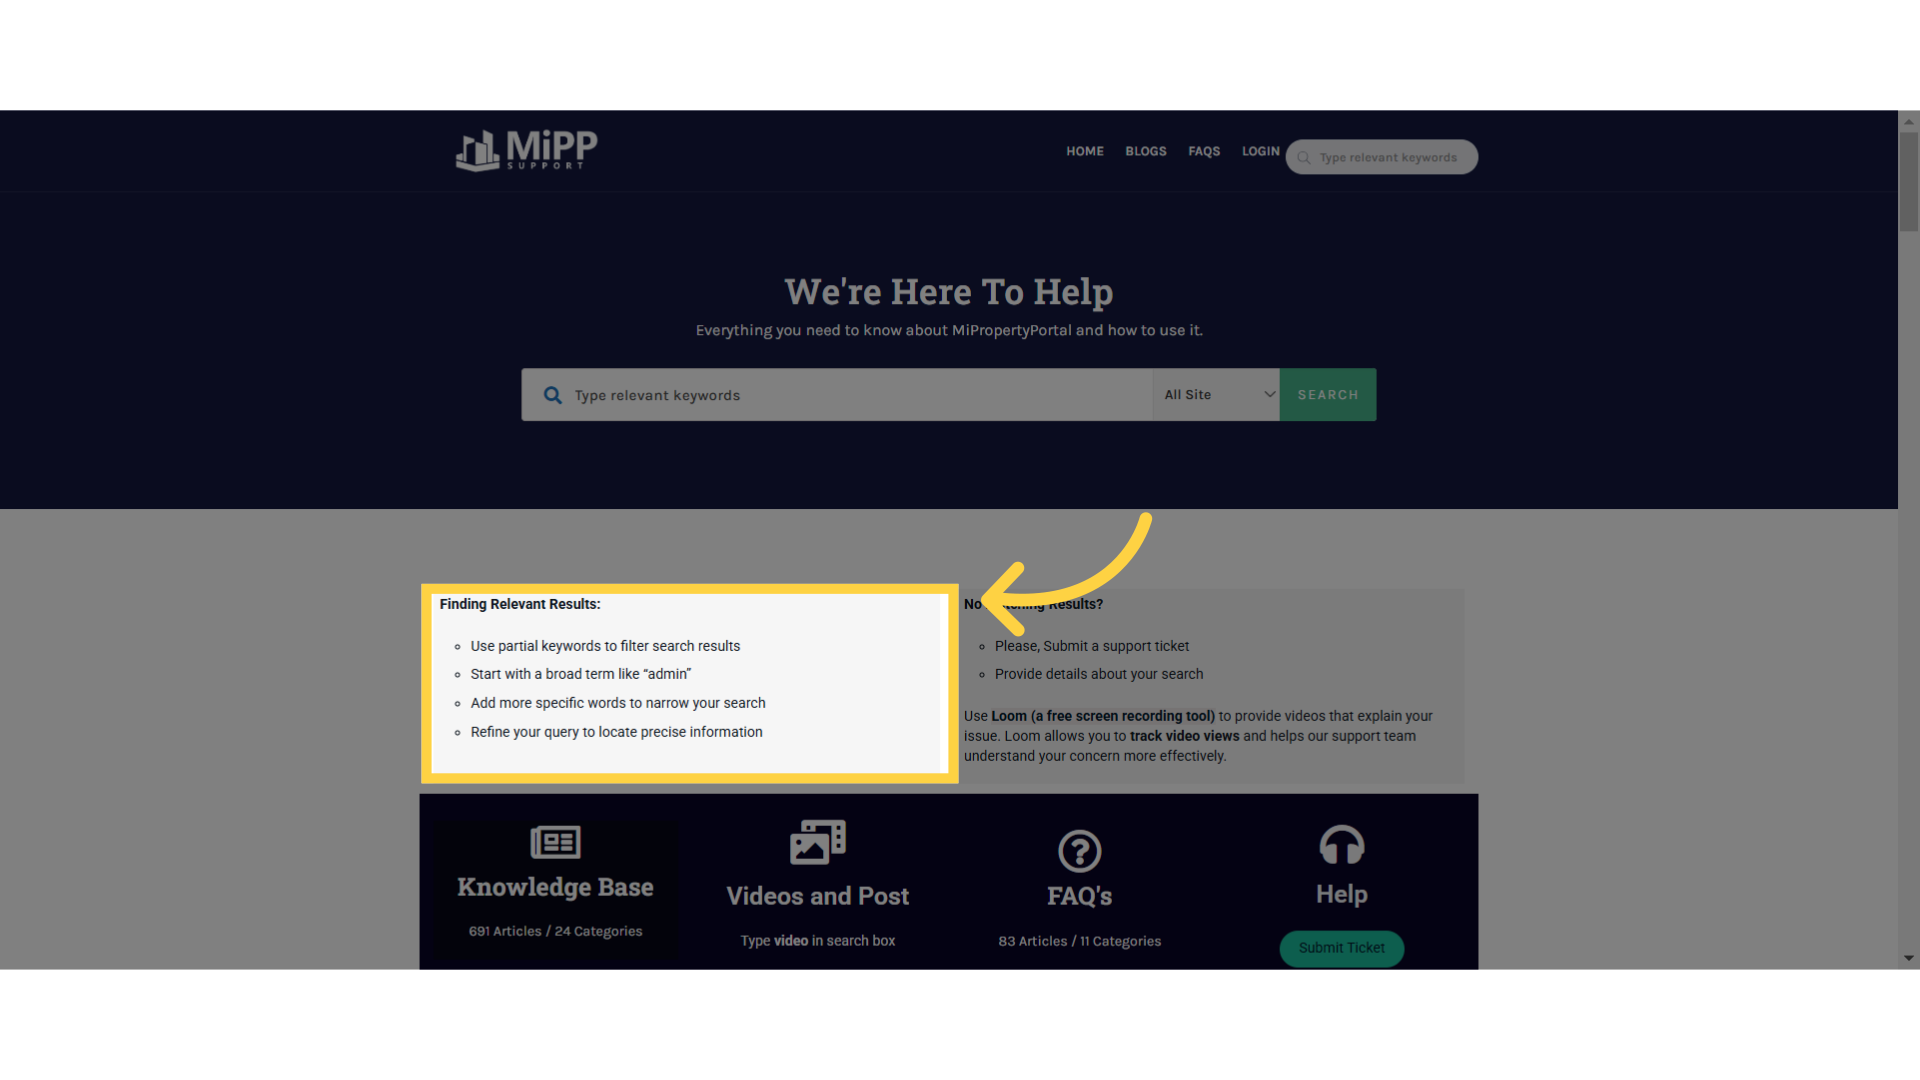
4. Read the section of “Finding Relevant Results:”
Here’s a quick tip before you search for an article, in our knowledge base. Use partial keywords, to filter your search results effectively. Start with a broad term like admin, to get general results, and then add more specific words, such as invite admin, to narrow it down further. Keep refining your query until you find the precise information you need!
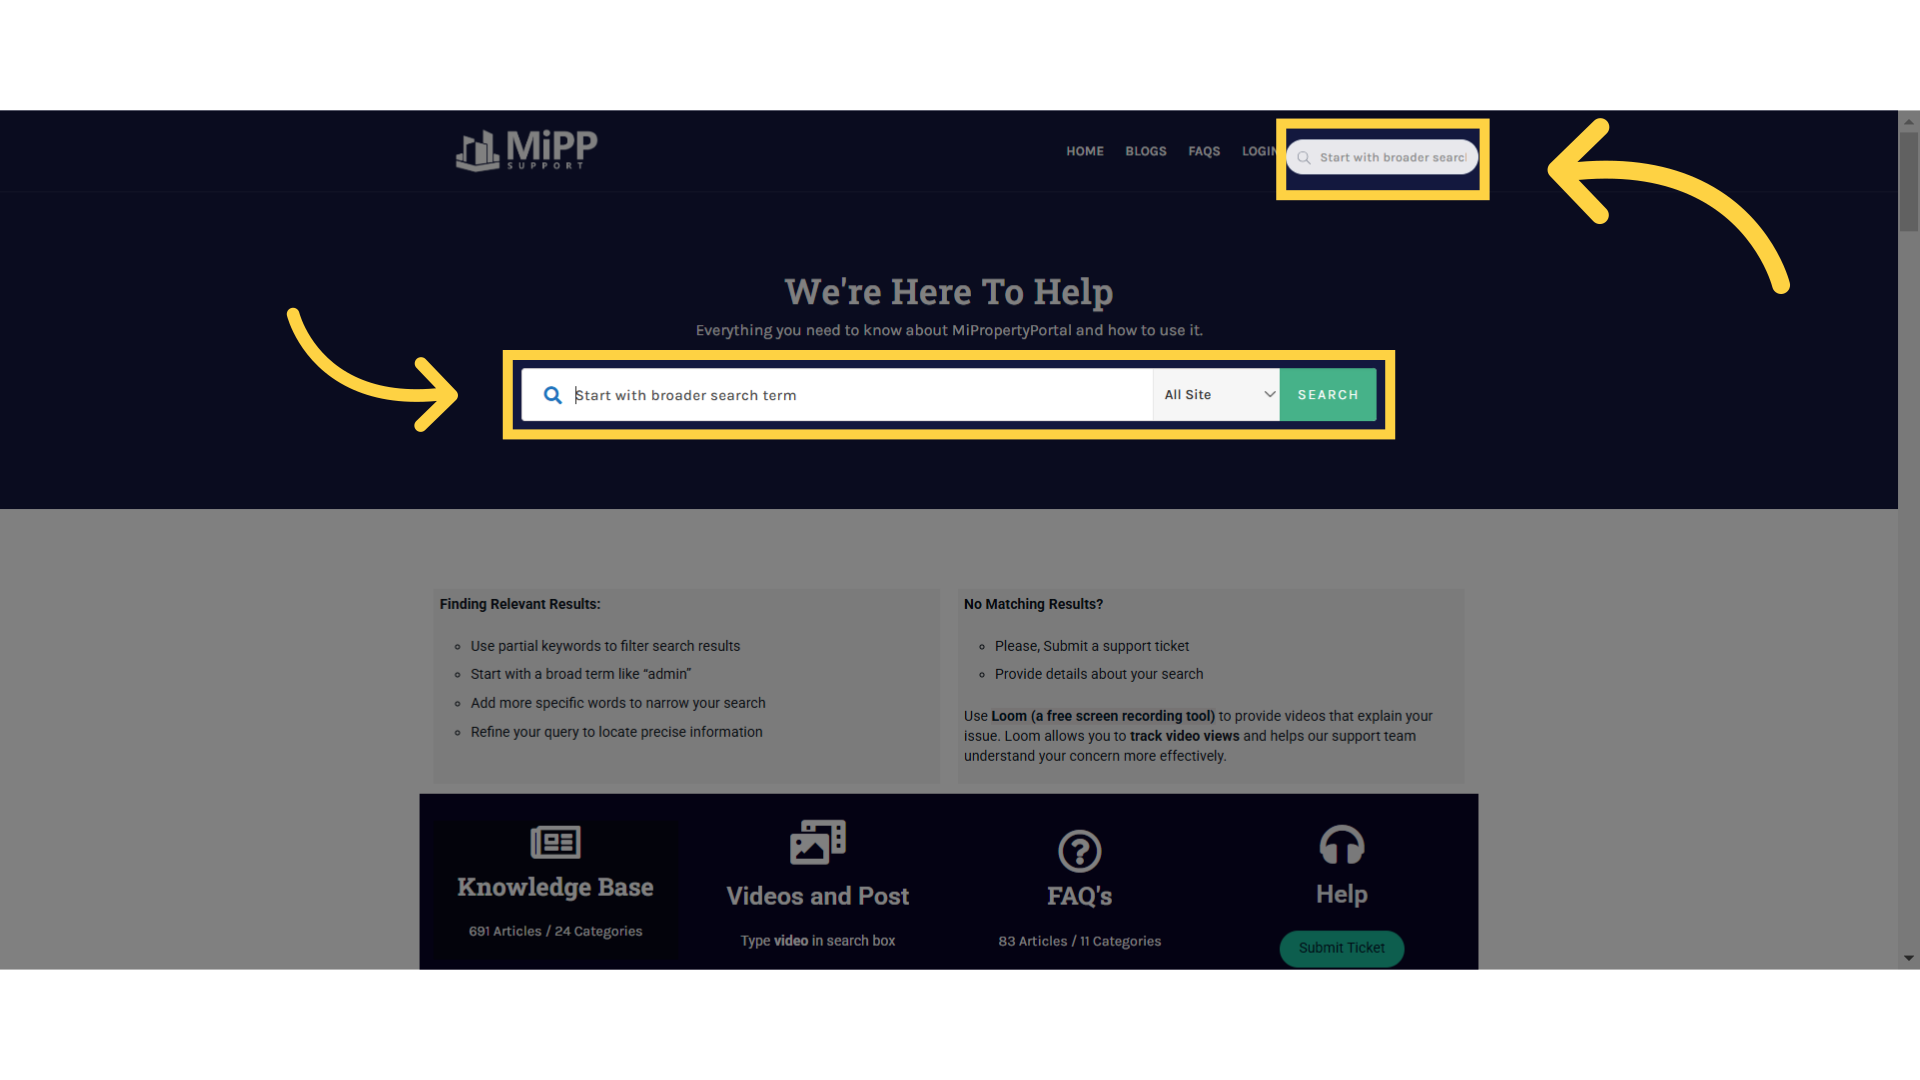
5. Click “Start with broader search term”
Now, before we jump in, you can make a search, using either of these search boxes.
6. Enter your search term
Okay, so suppose I want to find an article on how to set up a profile. Let’s start by typing in the keyword “profile.”
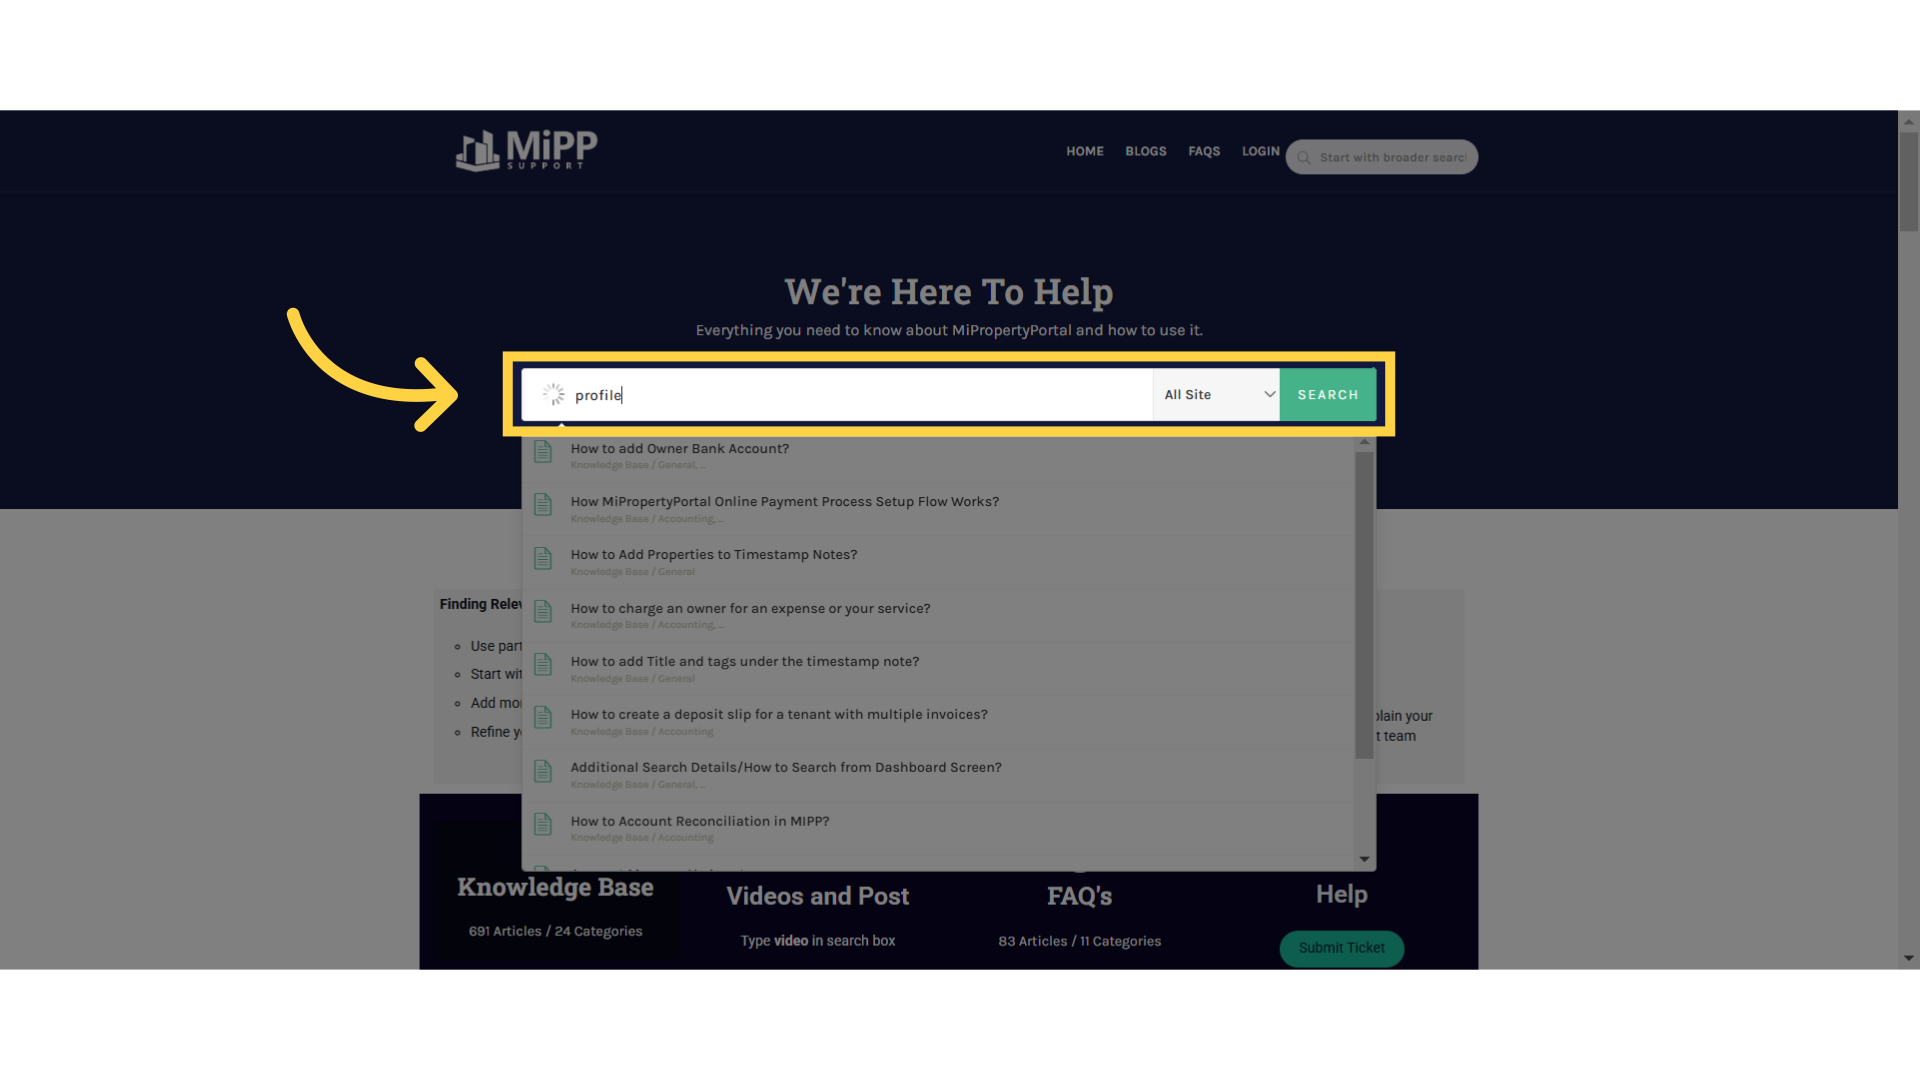
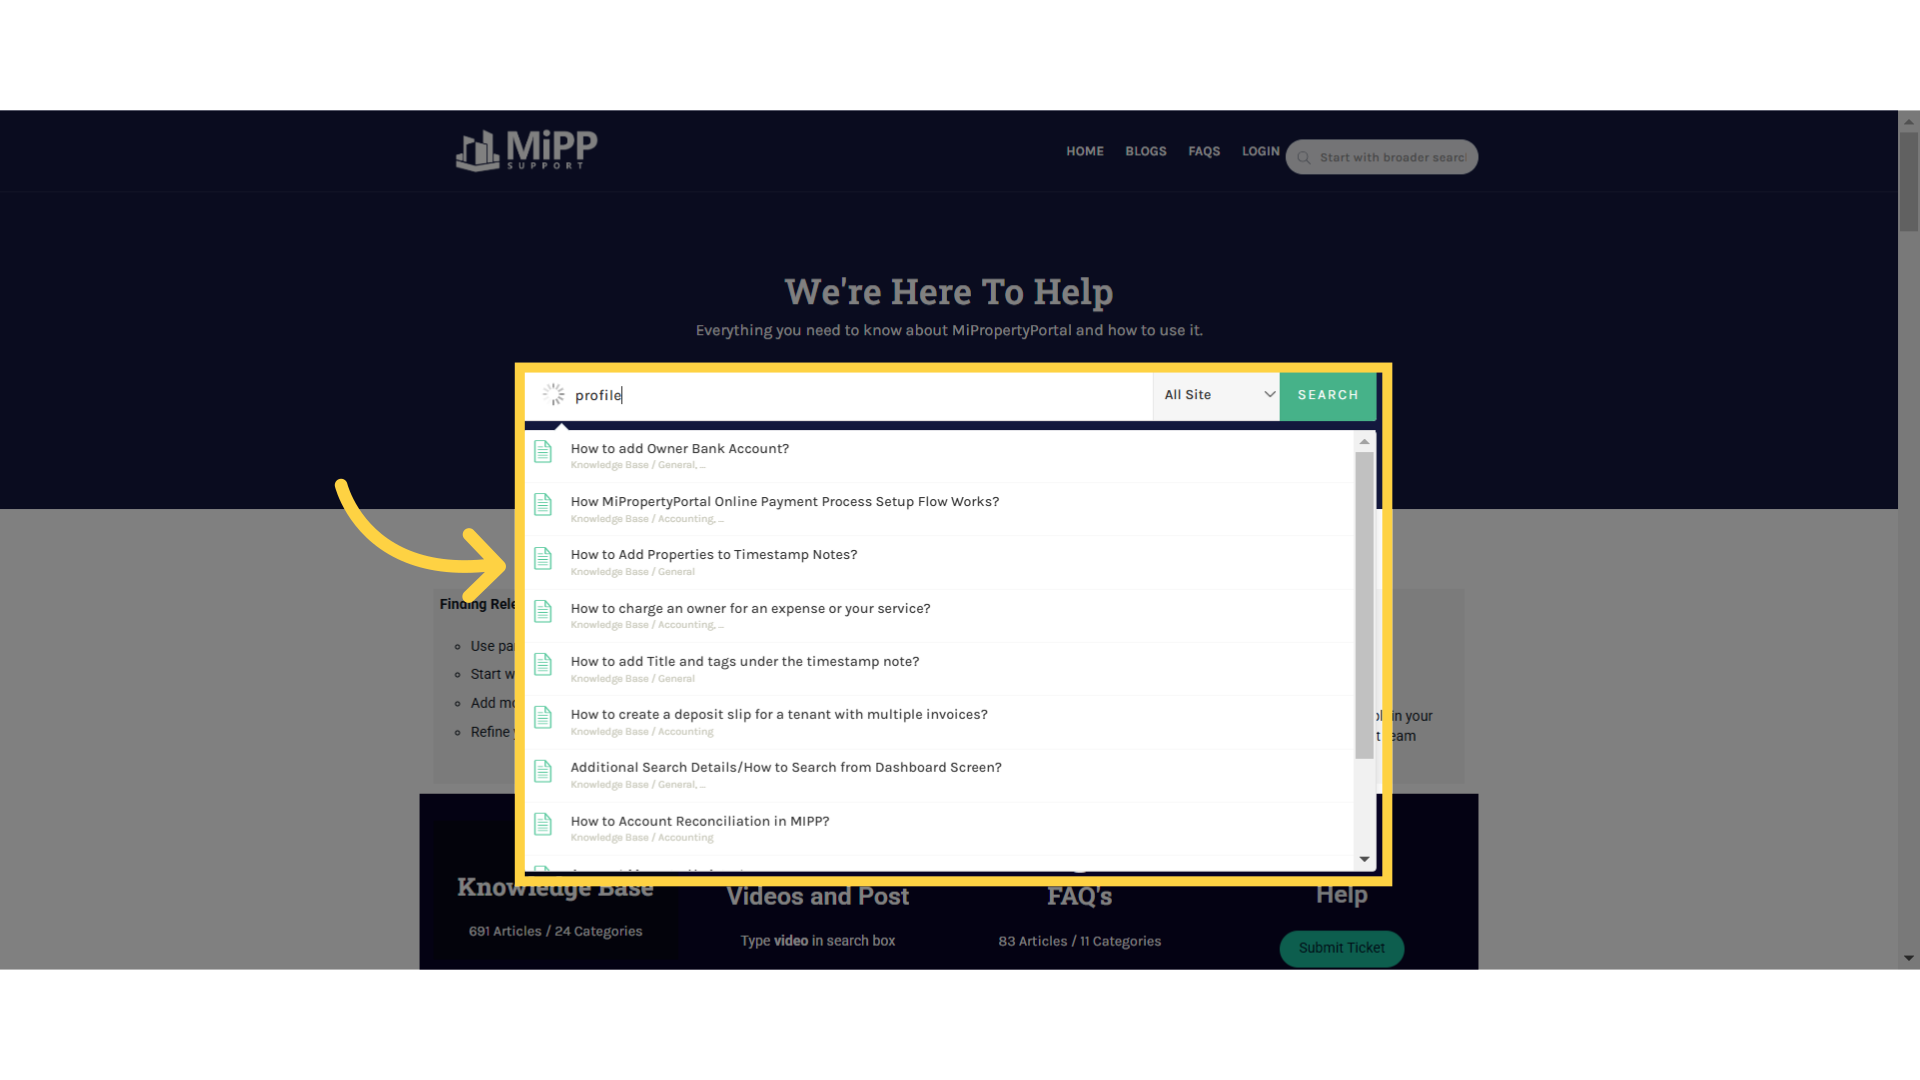
7. Search result
As you can see, it’s suggesting a variety of articles that include the word “profile” in them
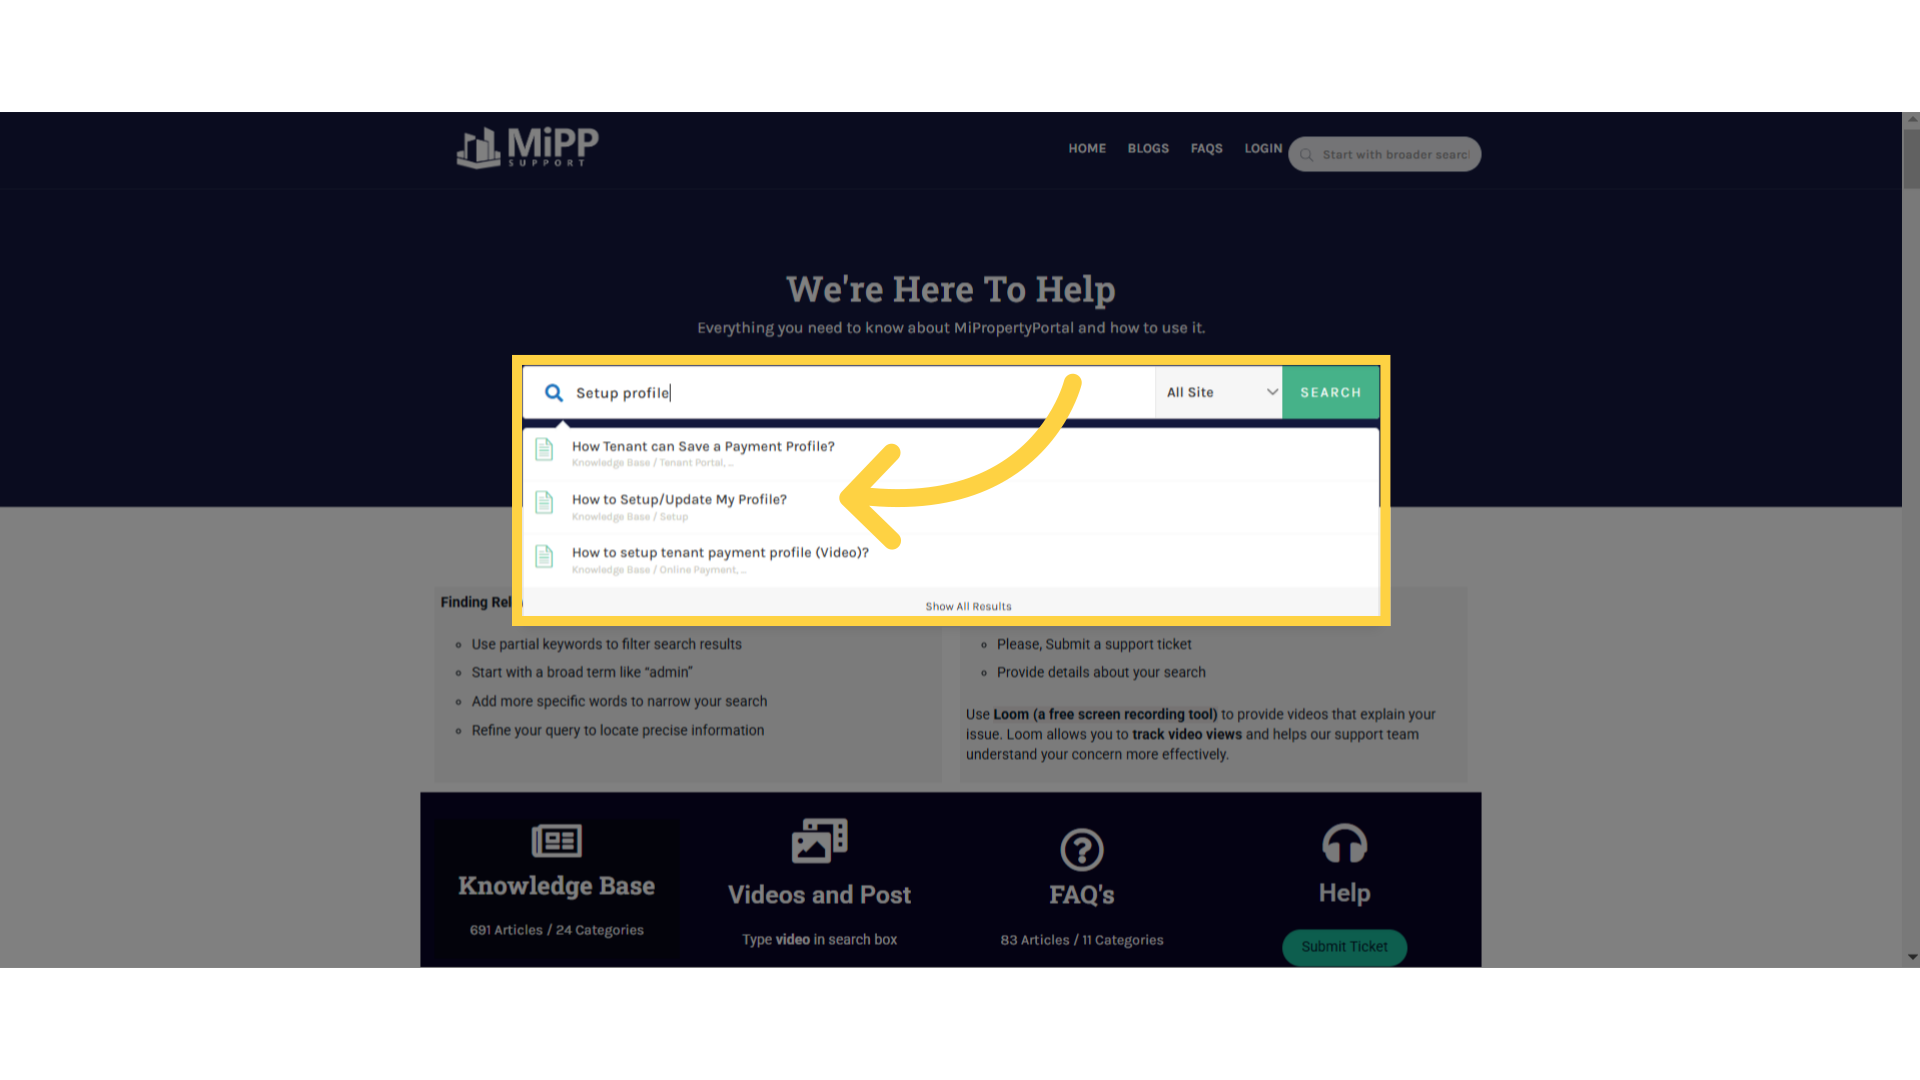
8. Refine search term
Now, see, I refined my search by typing in “setup profile,” and it narrowed down the results. It’s now showing me fewer suggestions, and one of them is “How to Setup My Profile.”
9. Article details
Okay, so if you click on the article, it will bring you to the article page where you can find the step-by-step tutorial video
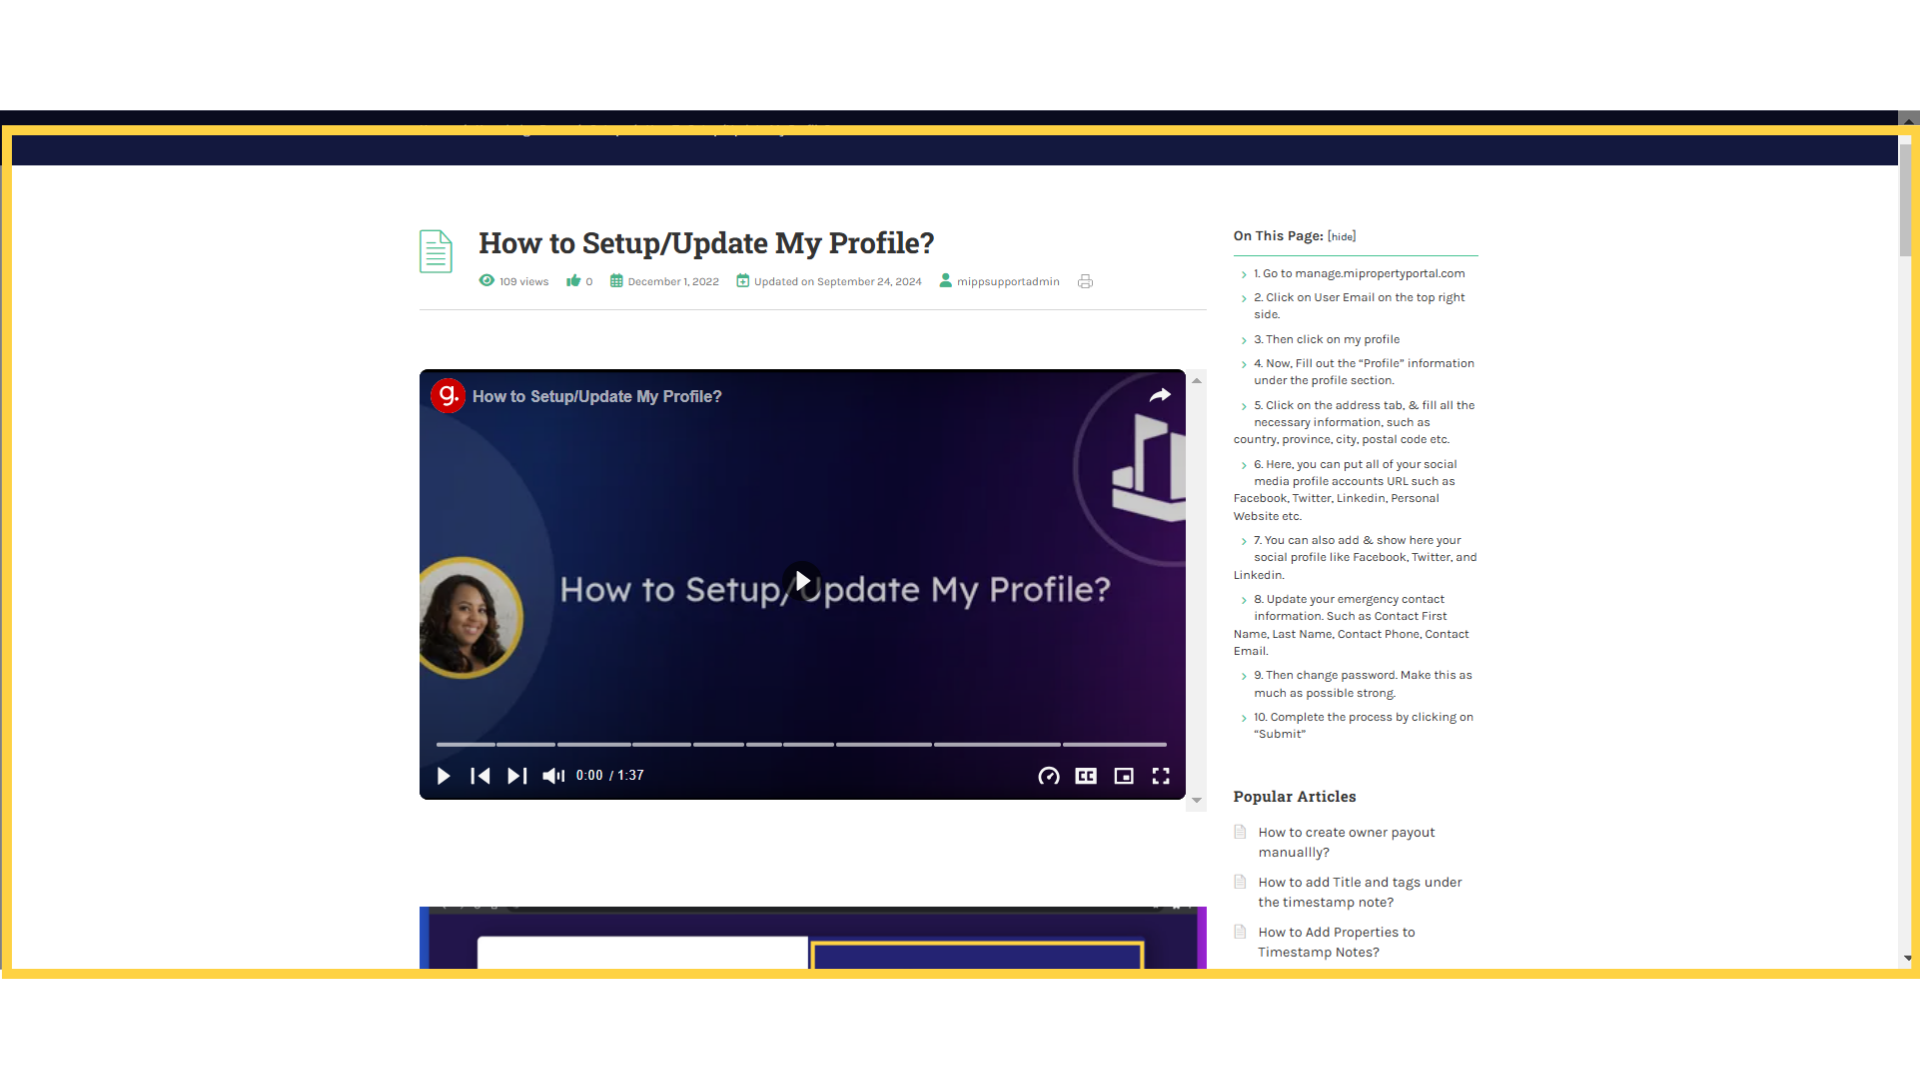
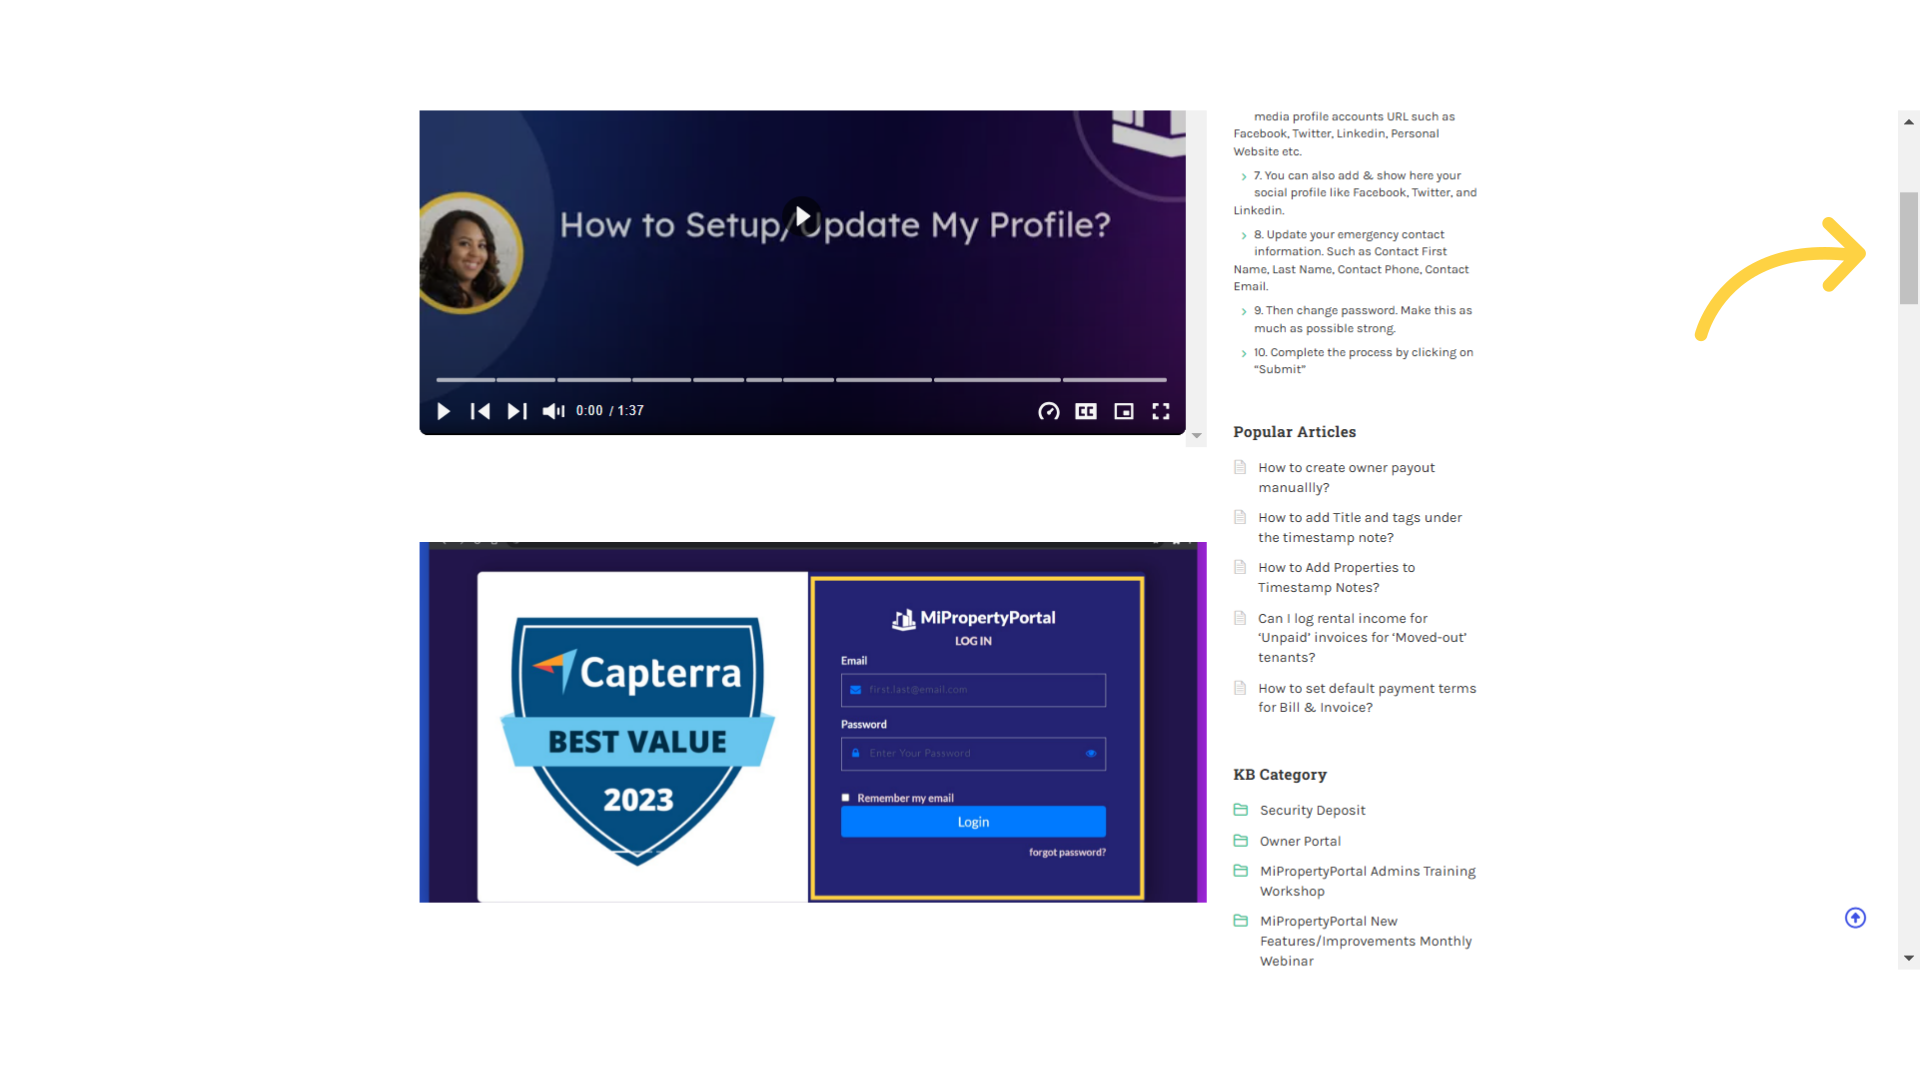
10. Scroll Down to see photo instructions
If you want to see the step-by-step photo instructions, all you have to do is scroll down below the video on the same page, and you’ll find the photo instructions right there.
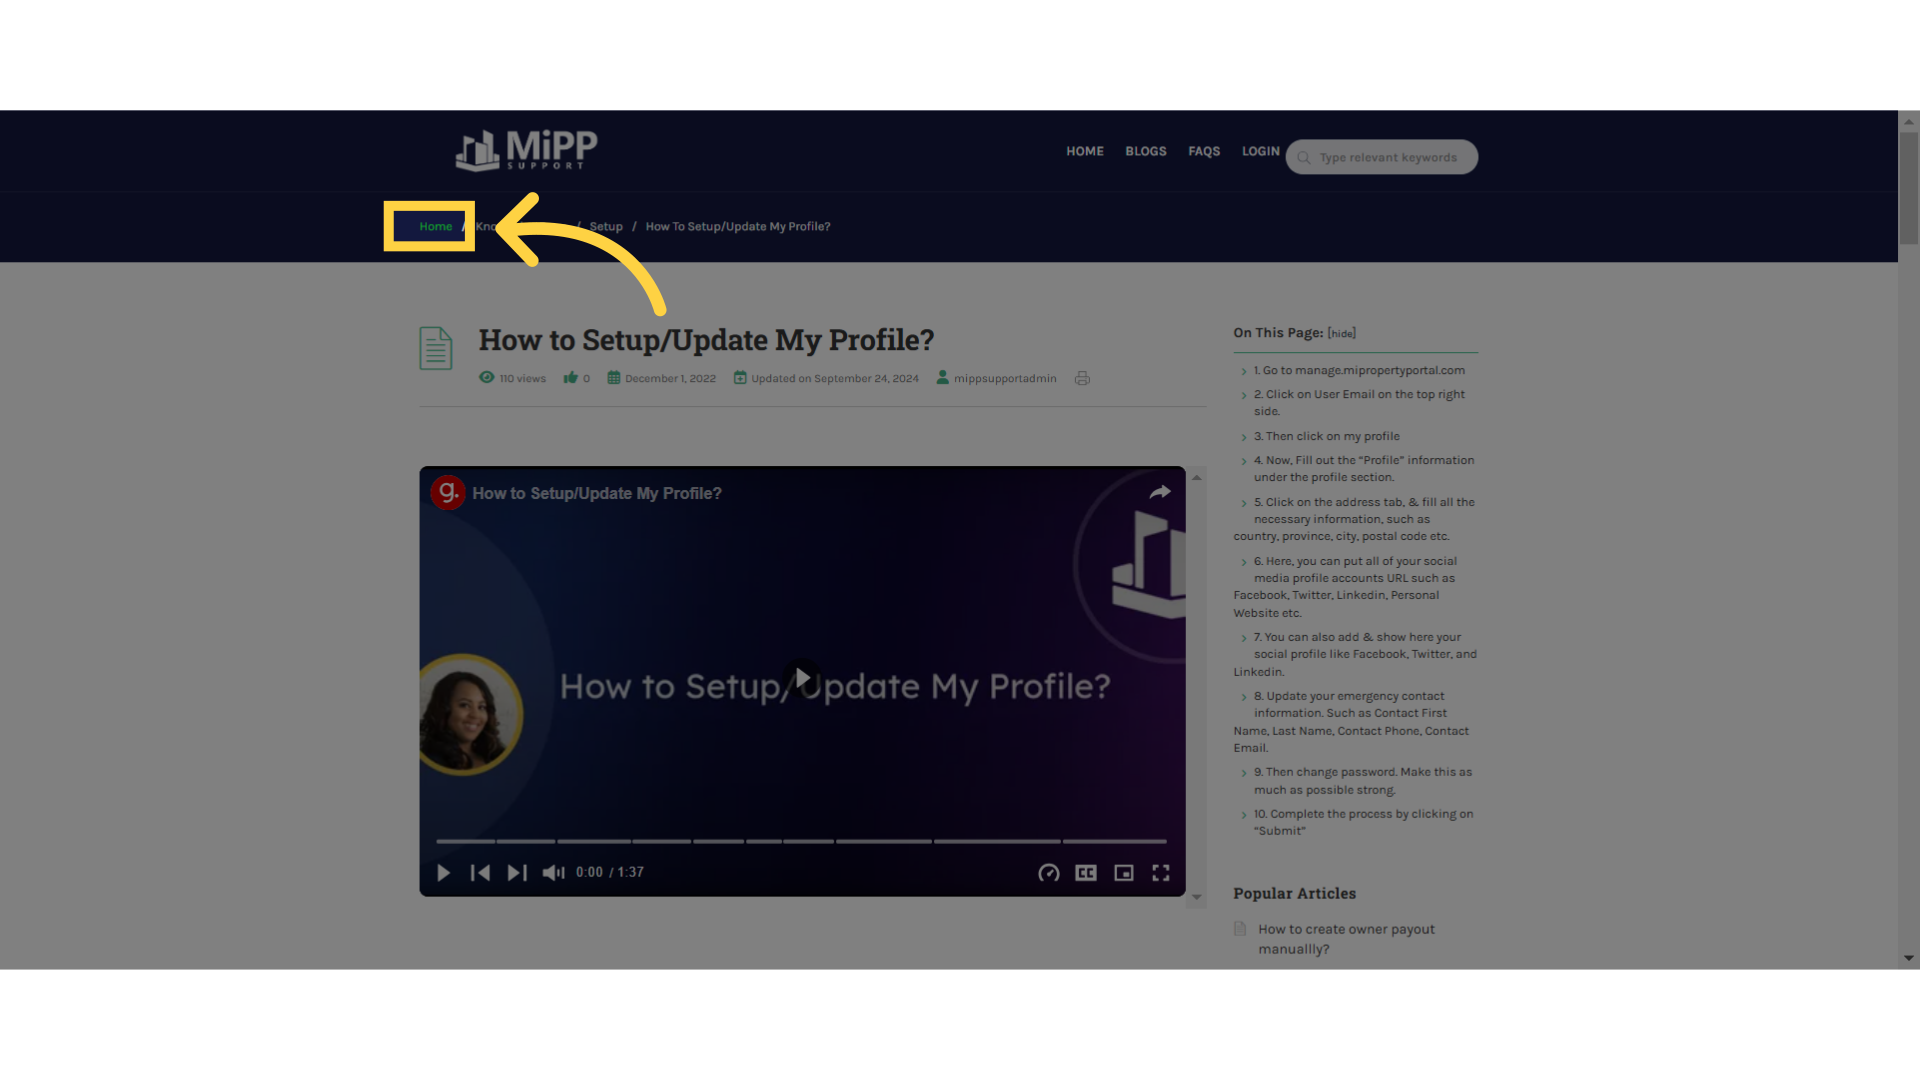
11. Return to “home”
You can return to the homepage from an article, by clicking right here
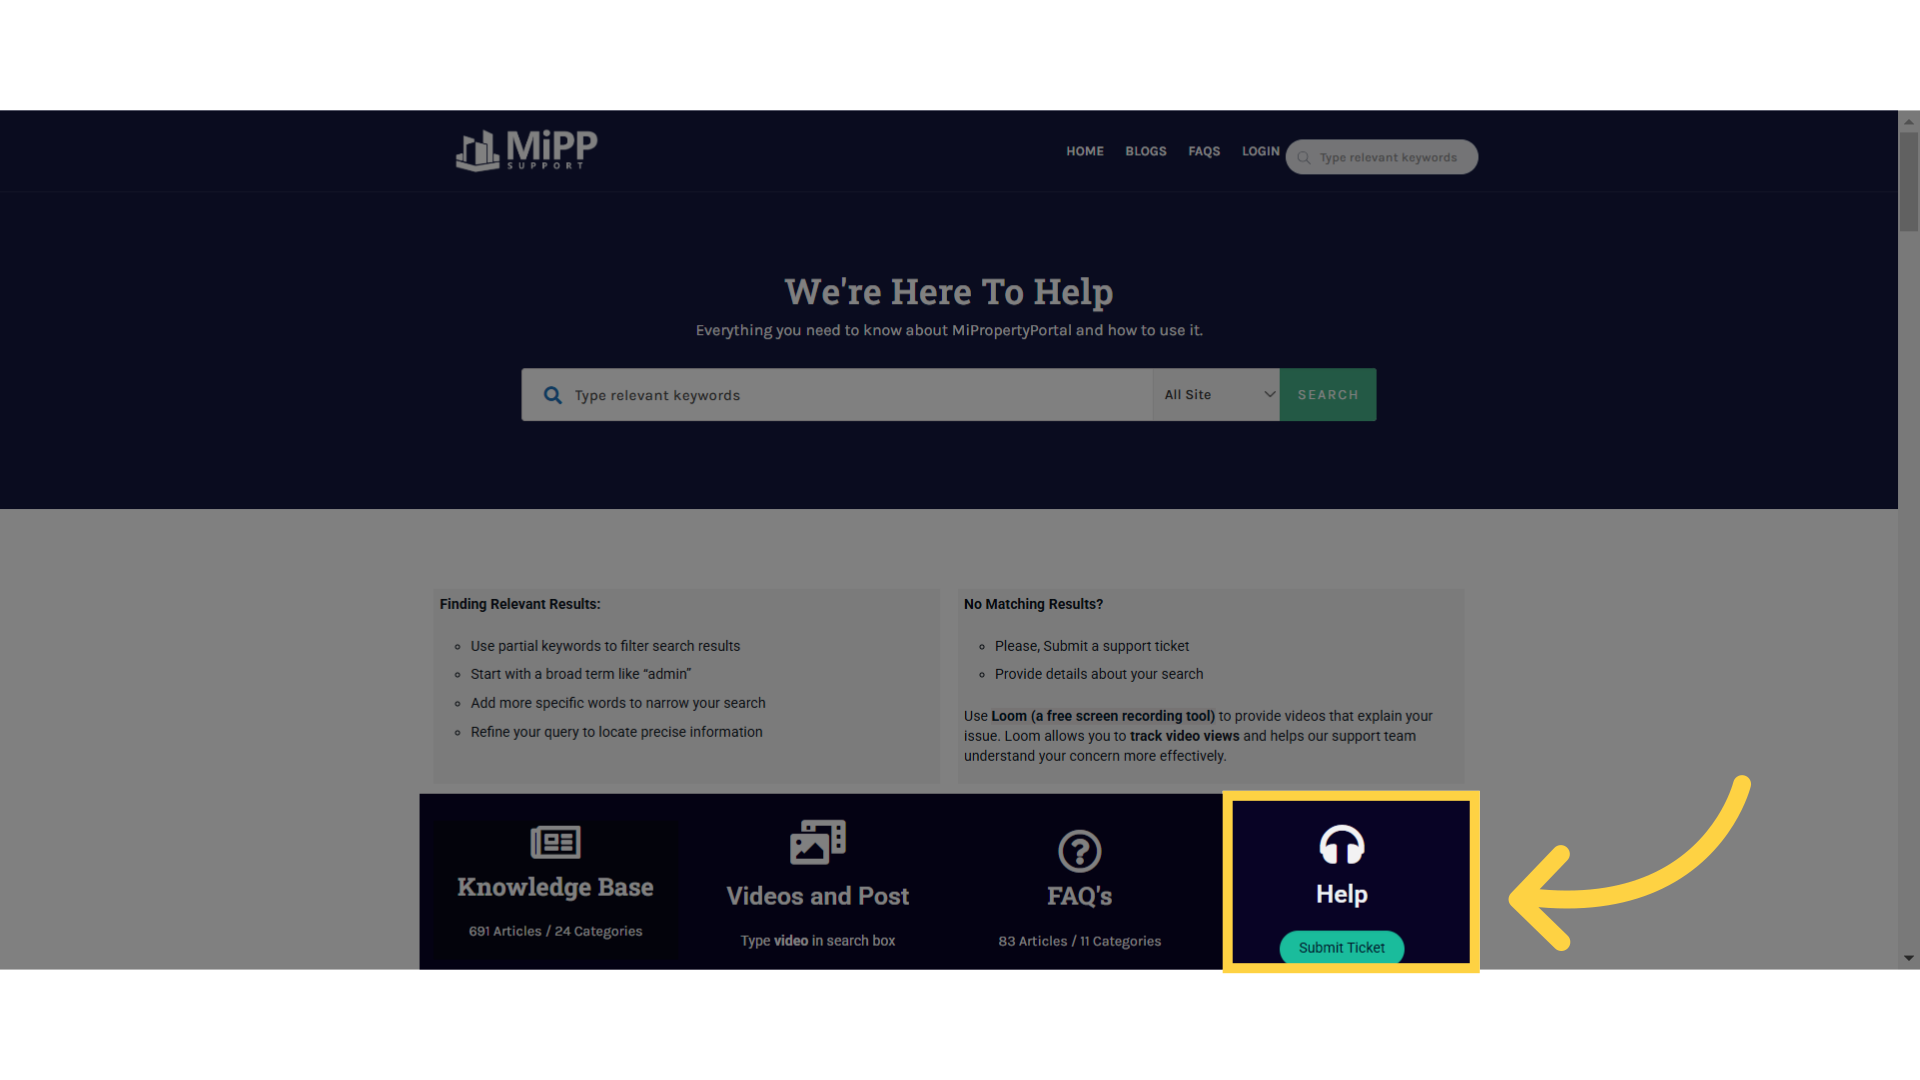
12. Click “No Matching Results?”
Now check this section: if there are no matching results, please reach out by submitting a support ticket. For technical issues in the system—like a bug, or if you’re trying to save an item but it’s not getting saved—you can record your issue using Loom, an excellent free screen recording tool. Submitting a ticket with a clear recording helps our technical team start resolving the issue right away!

13. Click “We’re Here To Help”
Okay, so to submit a ticket, simply click right here
14. Switch to “mipropertyportal.freshdesk.com”
This will bring you to the ticket submission page.
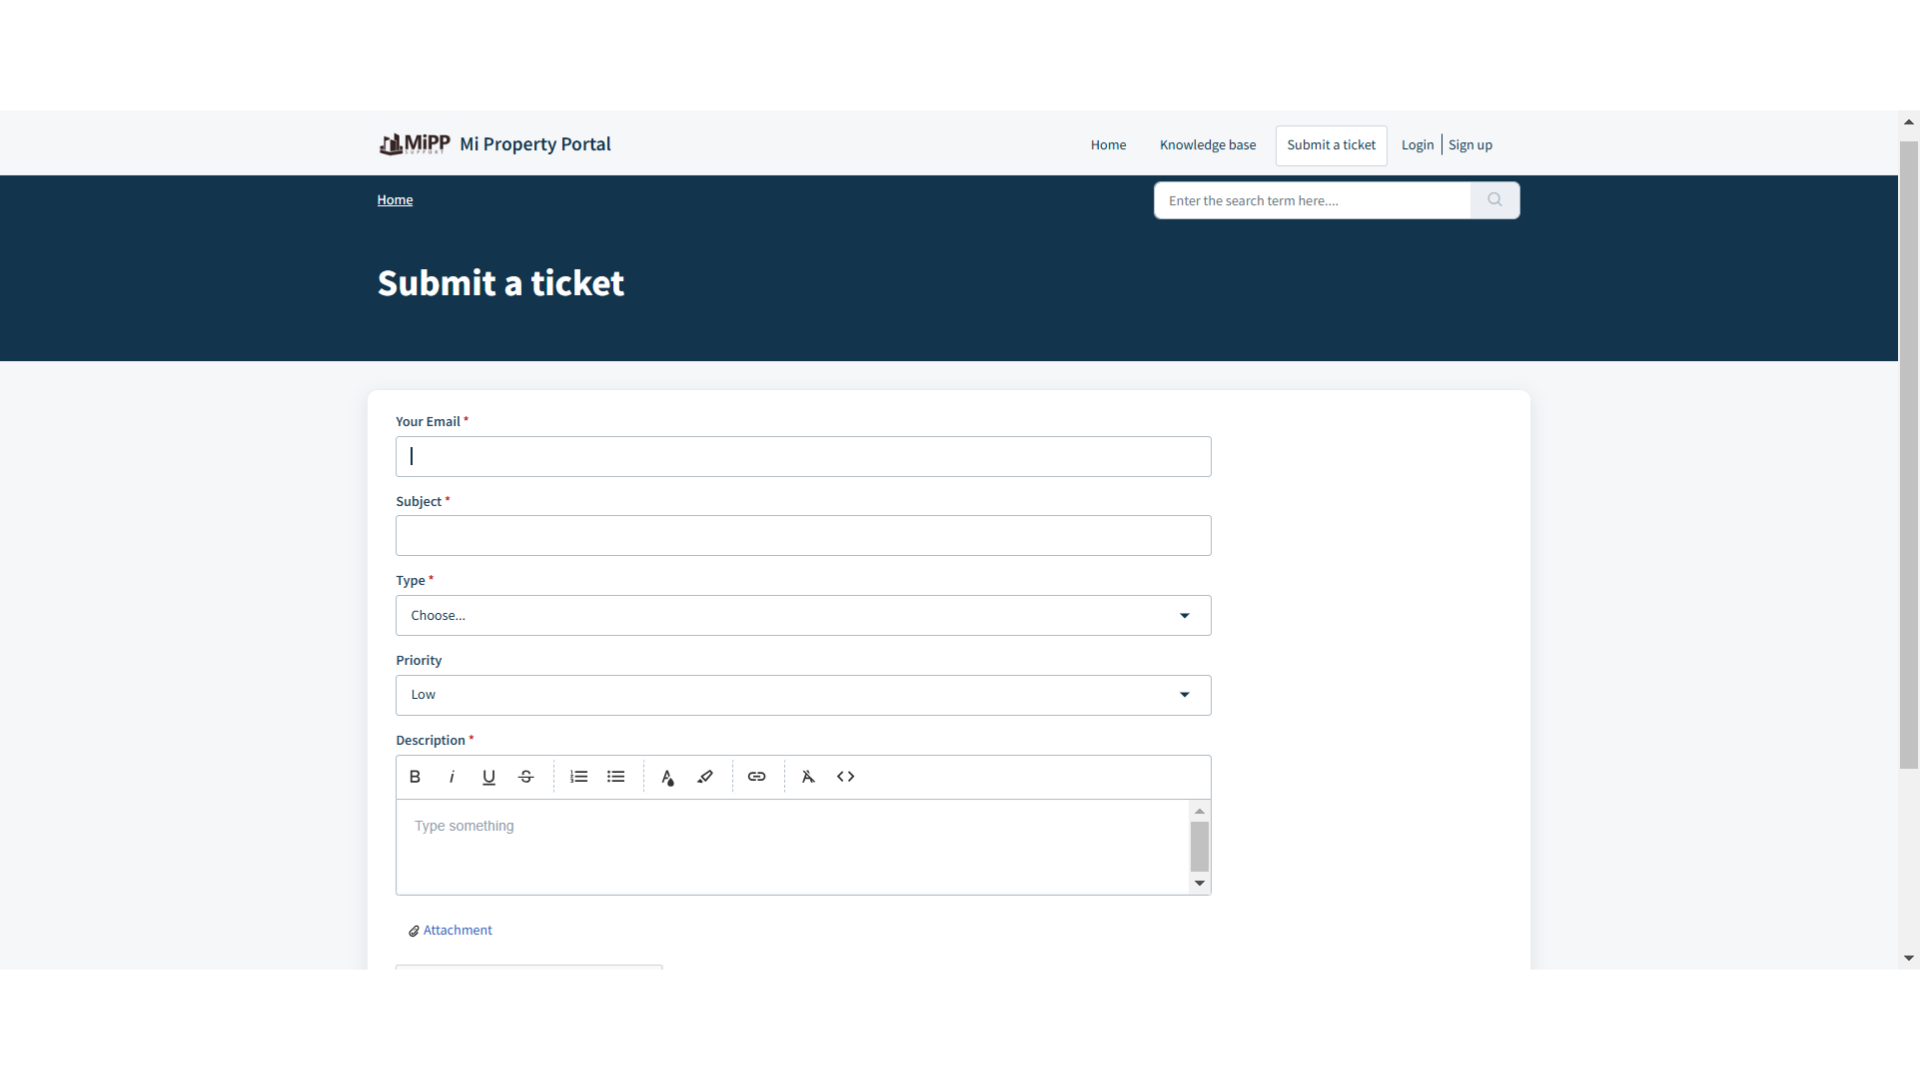
15. Click here
Fill out all the necessary details, such as your email address, name, and a subject—just like you would in an email. You can type or select the relevant issue you’re facing and set its priority. For example, if it’s a new feature request, you can set the priority to medium since it may take some time to implement. However, if it’s a technical error preventing you from performing a function, that should be marked as high priority. Finally, describe the issue in detail in the description box.

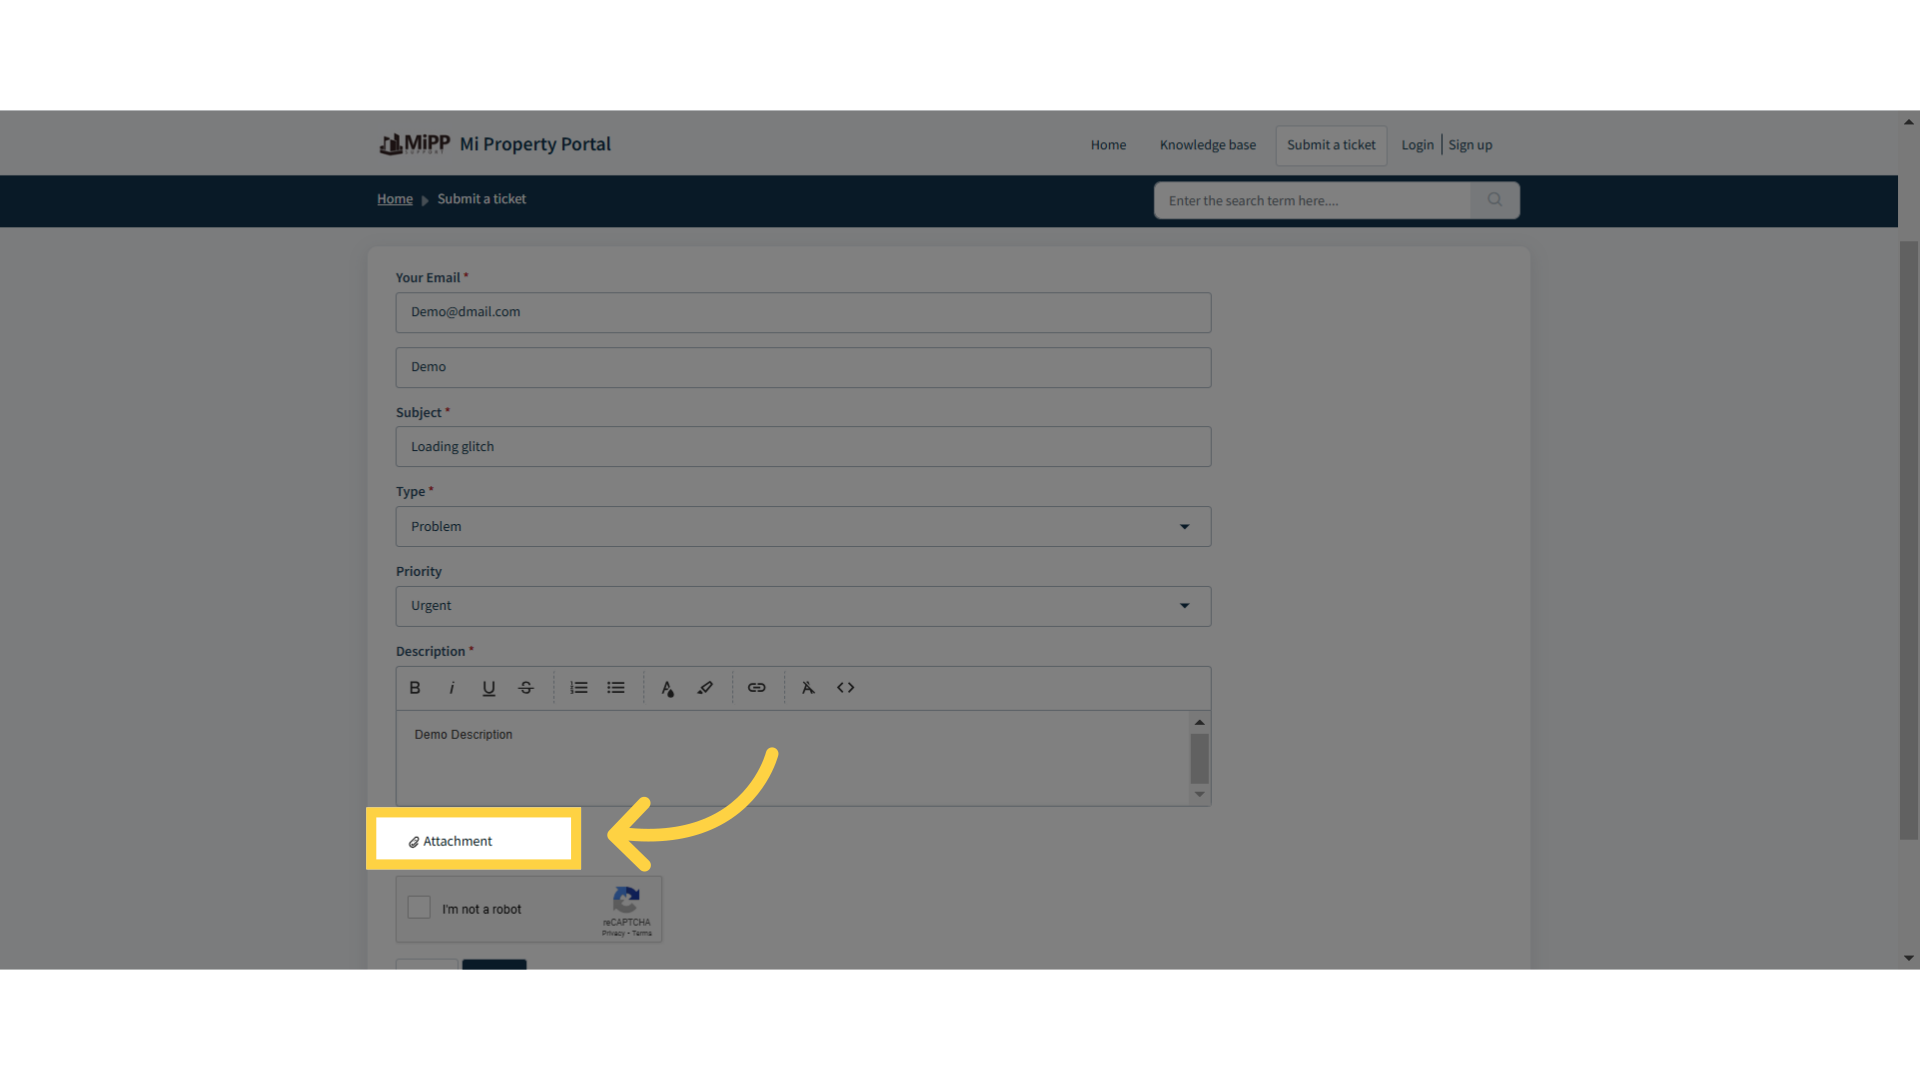
16. Click “Attachment”
You can click on the attachment option here to upload a screenshot of the issue or attach a Loom recording of the problem.
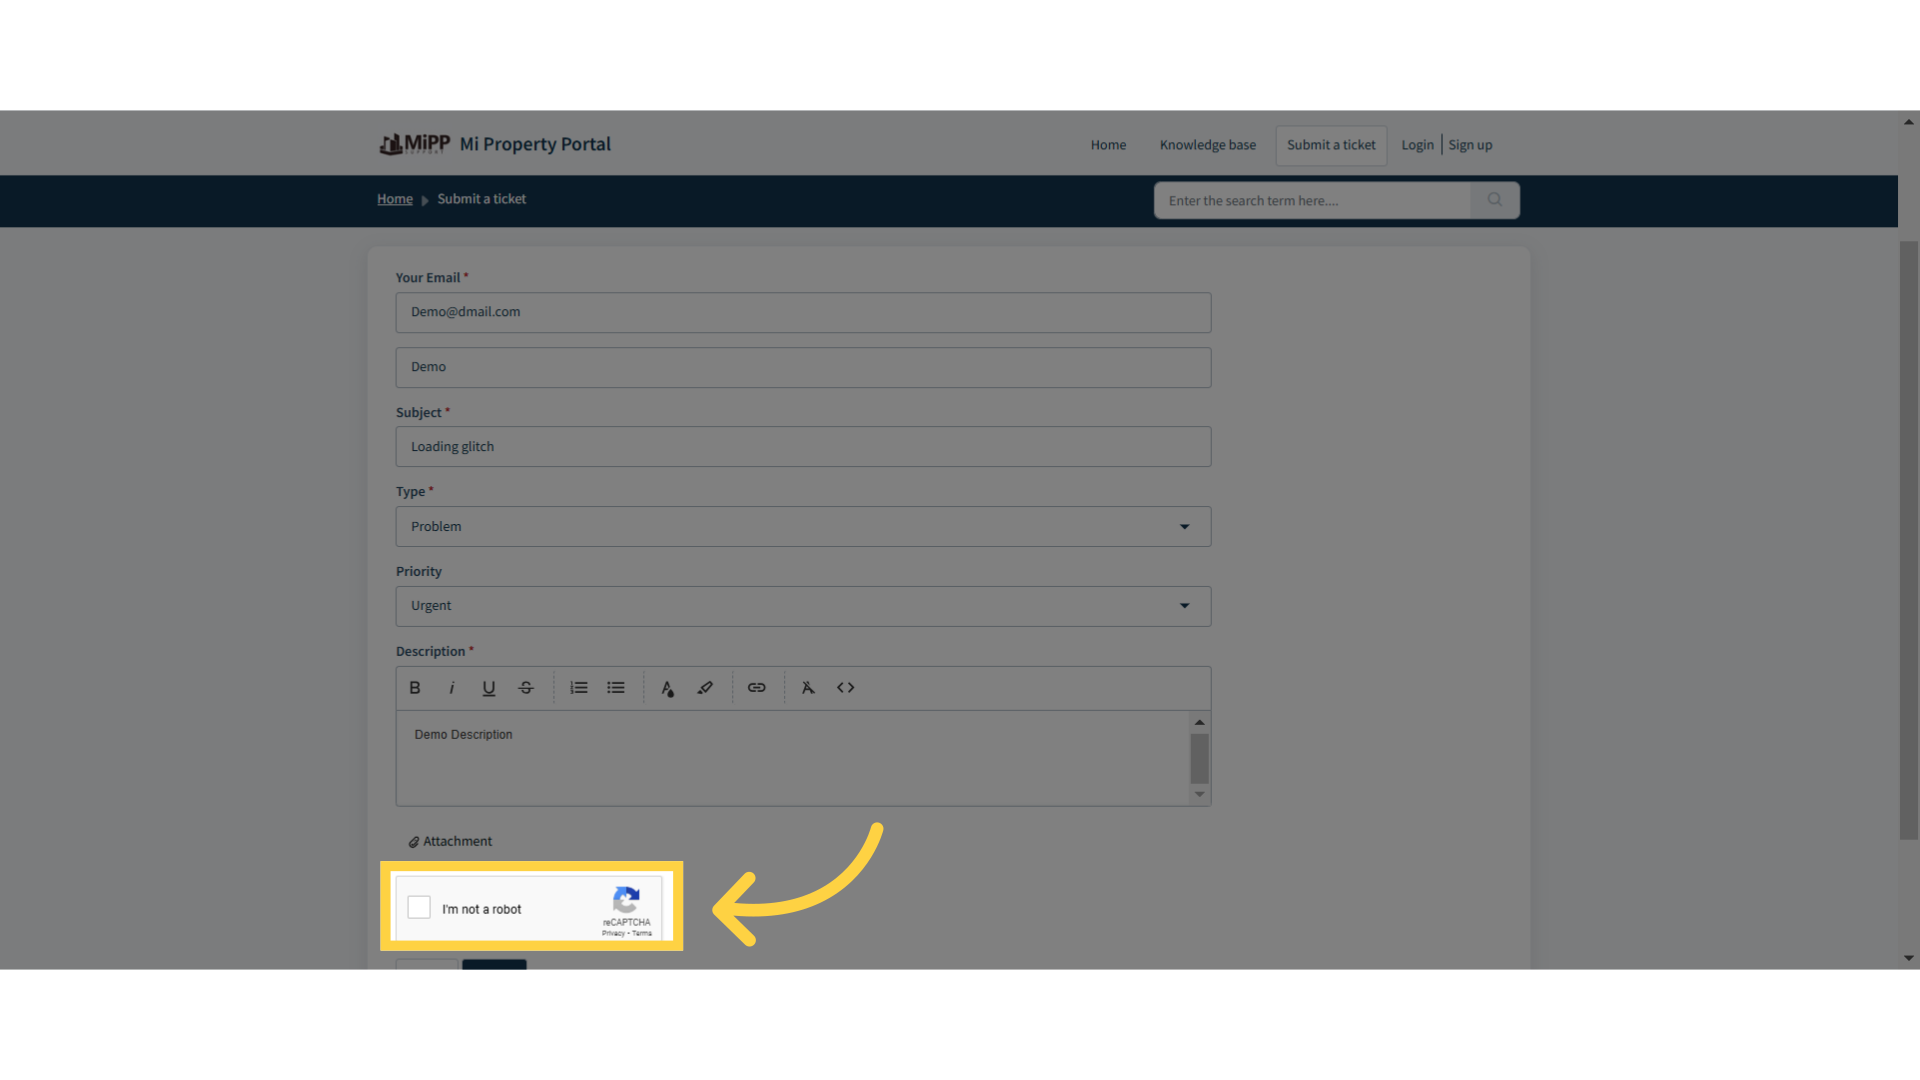
17. Click “Attachment”
Make sure to mark the “I am not a robot” box over here to complete the verification process.
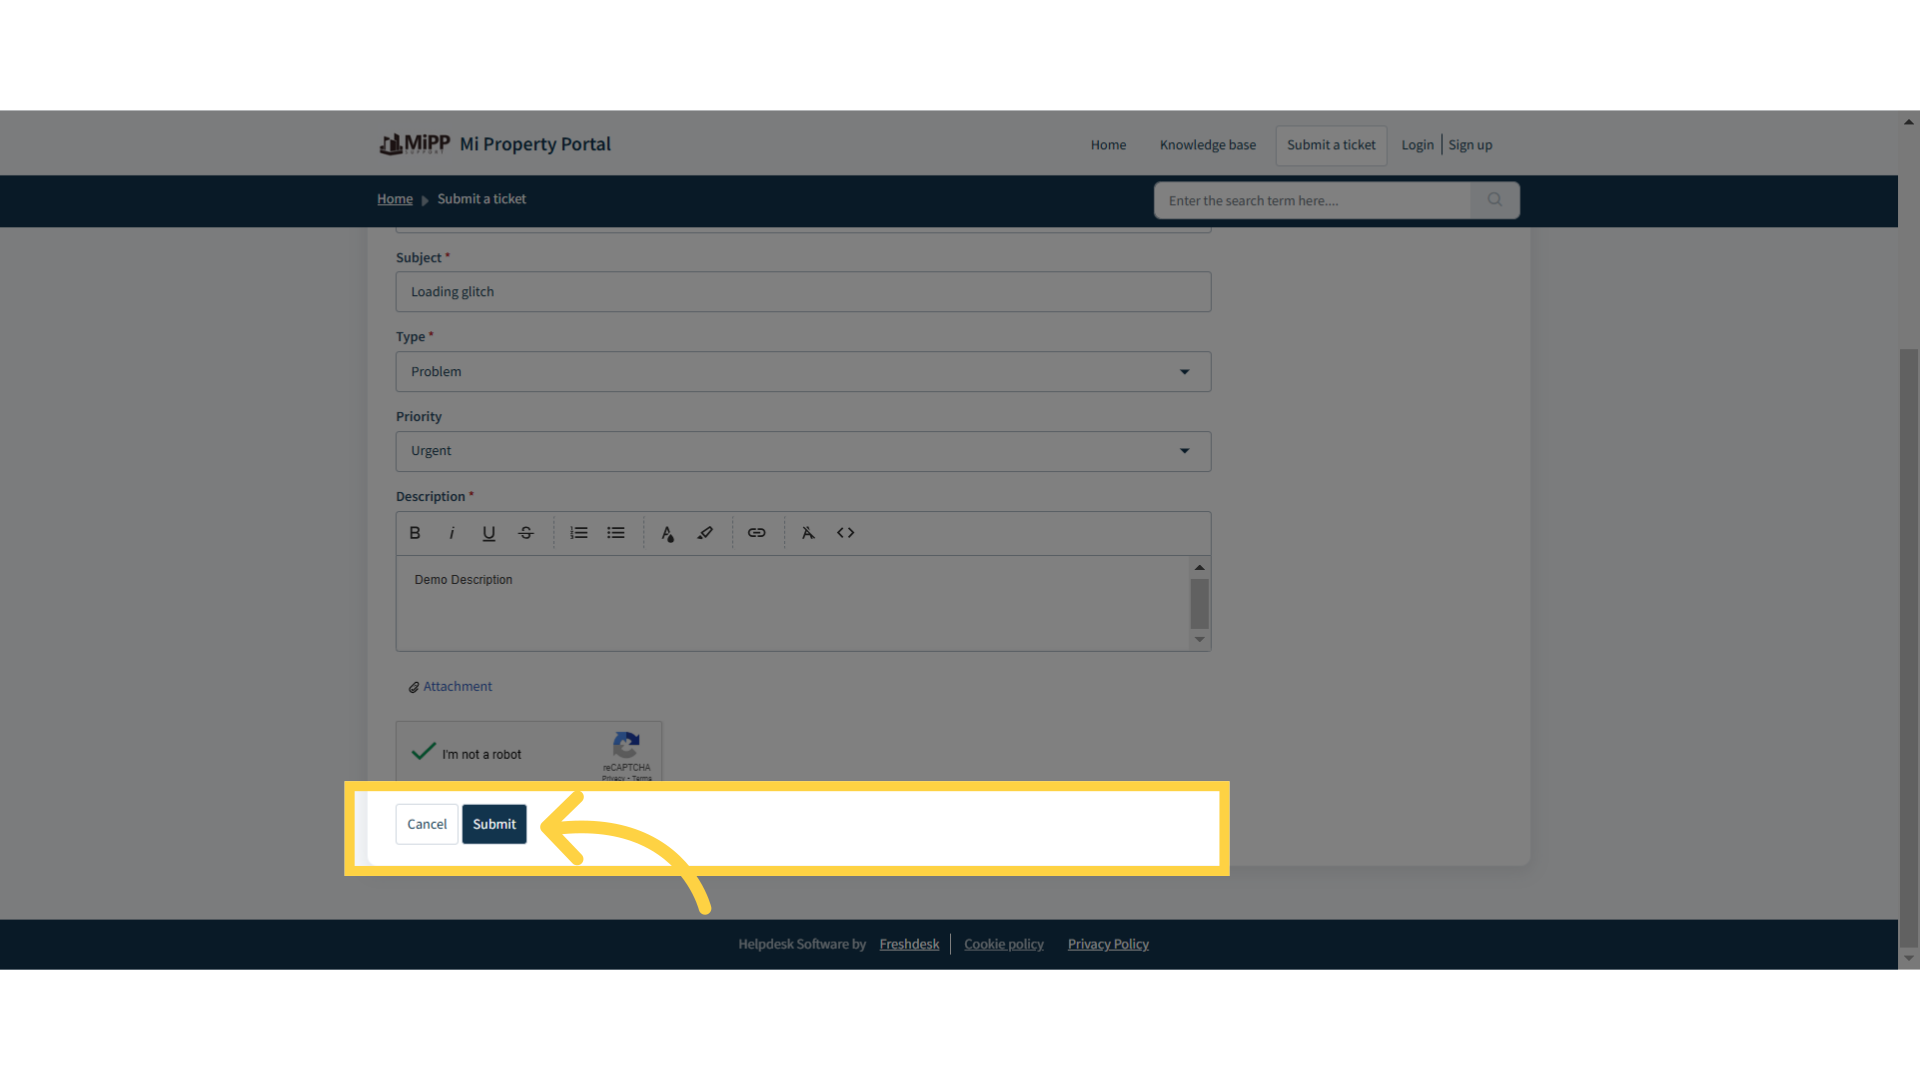
18. Click on Submit
Finally, click on the “Submit” button to submit your ticket, and our support team will get in touch with you shortly!
19. Scroll Down
Before you leave the support homepage, make sure to scroll through this section to explore other wonderful resources we have available for you!
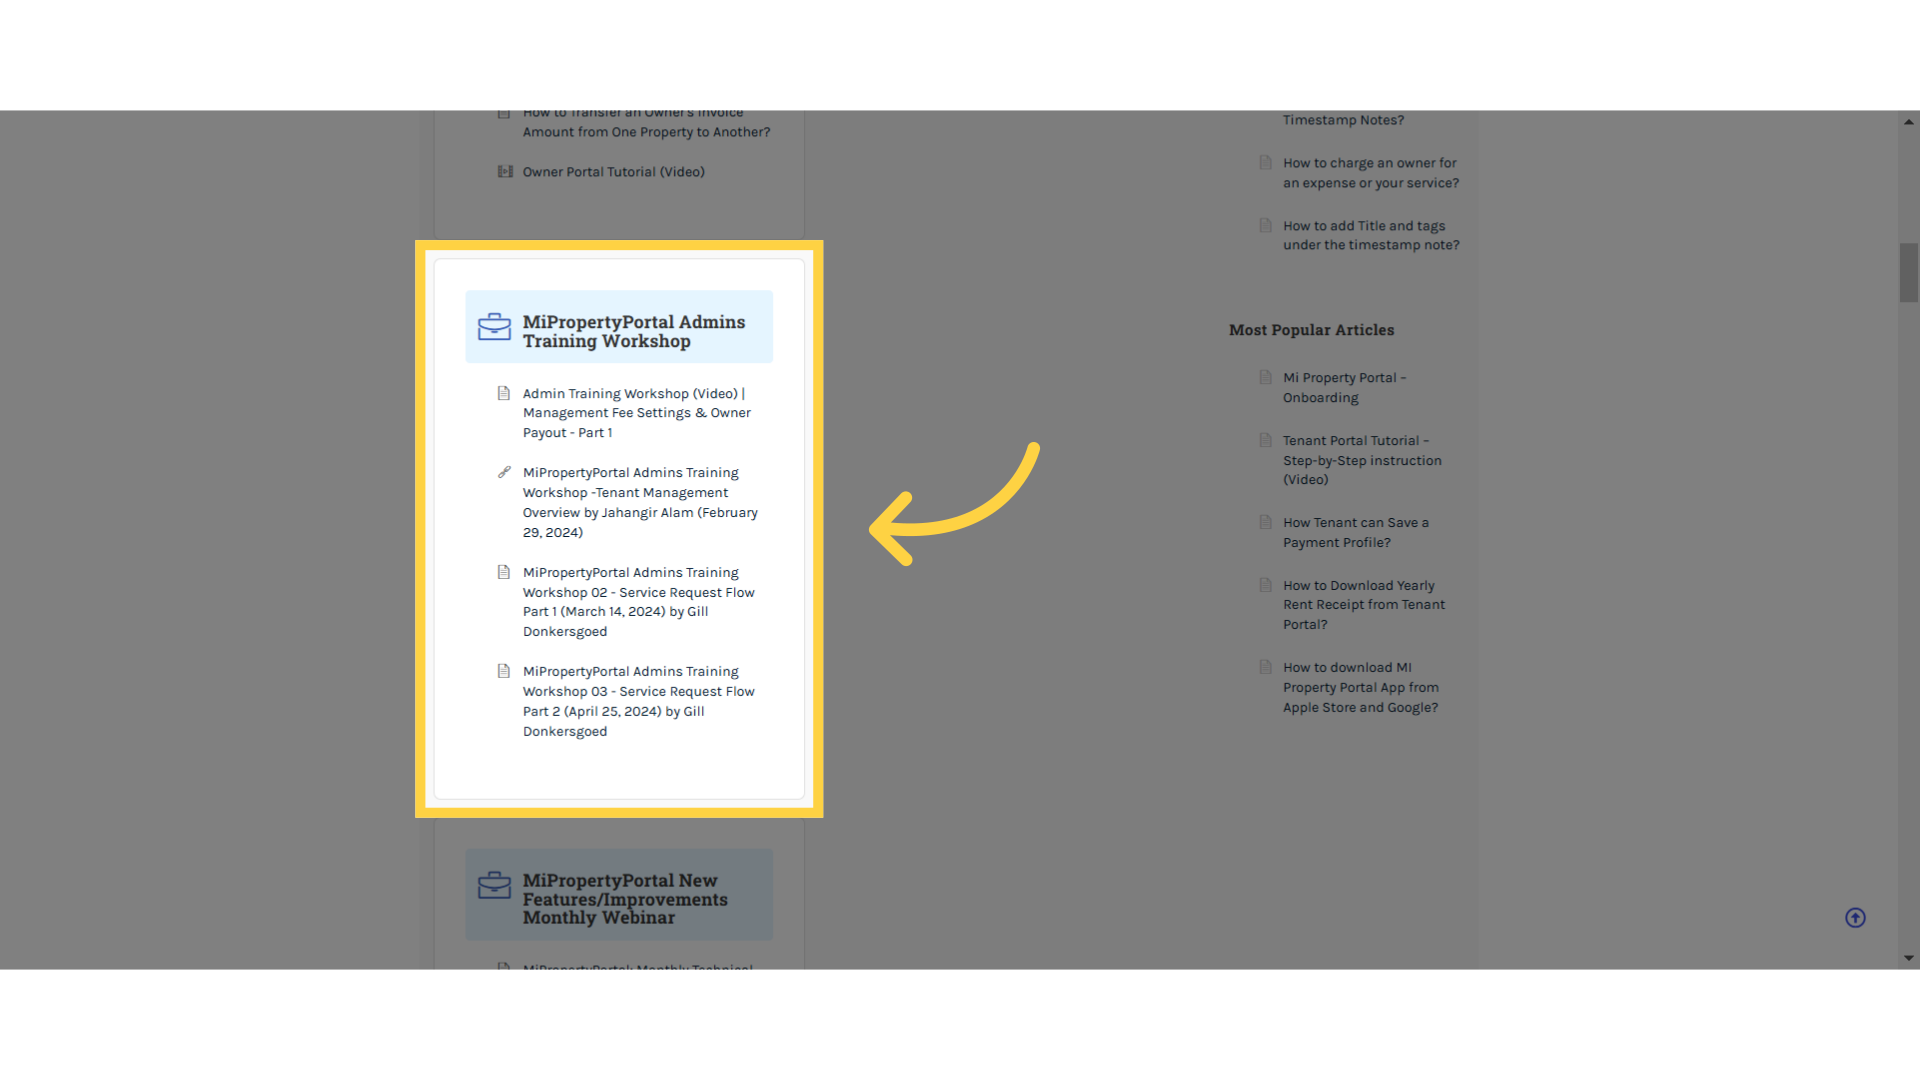
20. Training Workshop Video Sessions
Like these Recorded Live Admin Training Workshops, which can help you dive deeper into specific features. But I wouldn’t recommend heading there just yet—let’s focus on getting everything set up properly with this onboarding series first!
Alright, let’s head to the next one, and continue setting up your portal!