In this tutorial we will discuss how to fill out the owner bulk upload template
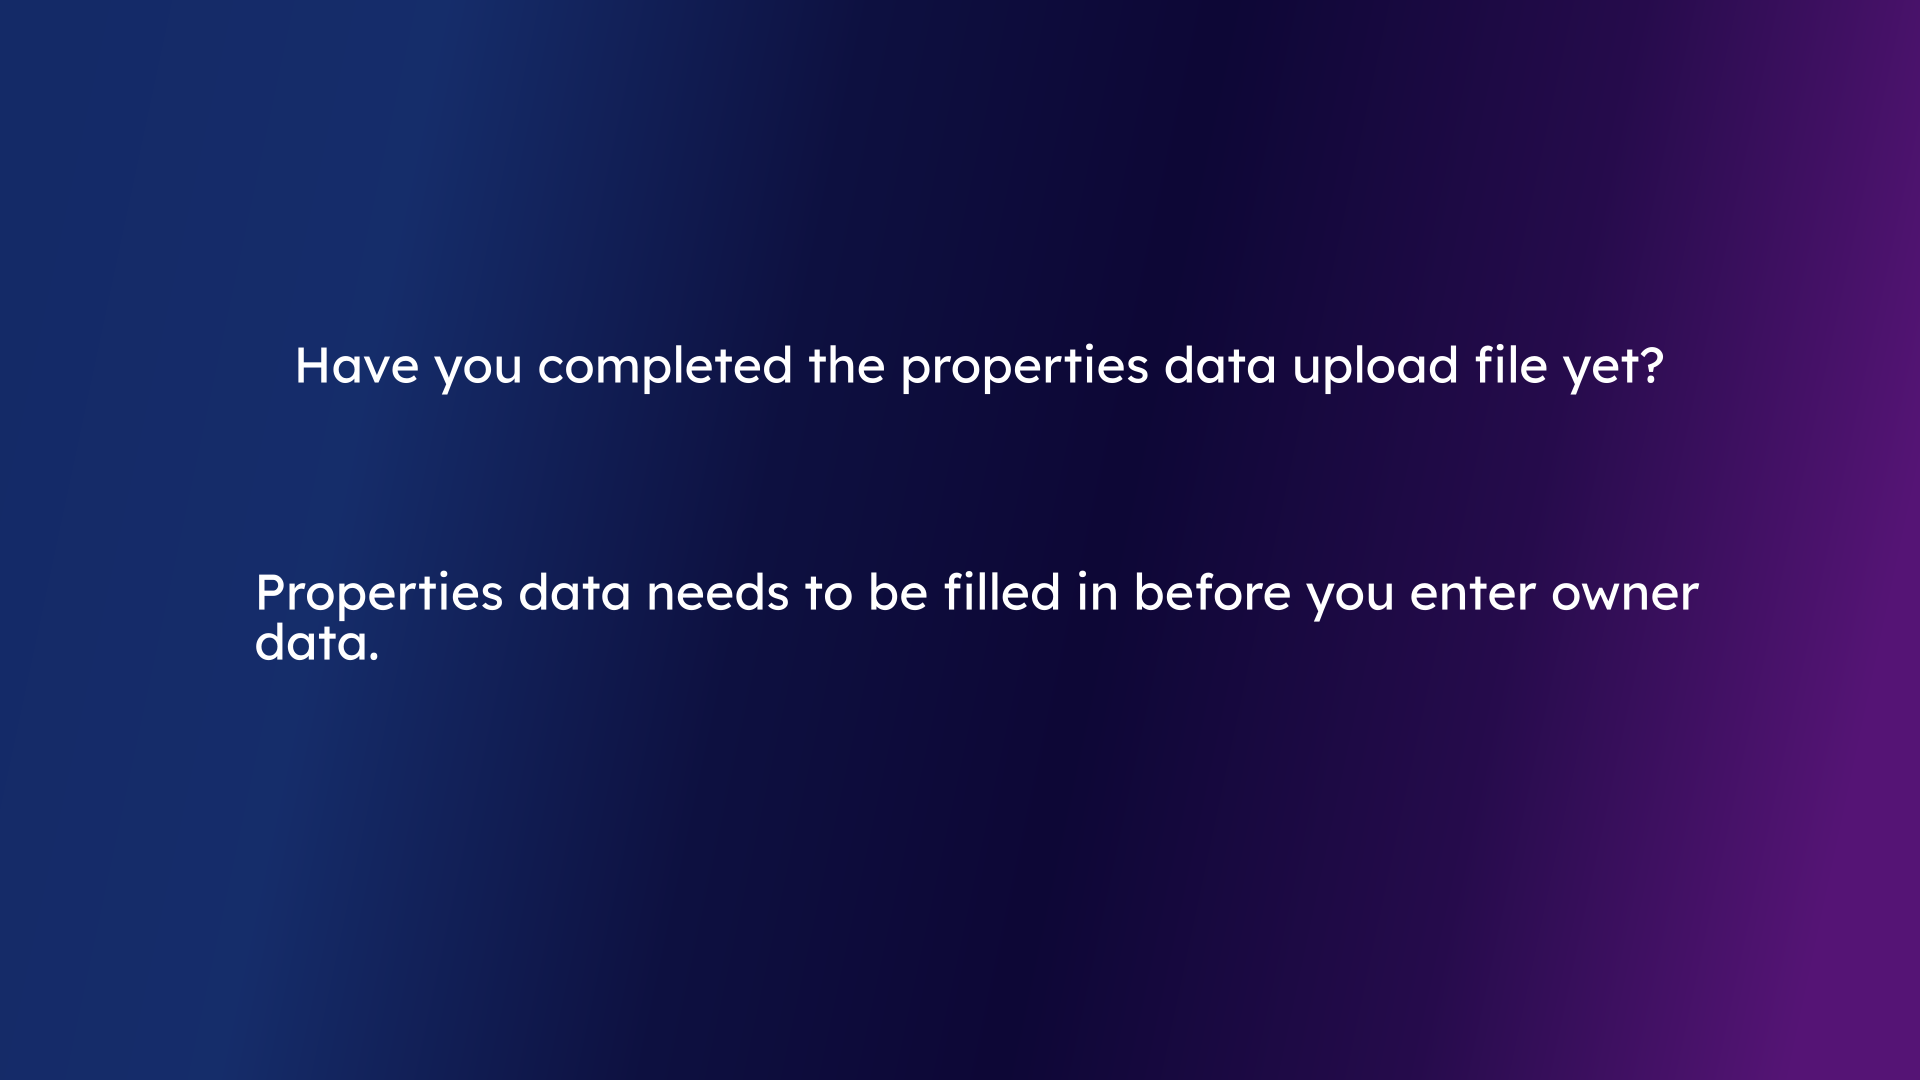
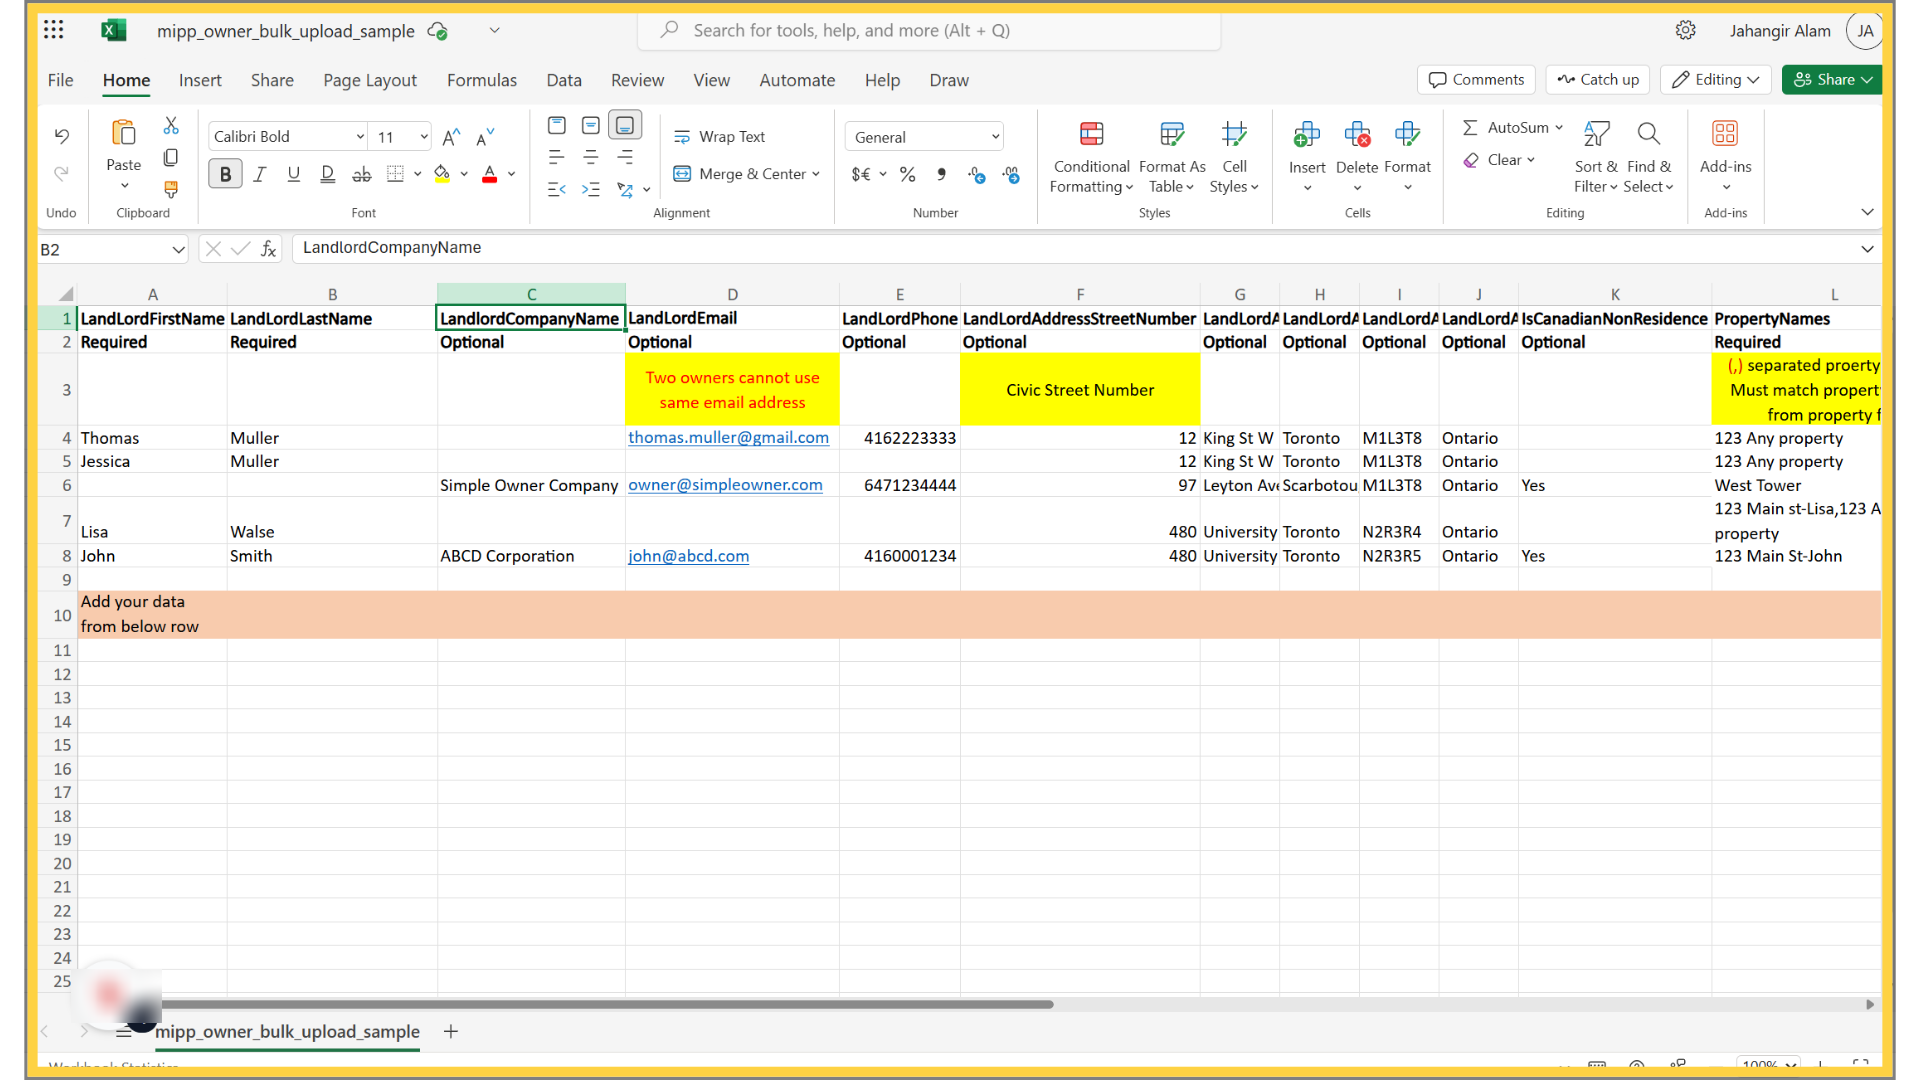
1. Fill in the Properties Data before entering any owner information
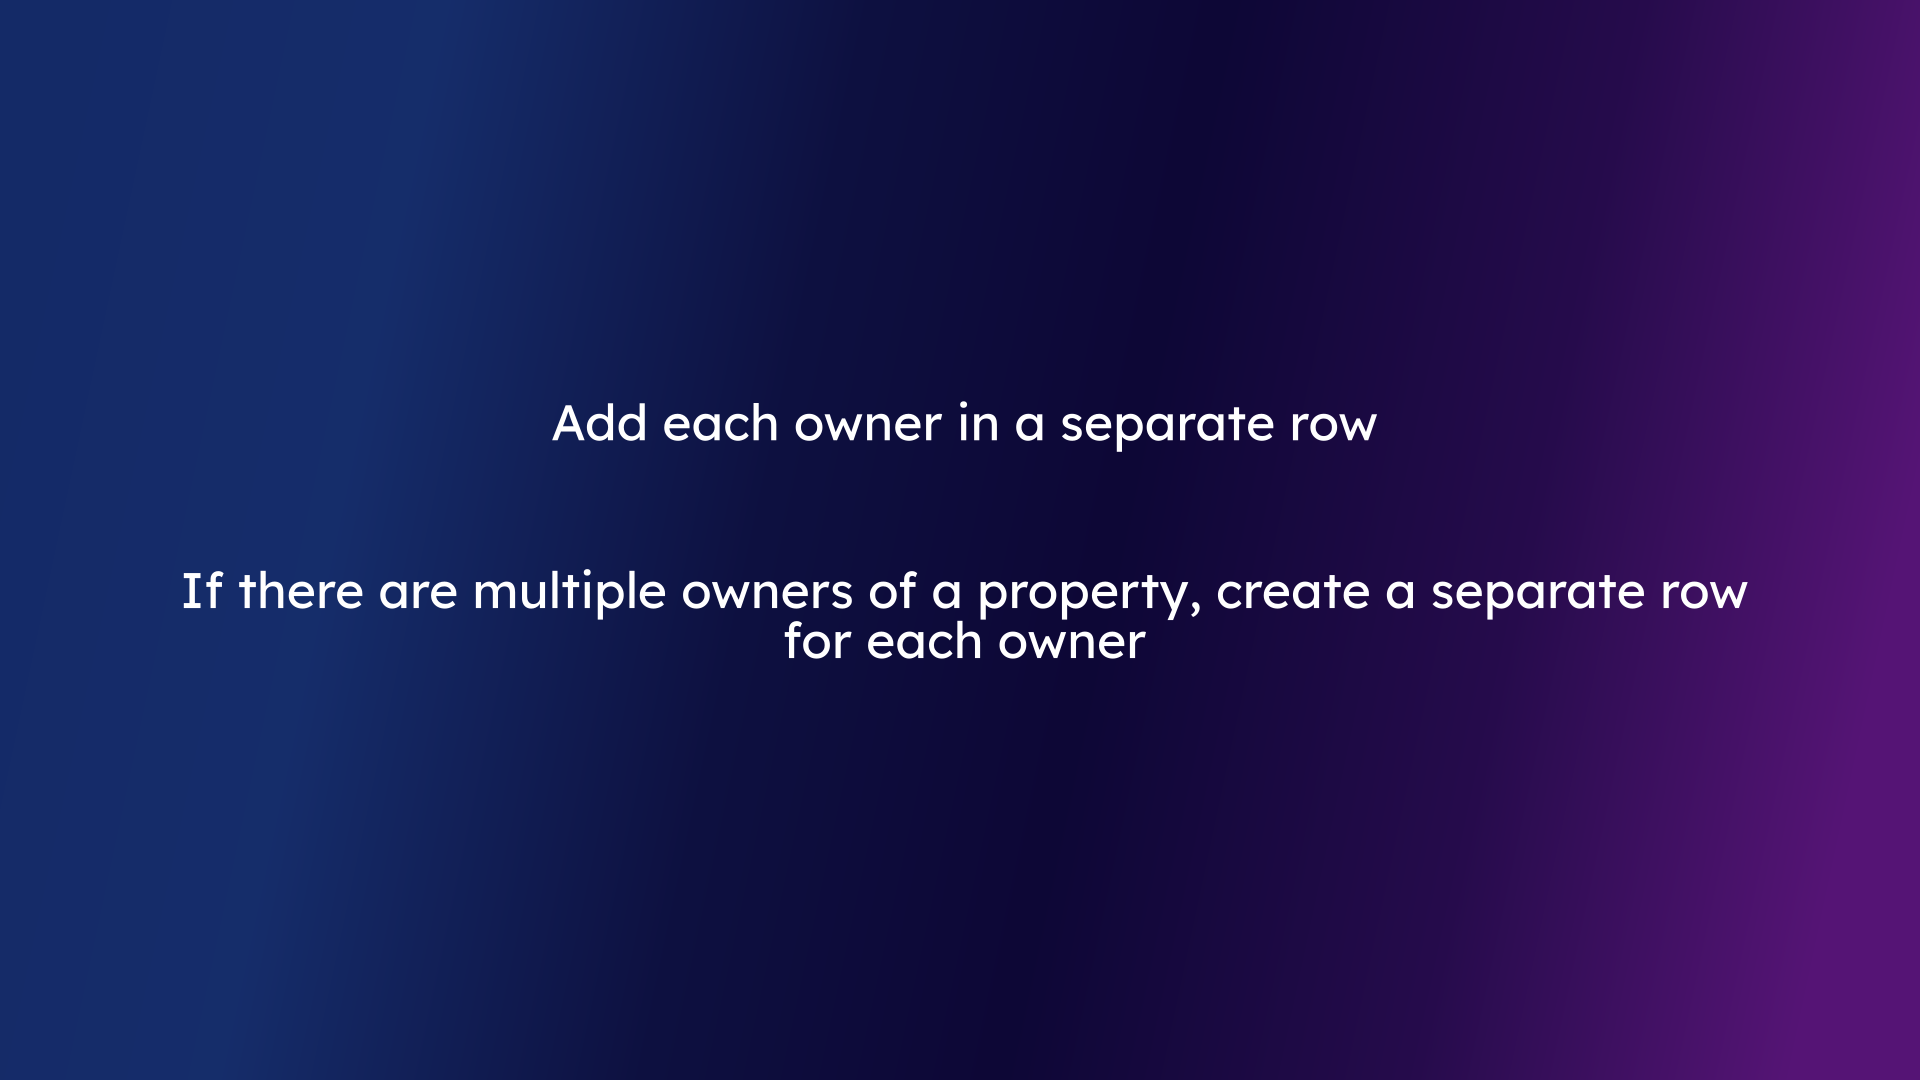
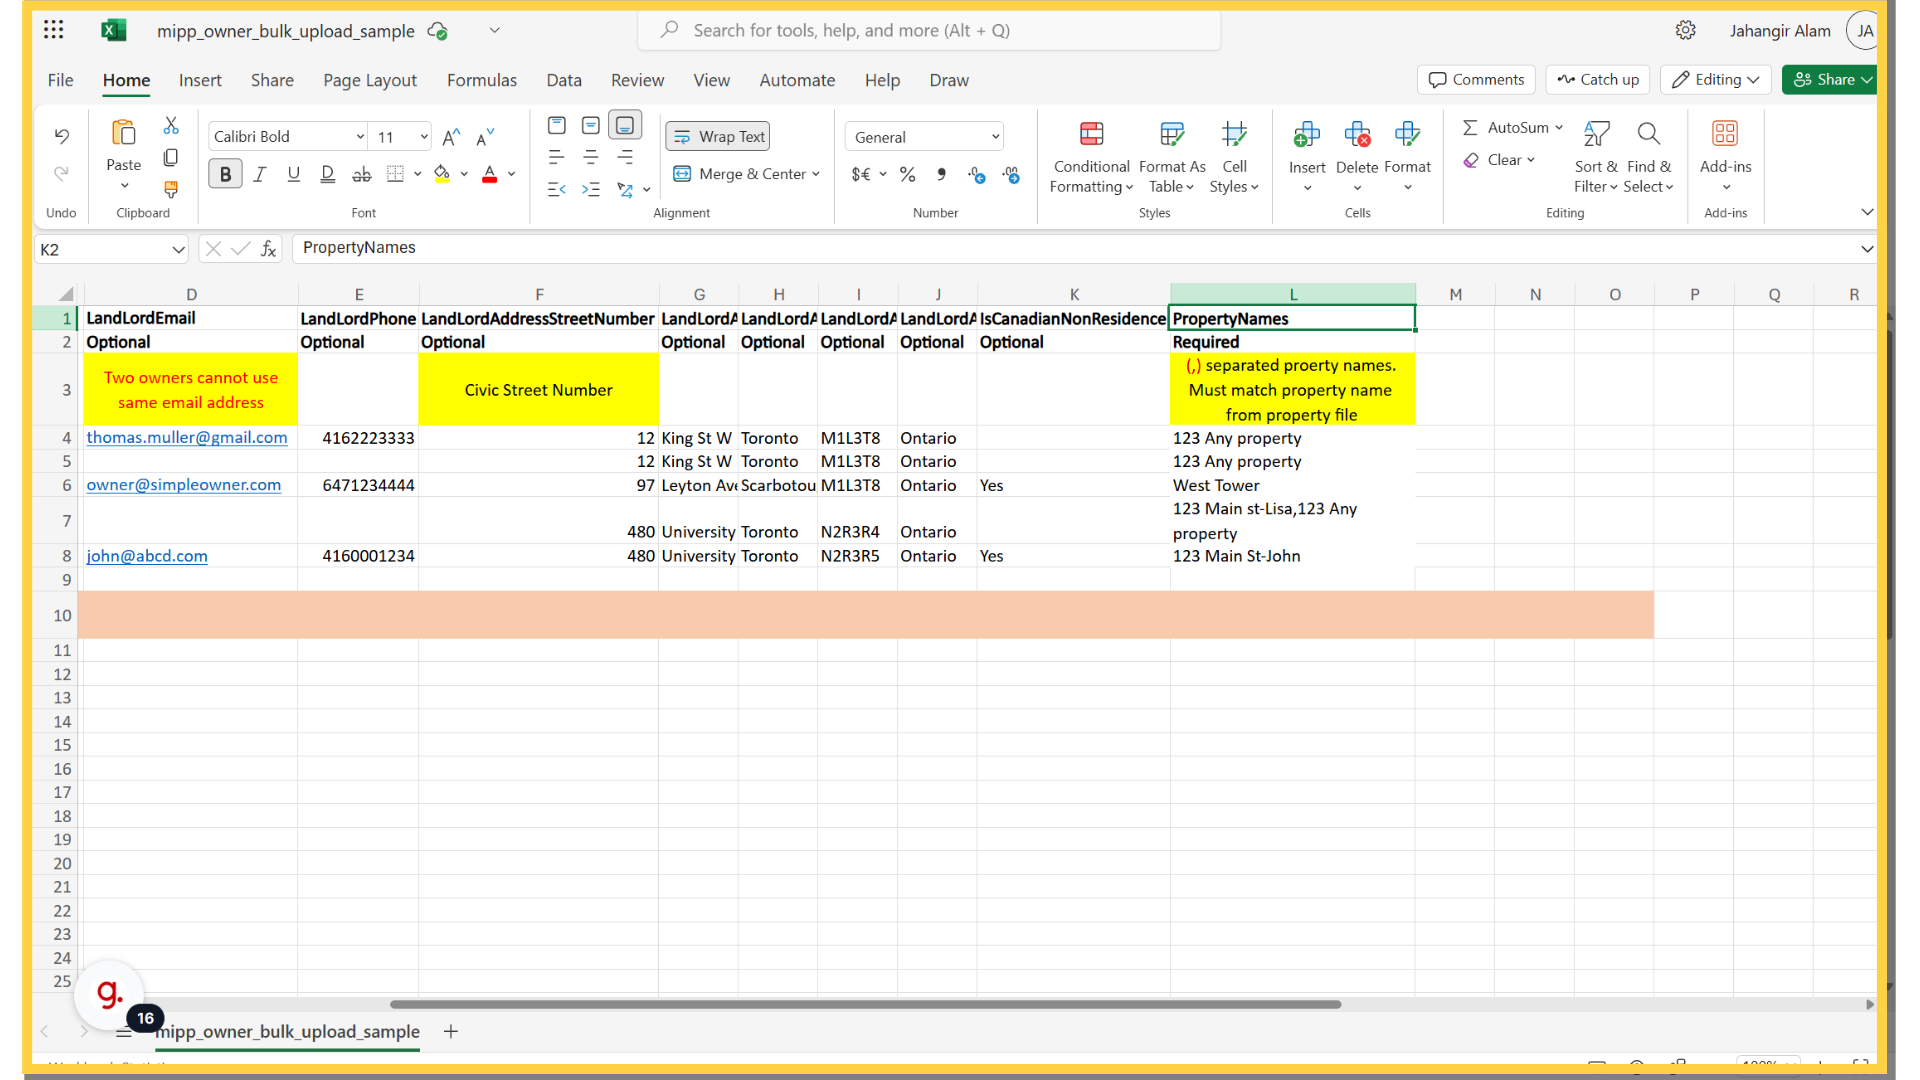
2. Add Each Owner in a Separate row
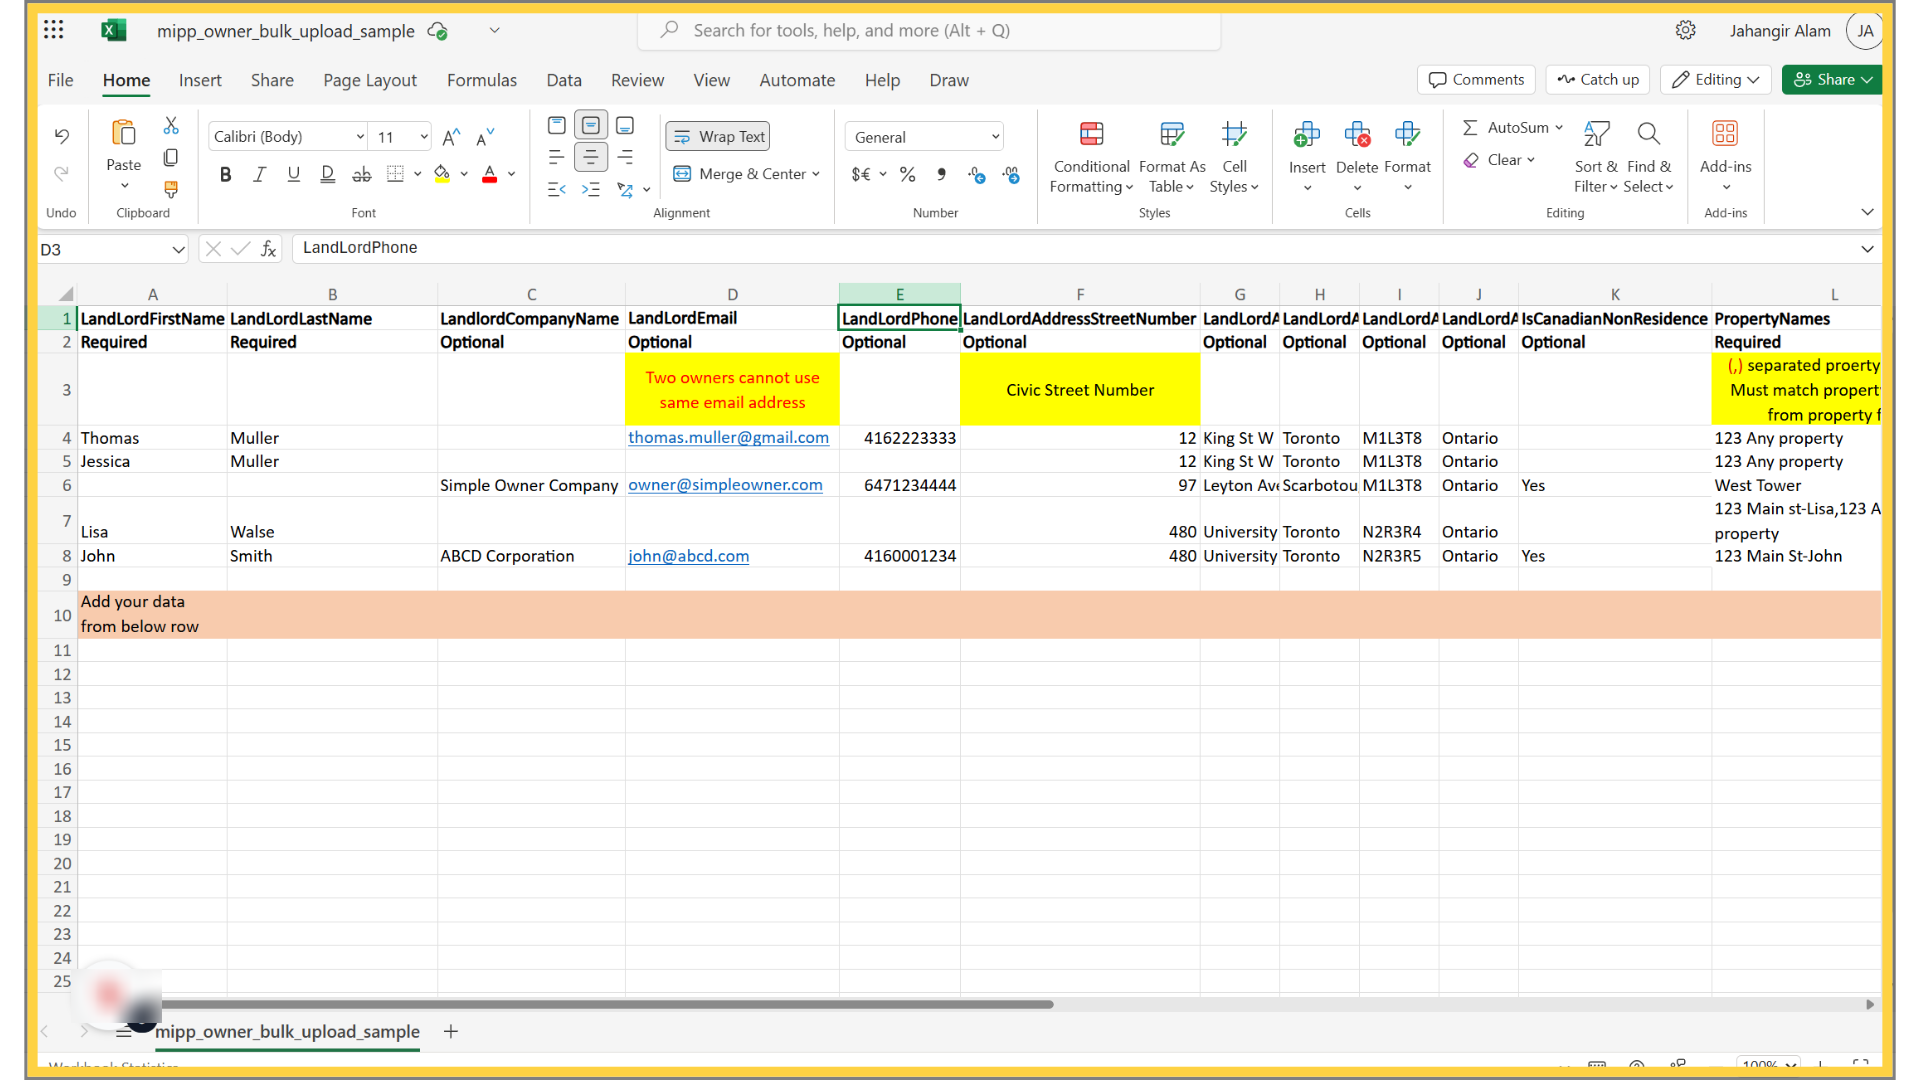
3. Enter the owner’s first name in the “LandlordFirstName” column (Required)
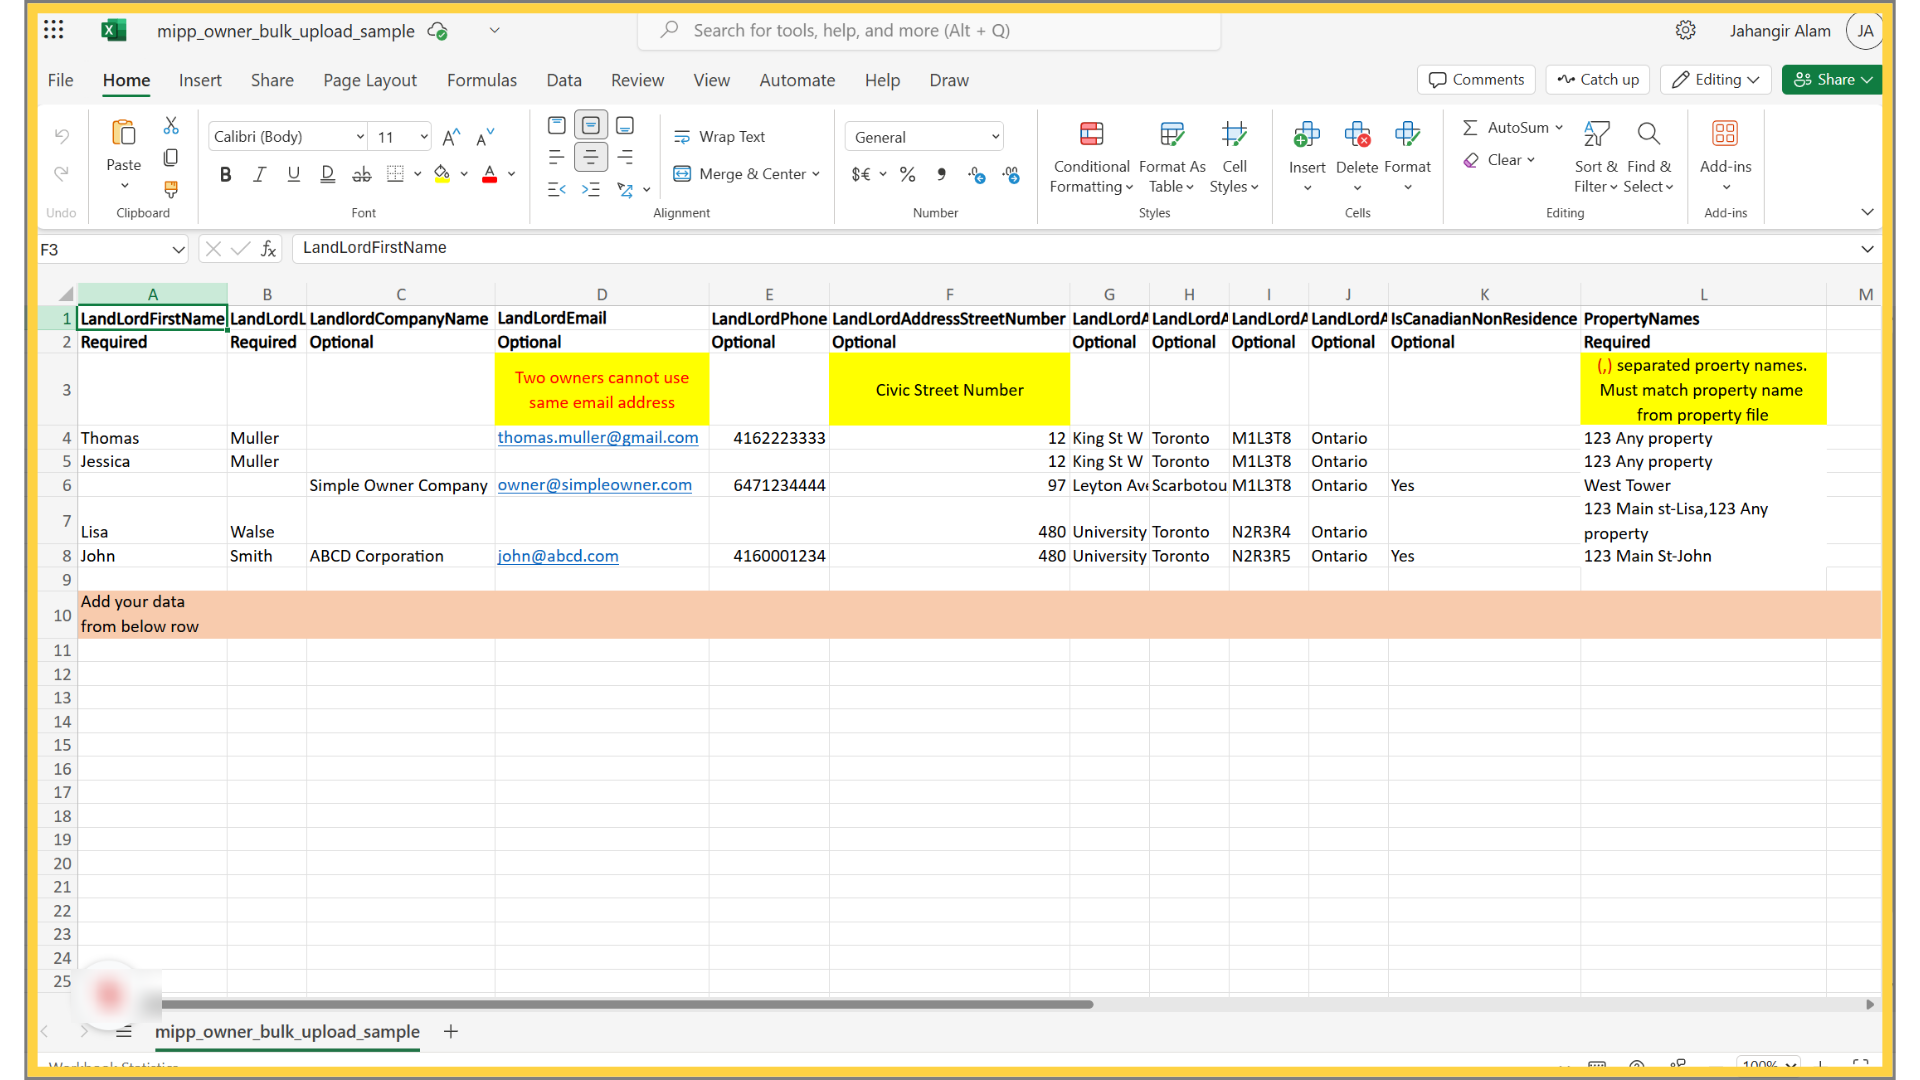
4. Enter the owner’s last name in the “LandlordLastName” column (Required)
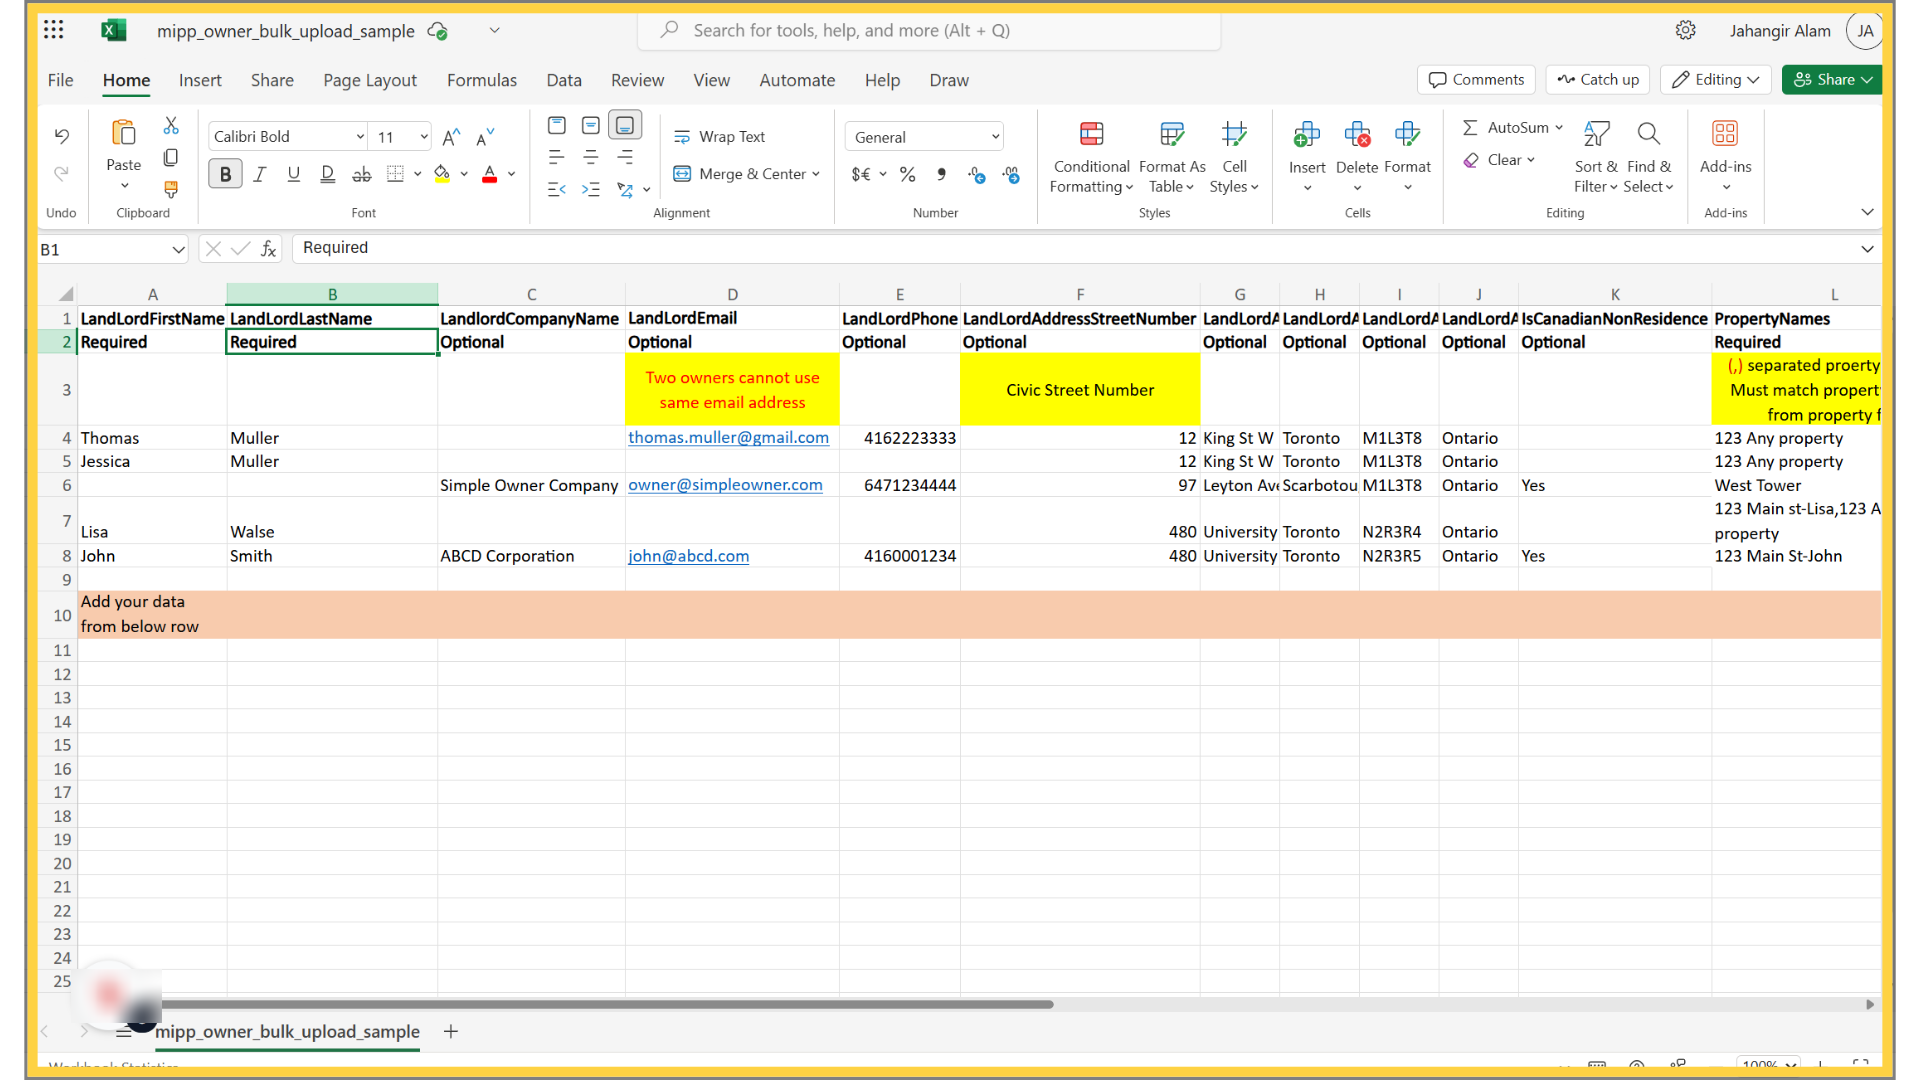
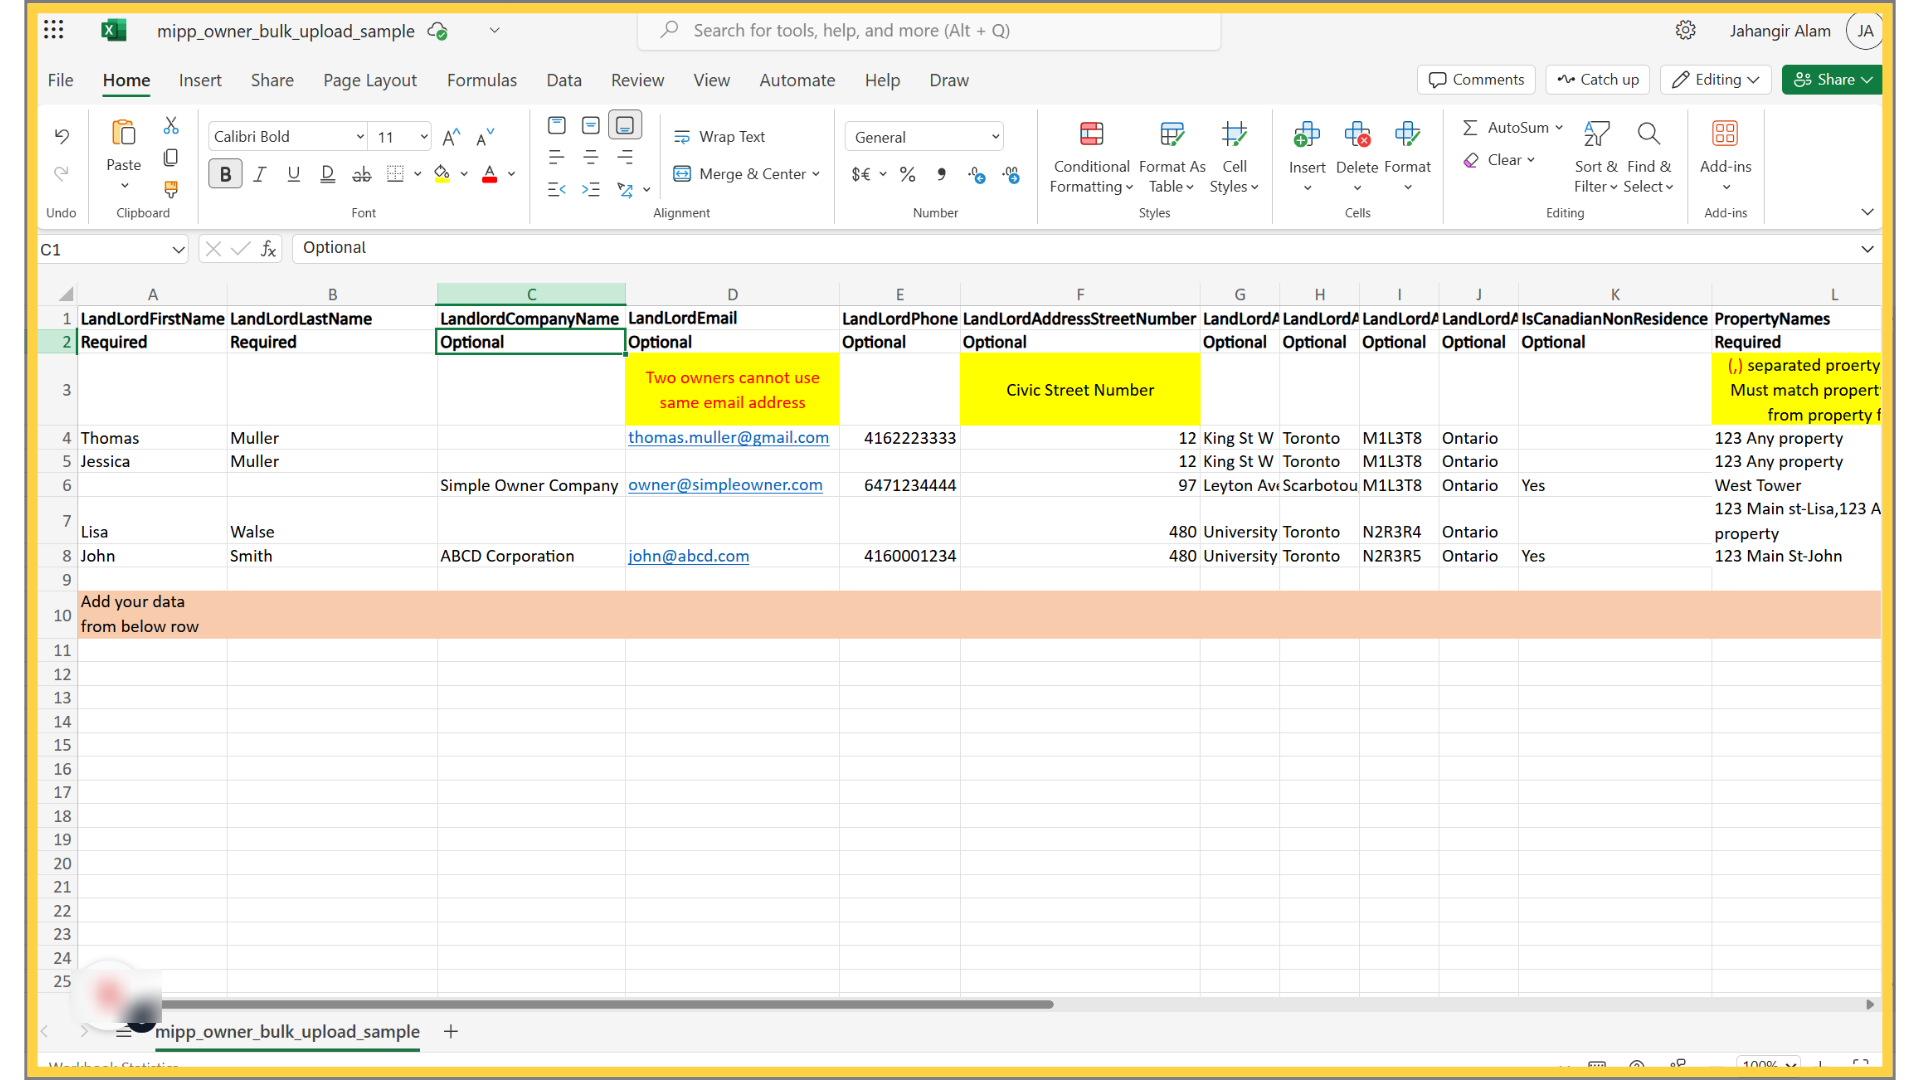
5. Enter the landlord company name in the “LandlordCompanyName” column (Optional)
6. Provide the business name in the “LandlordCompanyName” column if available; many reports use this field for filtering and grouping
7. Enter the landlord email address in the “LandlordEmail” column (Optional)
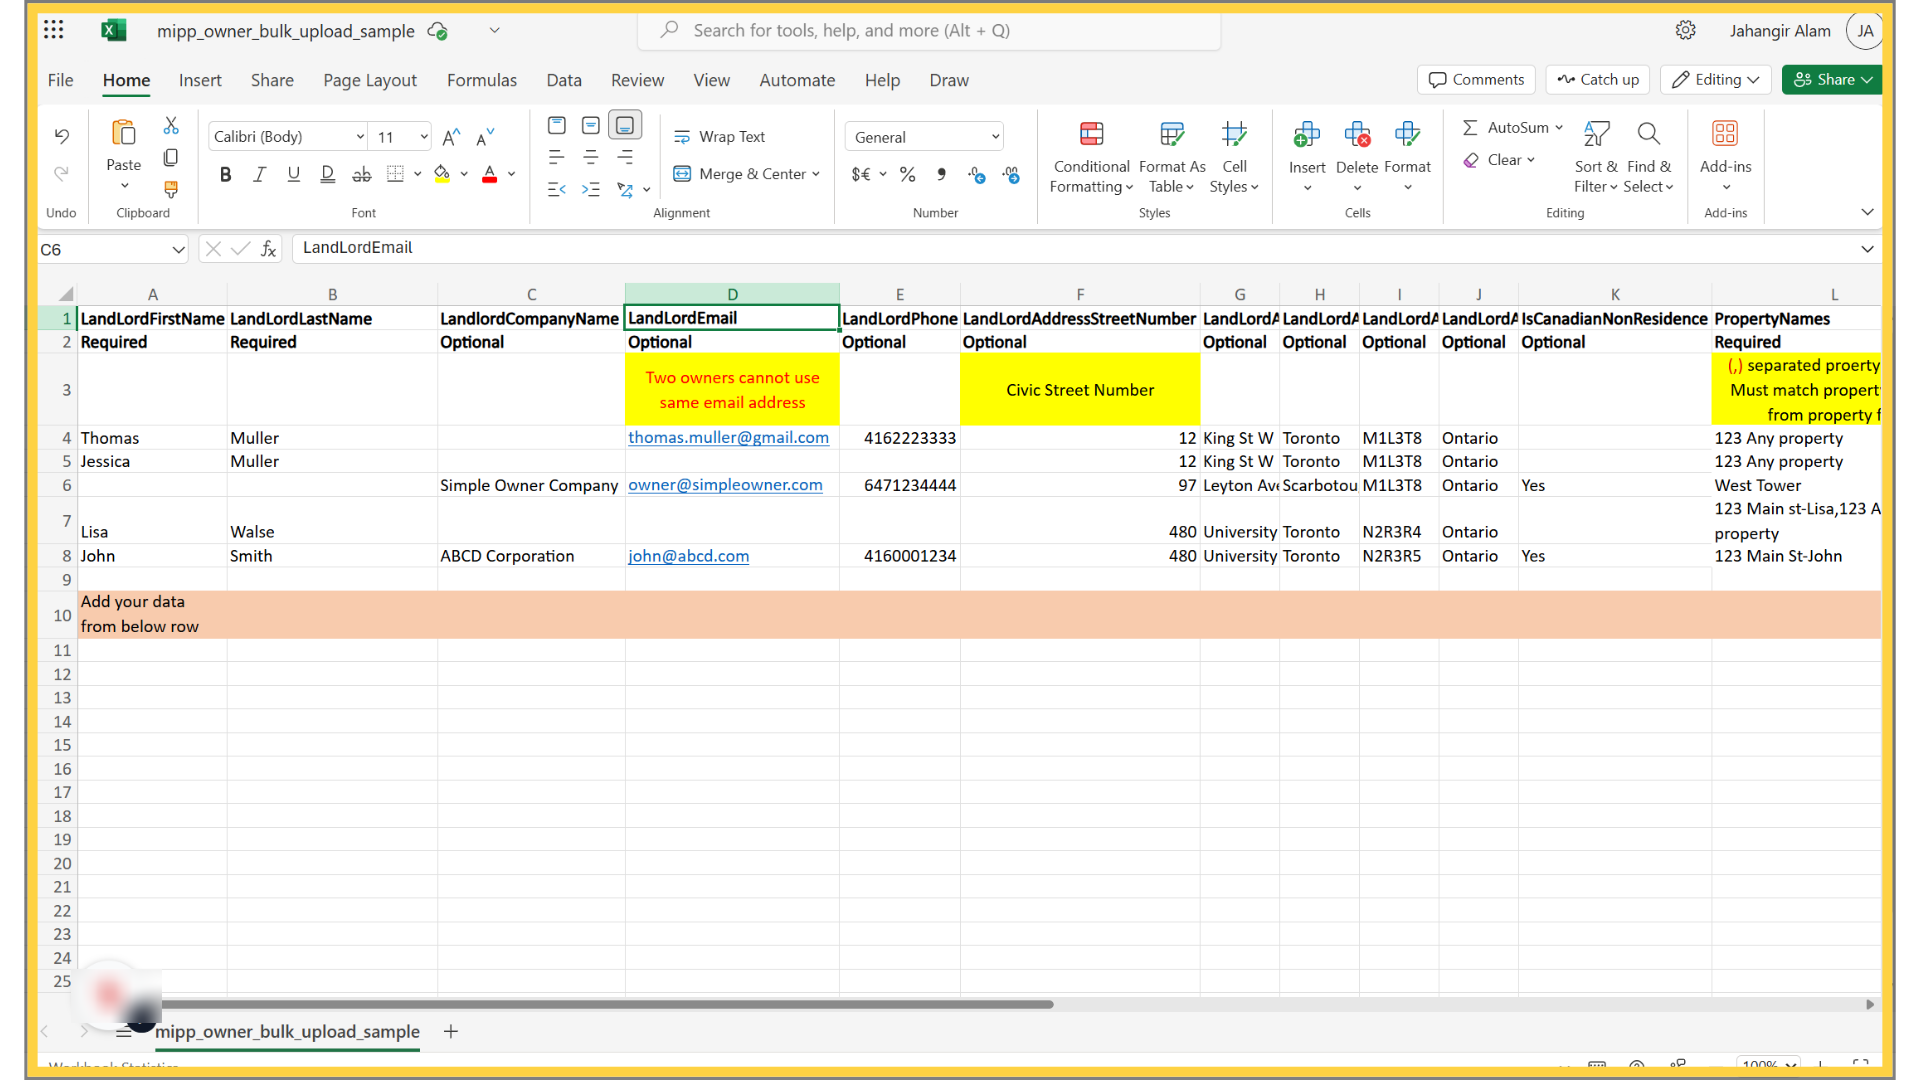
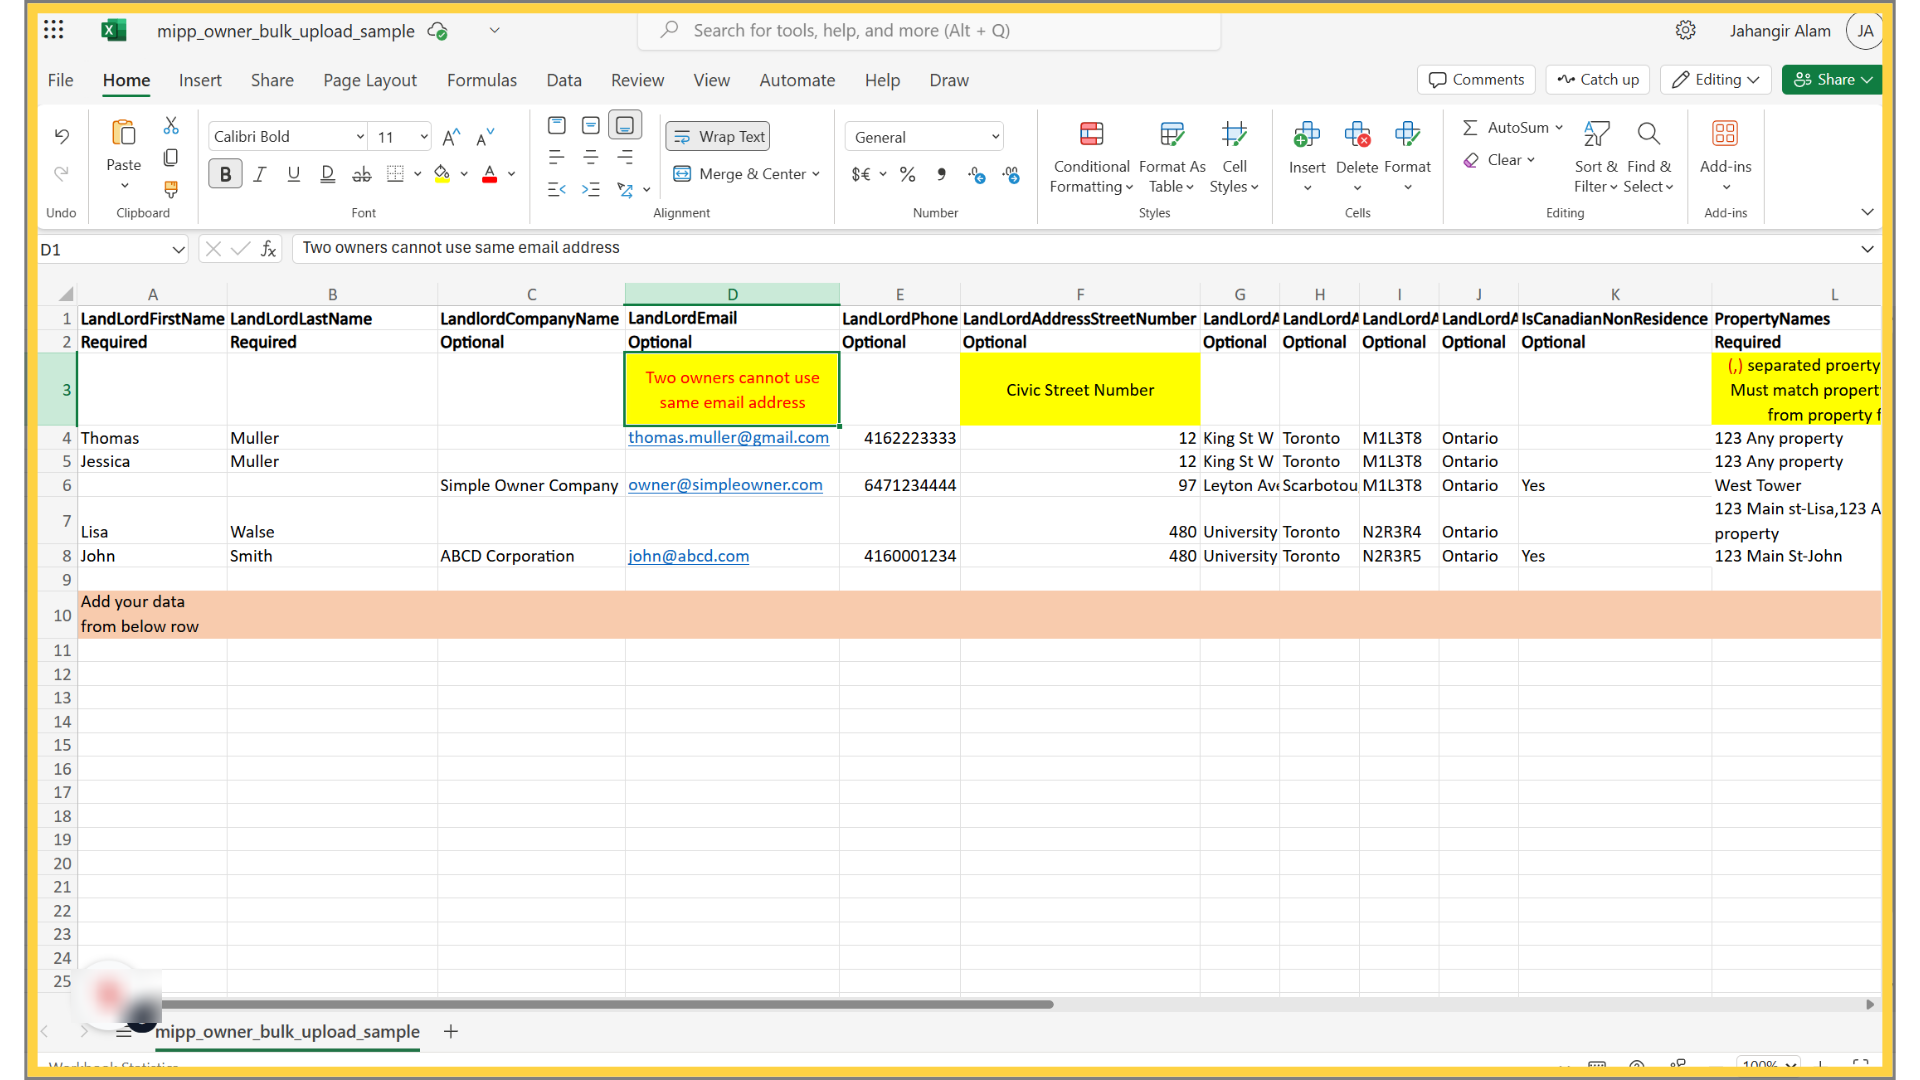
8. Ensure each owner has a unique email address if email addresses are provided (Optional)
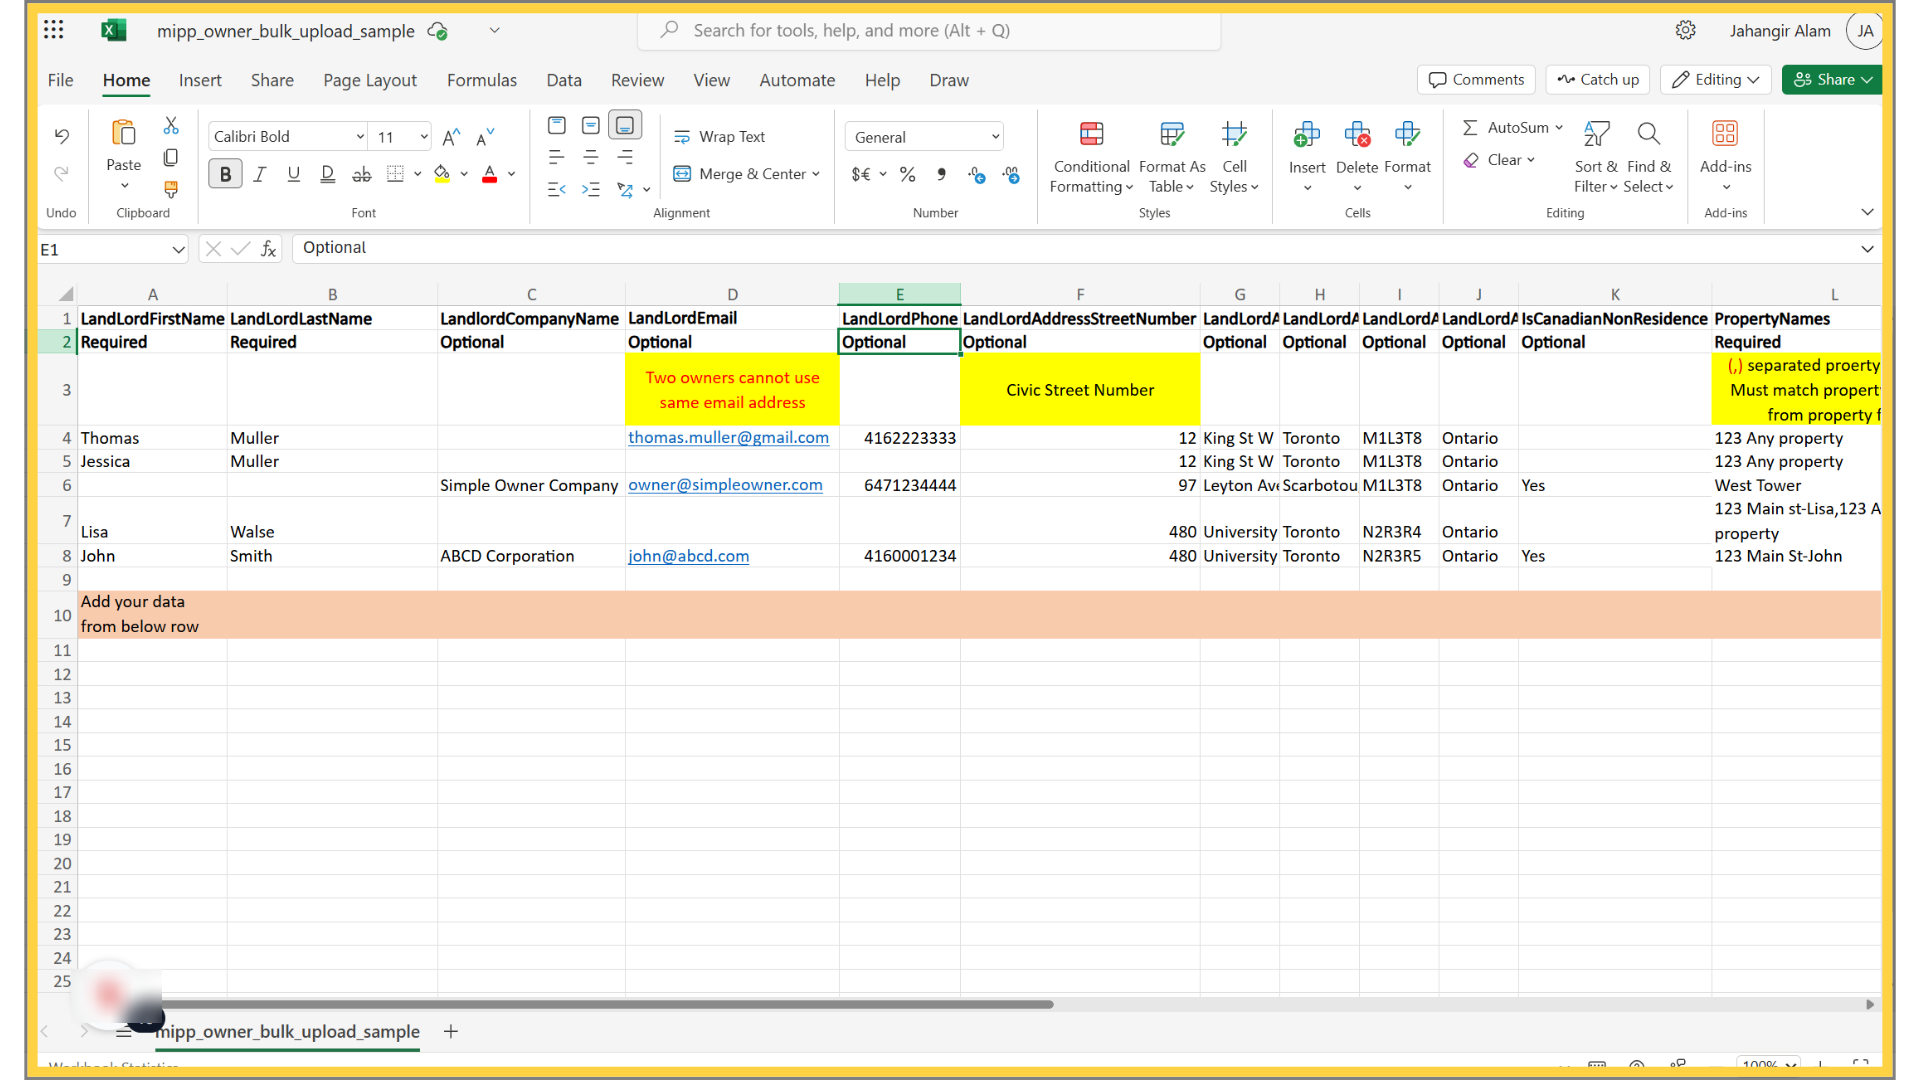
9. Enter the landlord phone number in the “LandlordPhone” column (Optional); if provided, it must be exactly 10 digits long
10. International phone numbers can be added after the owner profile has been created
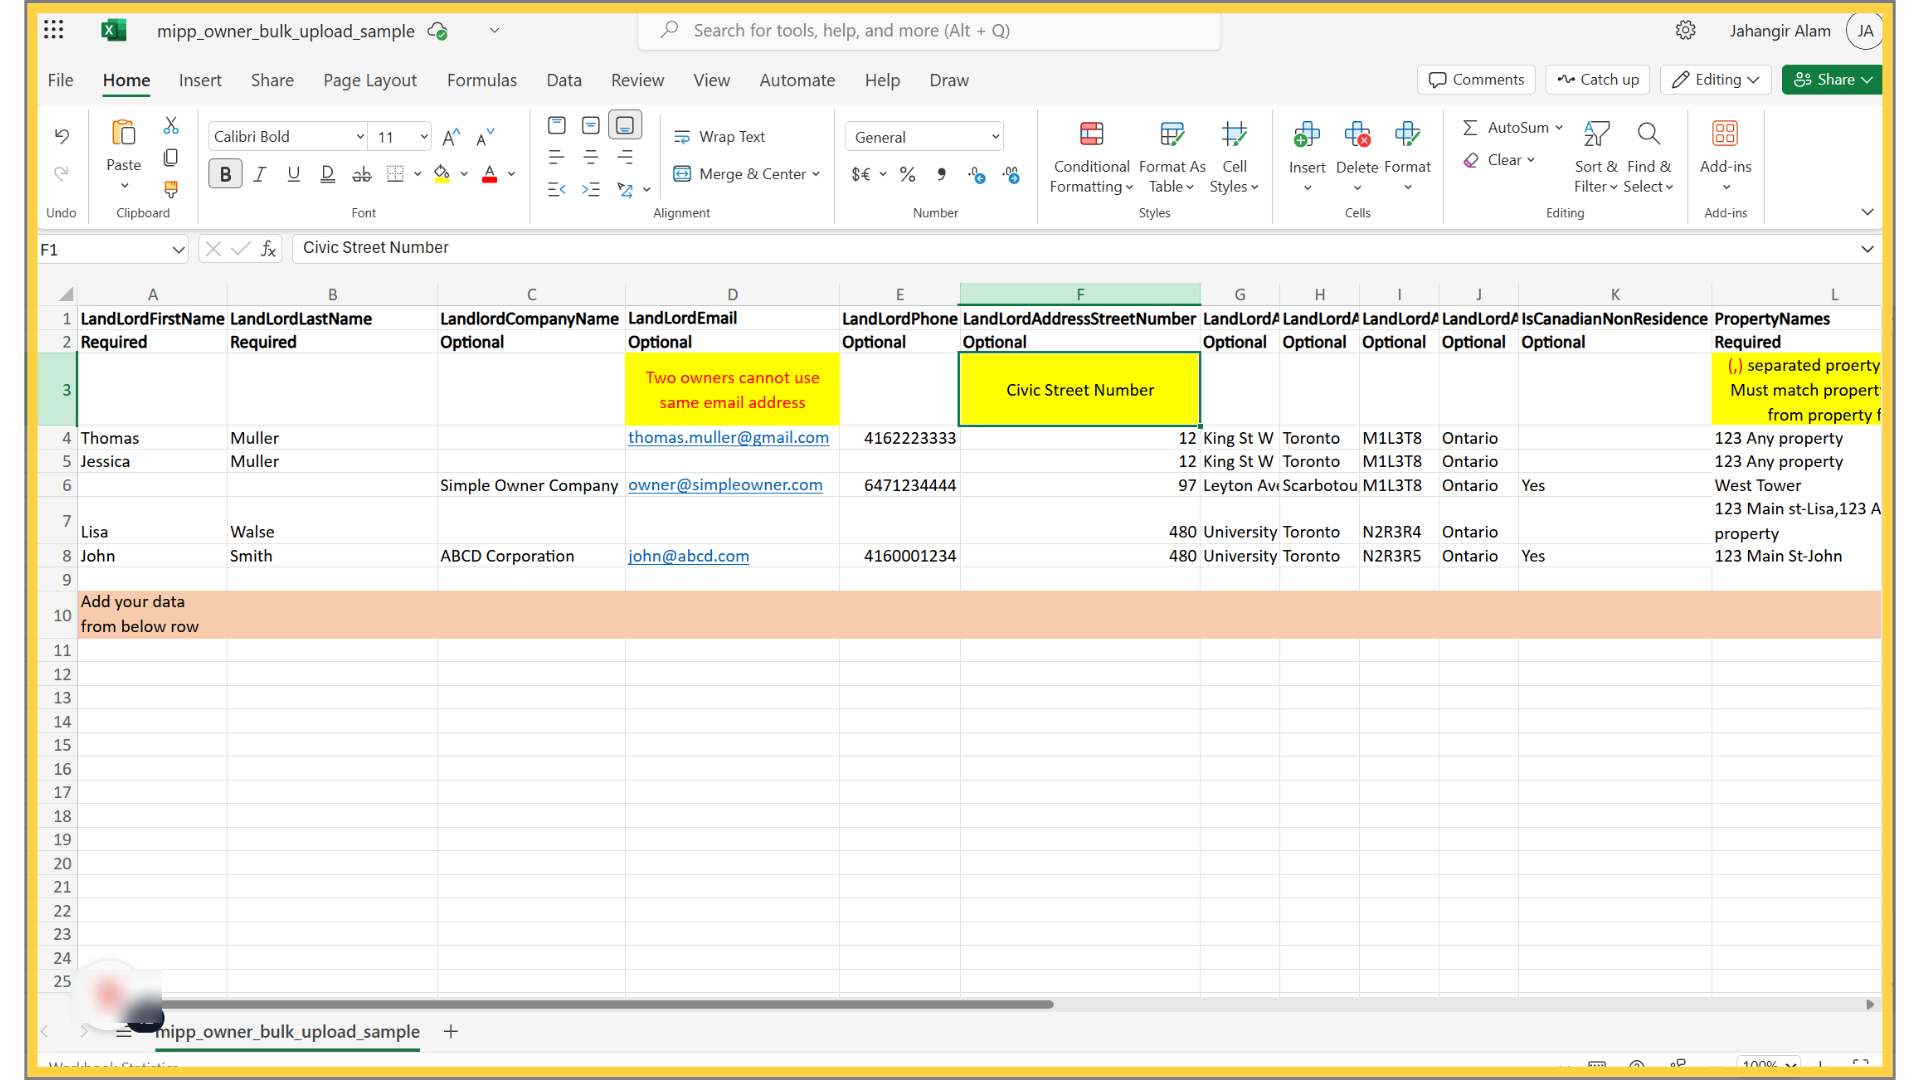
11. Enter the street number in the “LandlordAddressStreetNumber” column (Optional)

12. Provide the Owner’s Address if payment will be made through the portal
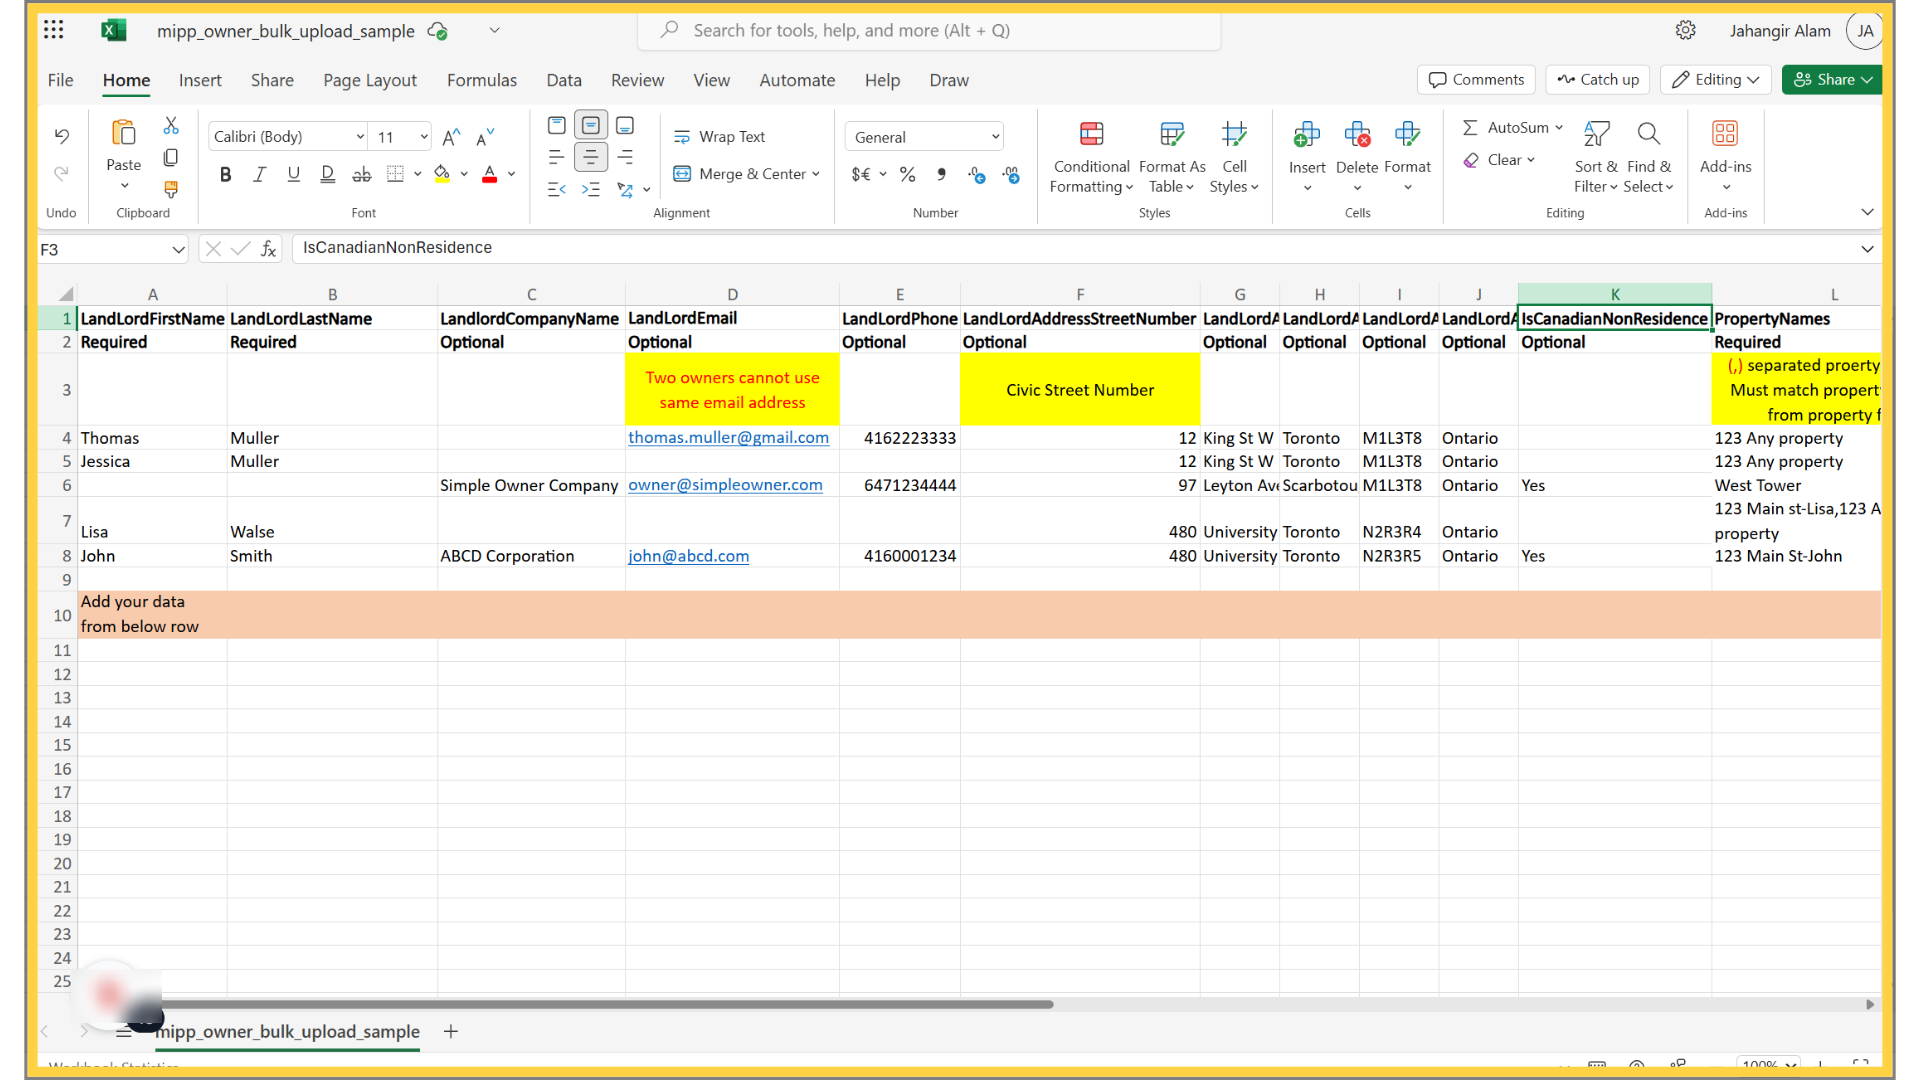
13. Enter “Yes” in the “IsCanadianNonResidence” column if the owner is a non-resident of Canada
14. Enter the property names owned by the landlord in the “PropertyNames” column, separated by semicolons
This video covers the steps required to fill out the Property Owner Template.
Next up: how to fill out the Vendor Data Template for bulk upload. Let’s get going!
Next up: how to fill out the Vendor Data Template for bulk upload. Let’s get going!