Welcome! In this video, we’ll walk you through the step-by-step process of creating a lease. Let’s get started!
Go to manage.mipropertyportal.com
1. Click “Prospective Tenant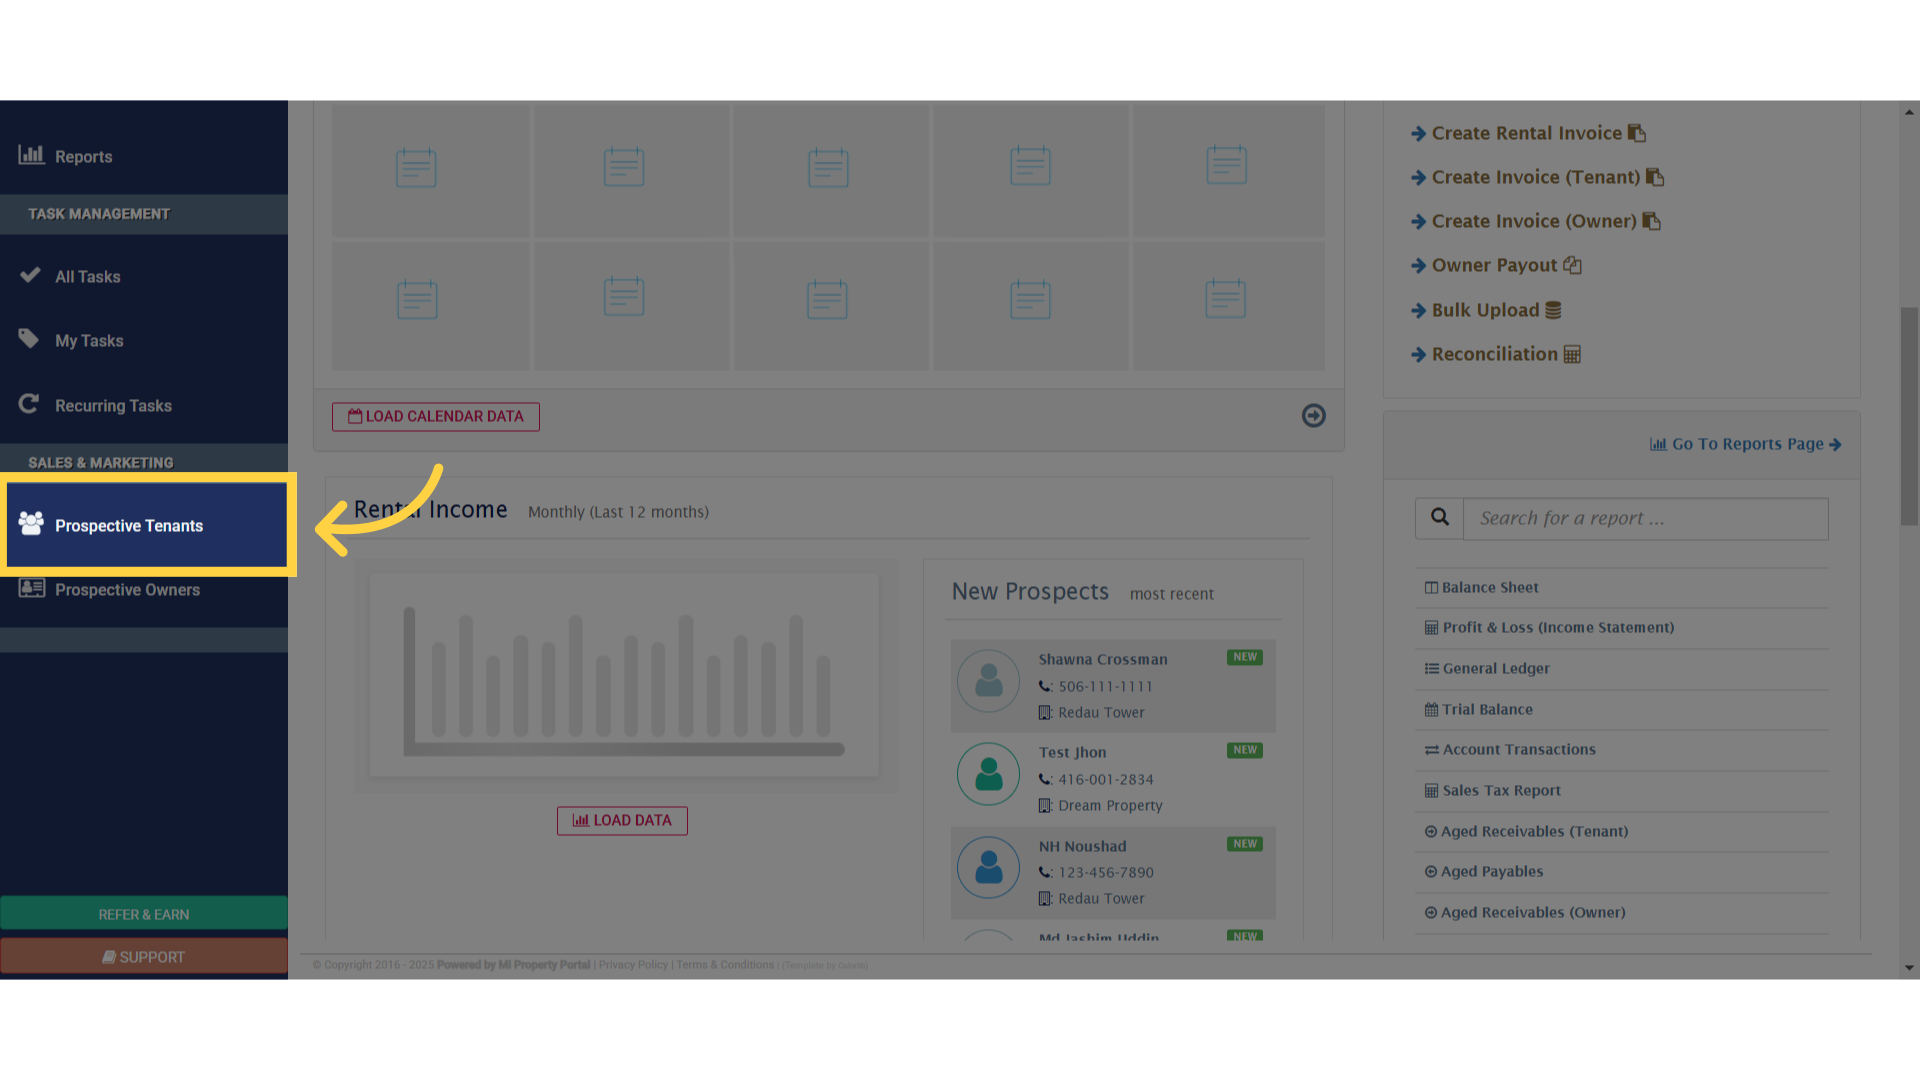
2. Click on Name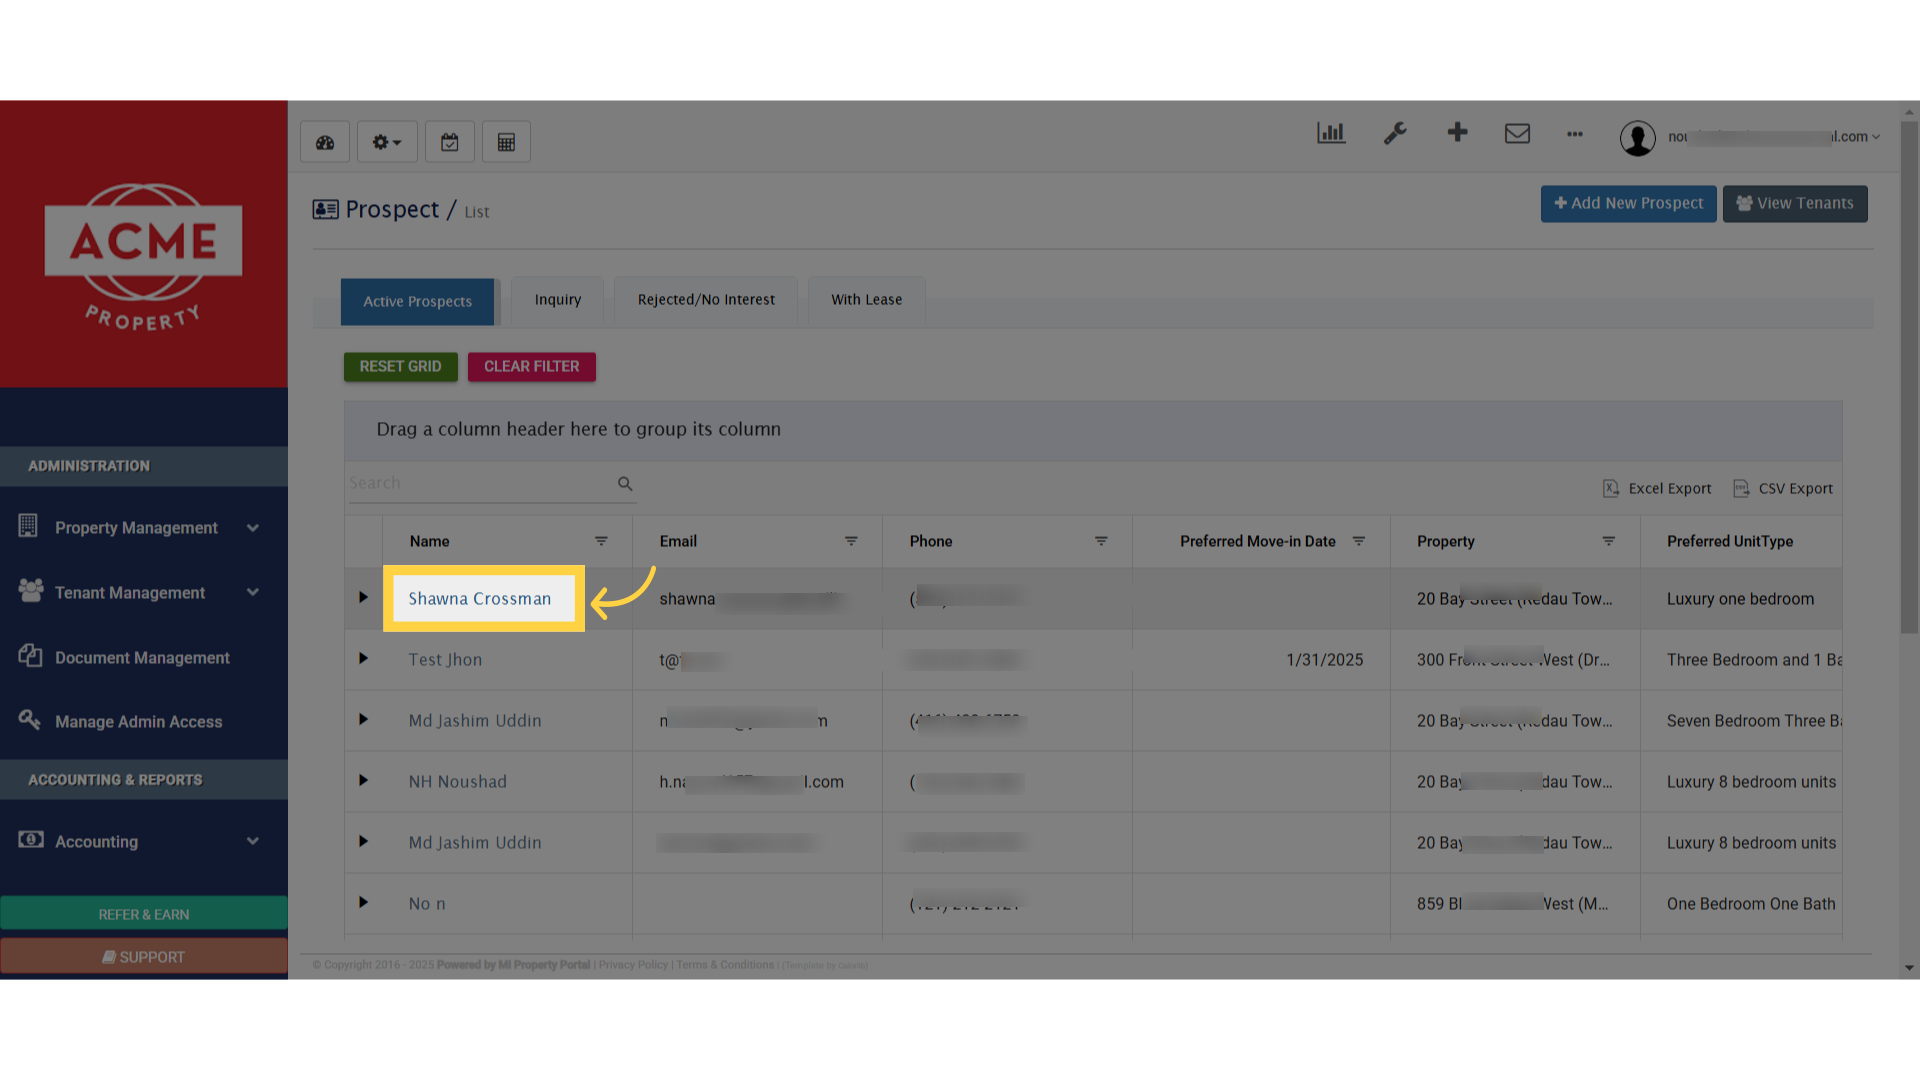
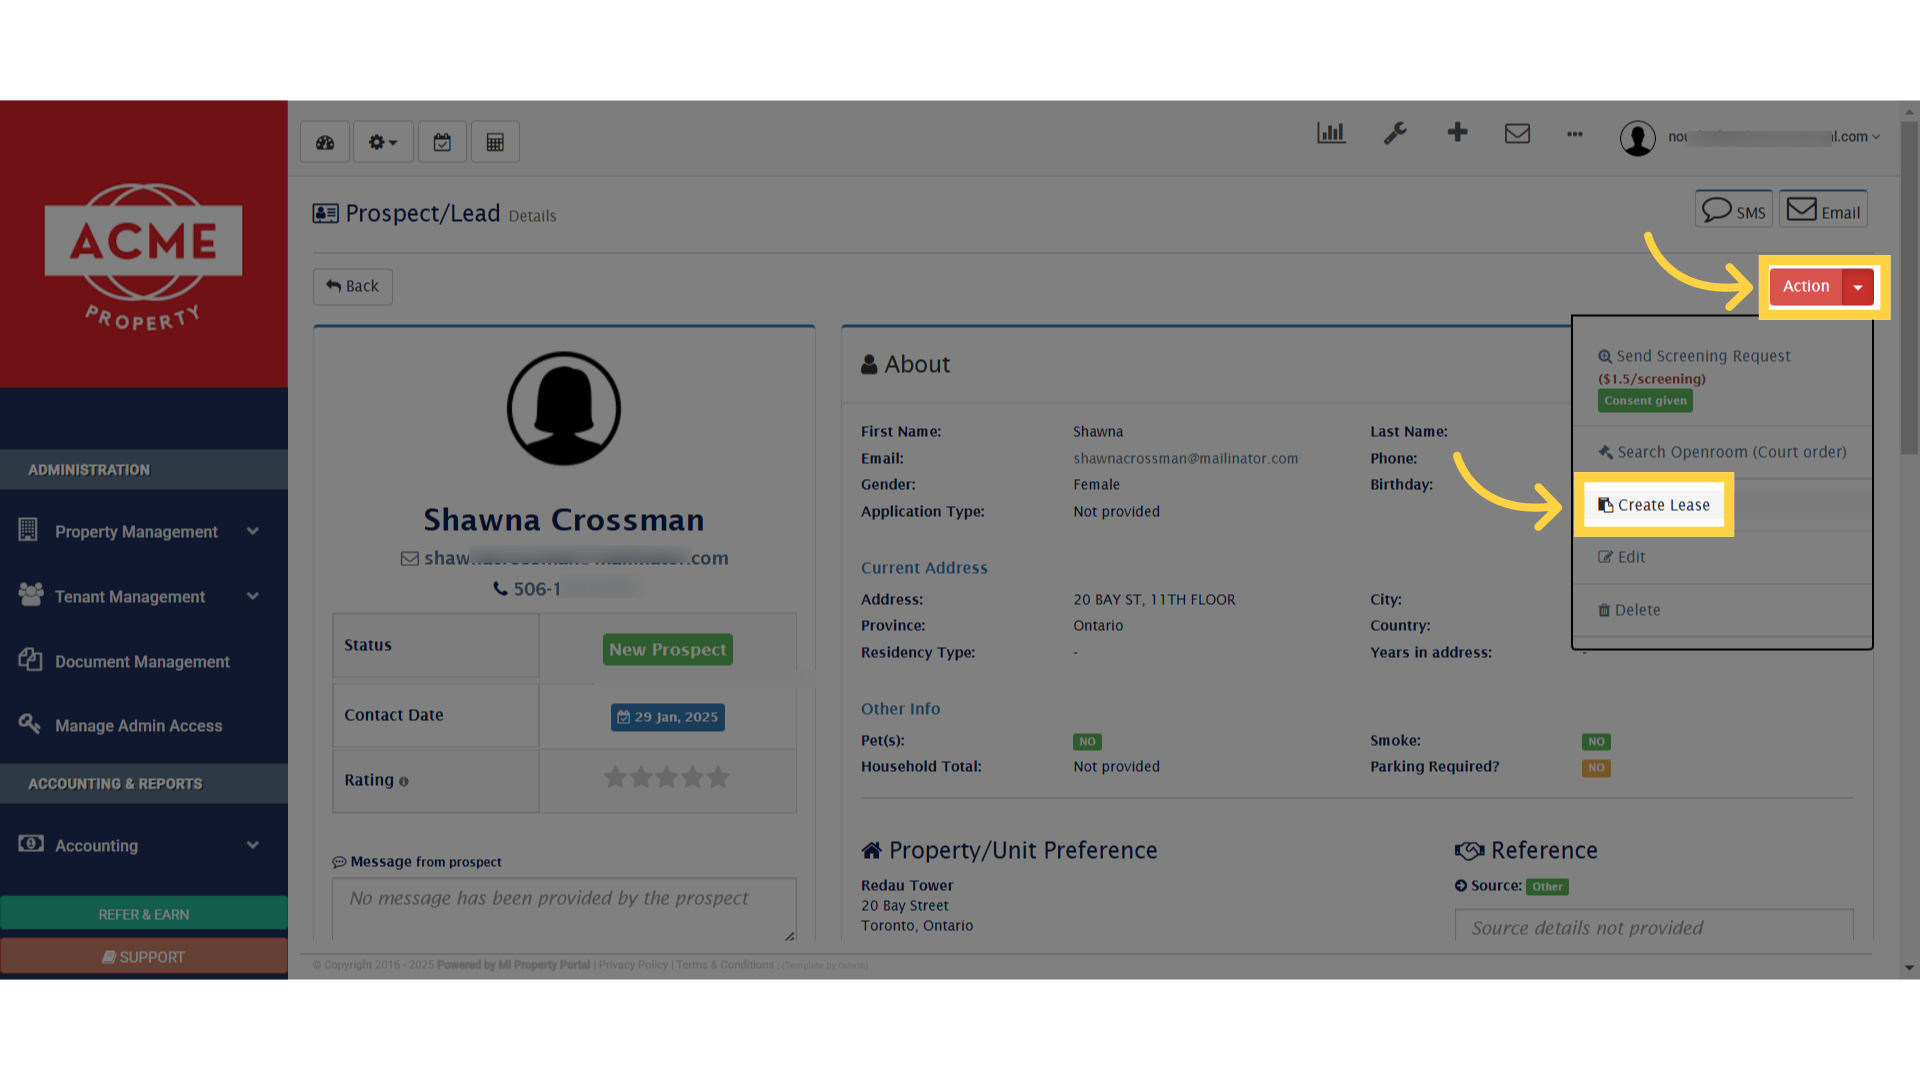
3. Click “Create Lease”
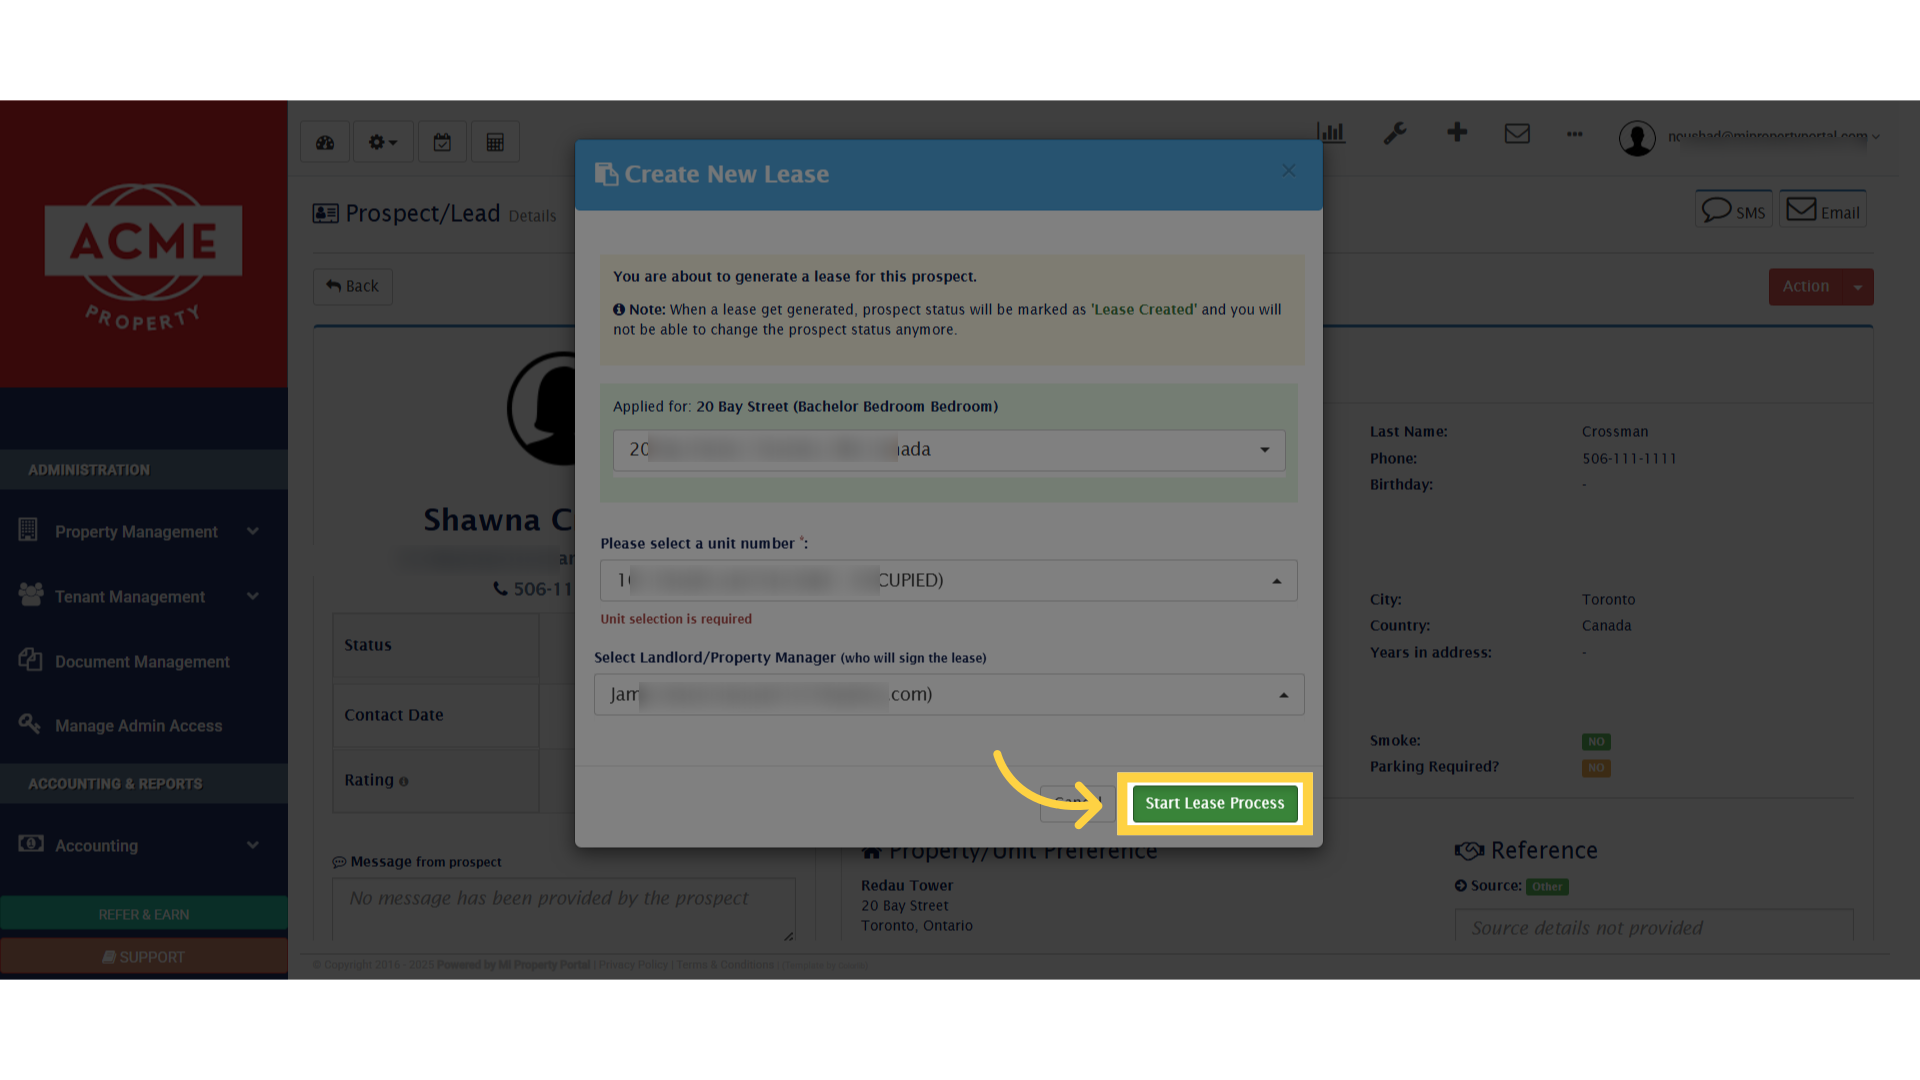
4. Click “Create New Lease”
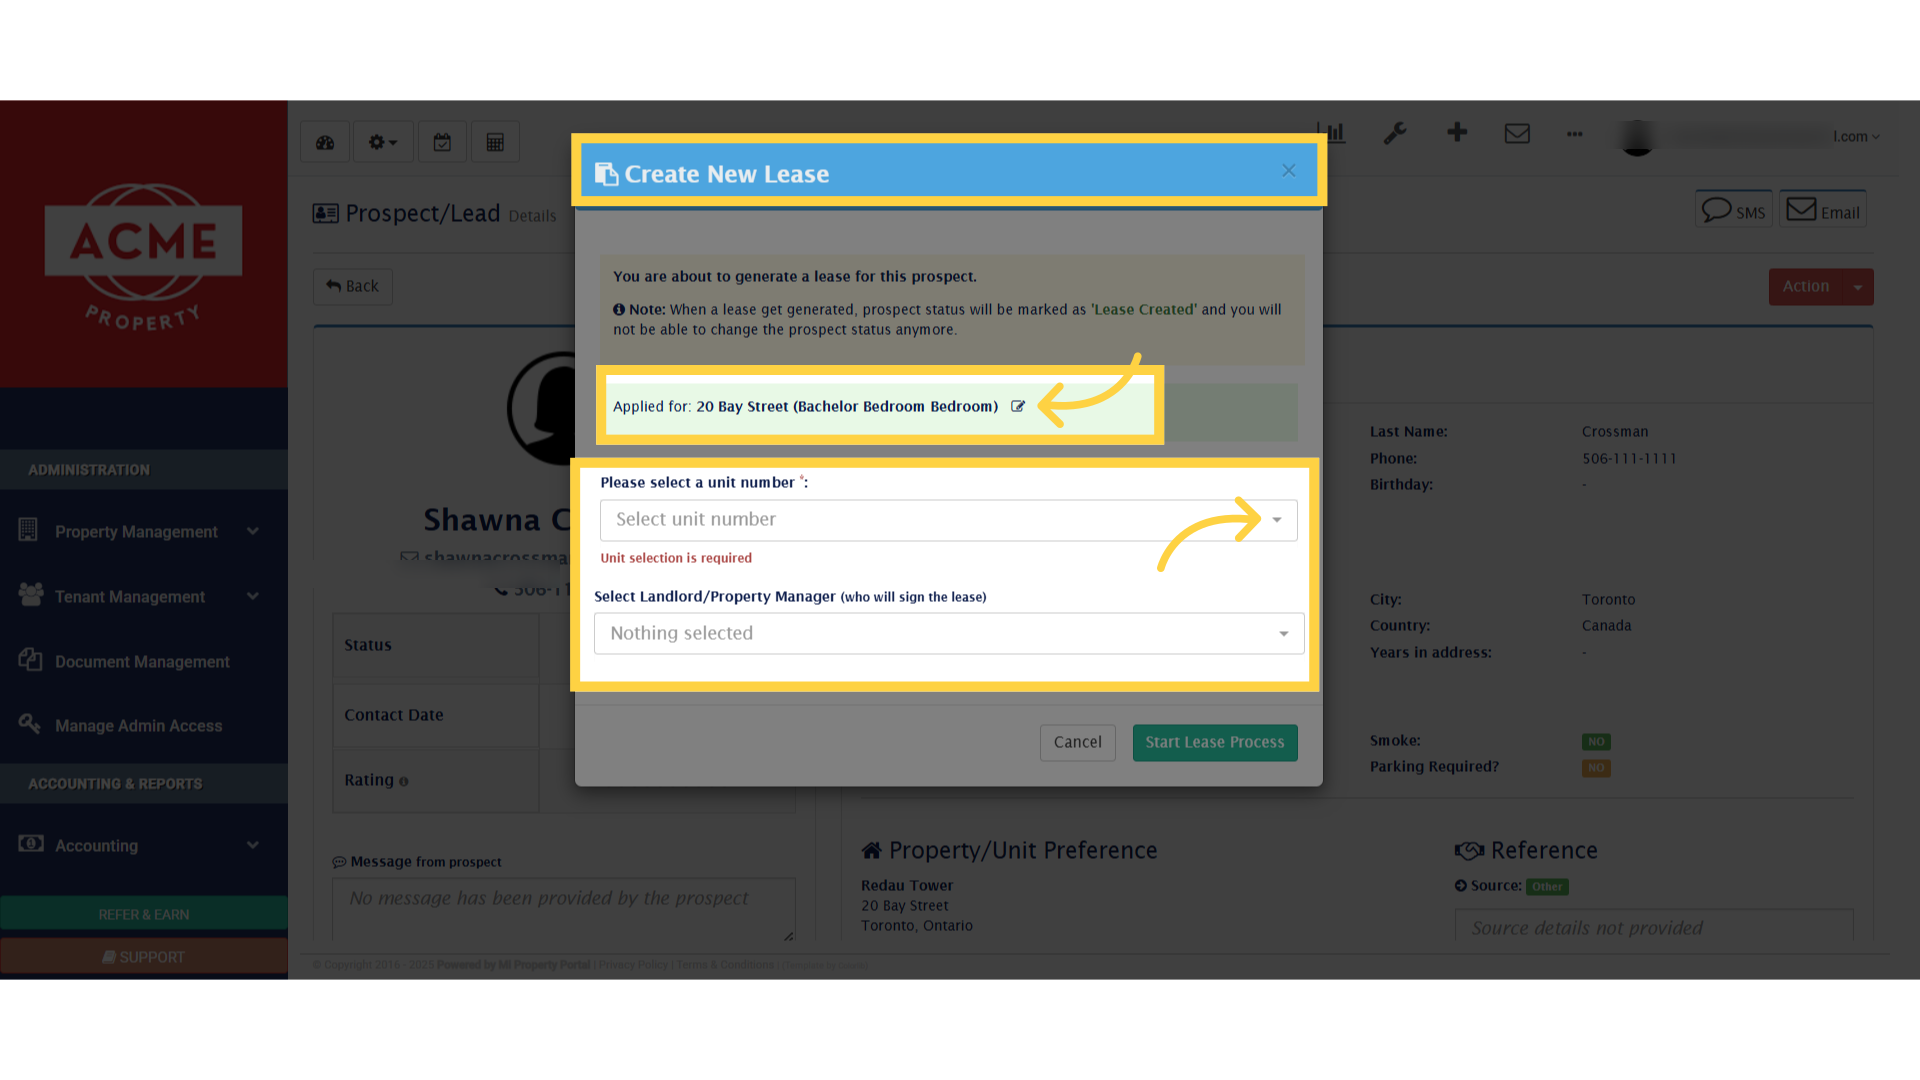
5. Click “Start Lease Process”
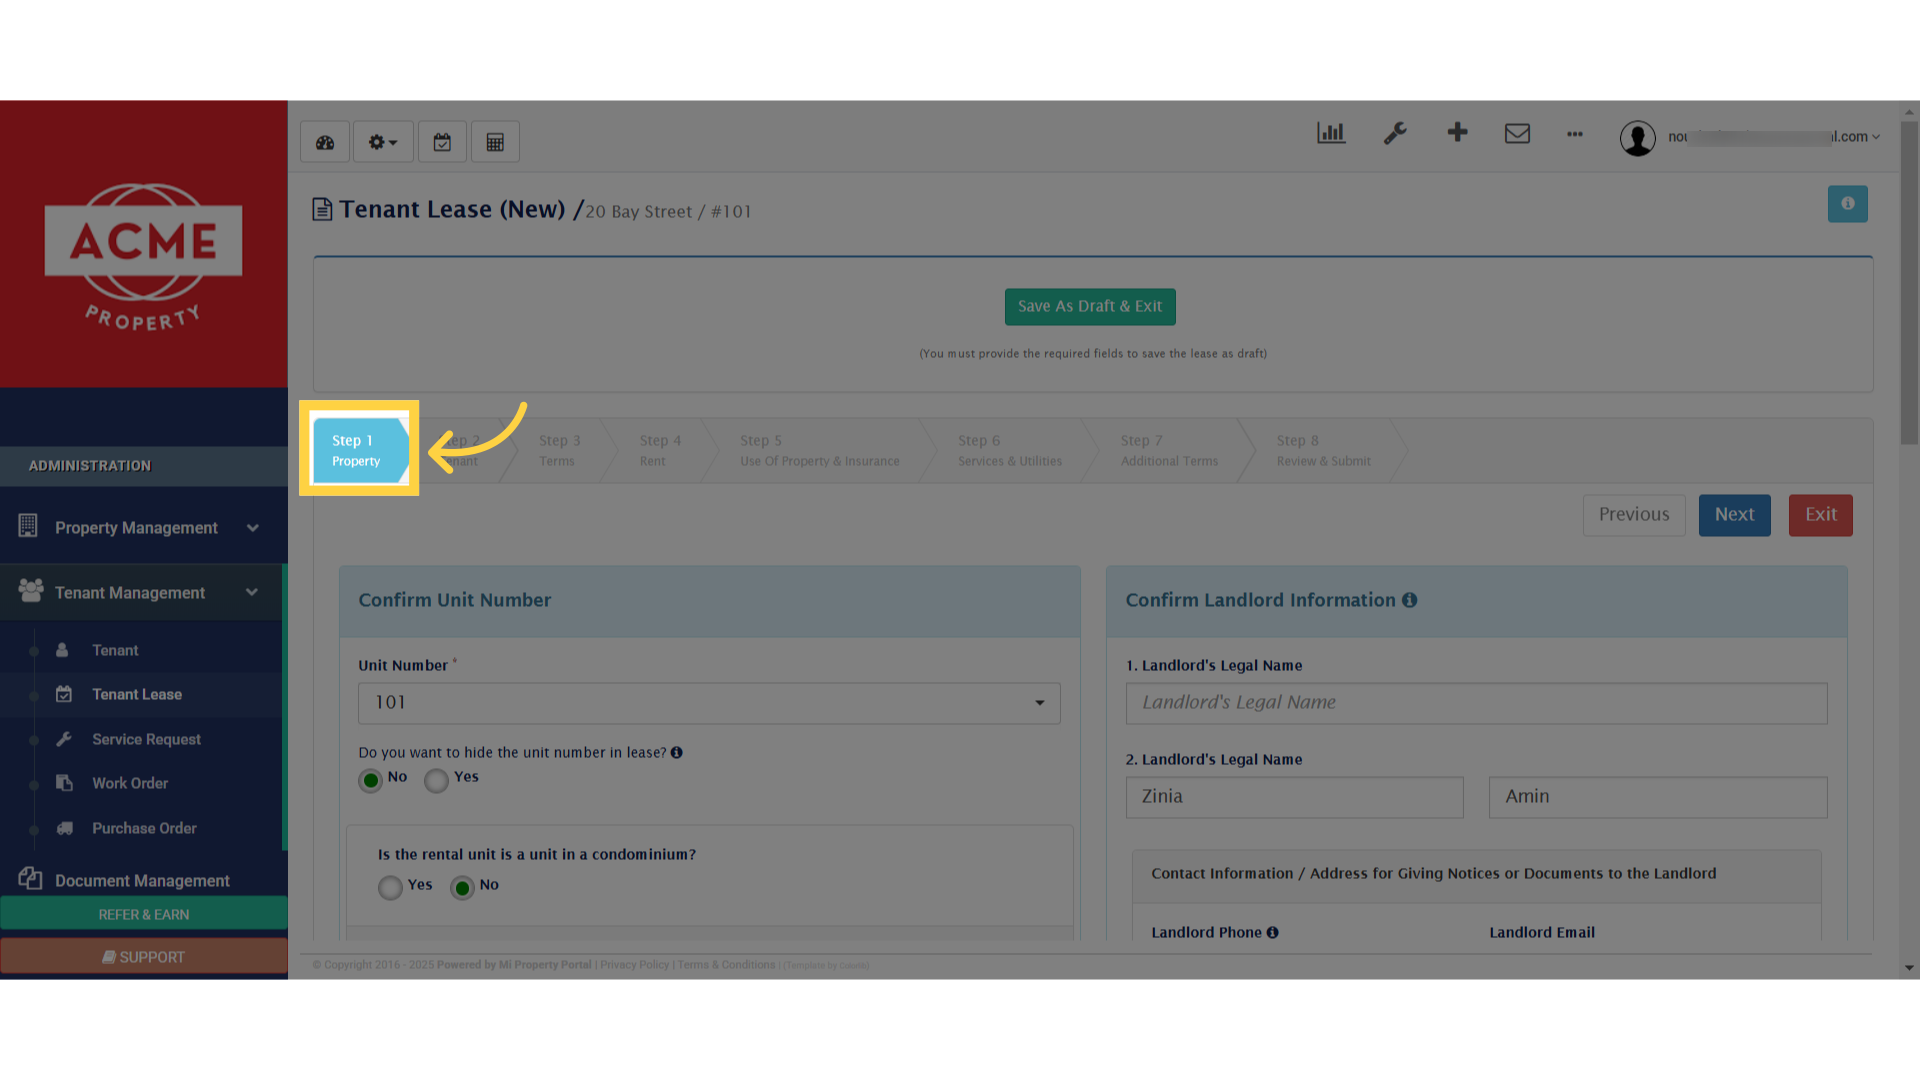
6. Click “Step 1Property”
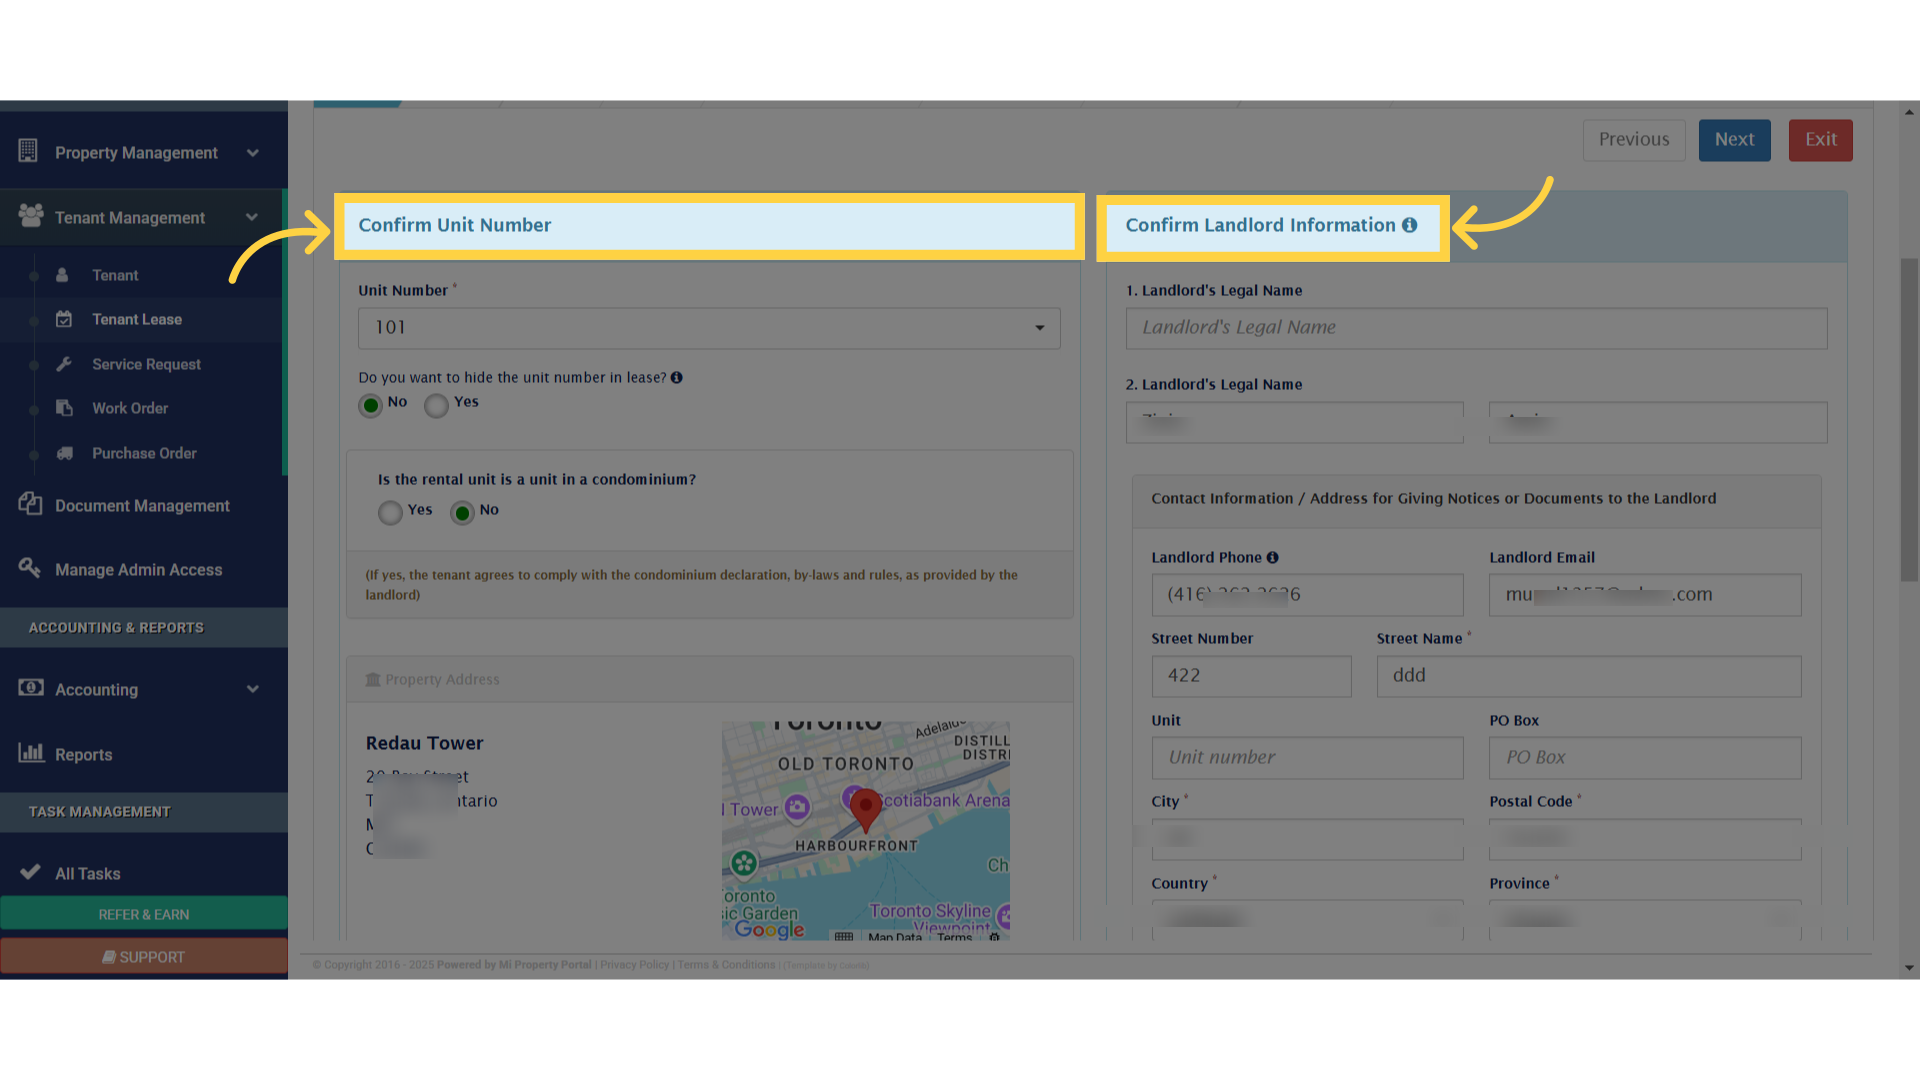
7. Click “Confirm Unit Number”
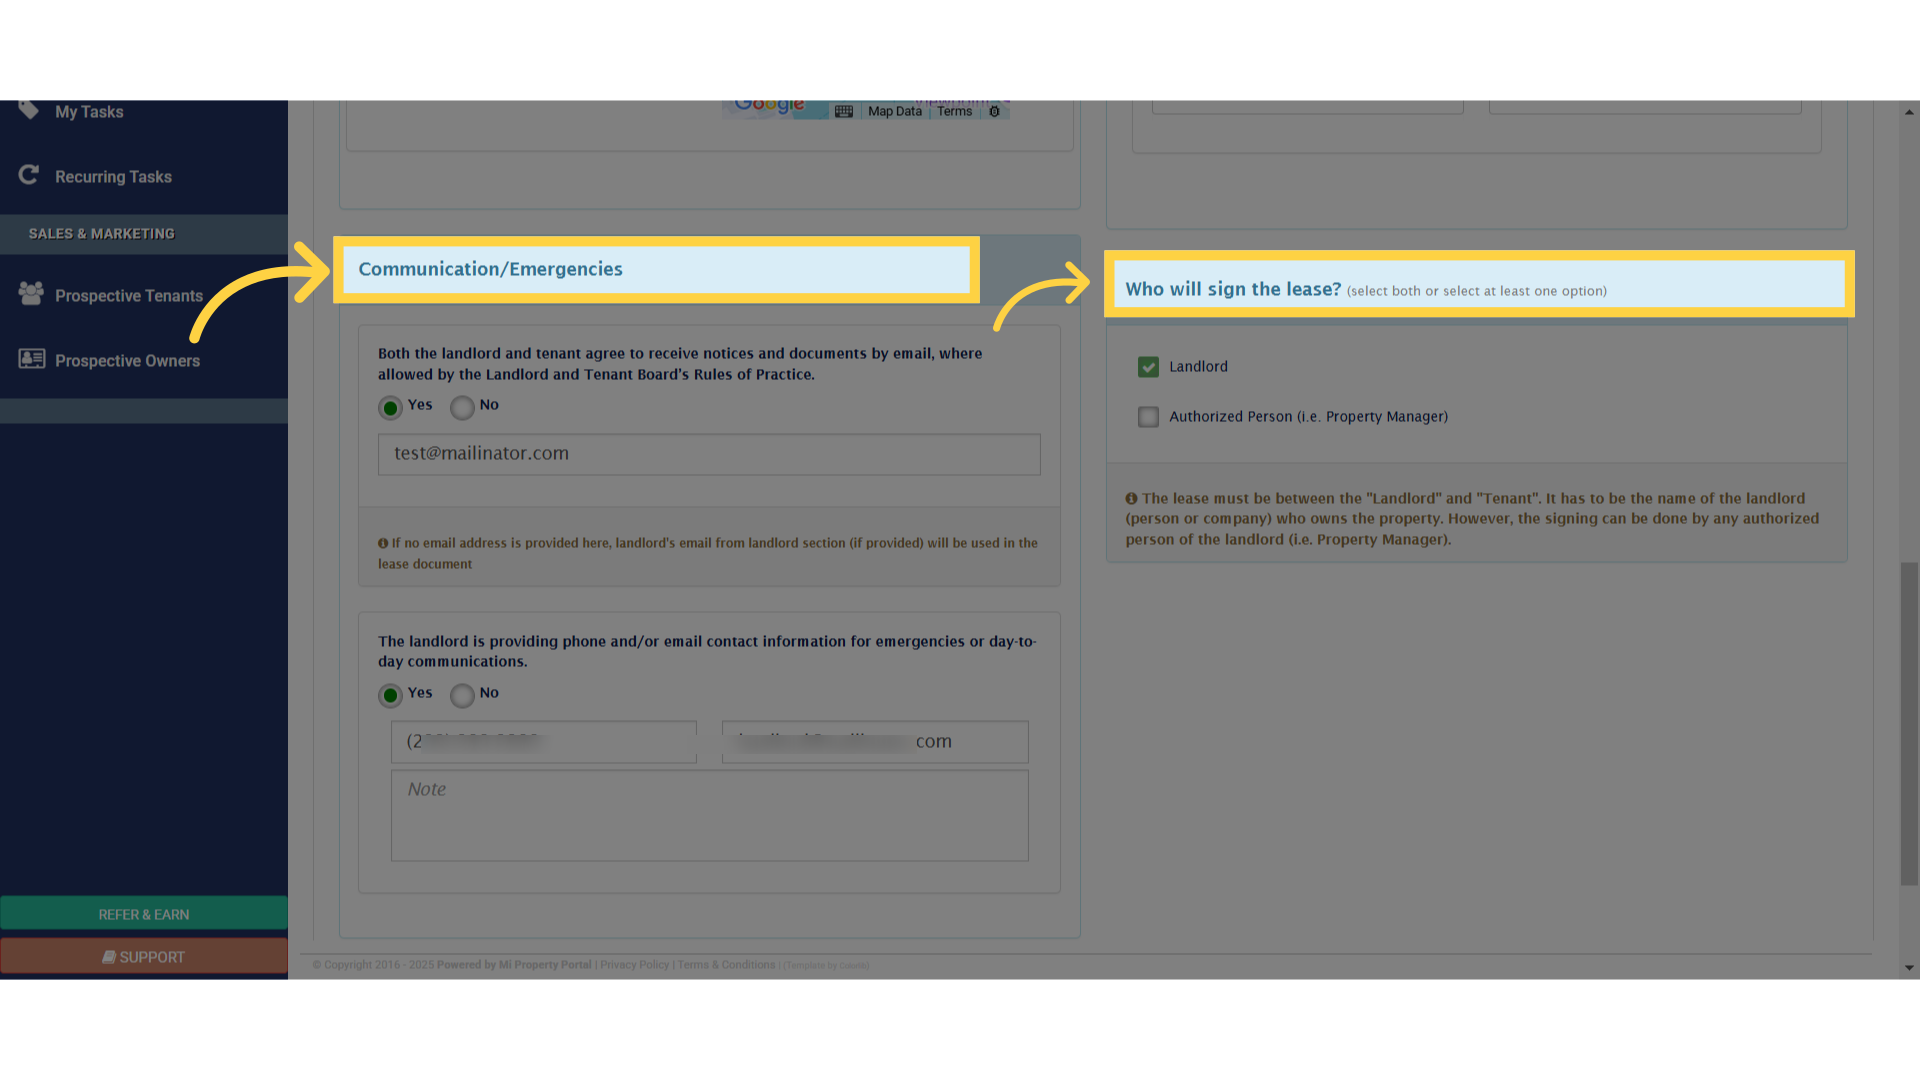
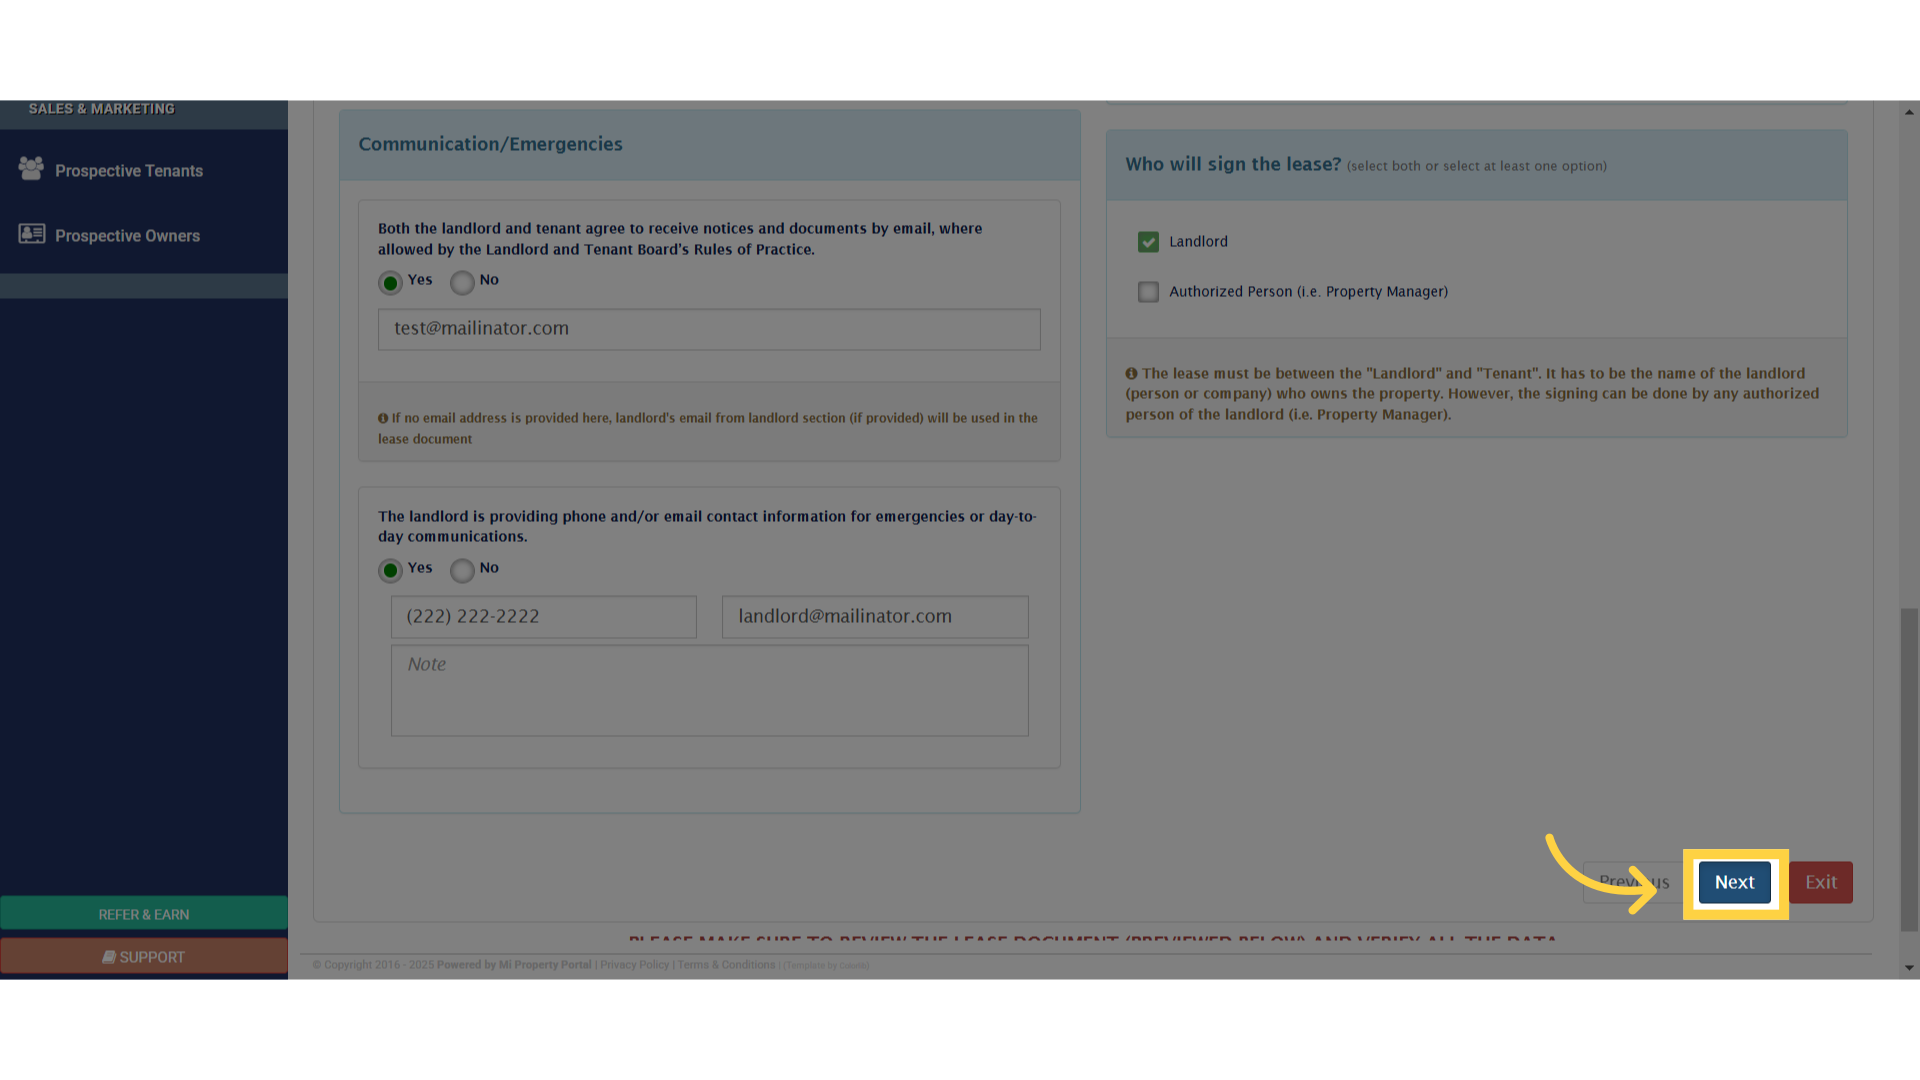
8. Click “Communication/Emergencies”
9. Click “Next”
10. Click “Confirm Primary Tenant Information”
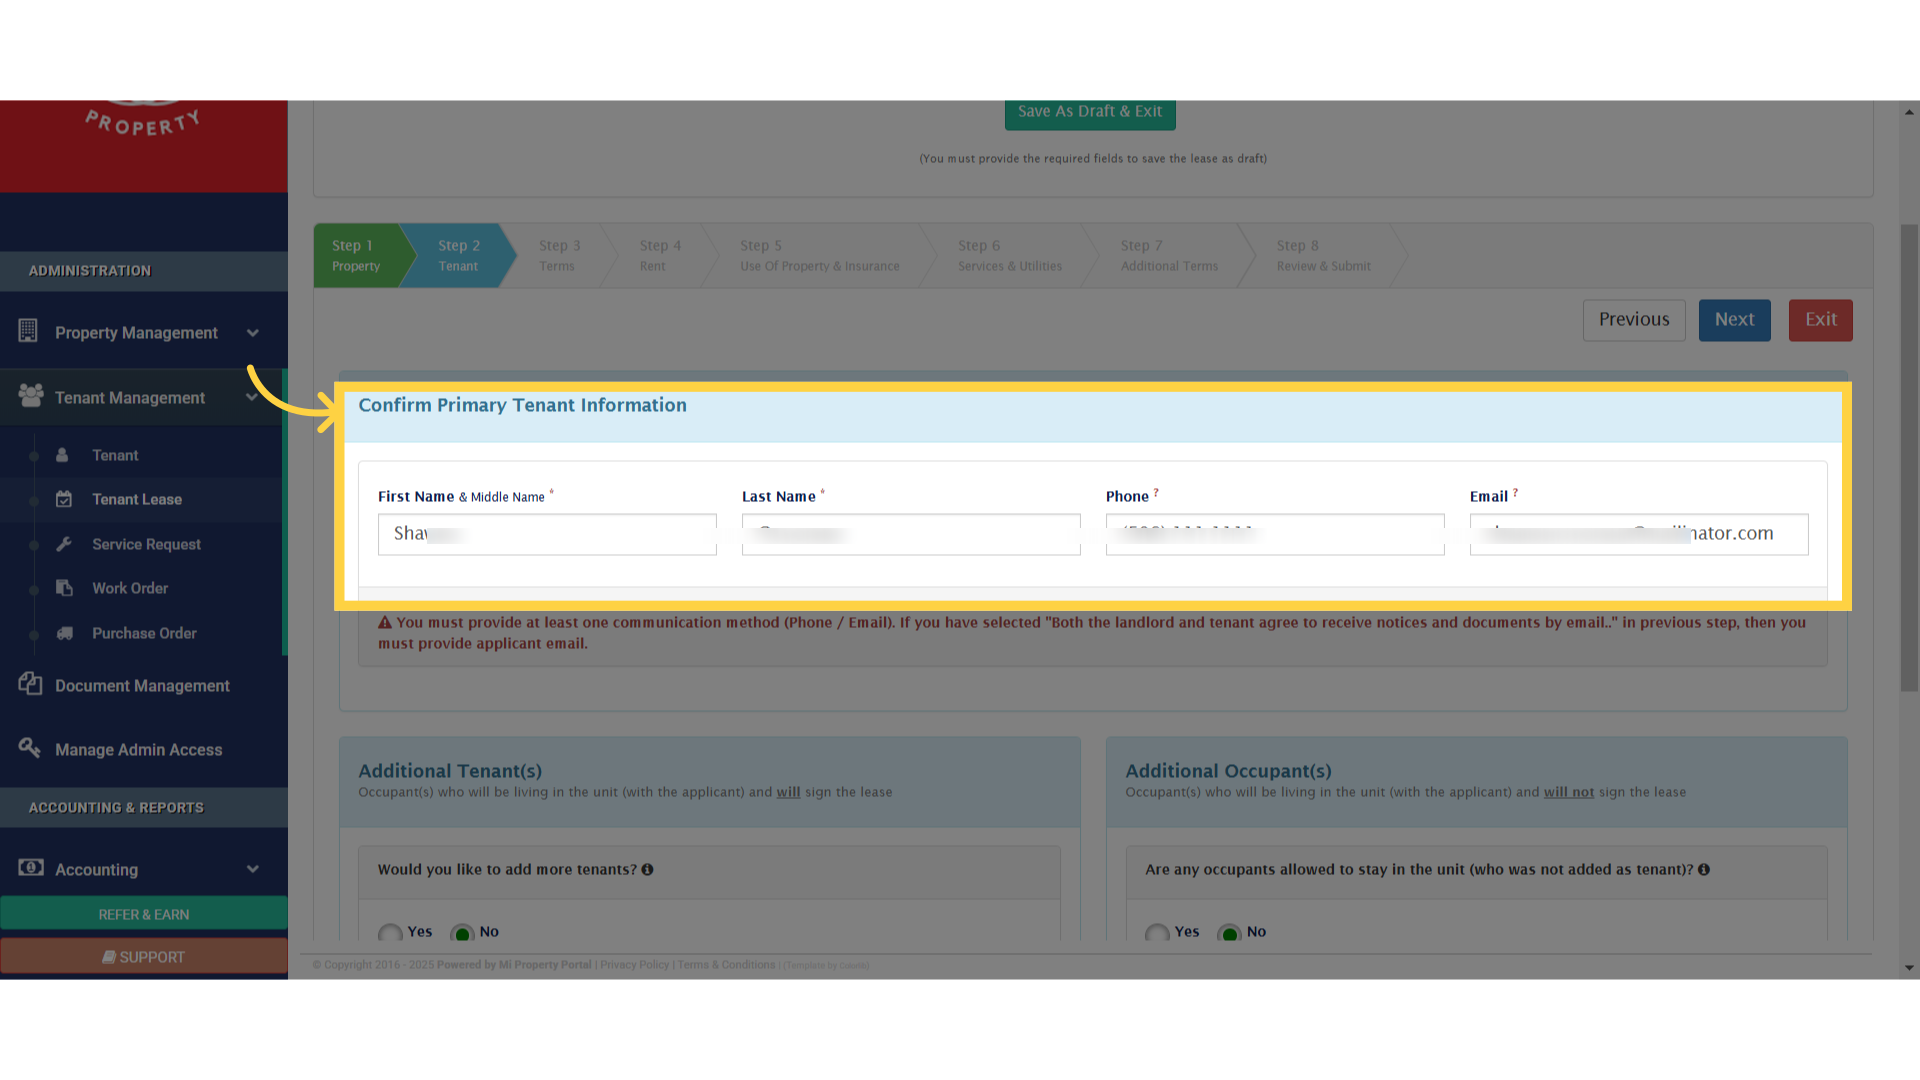
11. Click “First Name”
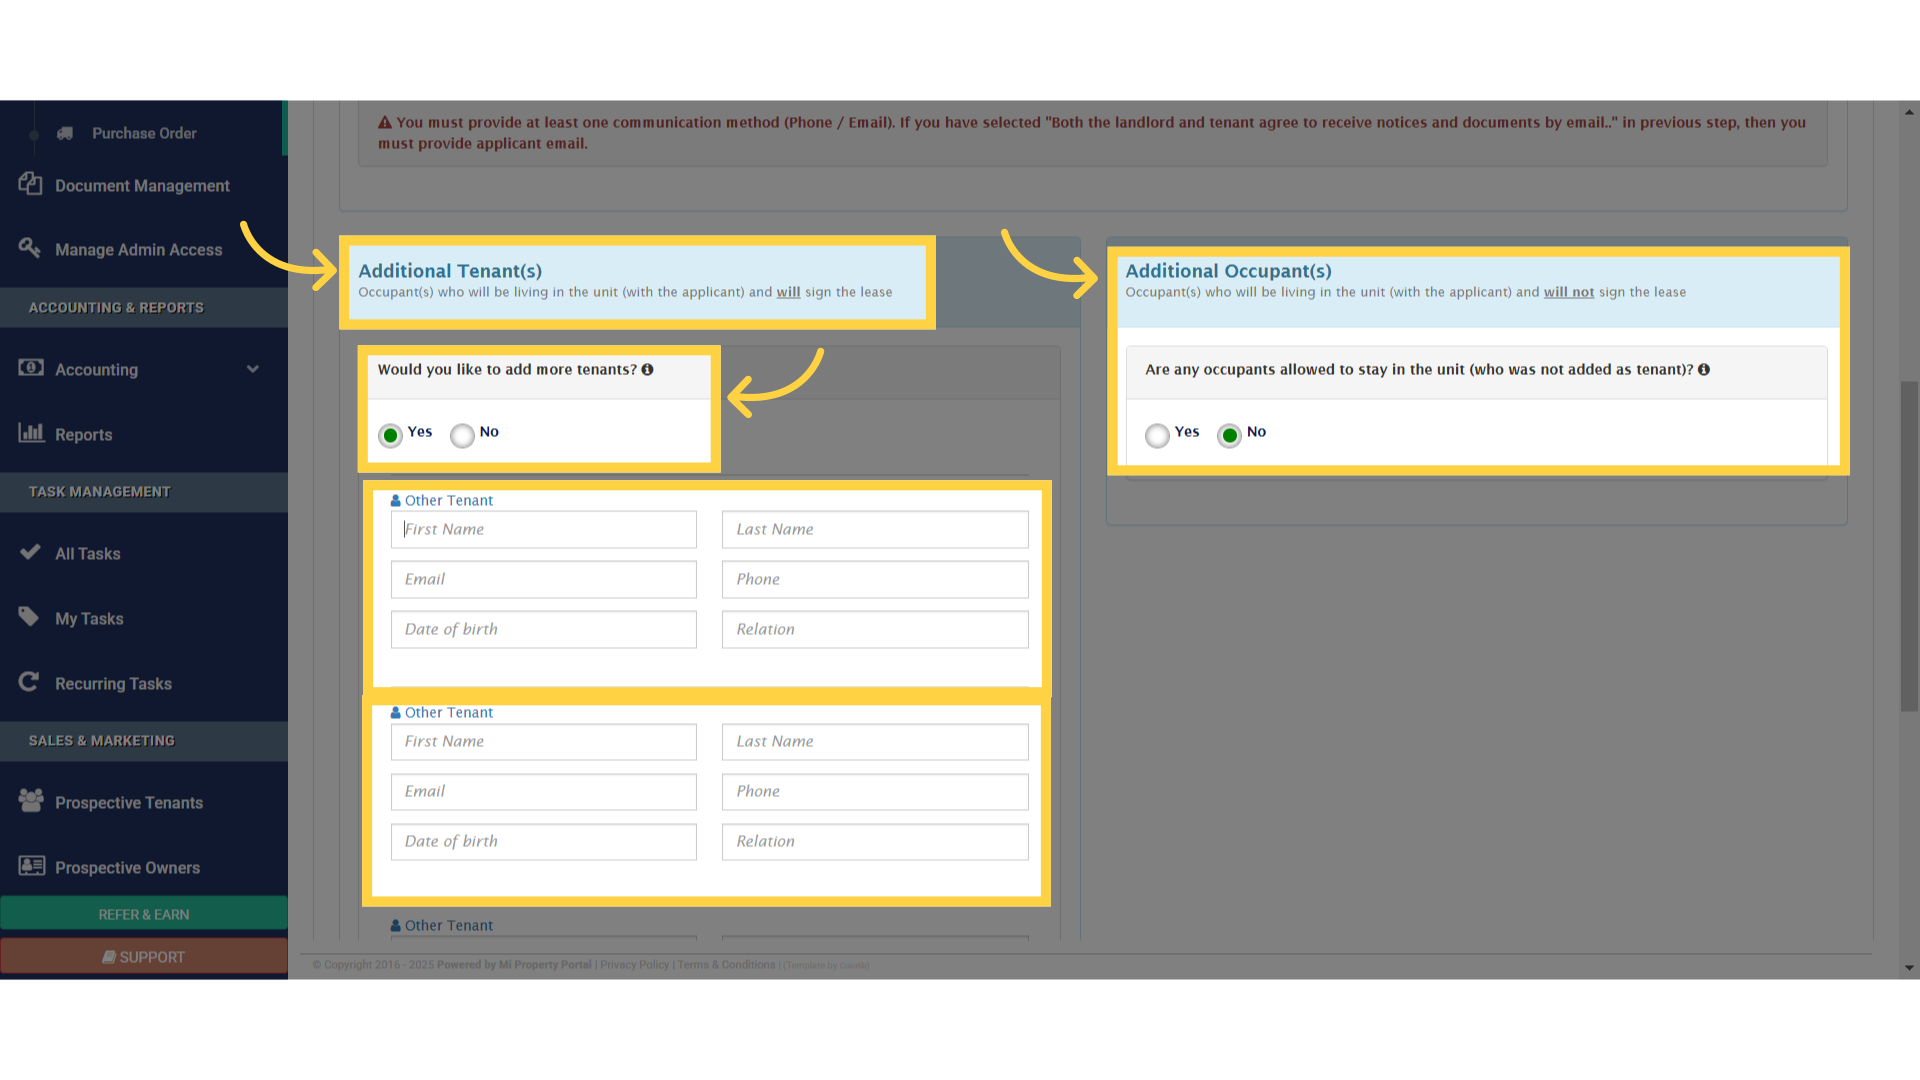
If needed, you can add additional tenants and occupants. Just click Yes to include them.
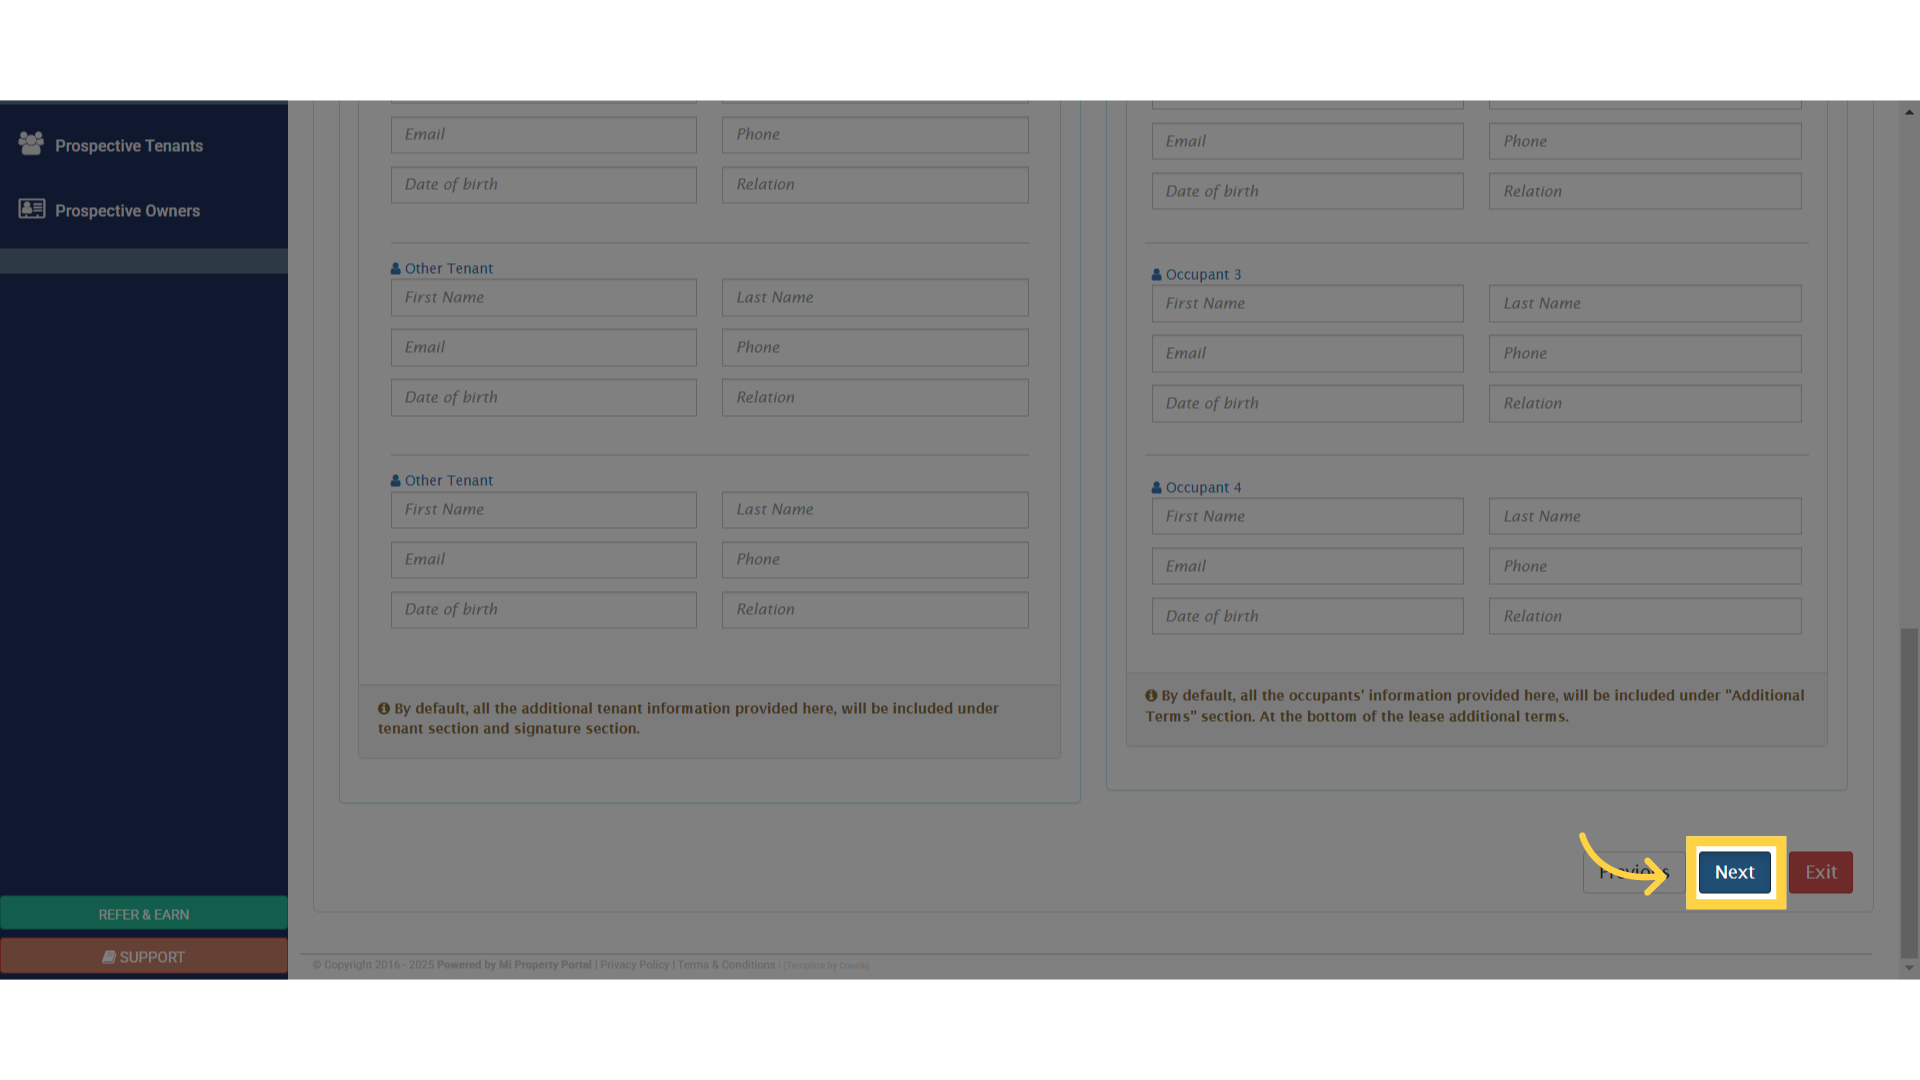
12. Click “Next”
Once done, proceed by clicking Next.
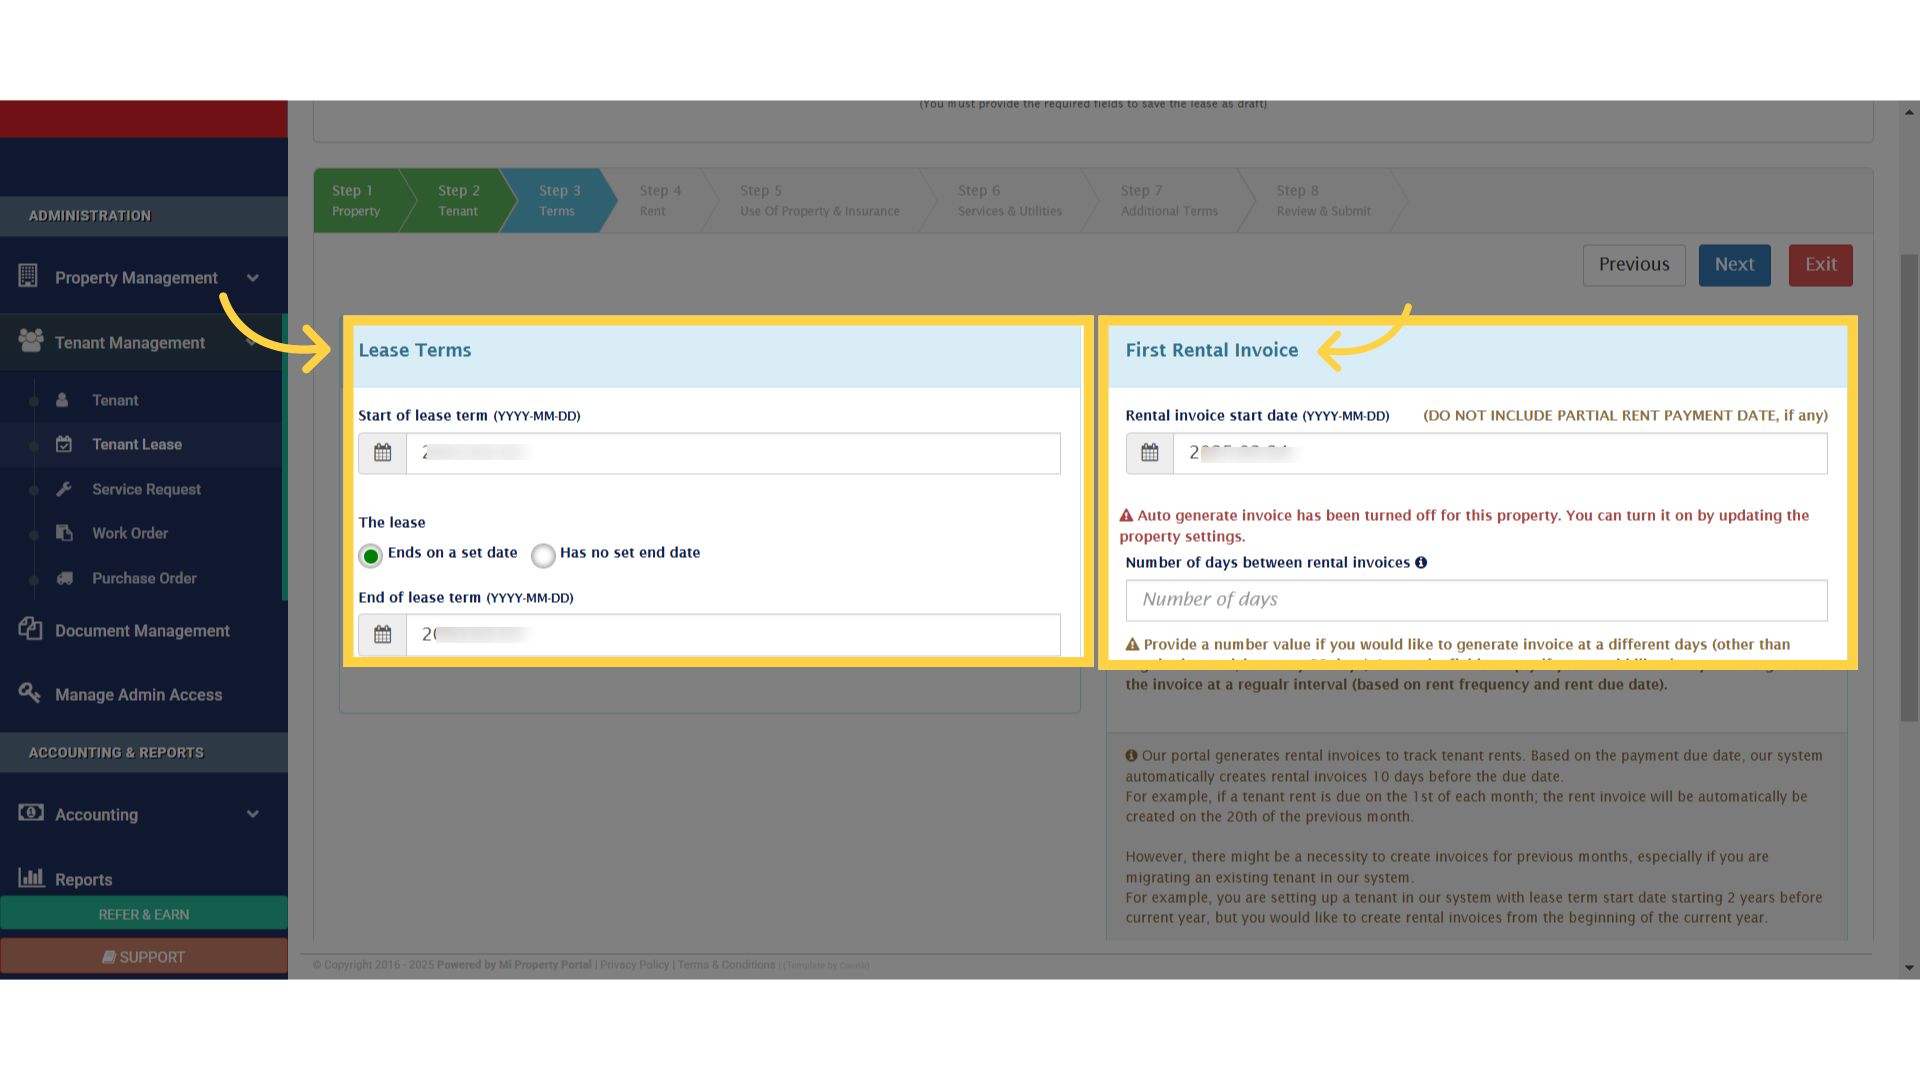
13. Click “Lease Terms”
In Step 3, you’ll set the lease start and end dates, as well as the Rental Invoice Date. Keep in mind that some fields may vary depending on your province’s requirements.
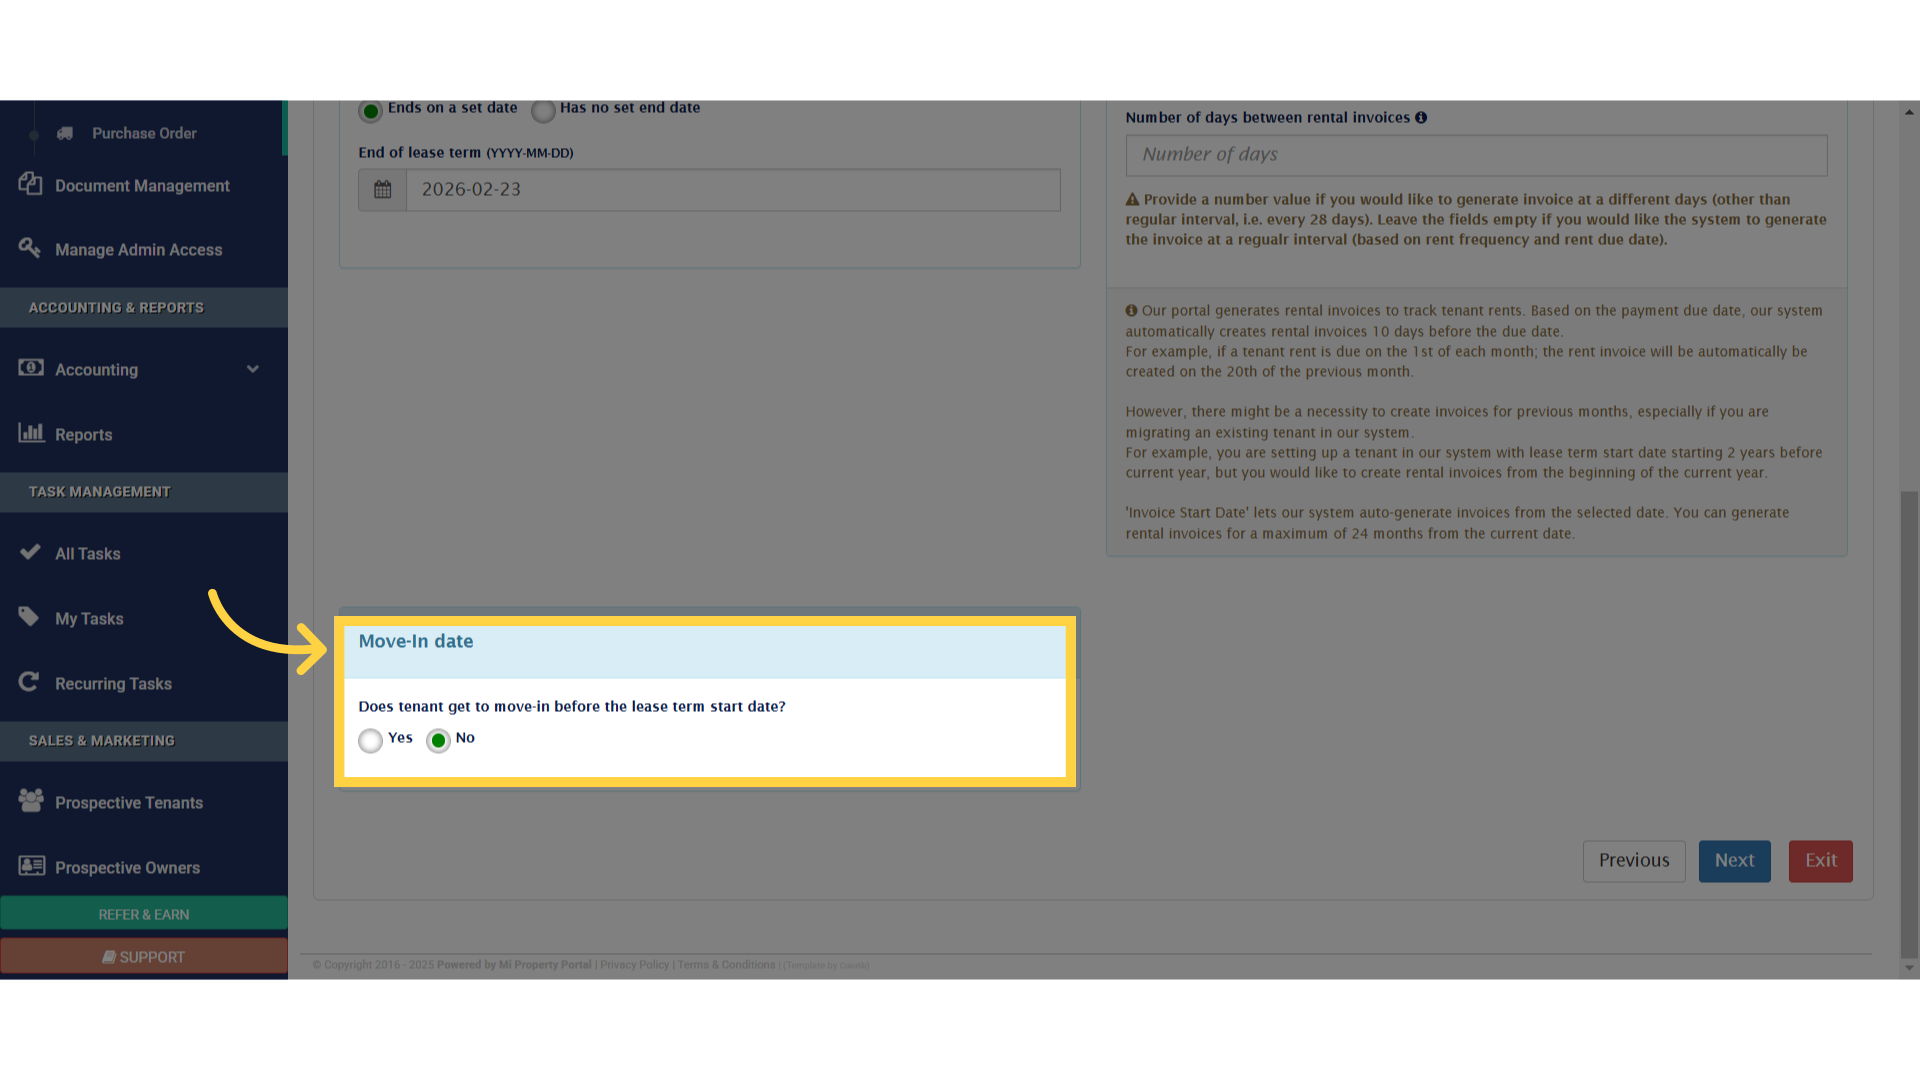
14. Click “Move-In date”
Check the appropriate boxes for the move-in date.
15. Click “Next”
click Next to continue.

16. Click “Rent”
Now, you’re in Step 4.
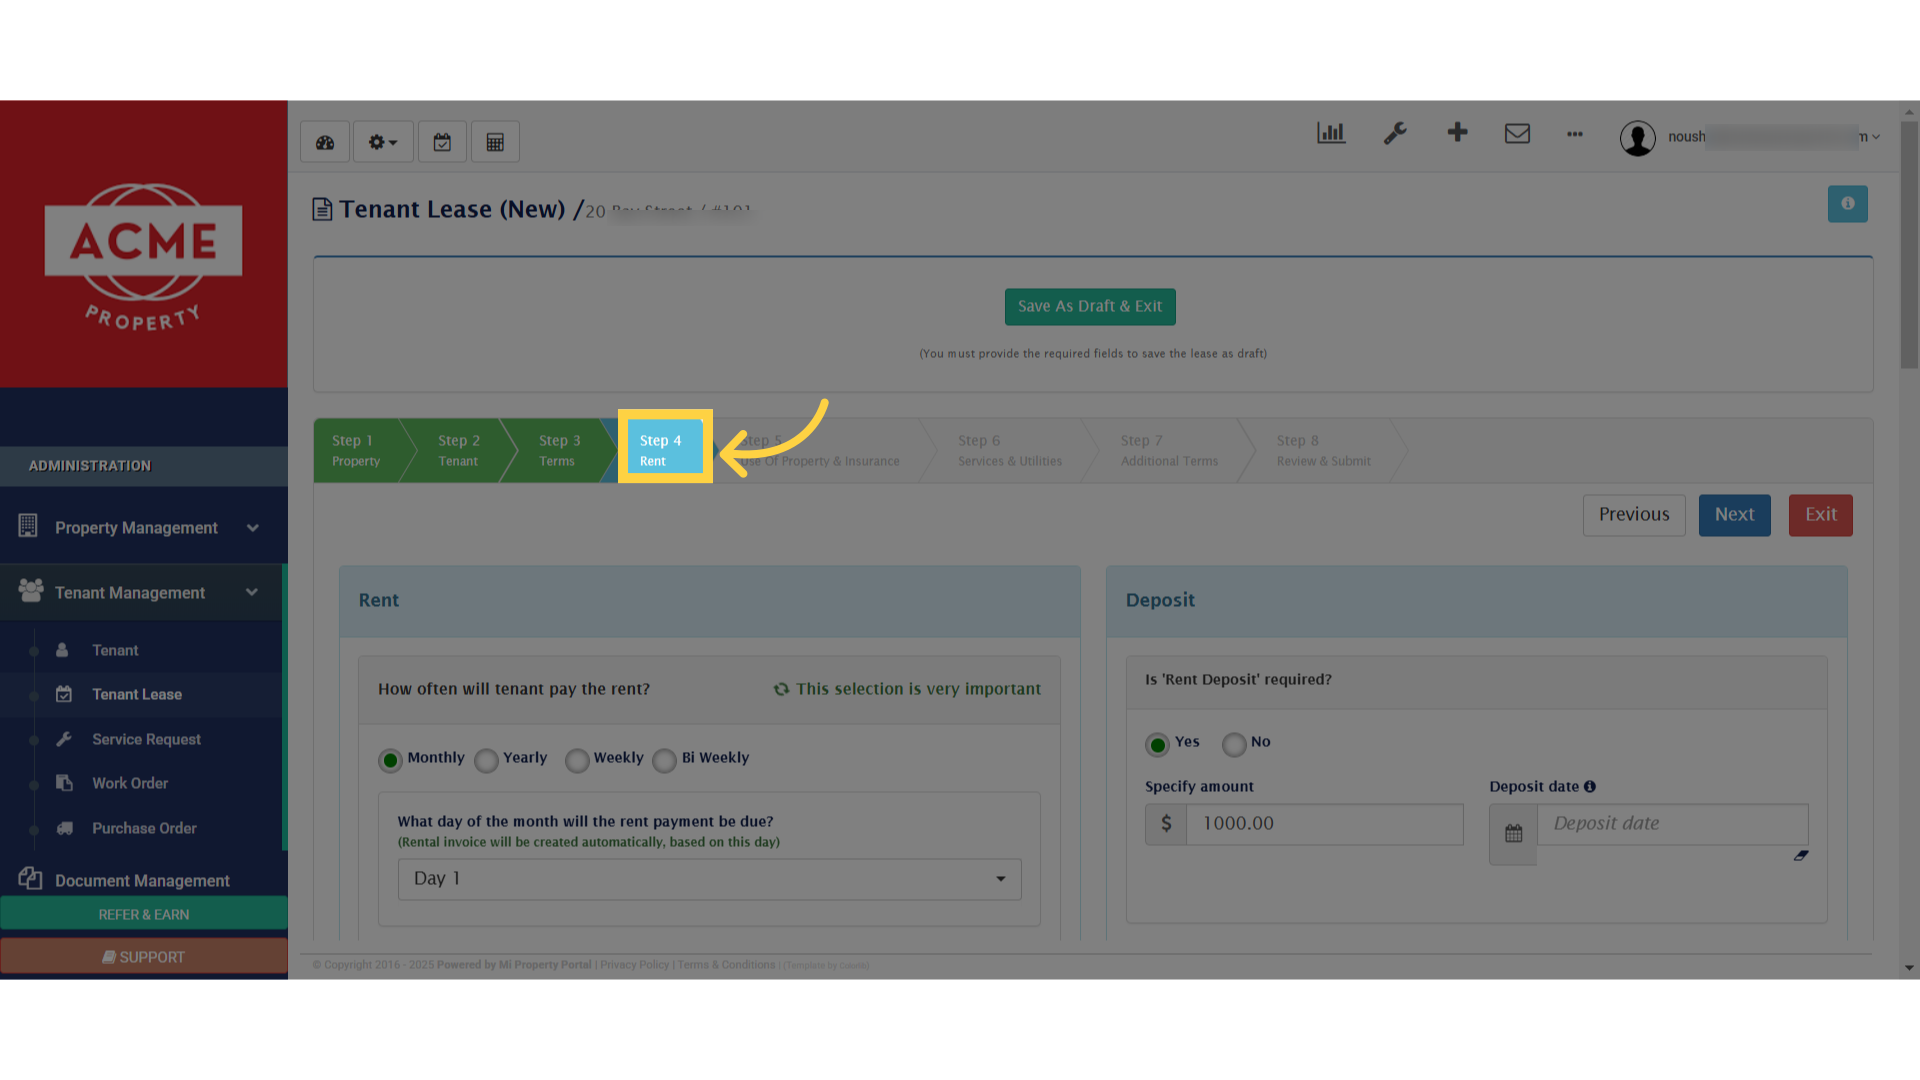
17. Click “Rent”
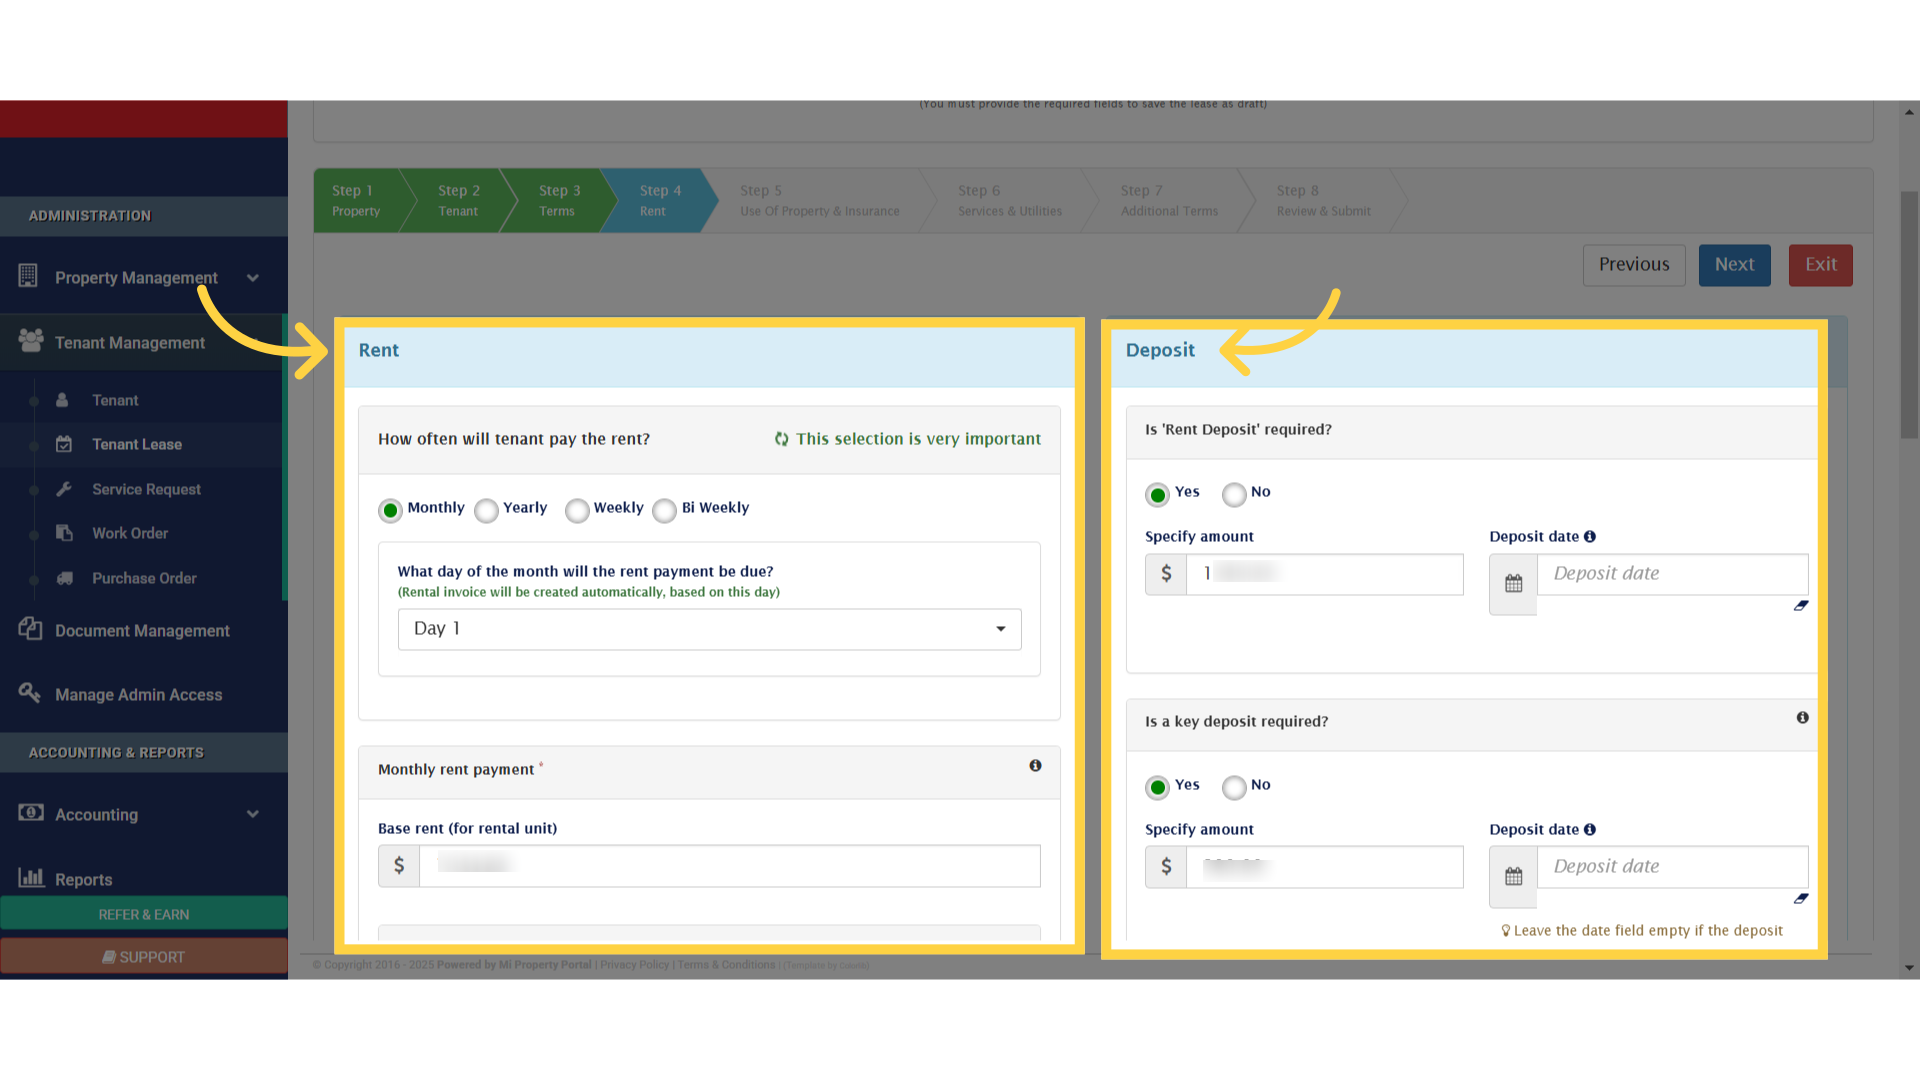
At the top of the page, you’ll find the Rent and Deposit section. Fill in the necessary details according to the lease agreement.
18. Click “Parking”
If you scroll down, you’ll get parking option.

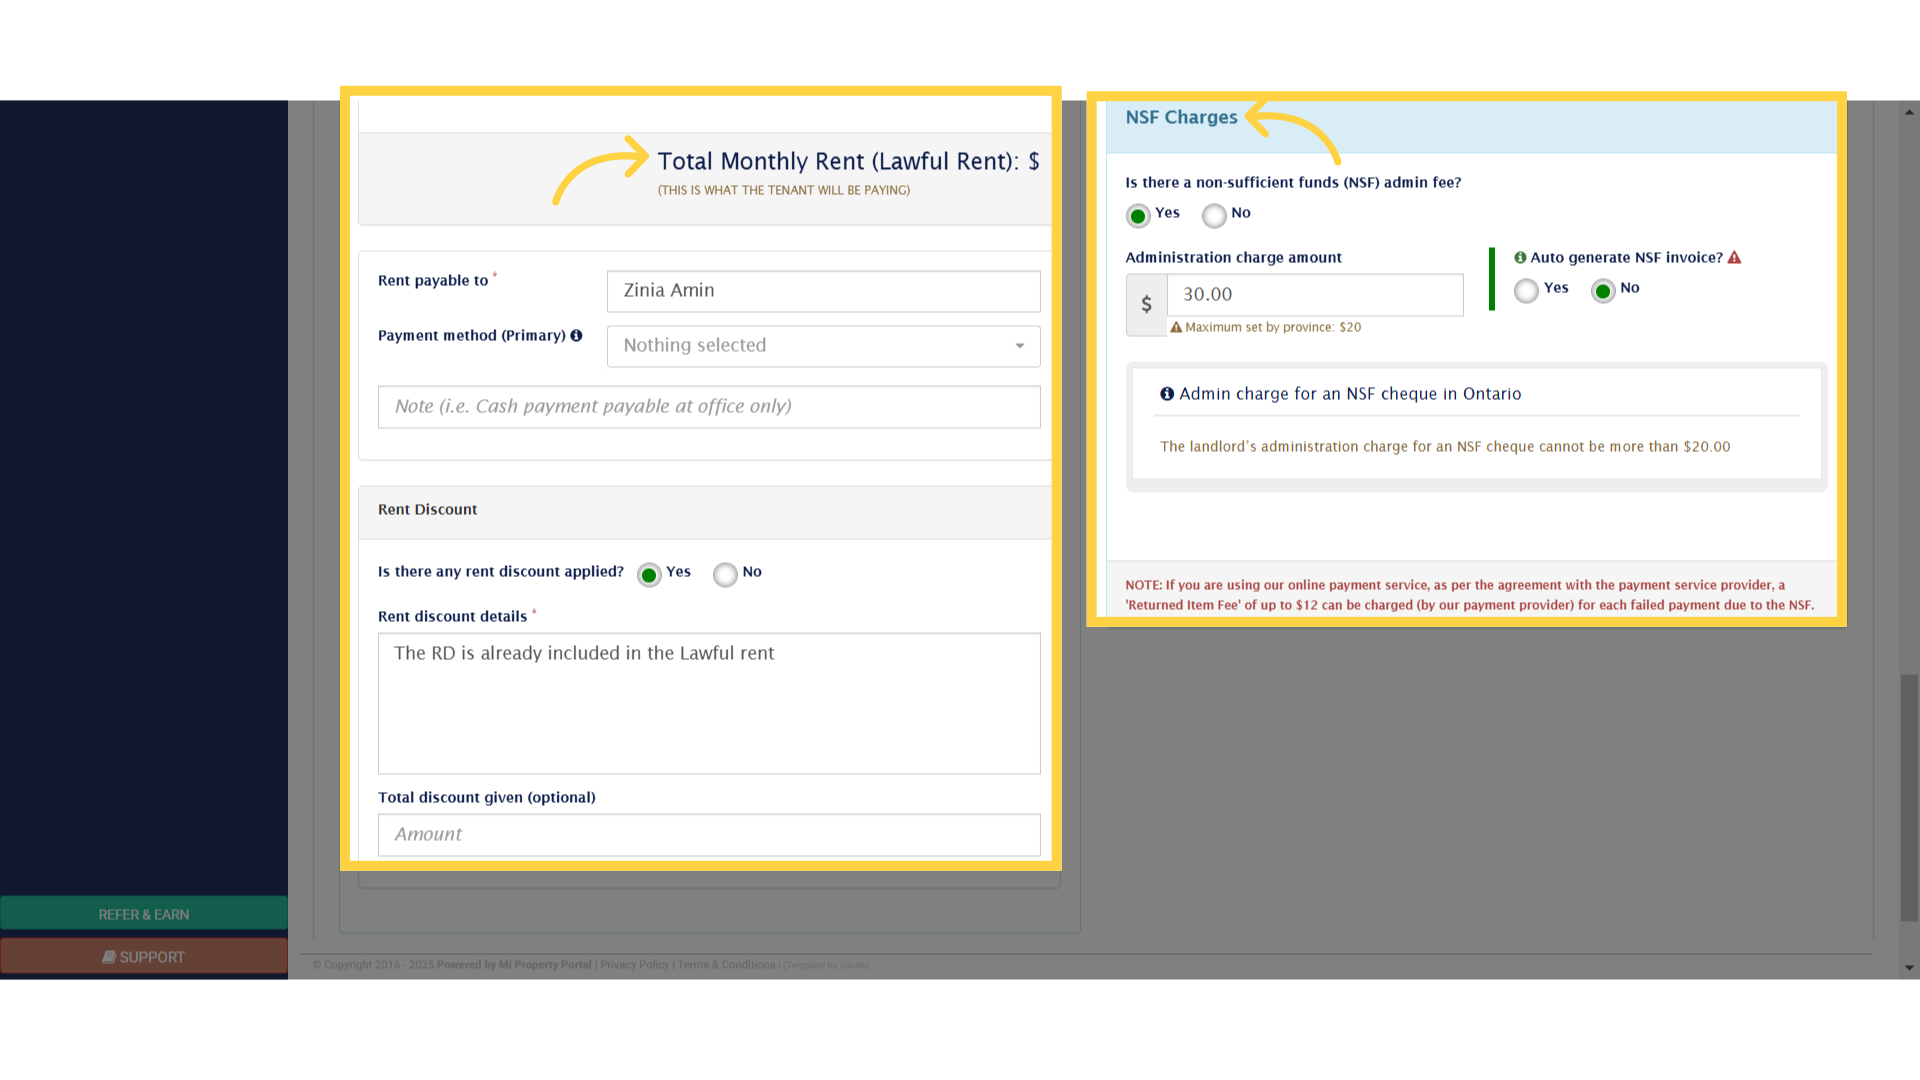
19. Click “Total Monthly Rent (Lawful Rent): $
(THIS IS WHAT THE TENANT WILL BE PAYING)”
Also Monthly Rent, and NSF Charges. Enter the relevant details.
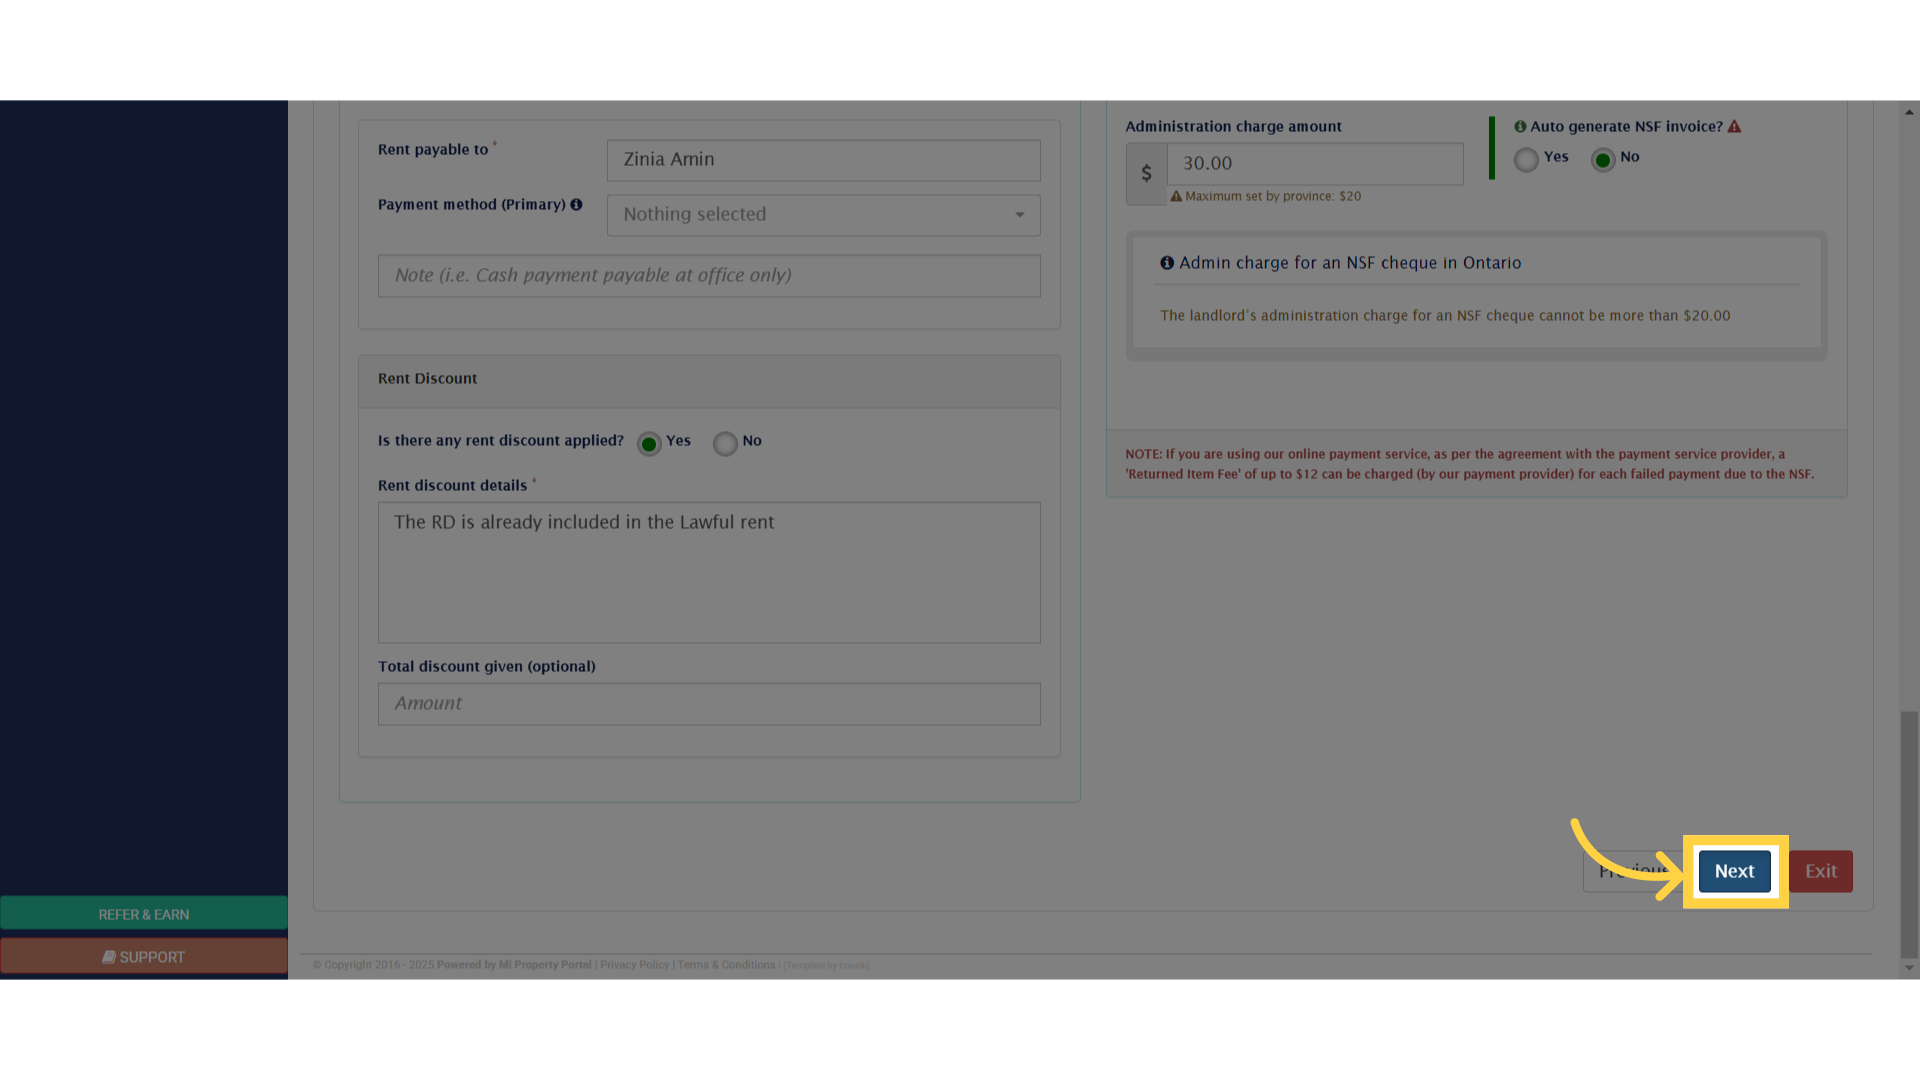
20. Click “Next”
then click Next.
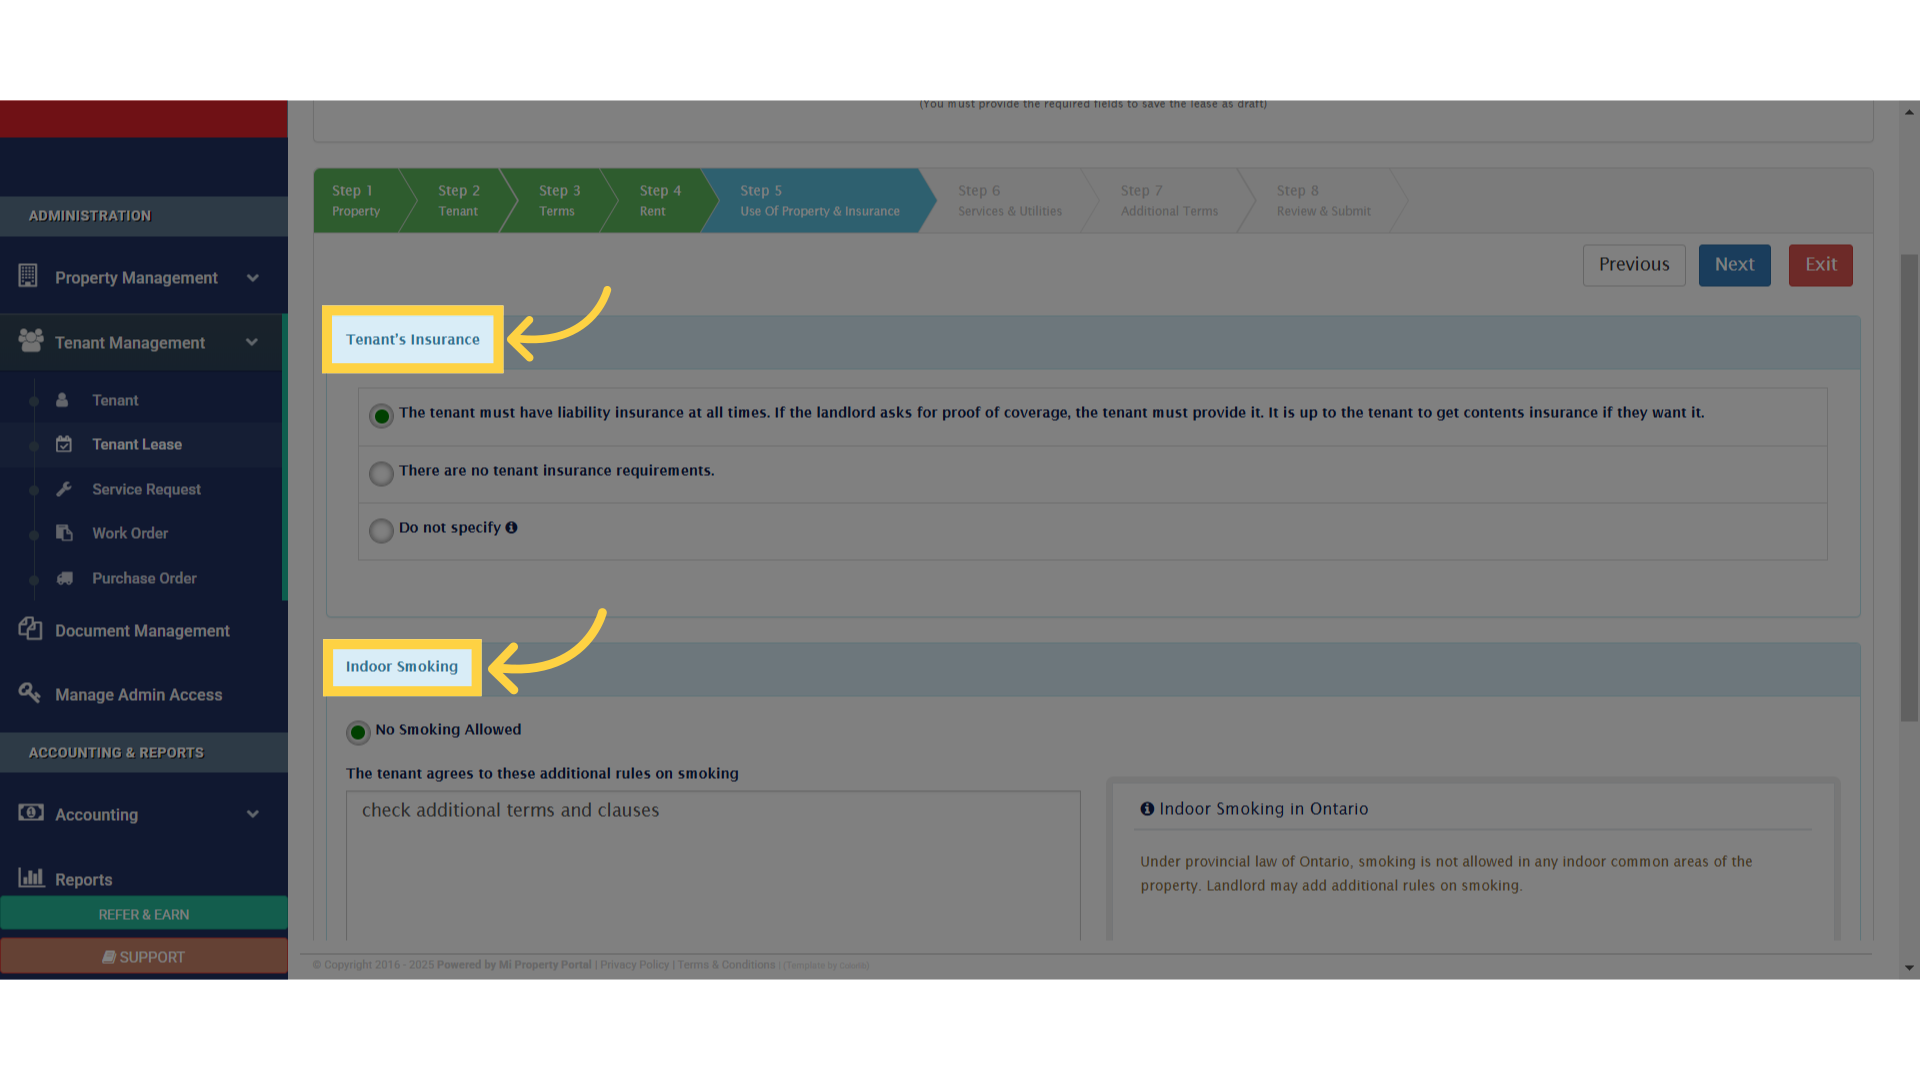
21. Click “Tenant’s Insurance”
In Step 5, carefully review and complete sections such as Tenant Insurance and Indoor Smoking Policy.
22. Click “Next”
Click Next to proceed to the next step.
23. Click “Step 6Services & Utilities”
Now, you’re on Step 6.
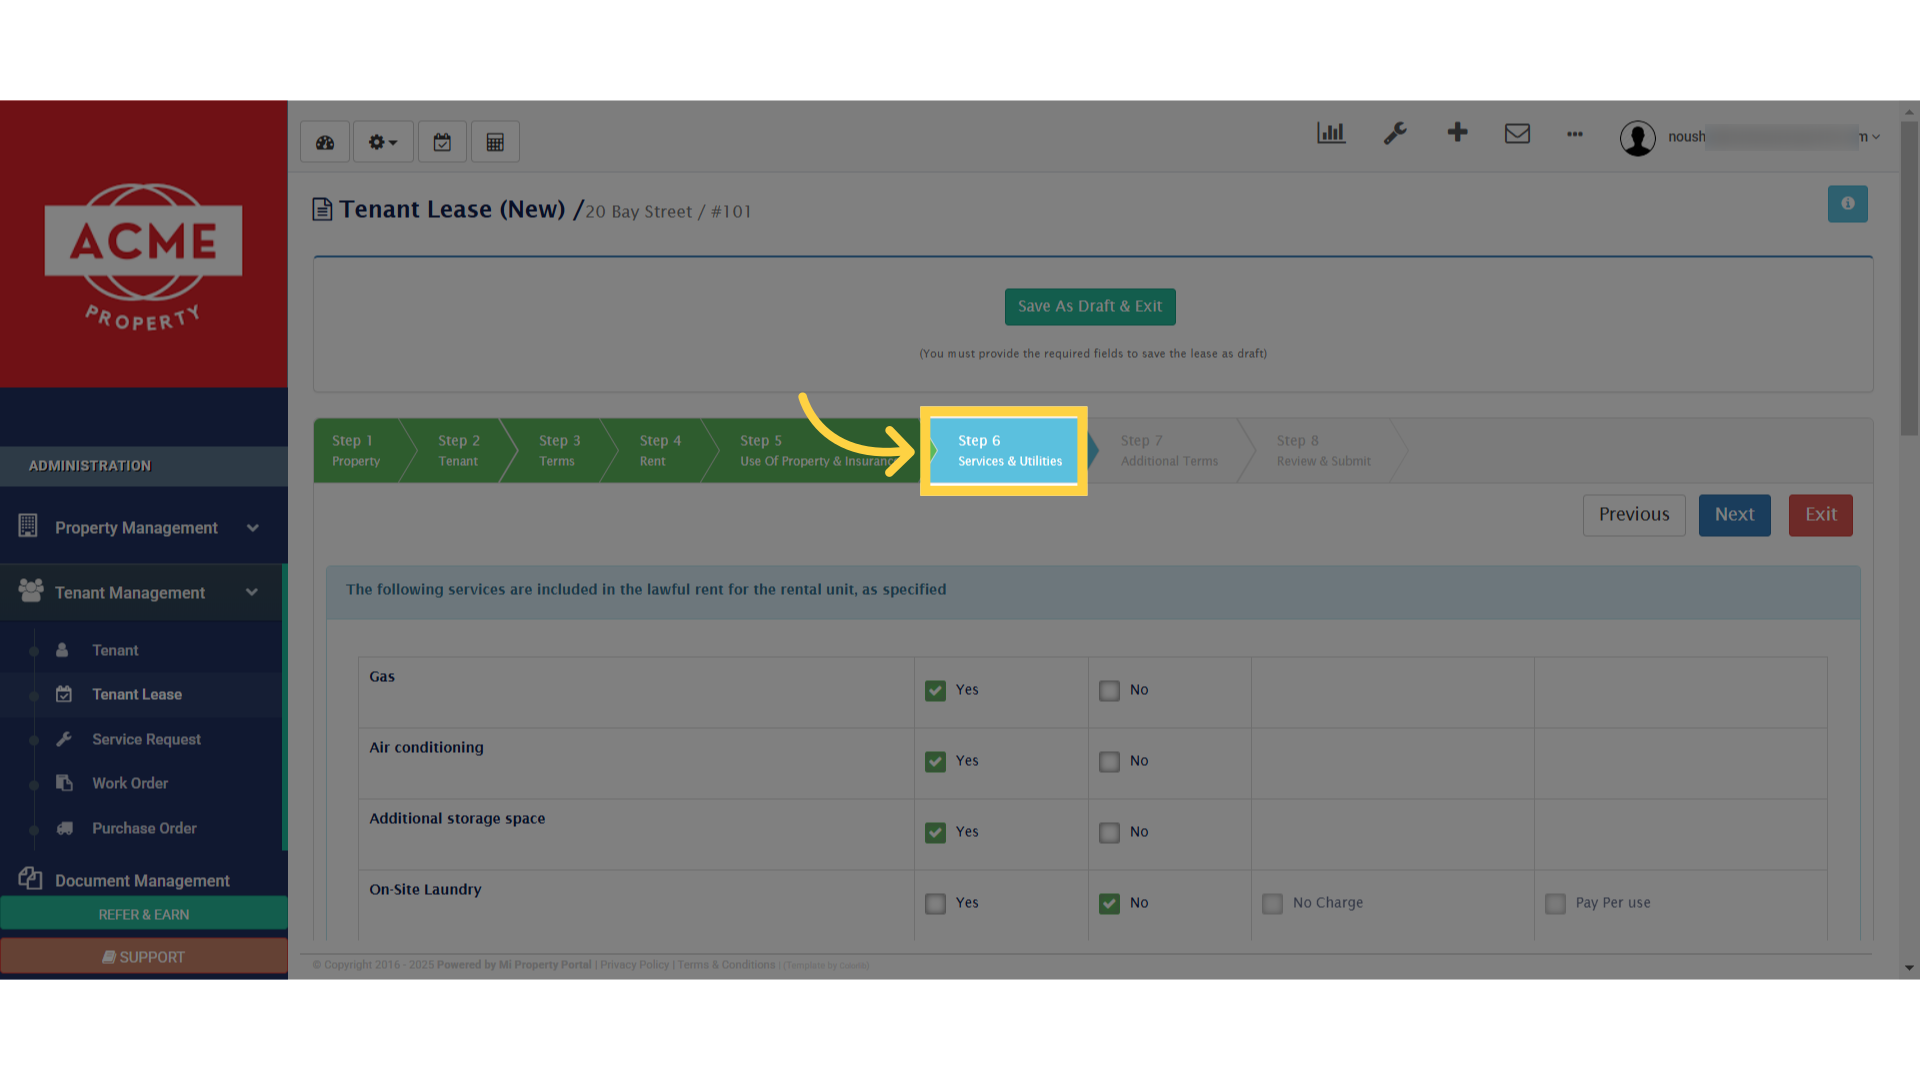
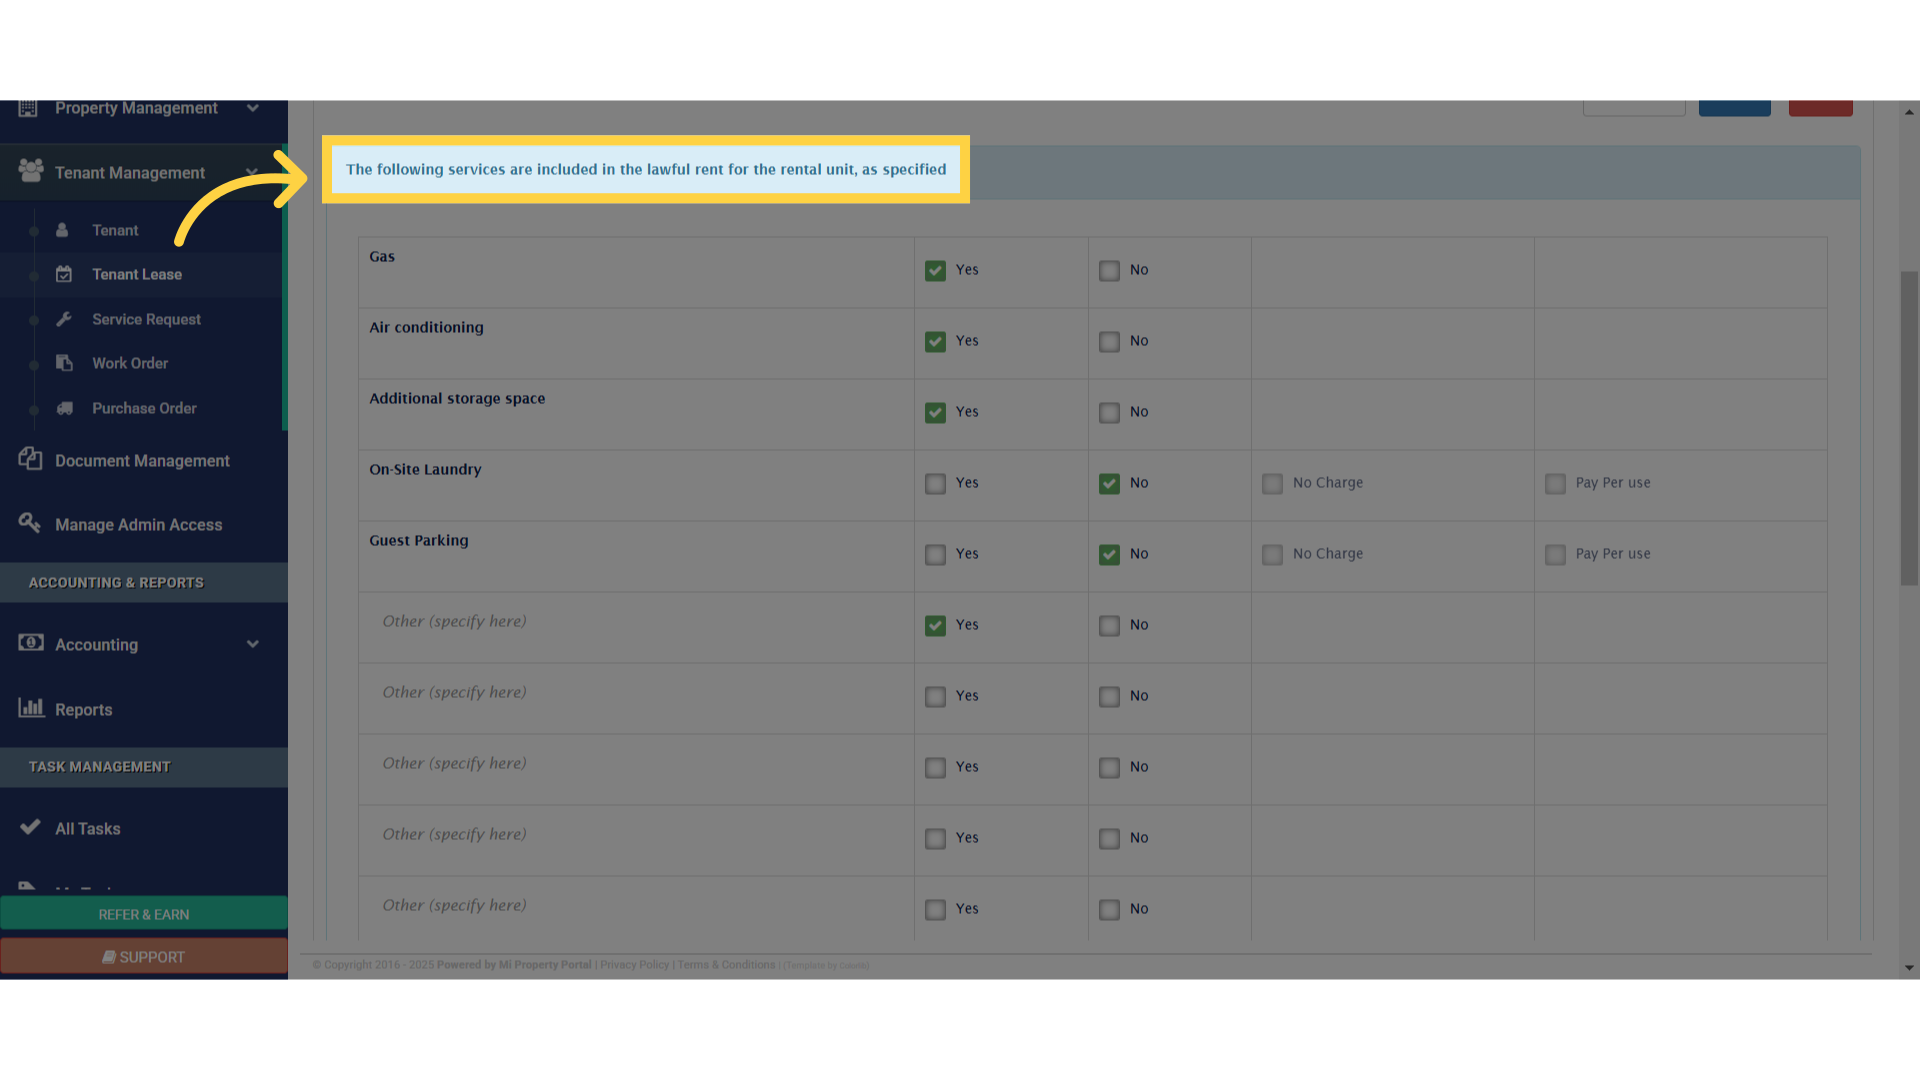
24. Click “The following services are included in the lawful rent for the rental unit, as specified”
Here, you’ll specify any services included under lawful rent.
25. Click “Additional Terms”
Moving on to Step 7, this is where you can upload Additional Terms and Clauses.
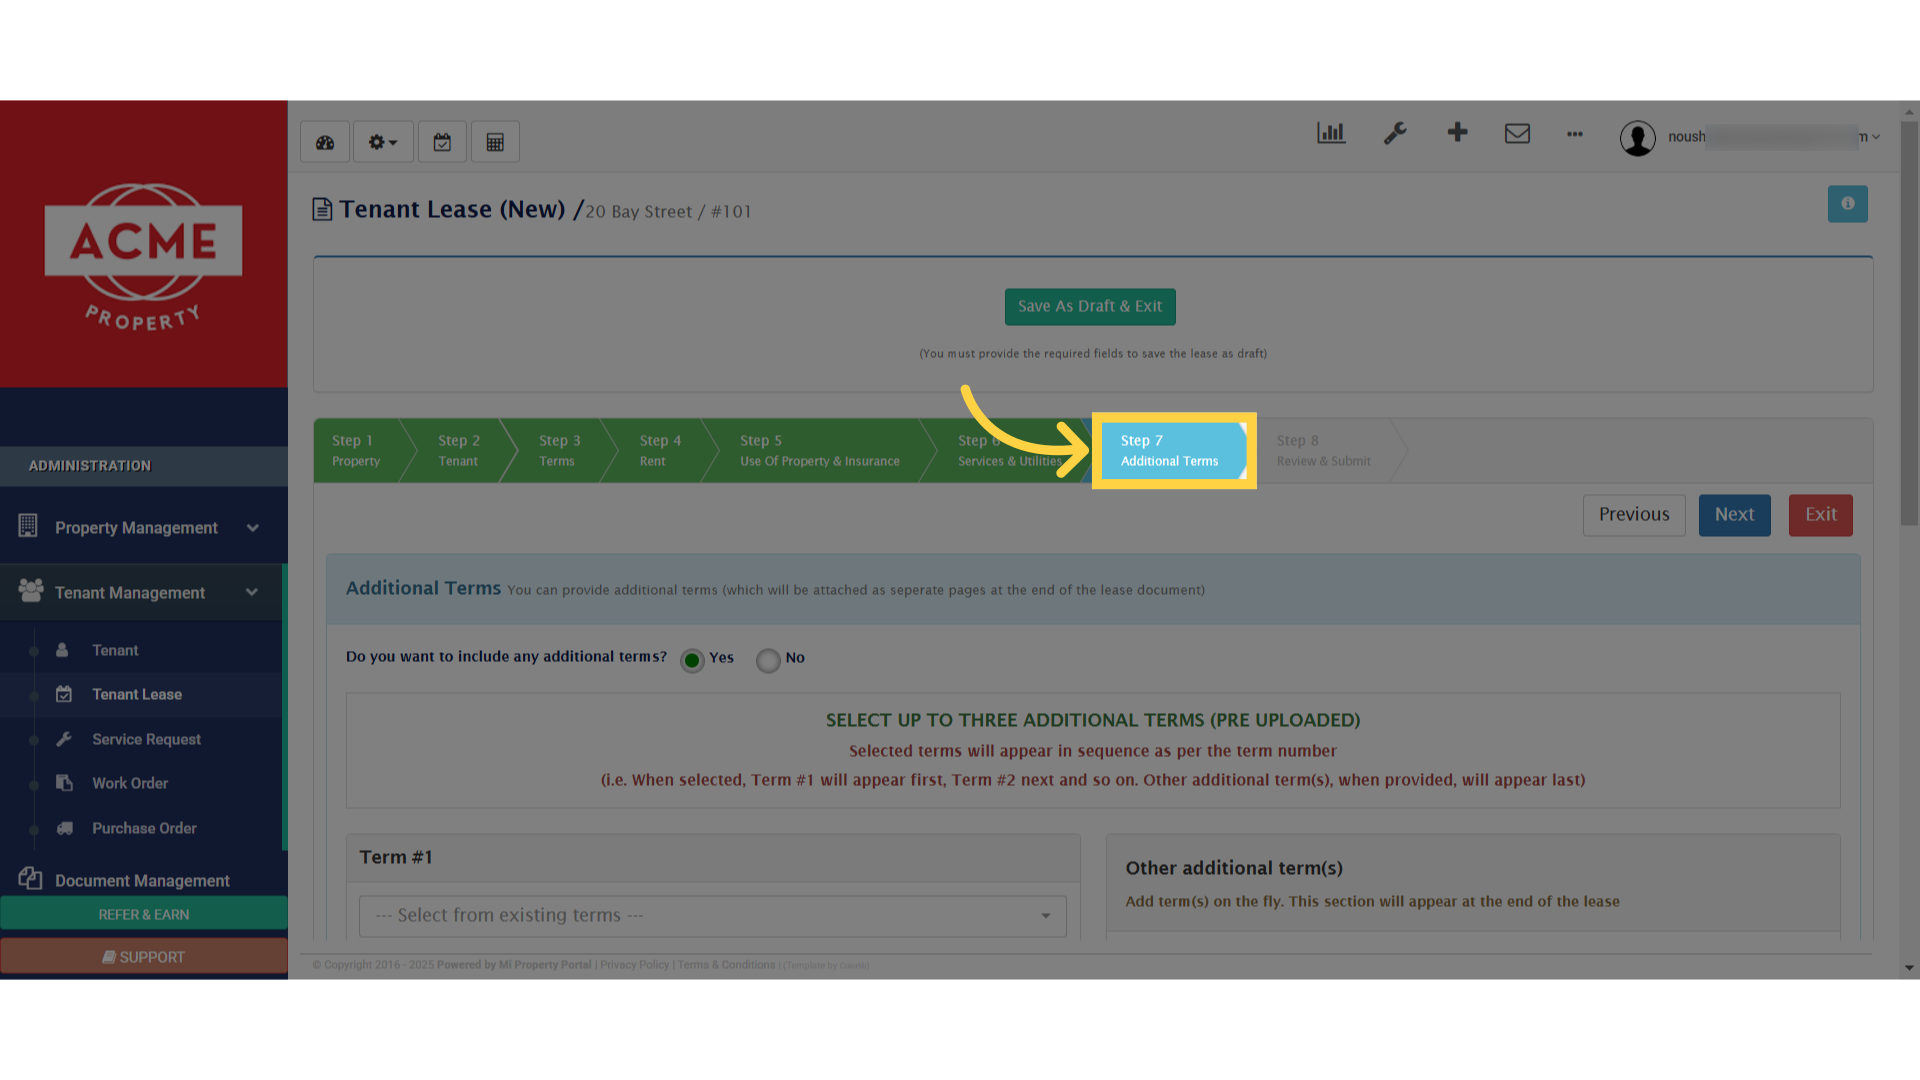
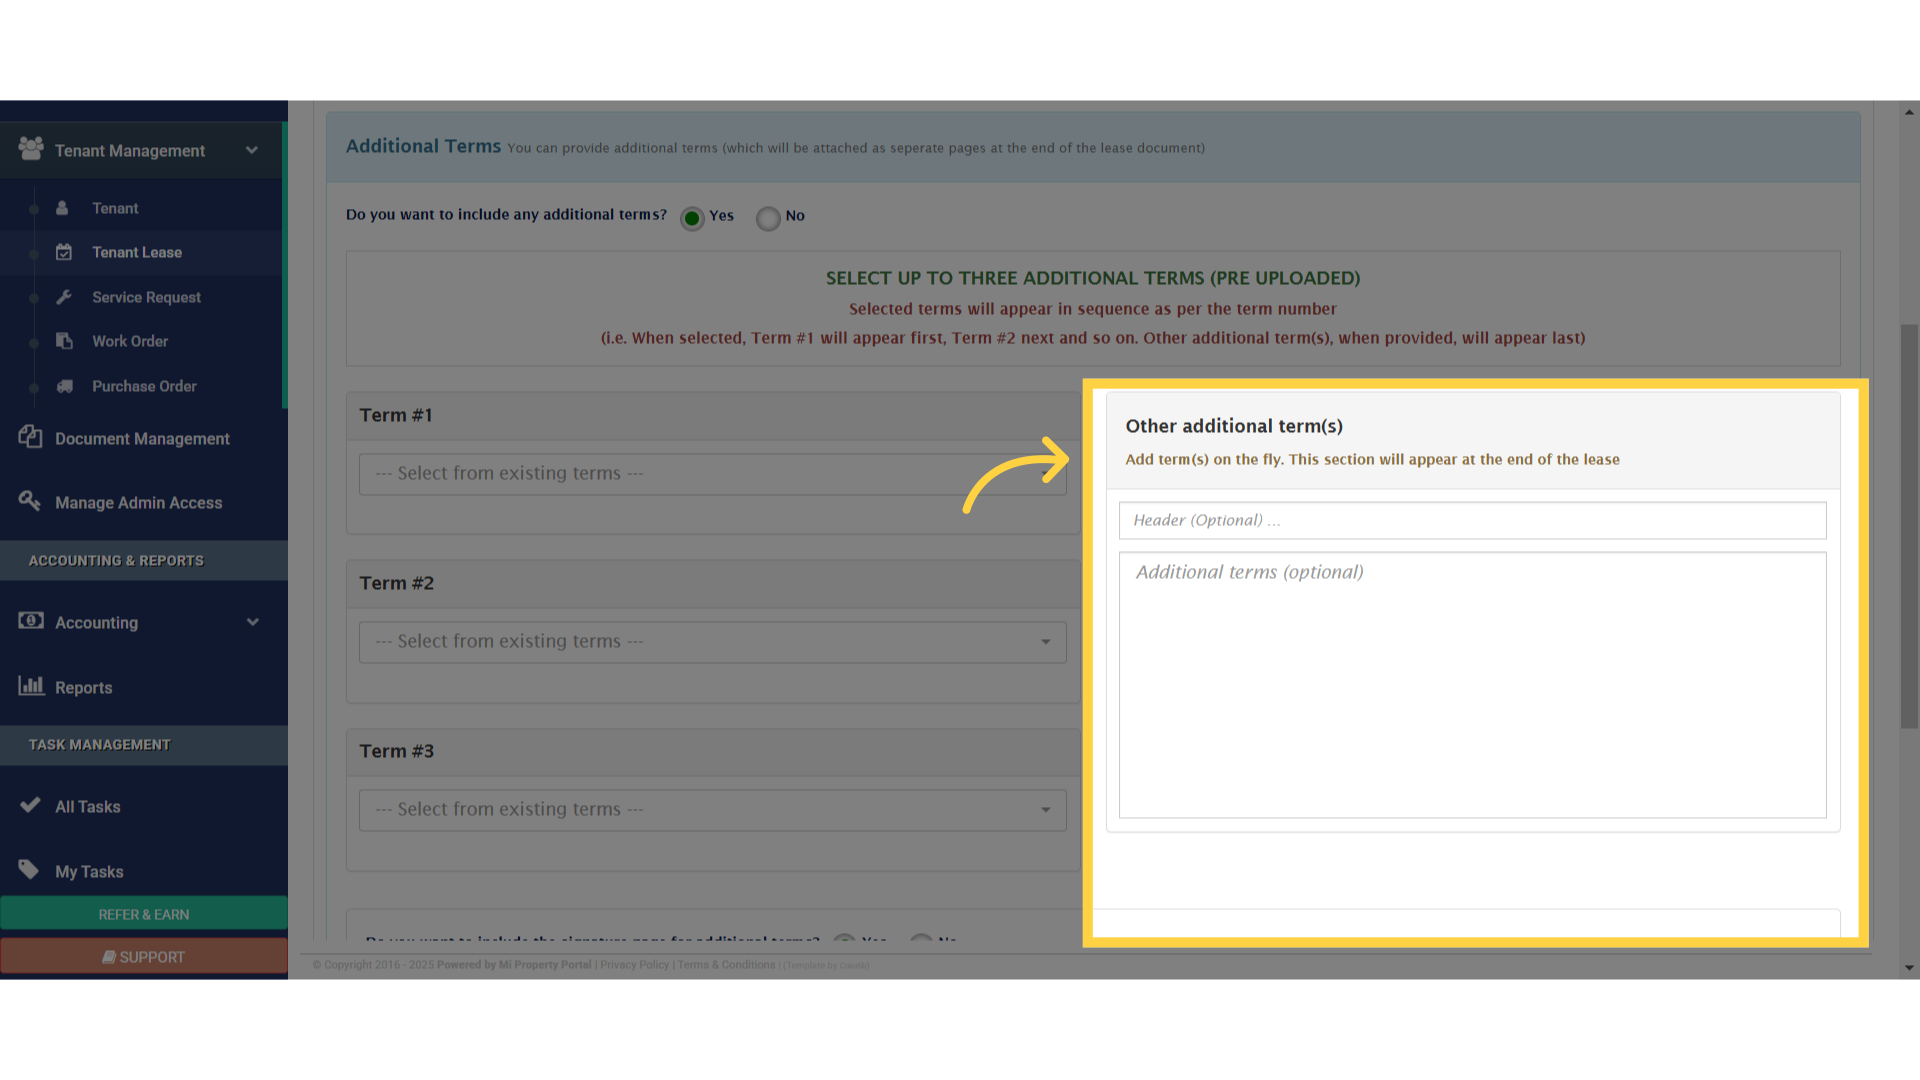
26. Click “Additional Terms You can provide additional terms (which will be attached as seperate pages at the end of the lease document)”
If you need guidance on uploading terms, we have a separate tutorial video—be sure to check it out!Once your terms and conditions are uploaded, you’ll see an option to select them from a dropdown menu. Choose the relevant terms and proceed with finalizing the lease.
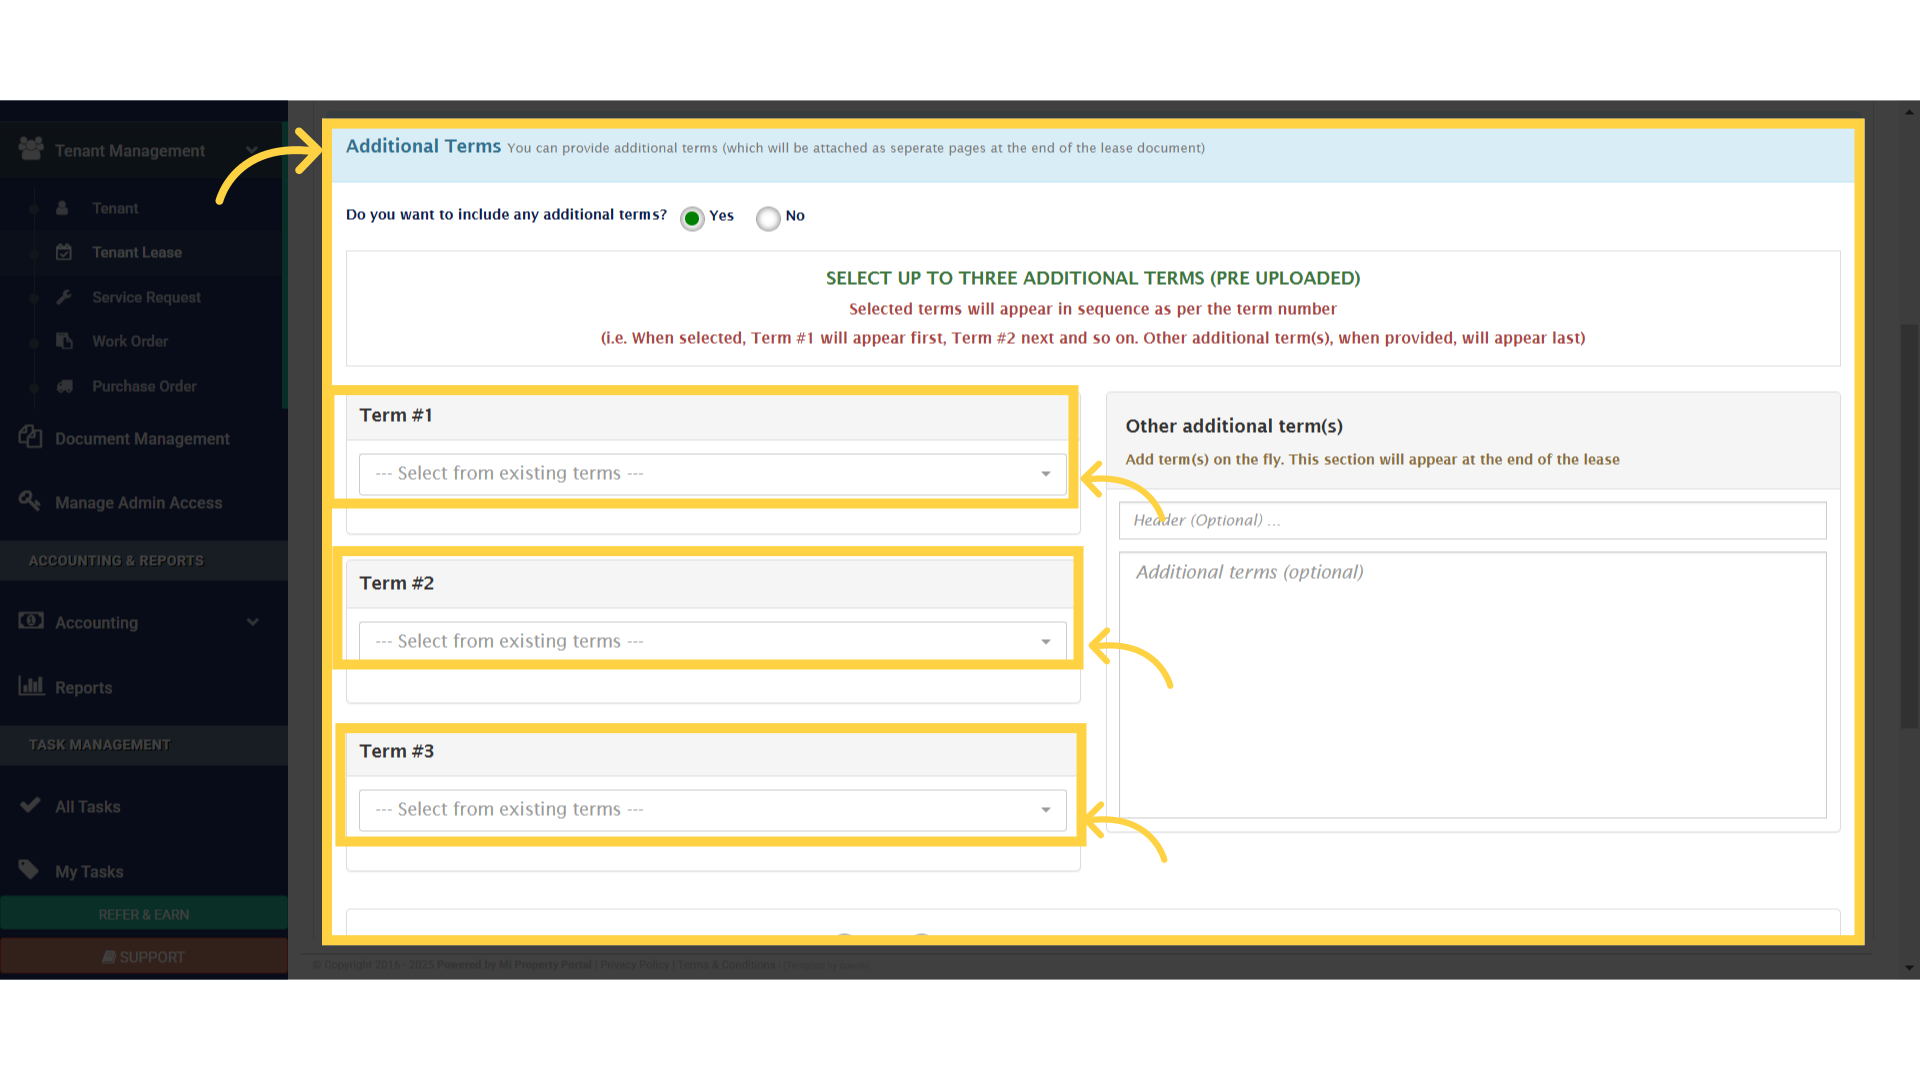
27. Click “Additional Terms You can provide additional terms (which will be attached as seperate pages at the end of the lease document)”
In addition to uploaded documents, you can enter up to 50,000 characters of custom text, which will be added as an extra document in the lease.
28.
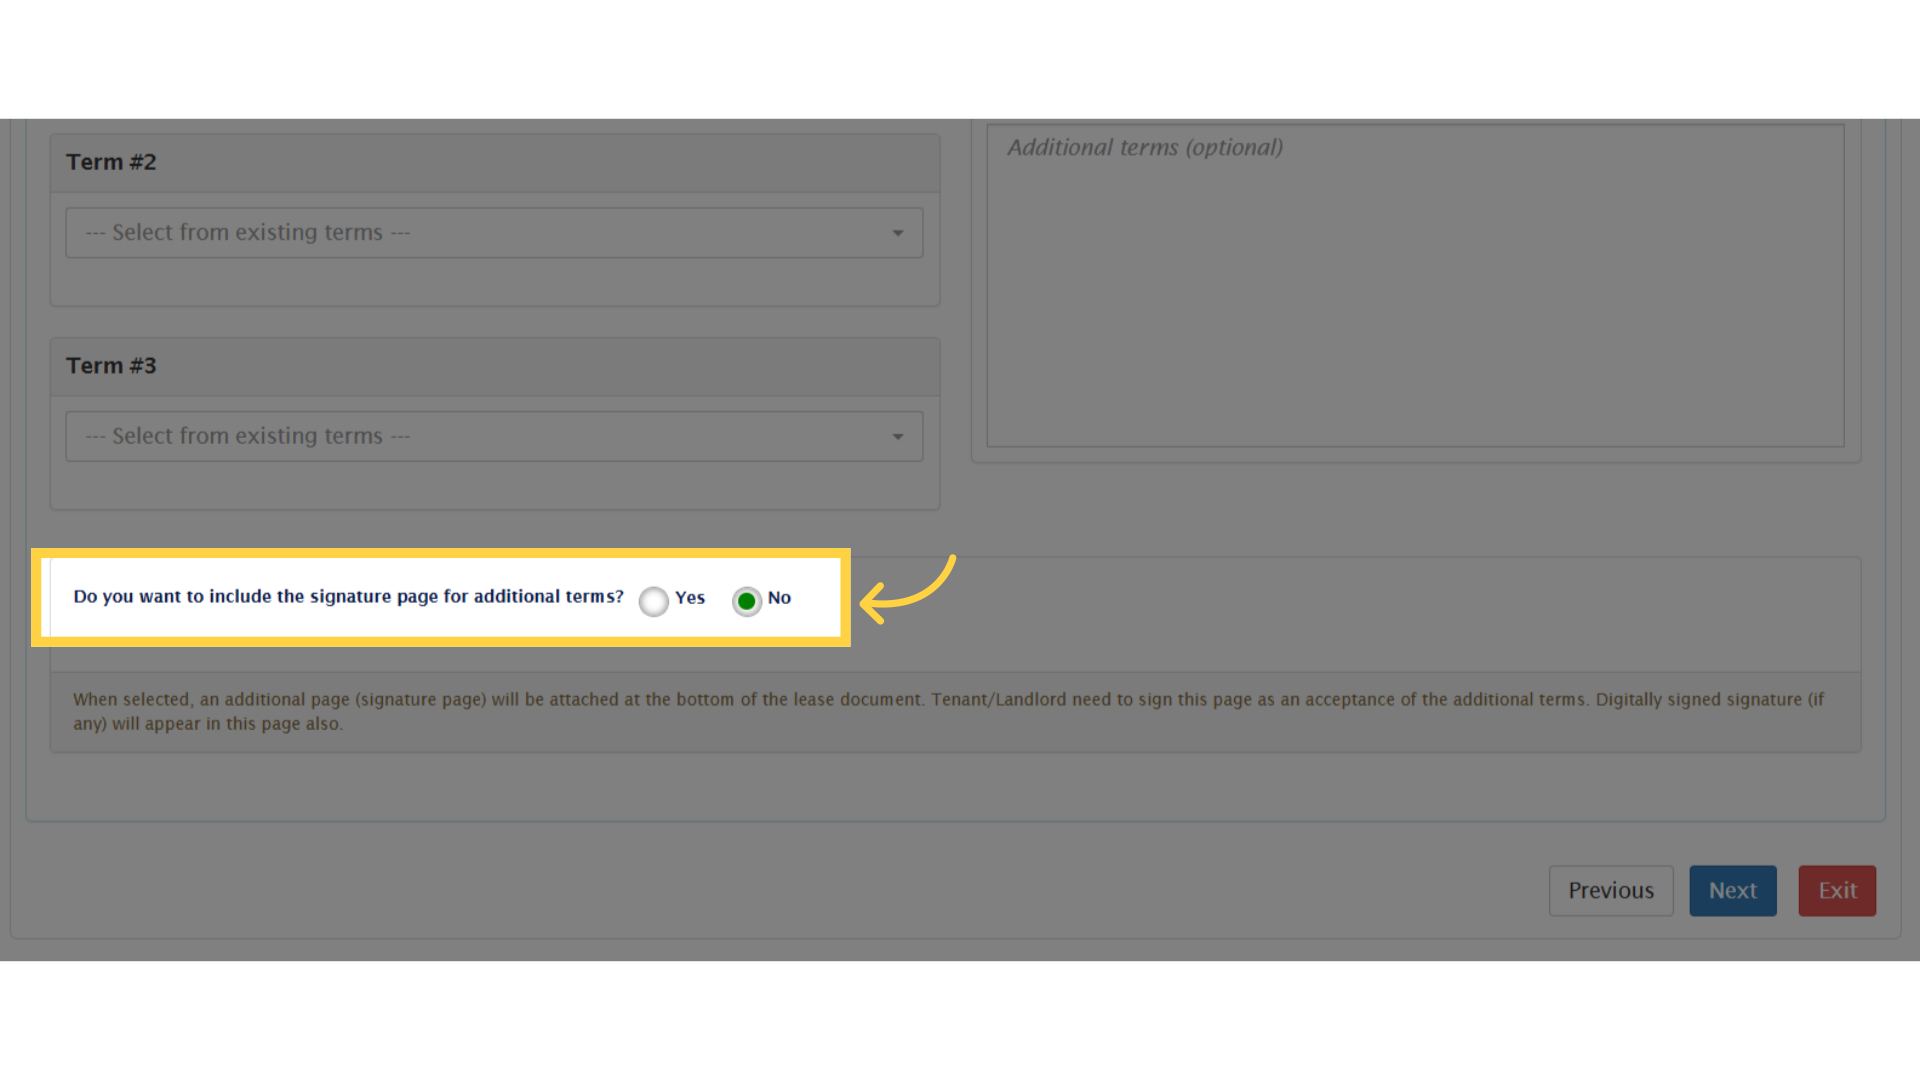
You can also enable tenant and landlord signatures for the additional terms. If selected, an extra page will be included at the end of the lease for signatures.
29. Click “MiPP – Admin Portal…”
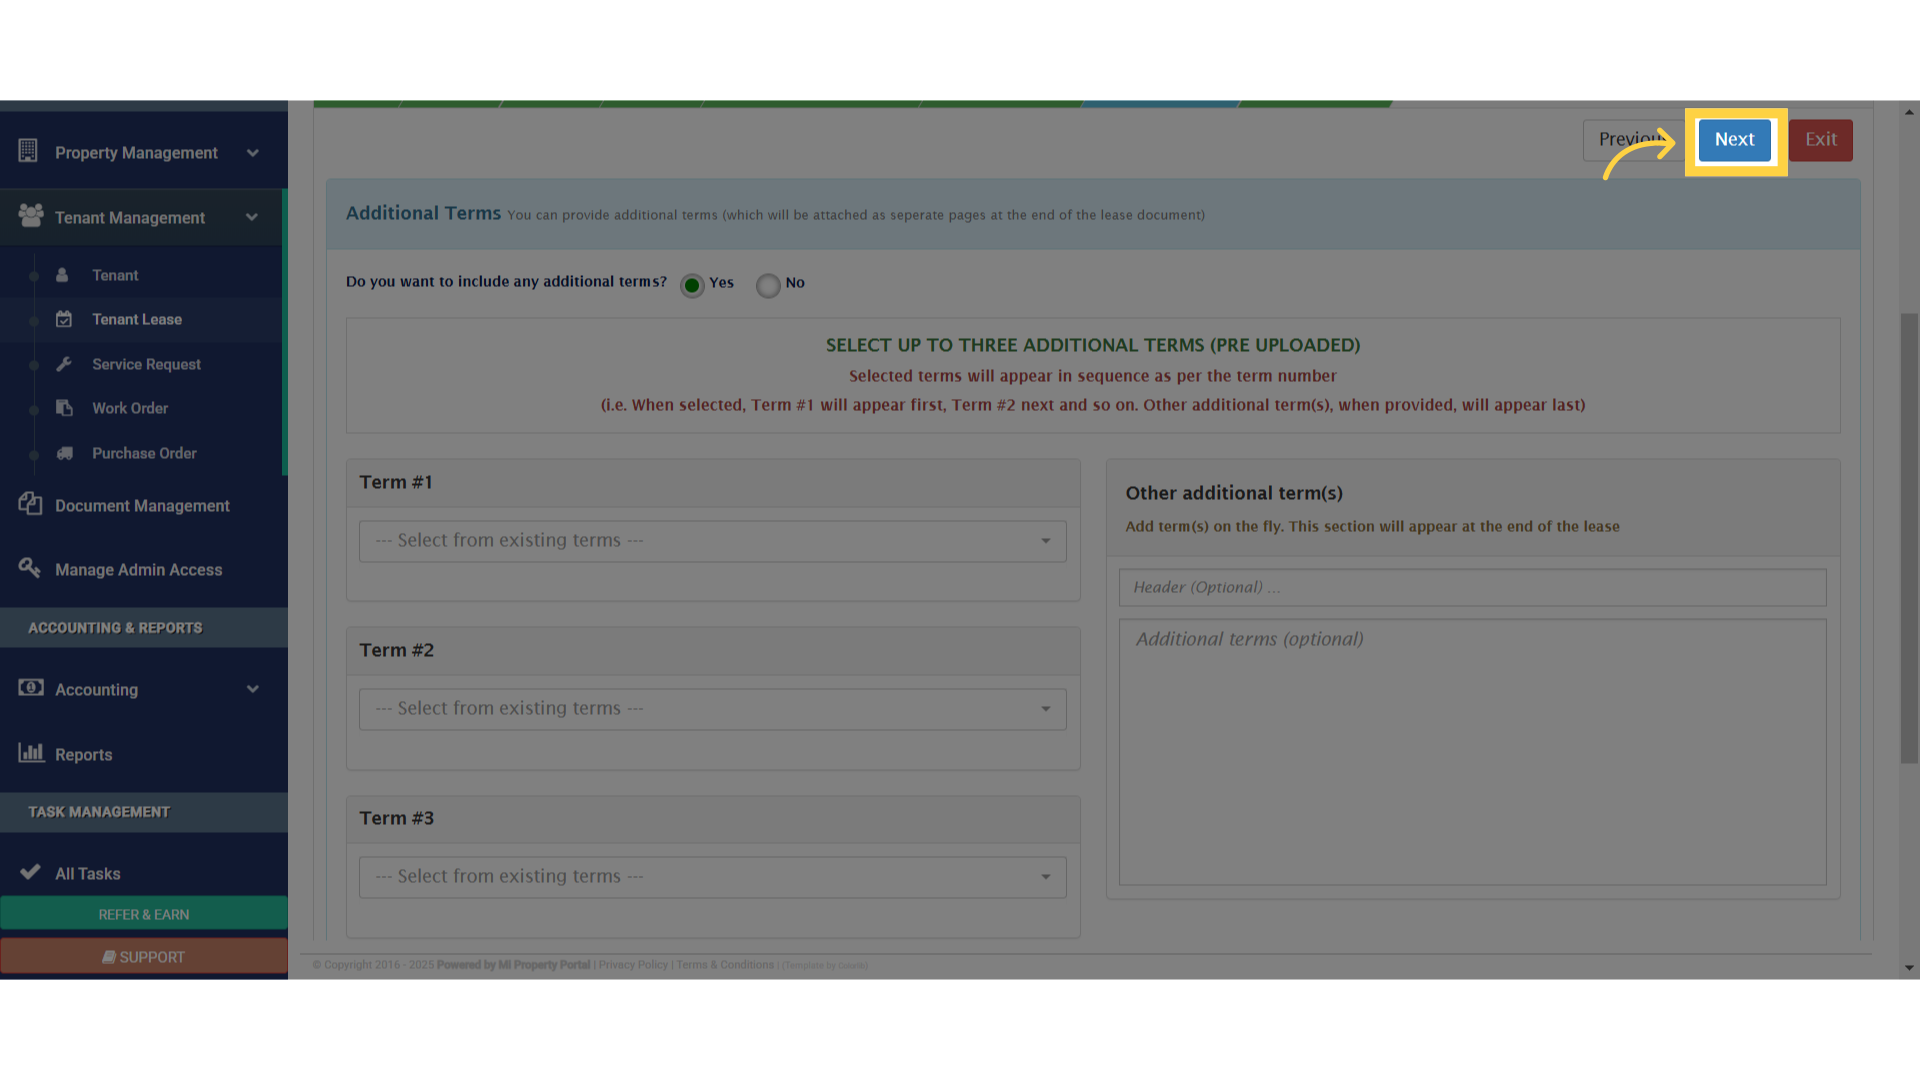
Once everything is set, click Next to proceed.
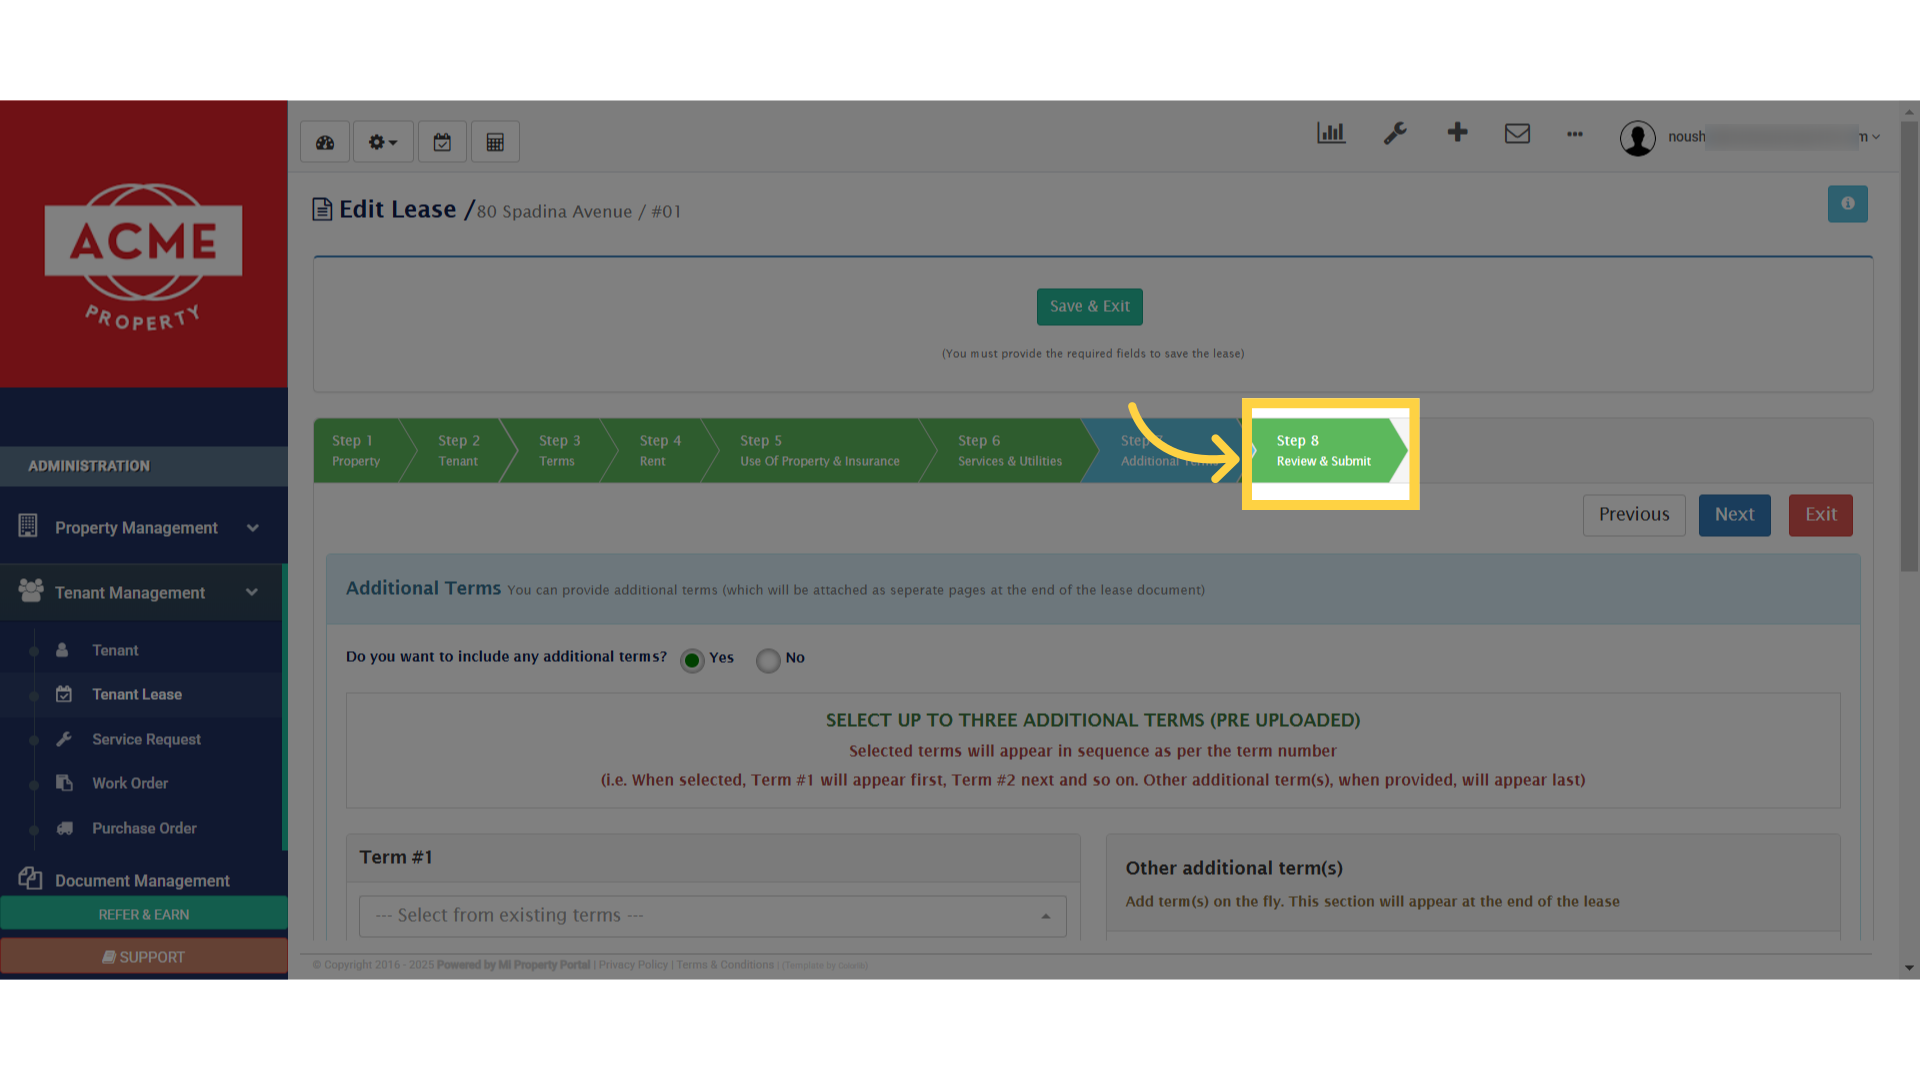
30. Click “Step 8Review & Submit”
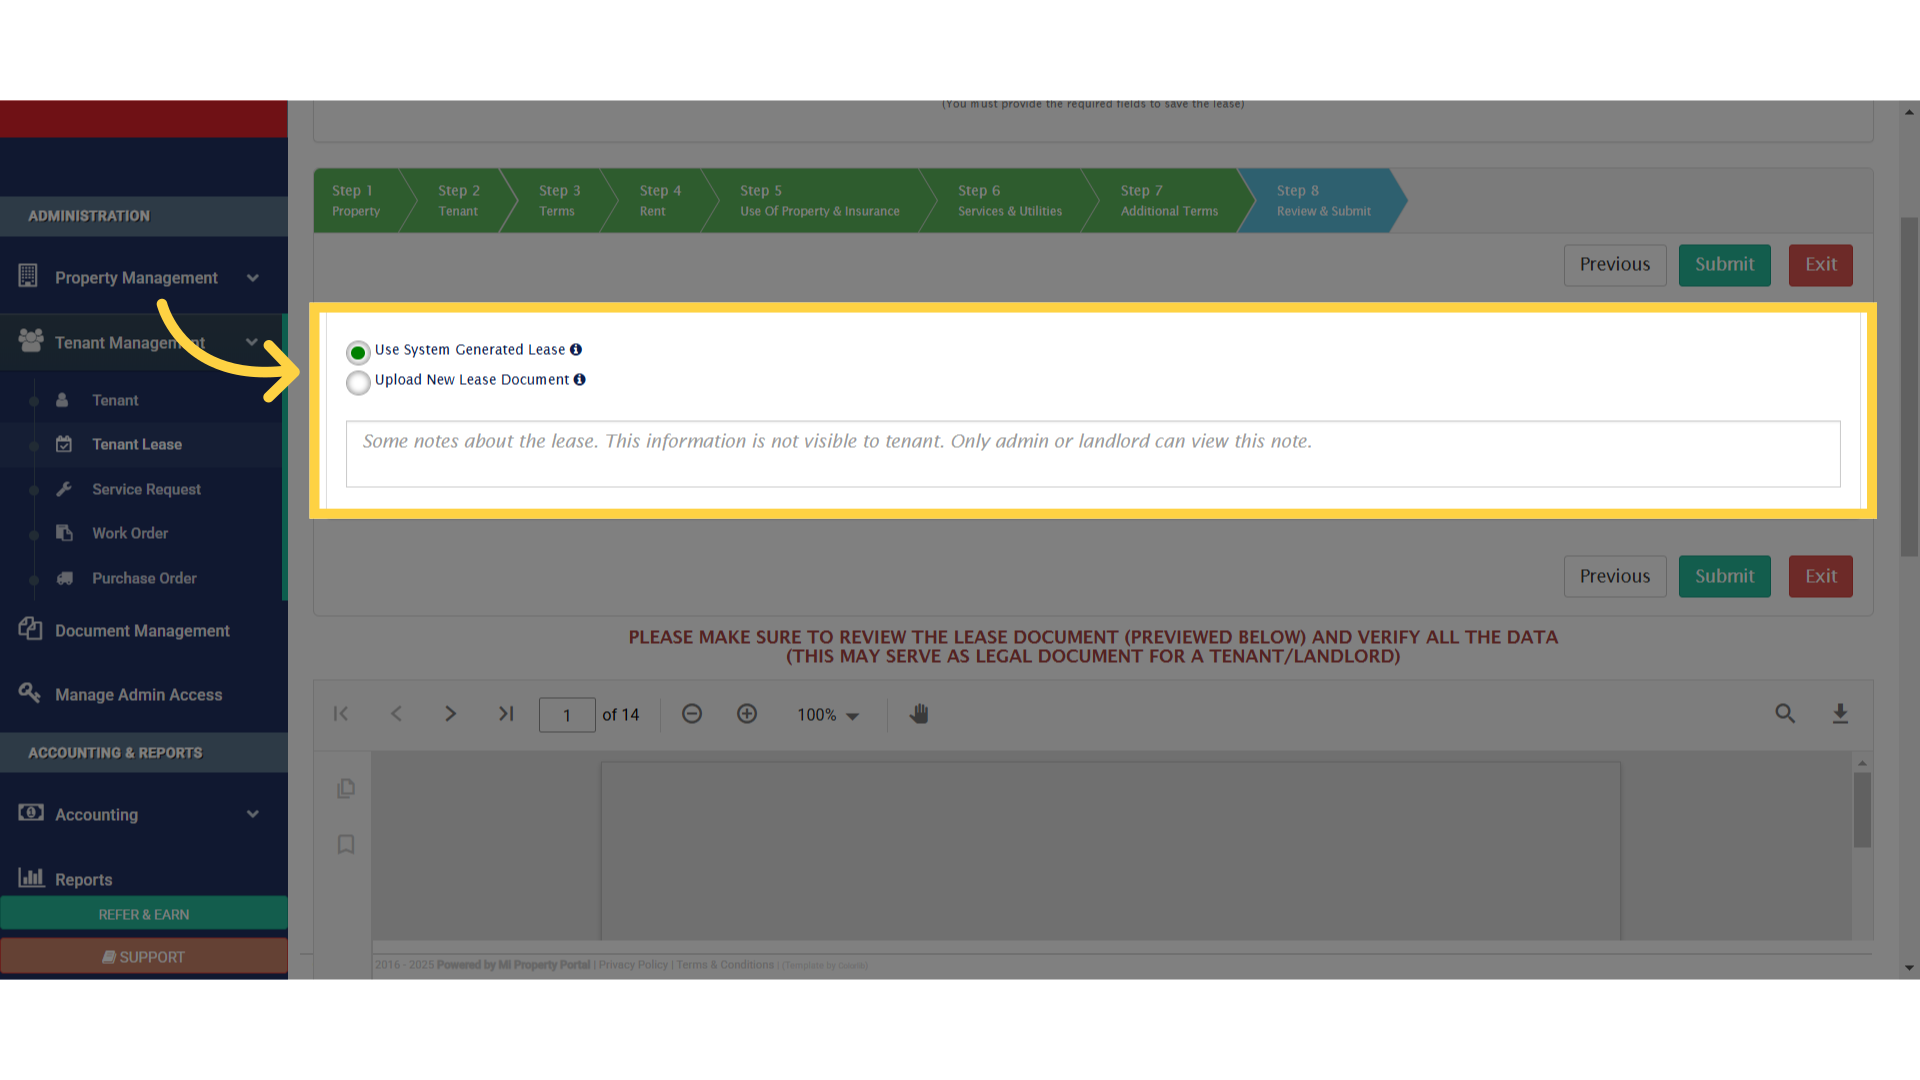
Now, let’s move on to Step 8 and review the lease document.
31. Select the first one option “Use system generated lease”.
Choose the first option: Use System-Generated Lease.
32. Click
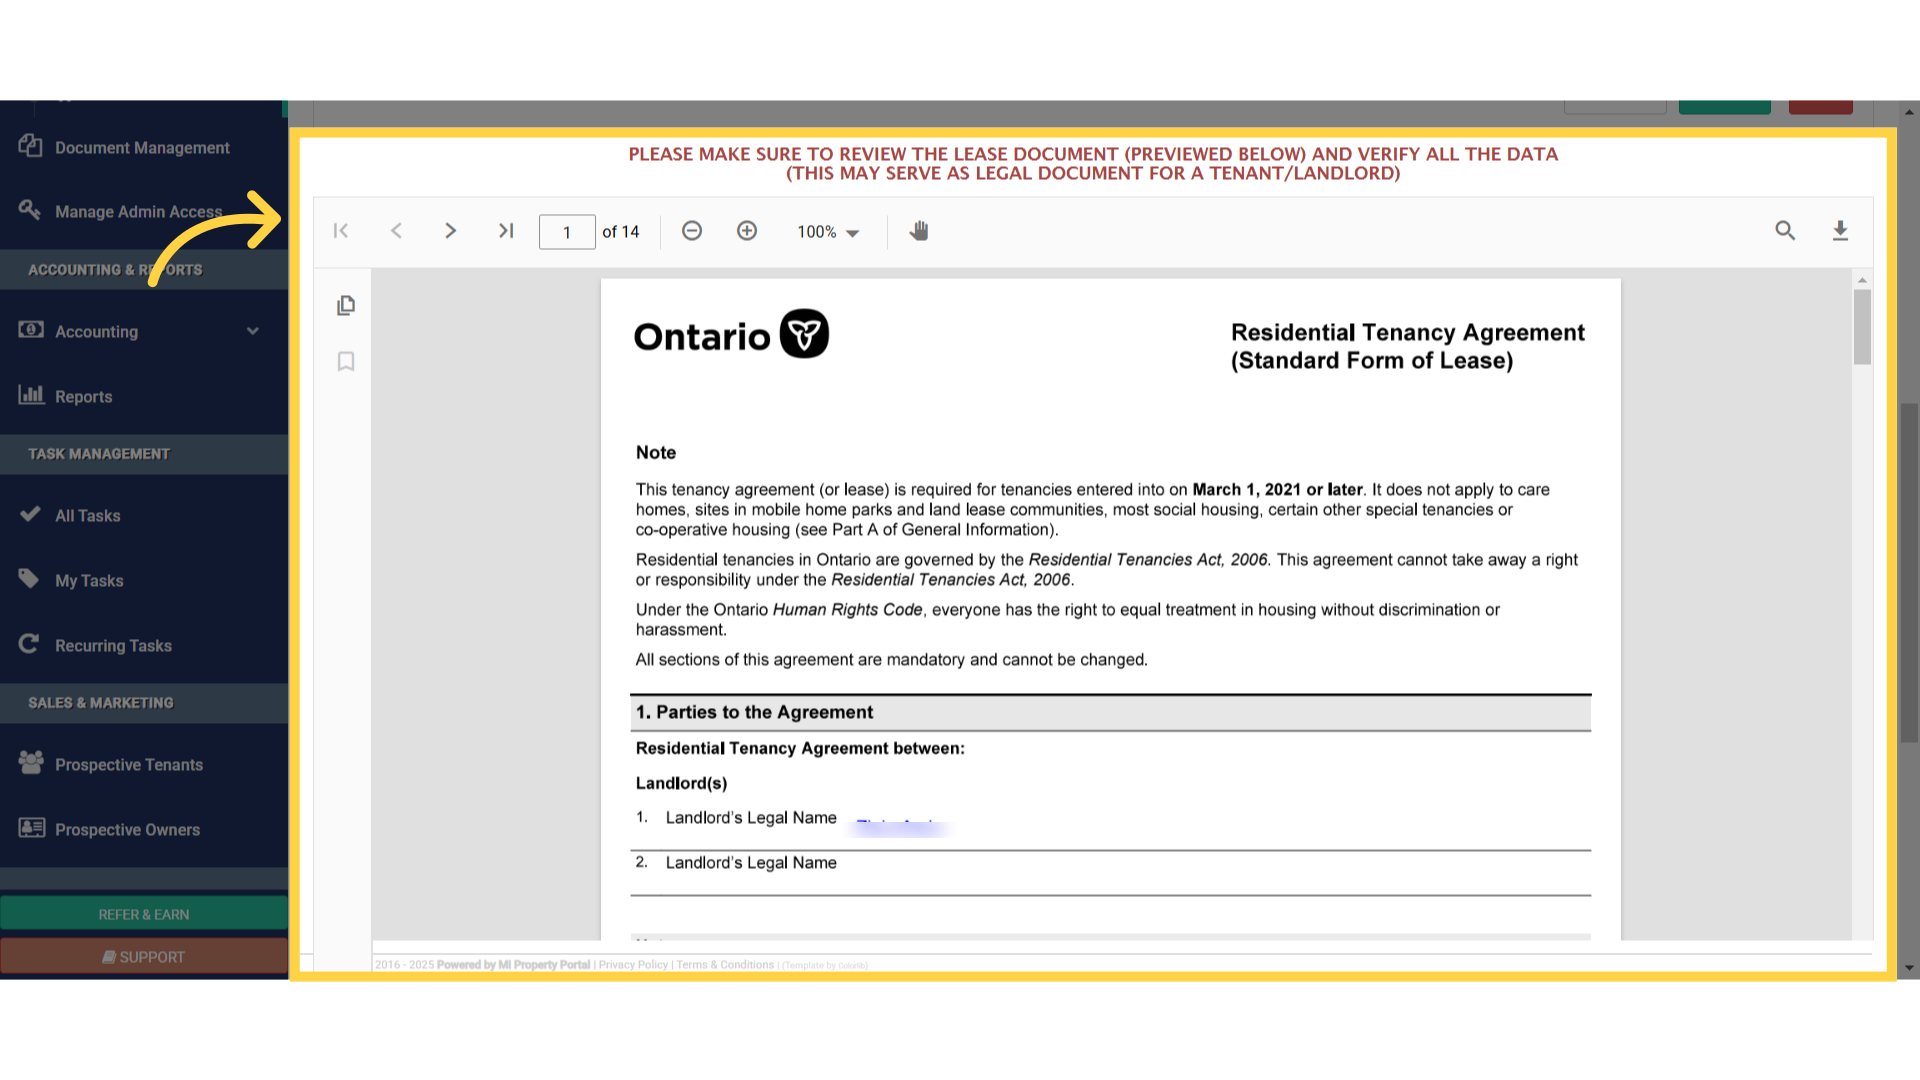
You’ll now see a preview of the lease. Scroll through the pages to review the content, or enter a page number to jump directly to a specific section.
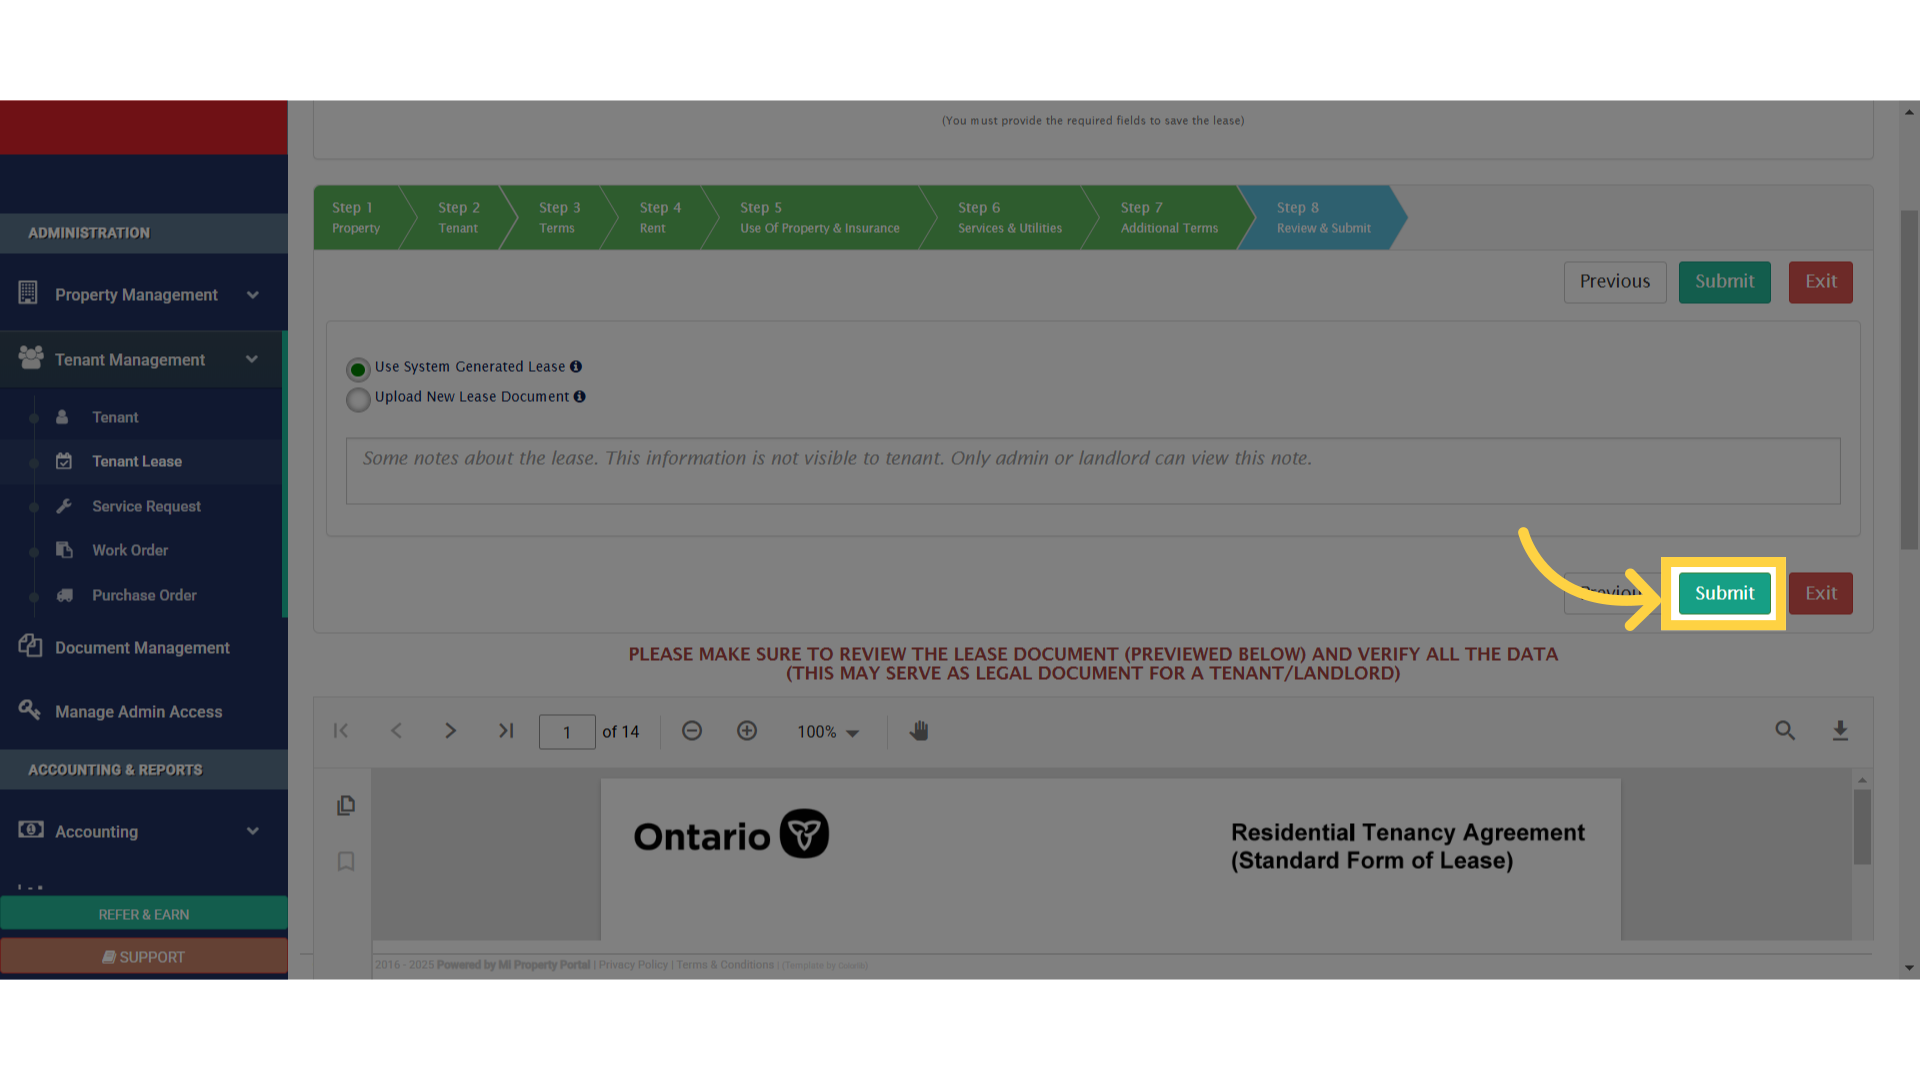
33. Click “Submit”
After carefully reviewing the lease, click Submit.
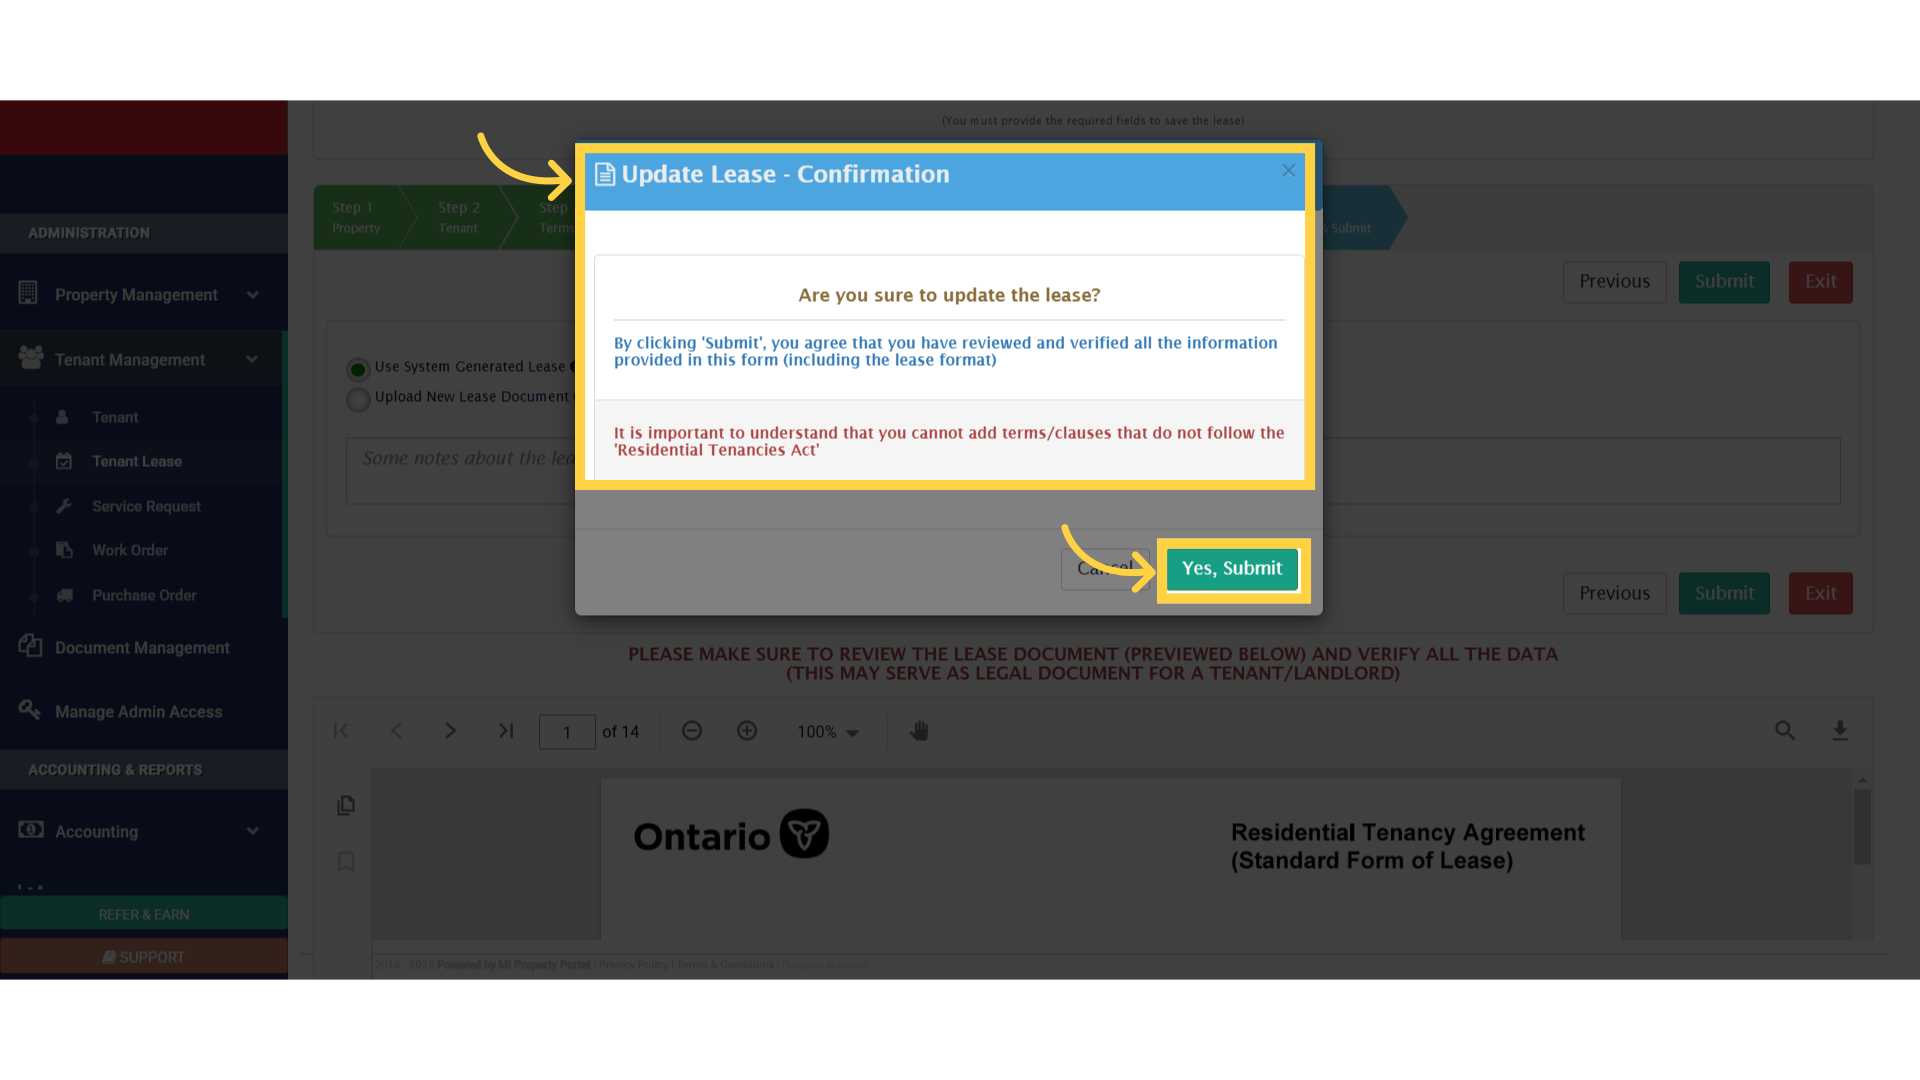
34. Click “Yes, Submit”
By submitting, you confirm that all details have been reviewed and verified, including the lease format.
35.
Finally, approve the lease by clicking Approve Lease in the pop-up window.

And that’s it! You’ve successfully created a lease in the system. Thanks for watching, and see you in the next video!