How to Create Bill from Vendor List
107 views 0 January 4, 2024 Updated on August 29, 2025 mippsupportadmin
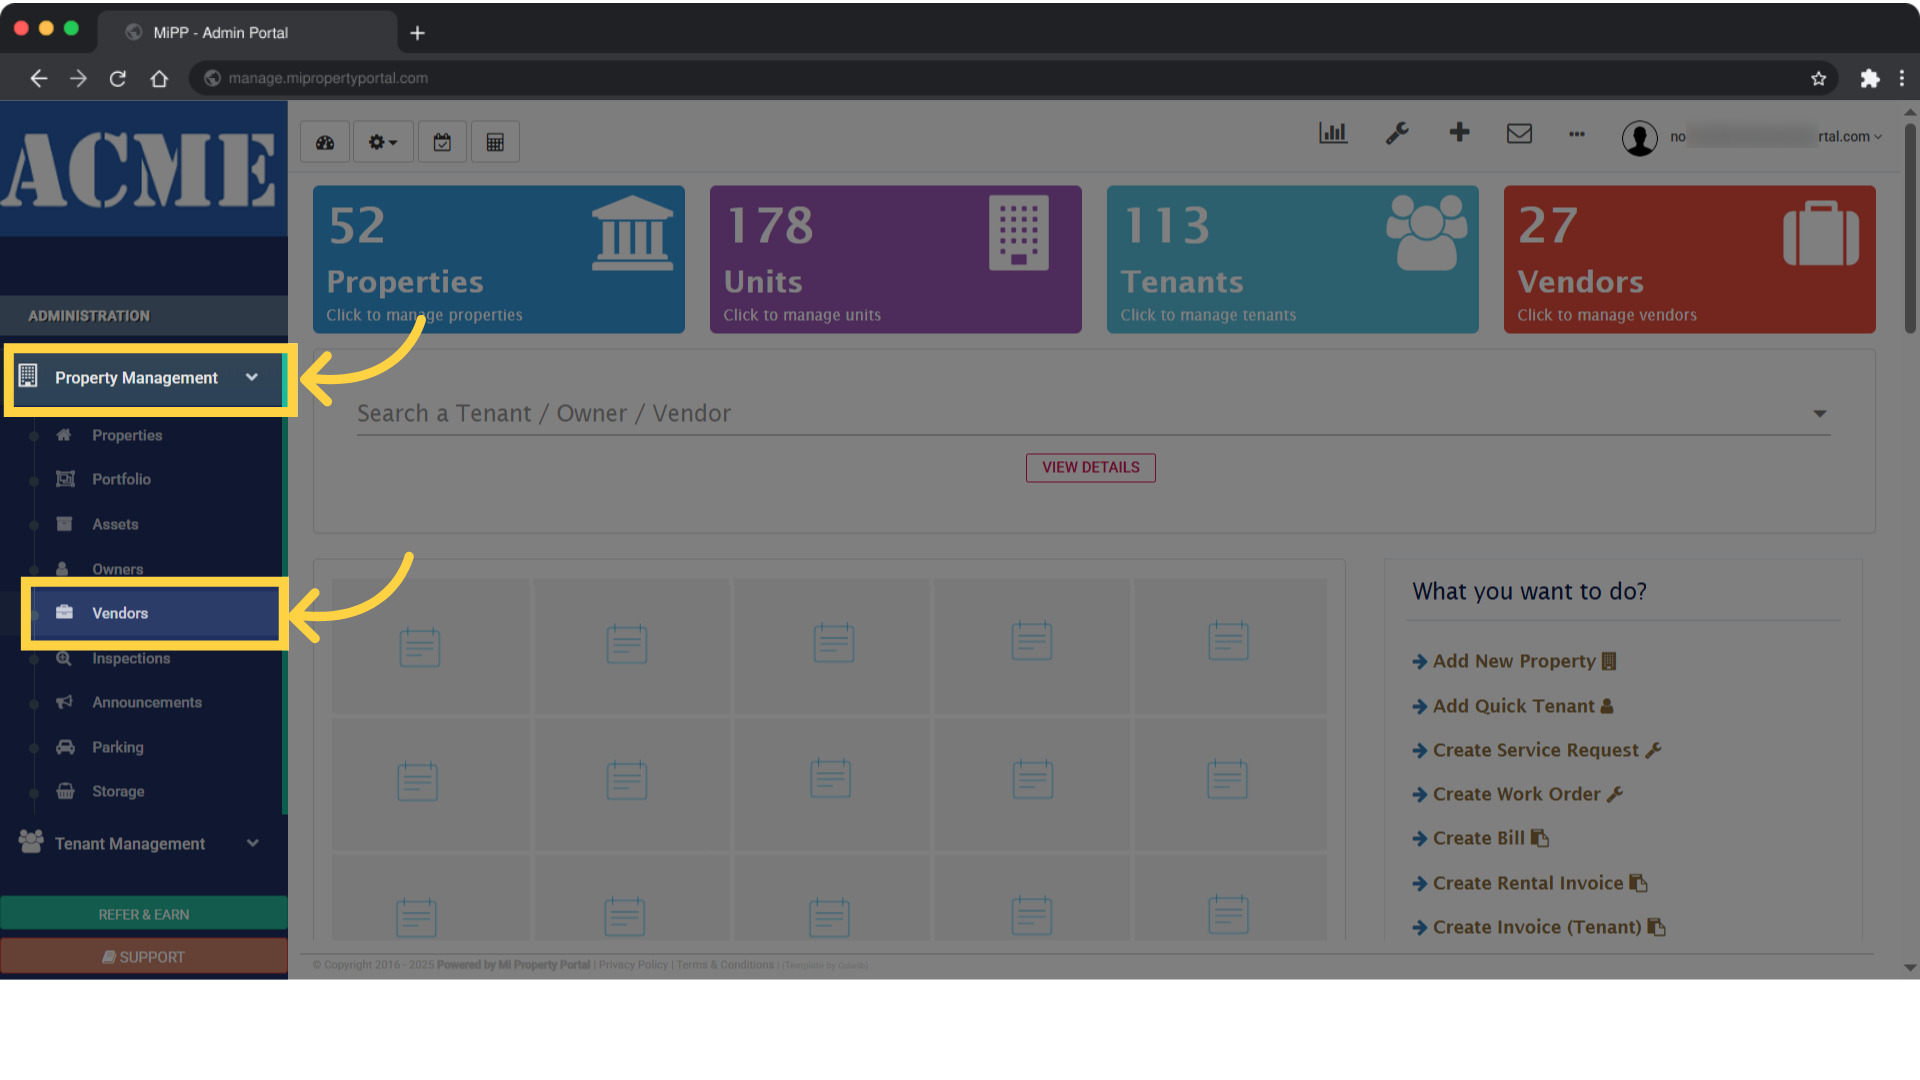
1. From the left-hand navigation menu, open the ‘Property Management’ dropdown, then click on ‘Vendors’
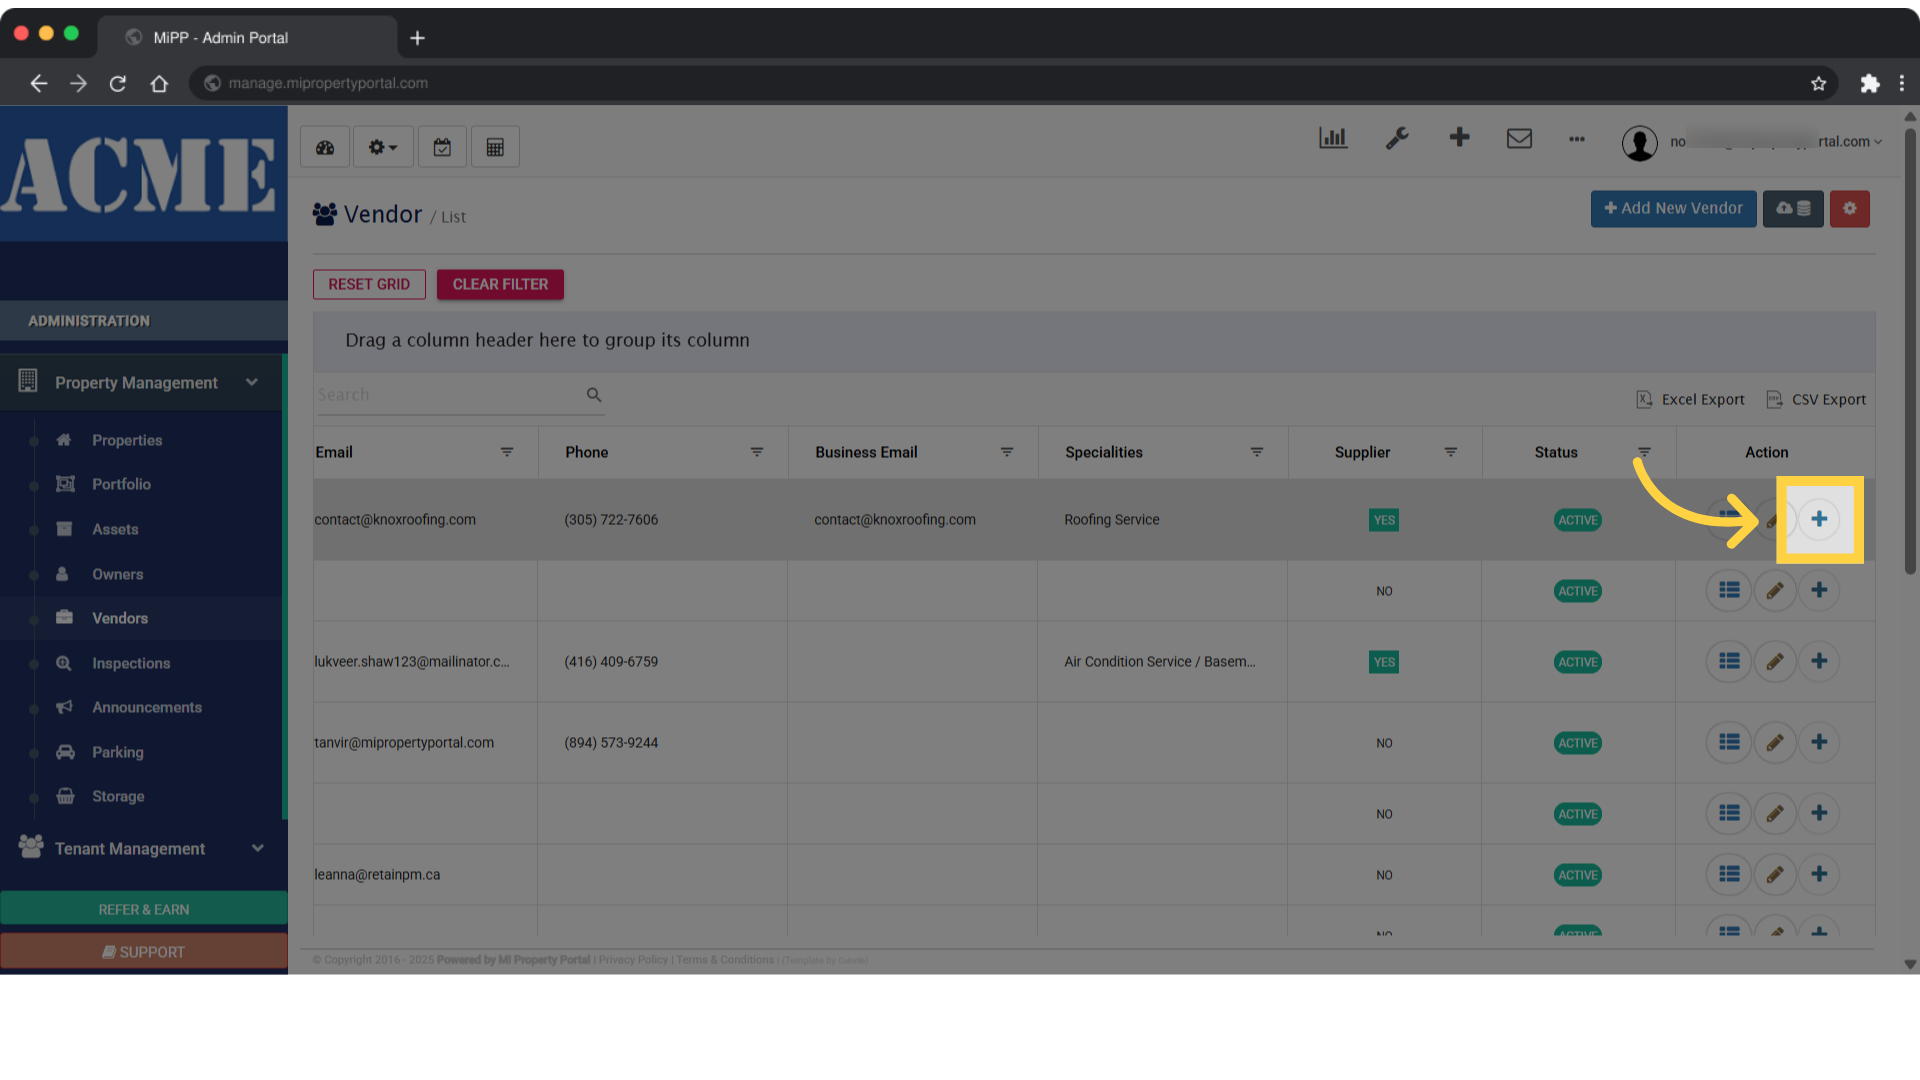
2. Click the ‘Create Bill’ icon located in the ‘Action’ column next to your selected vendor
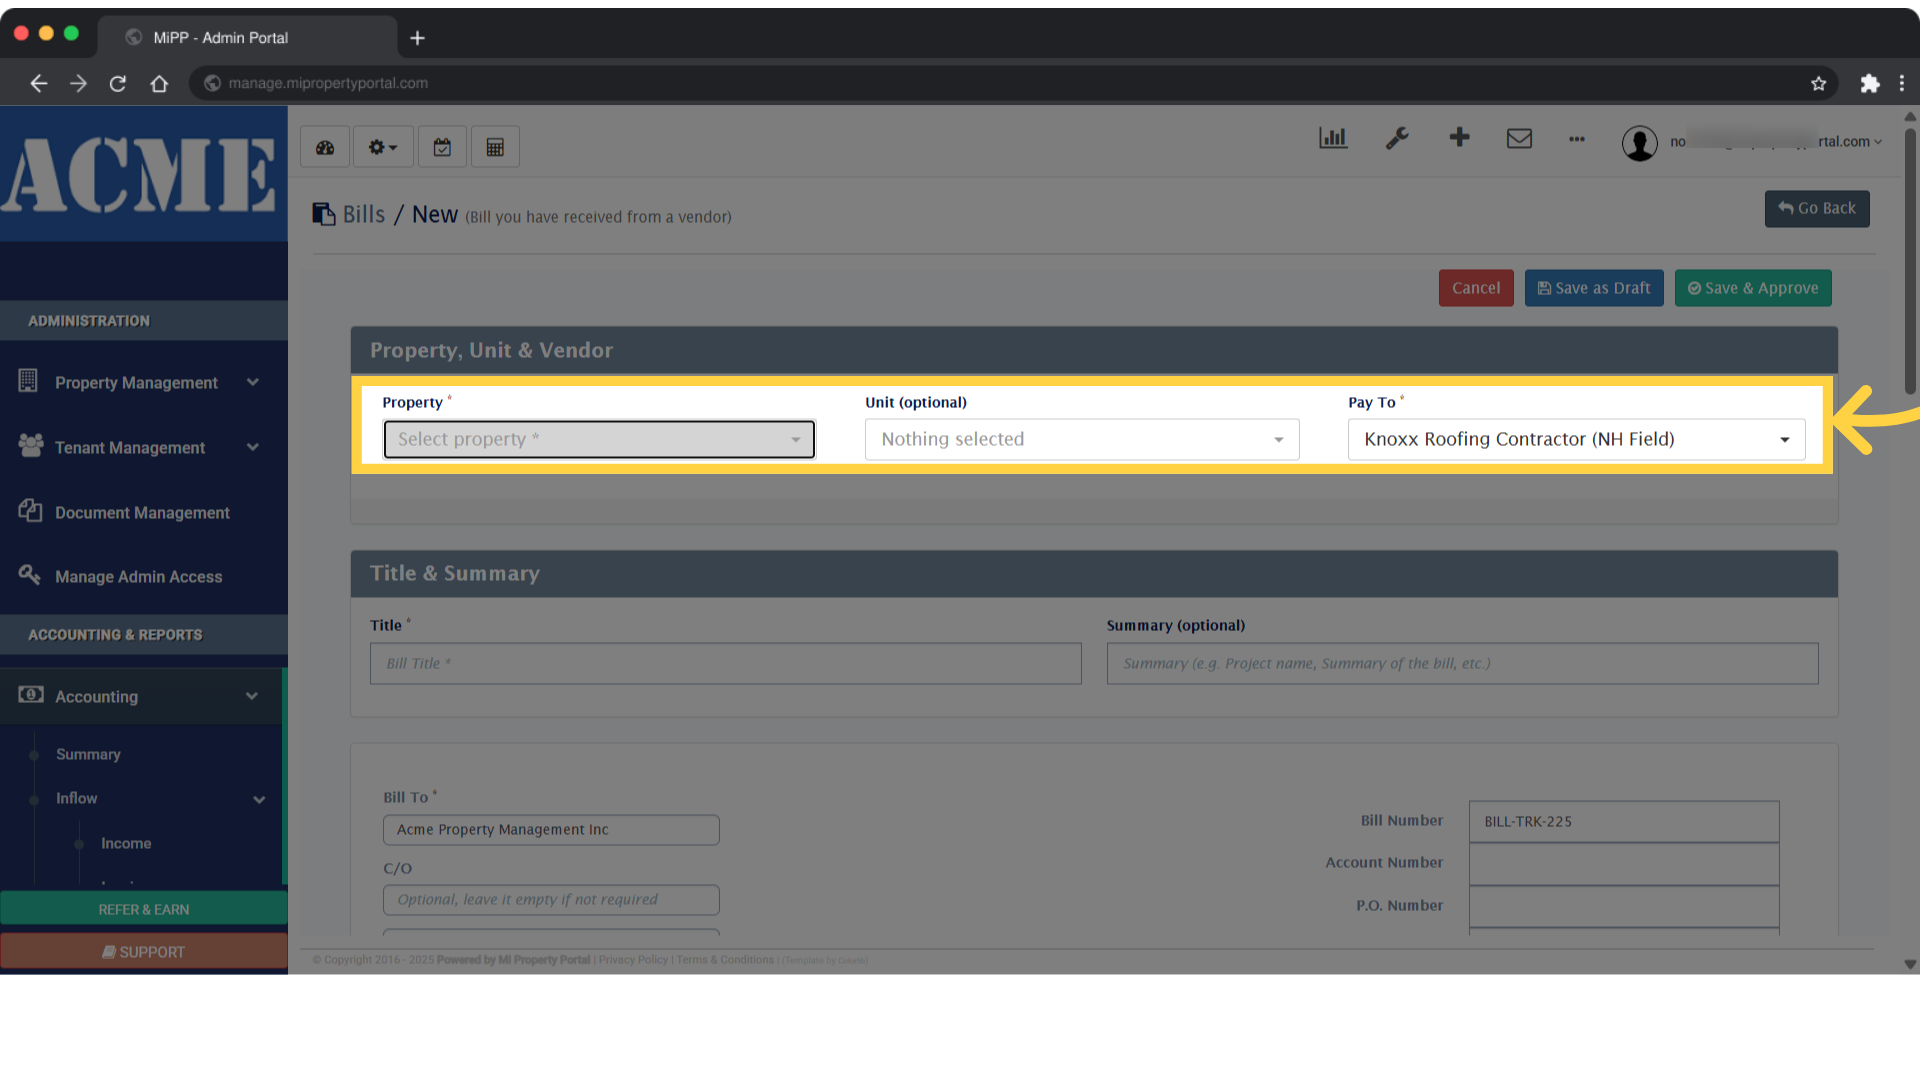
3. Enter the relevant details in the Property, Unit field. The vendor will already be pre-selected during bill creation
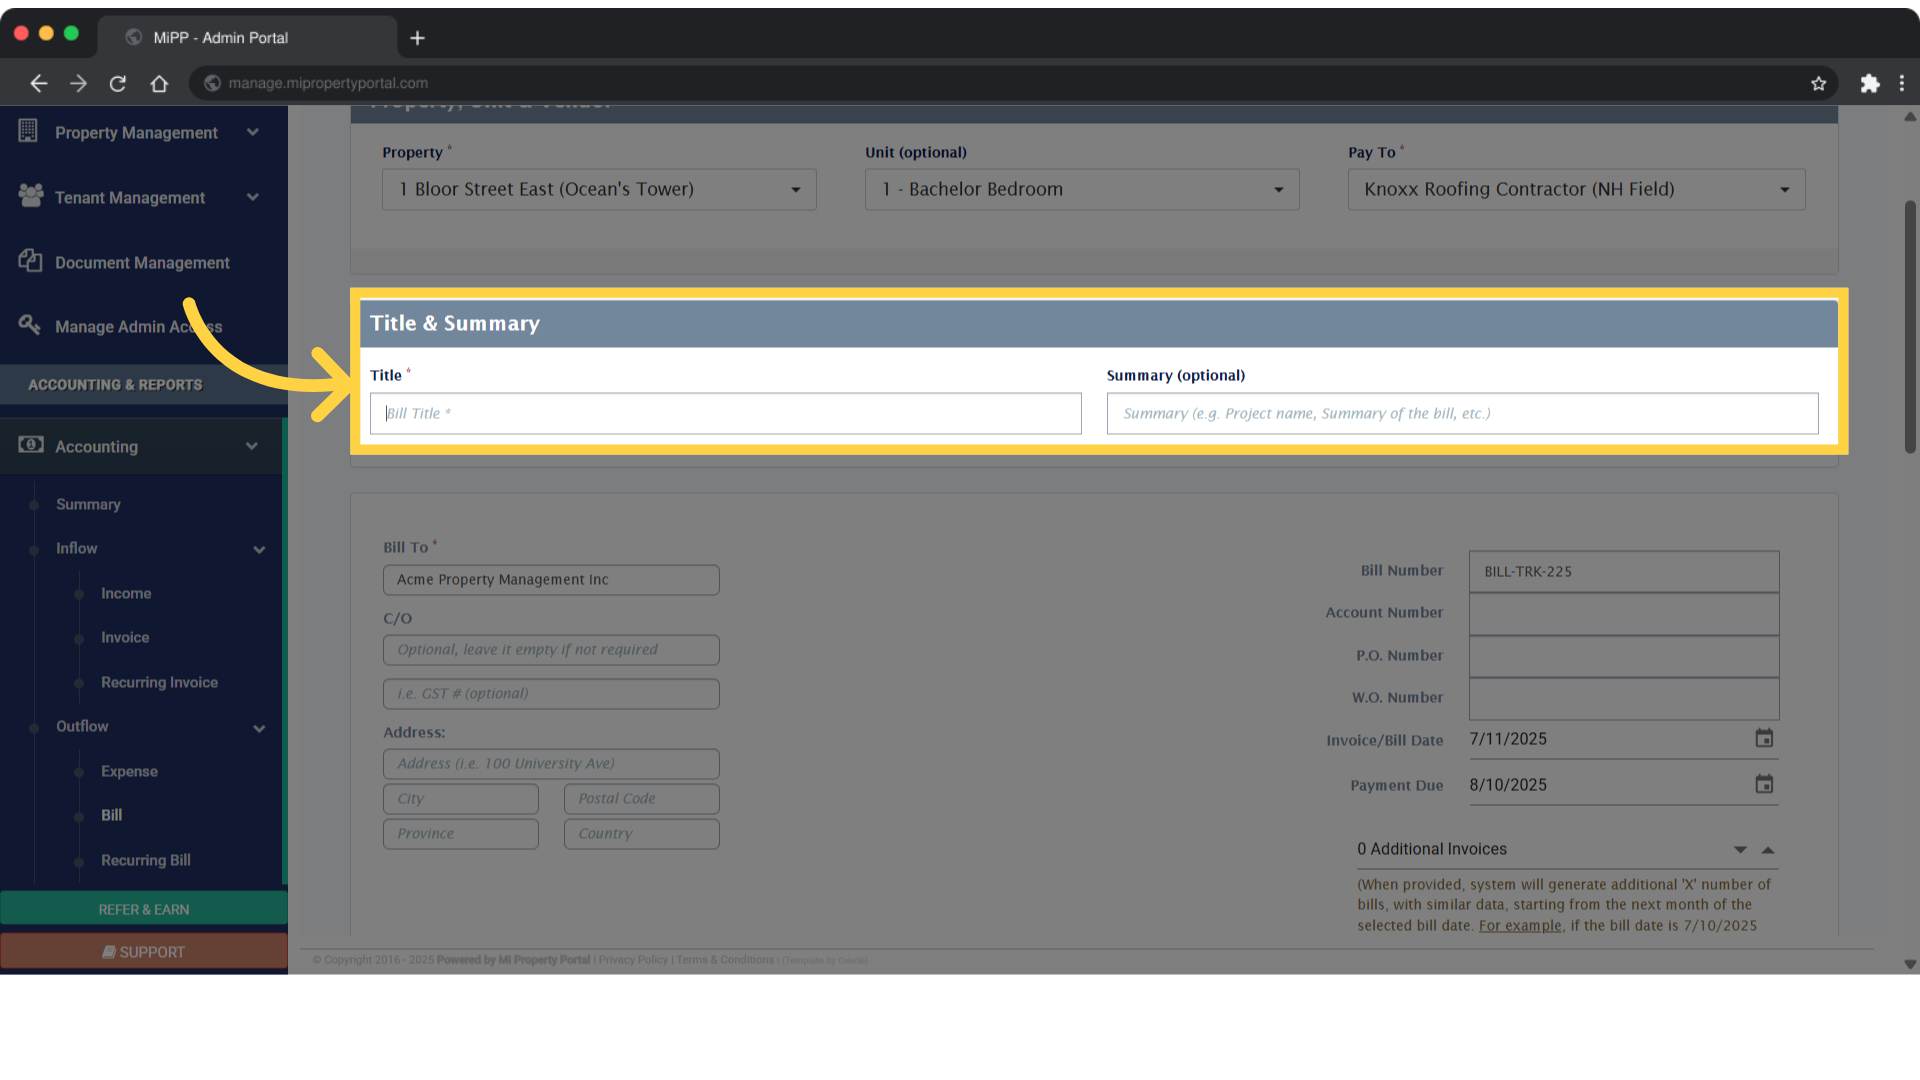
4. Complete the ‘Title & Summary’ field with a clear description of the bill
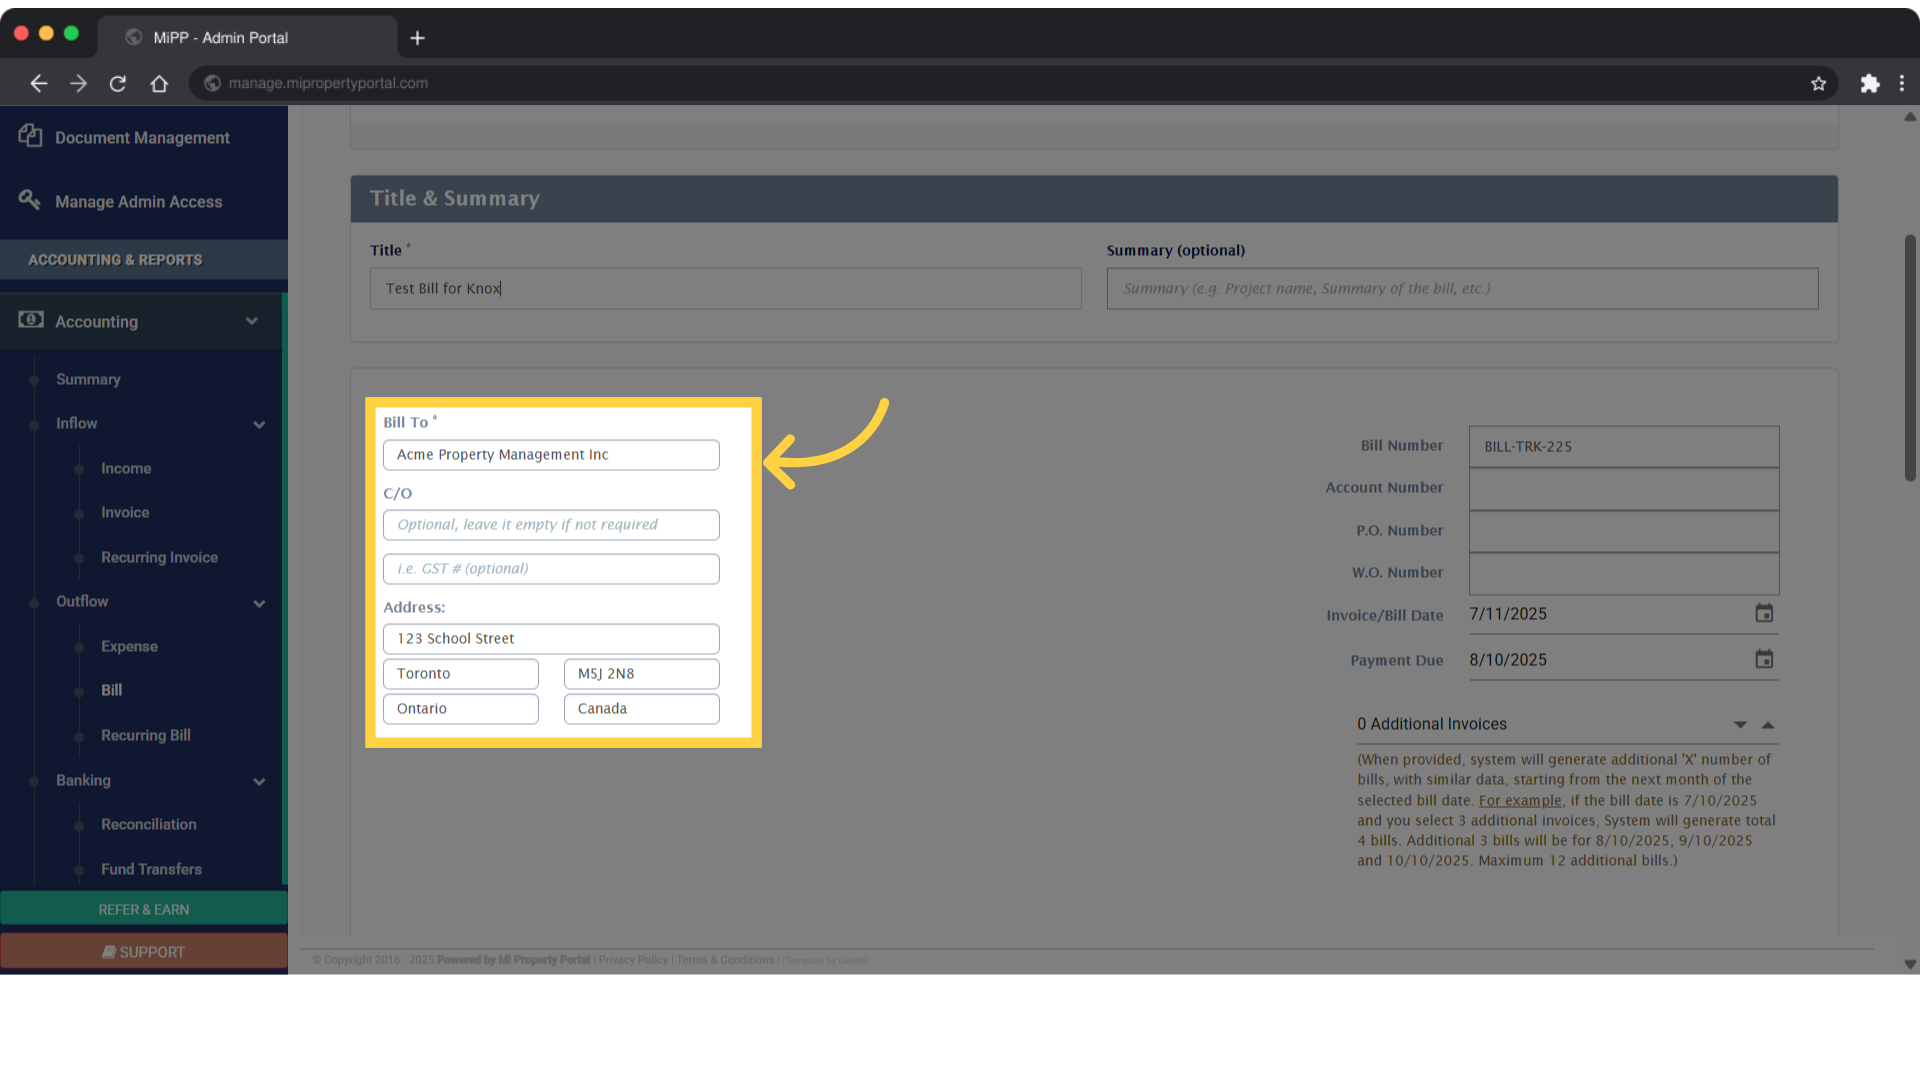
5. The Bill To field is automatically filled. Update it if necessary to reflect the correct billing party
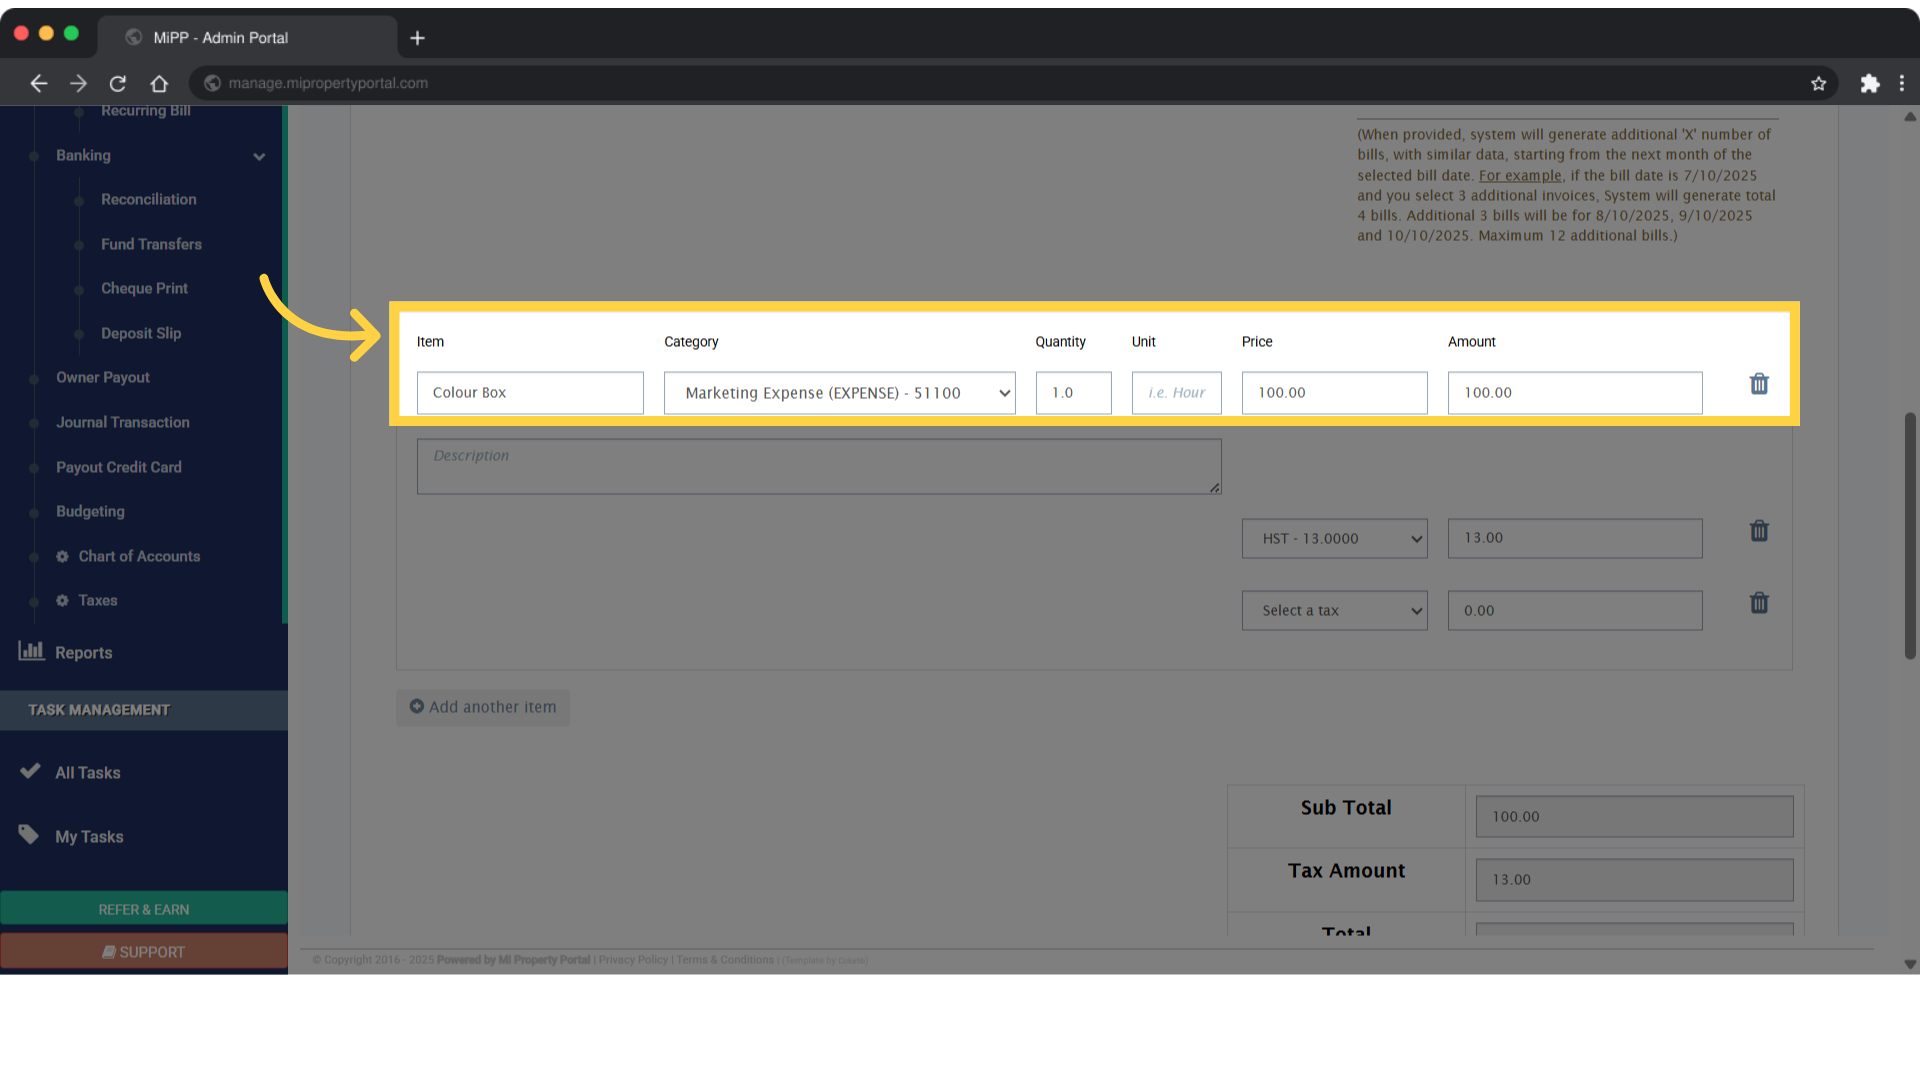
6. Provide the item details by selecting a category, then entering the quantity, price, amount, and a clear description
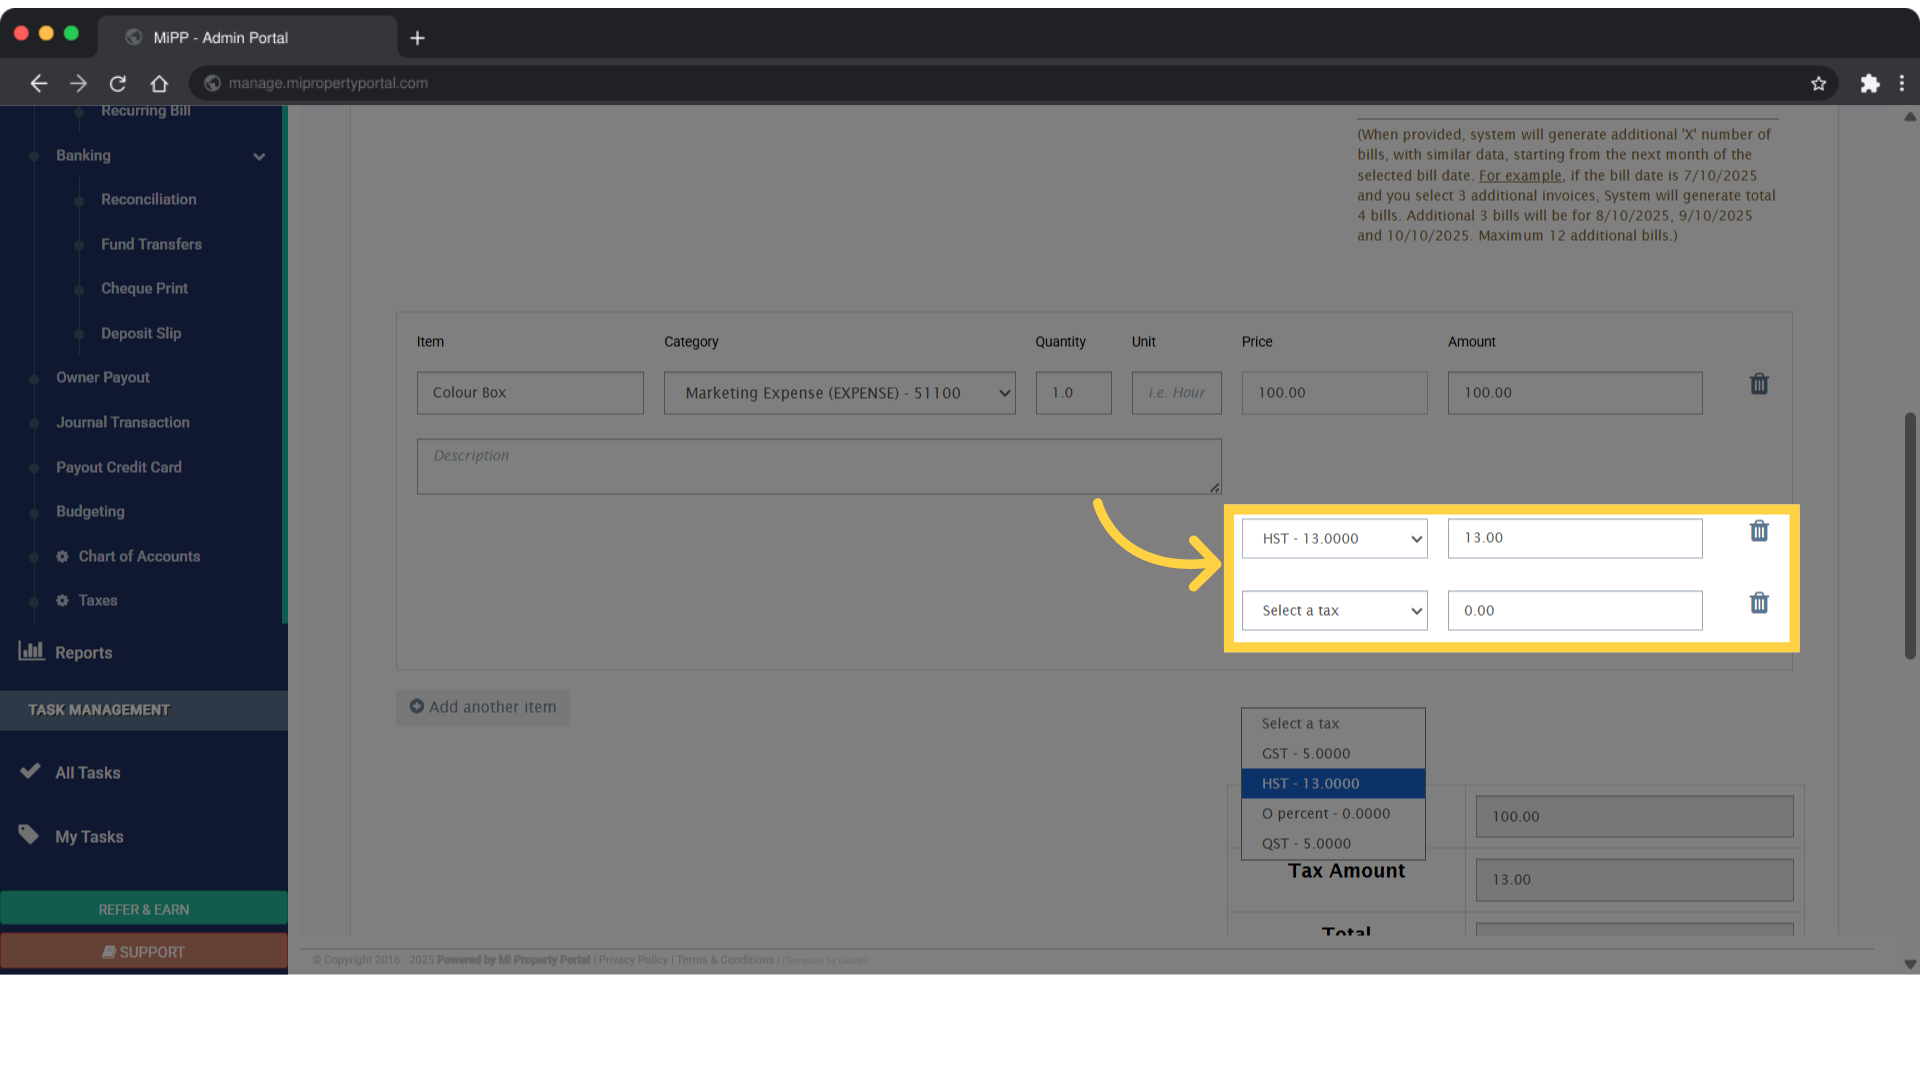
7. To select a tax rate, click the dropdown and choose the appropriate option from the list
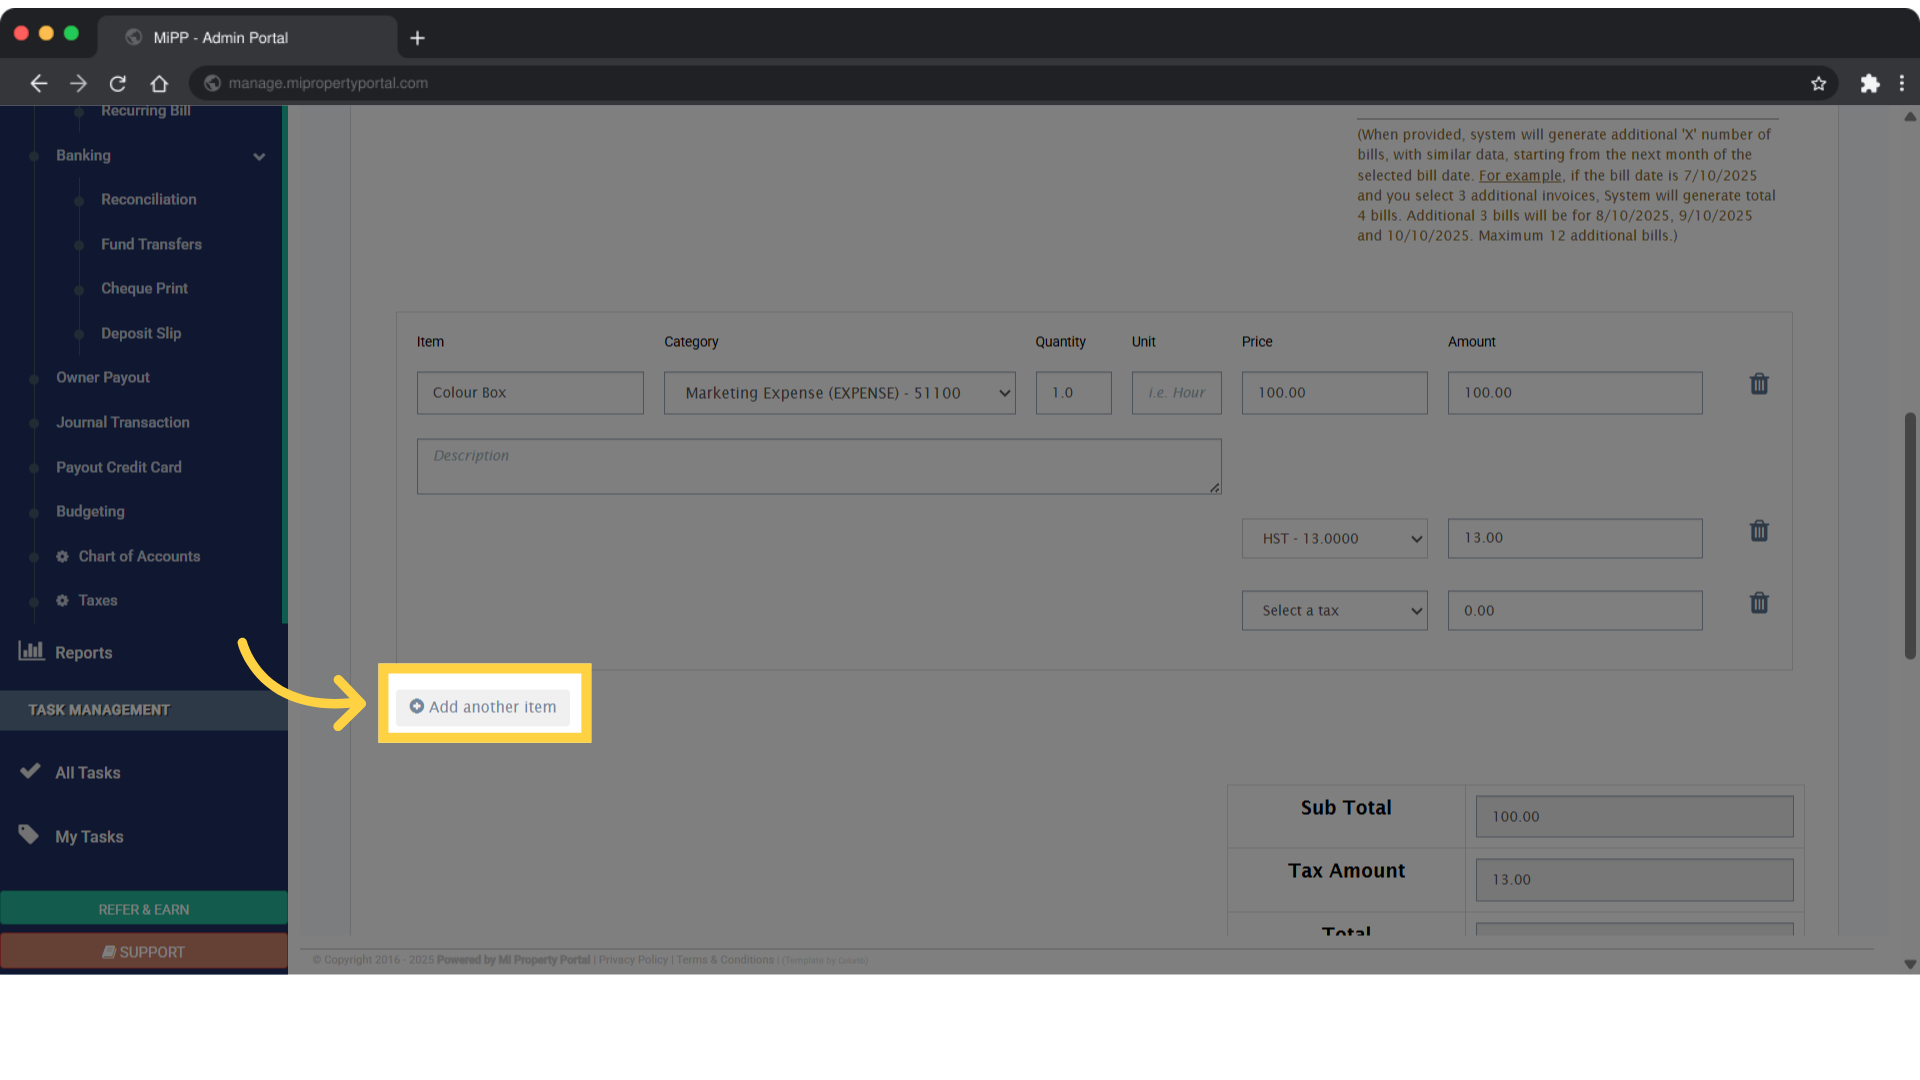
8. Click ‘Add another item’ to include additional entries in the list
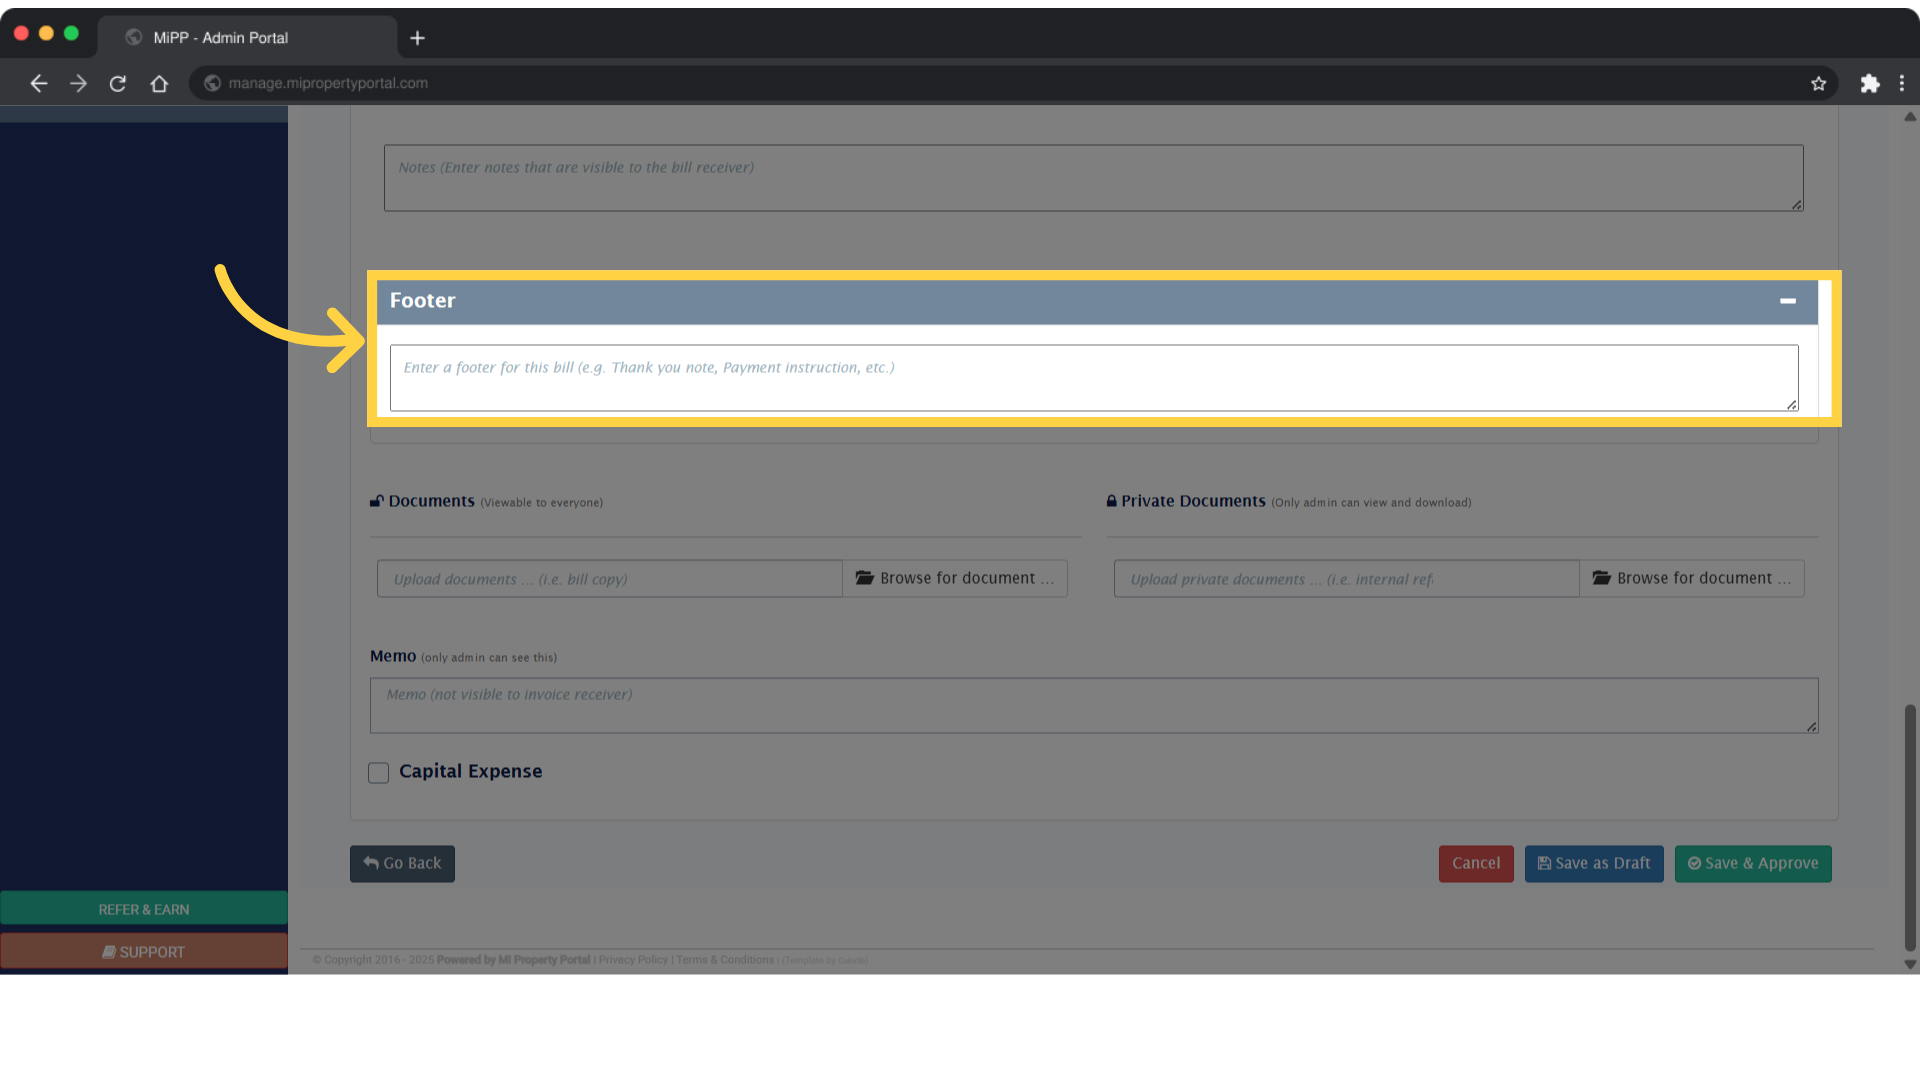
9. Add a footer
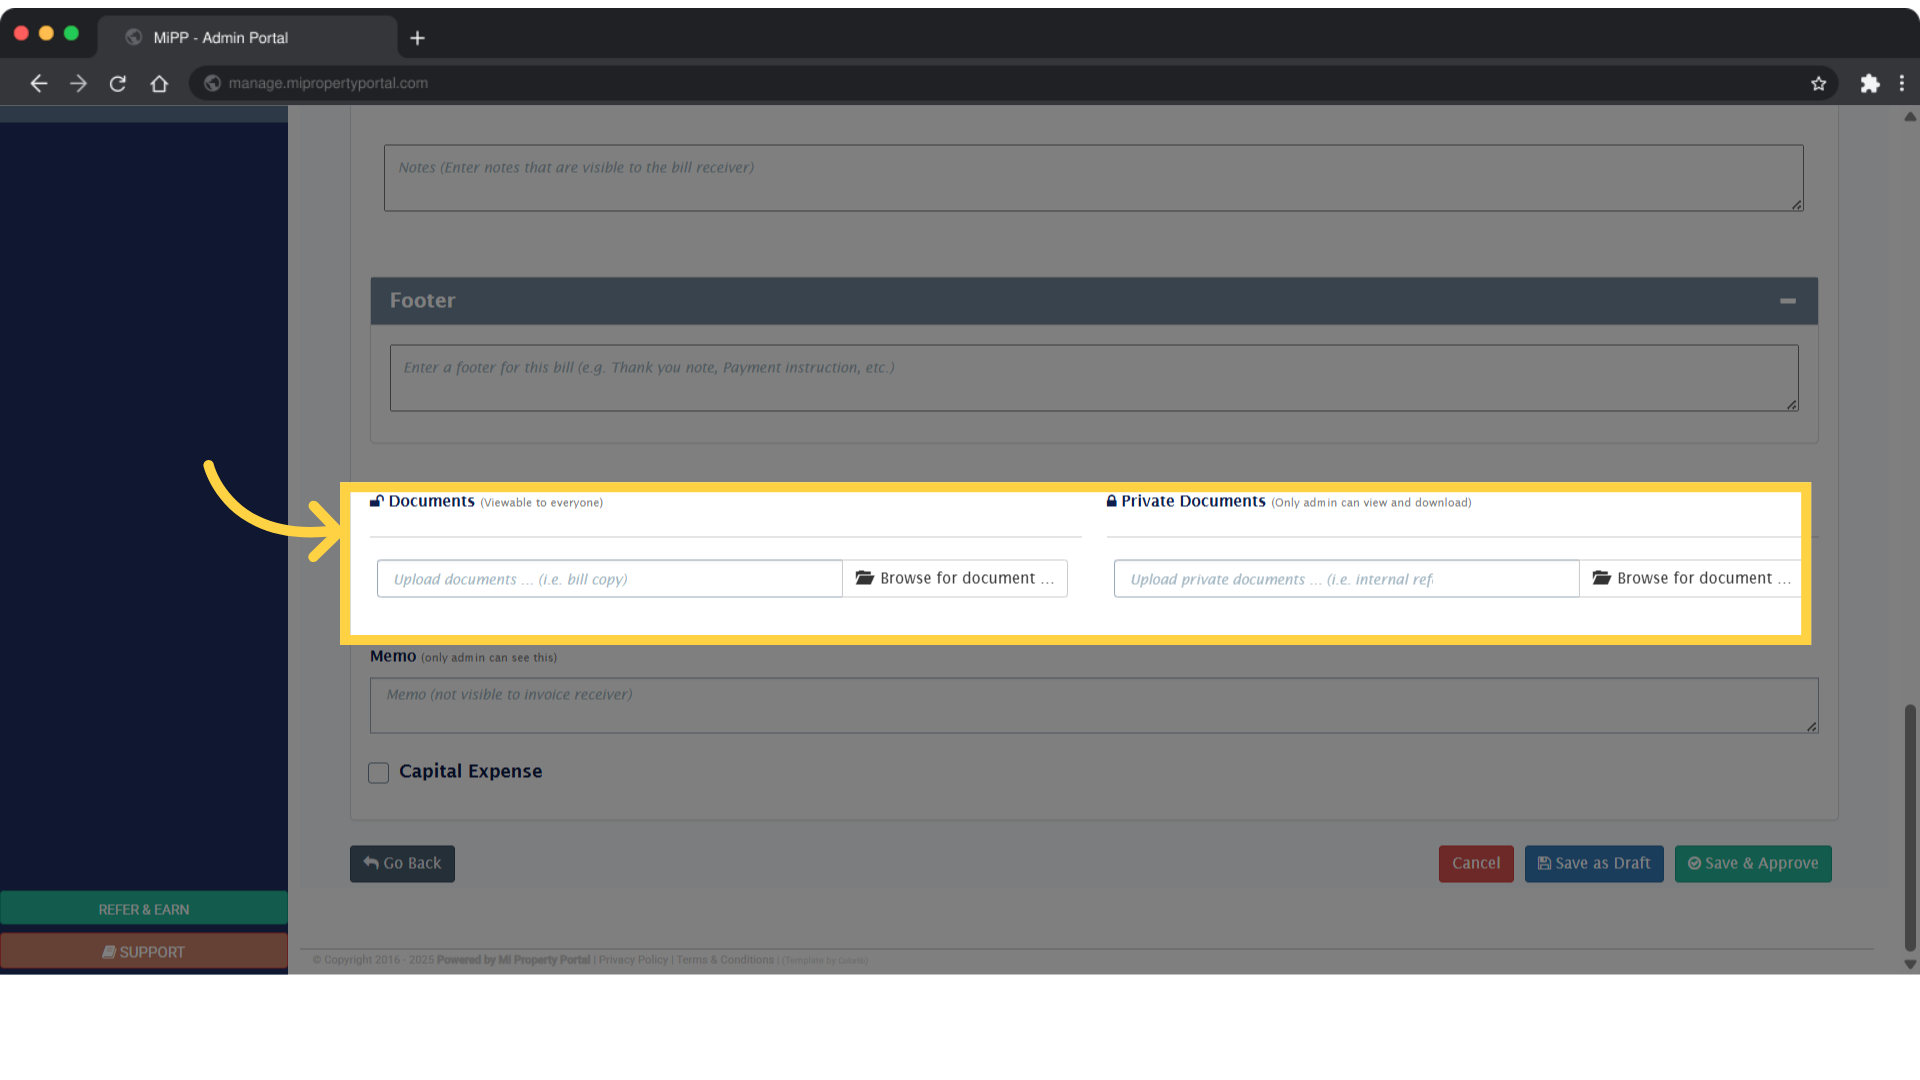
10. Under ‘Documents & Private Documents’, click ‘Browse for Document’ to upload a file from your device and attach it to the bill
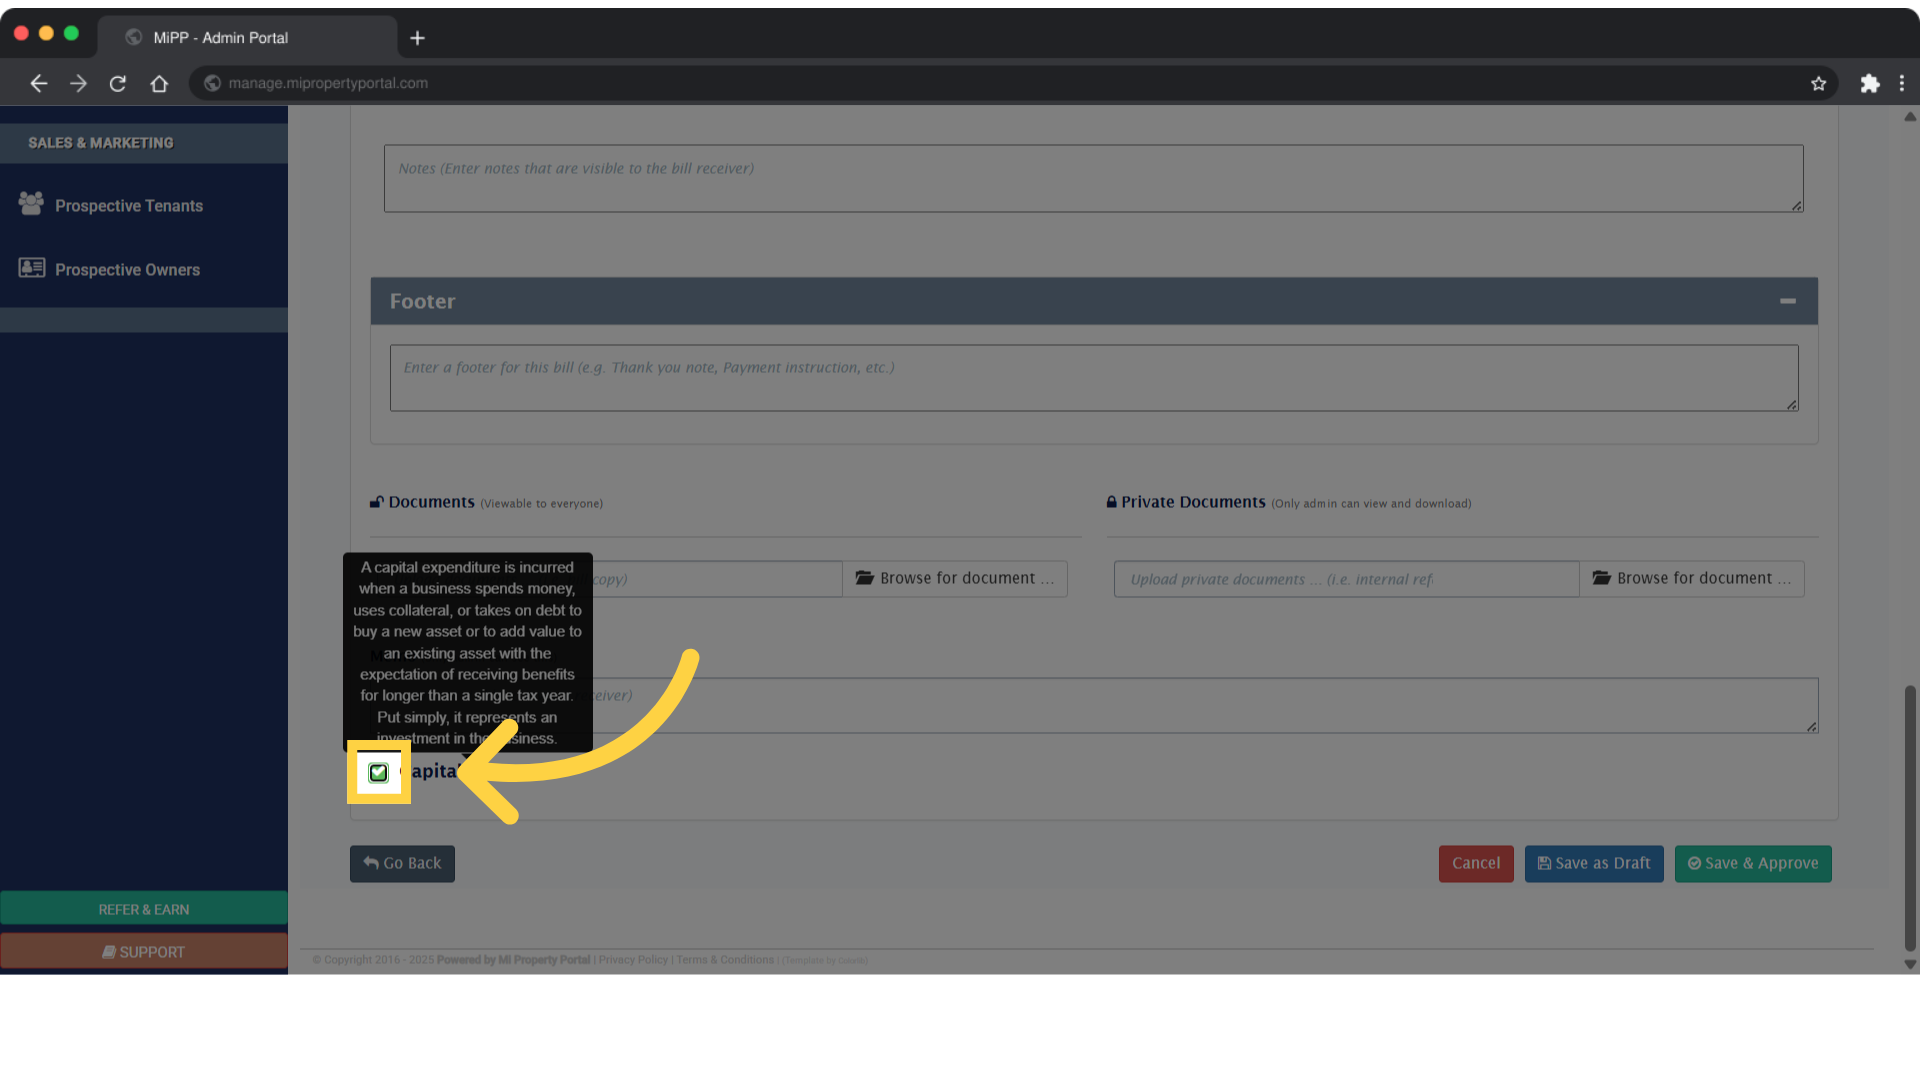
11. If applicable, click the Capital Expense box to categorize the item accordingly
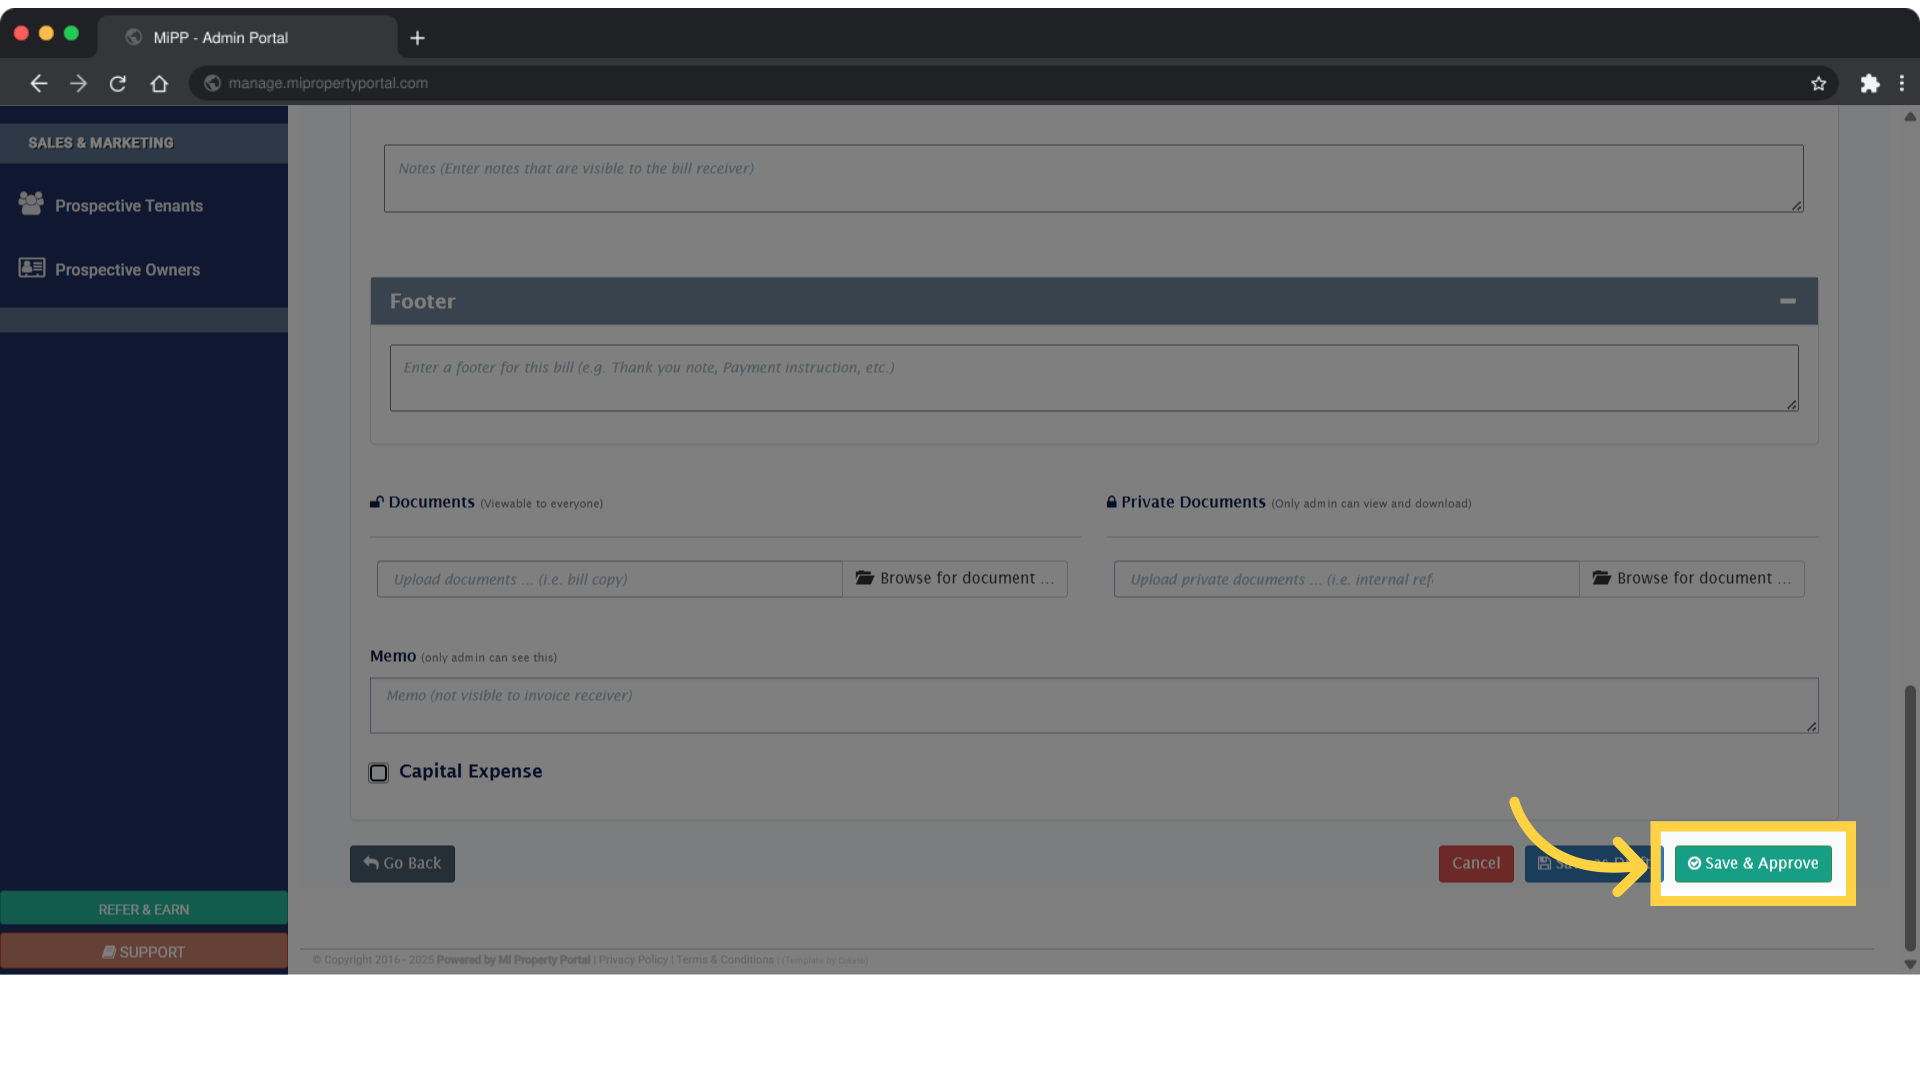
12. Click on Save & Approve