This guide explains how to configure invoice settings for a property in the portal.
1. Select “Properties” from under “Property Management” dropdown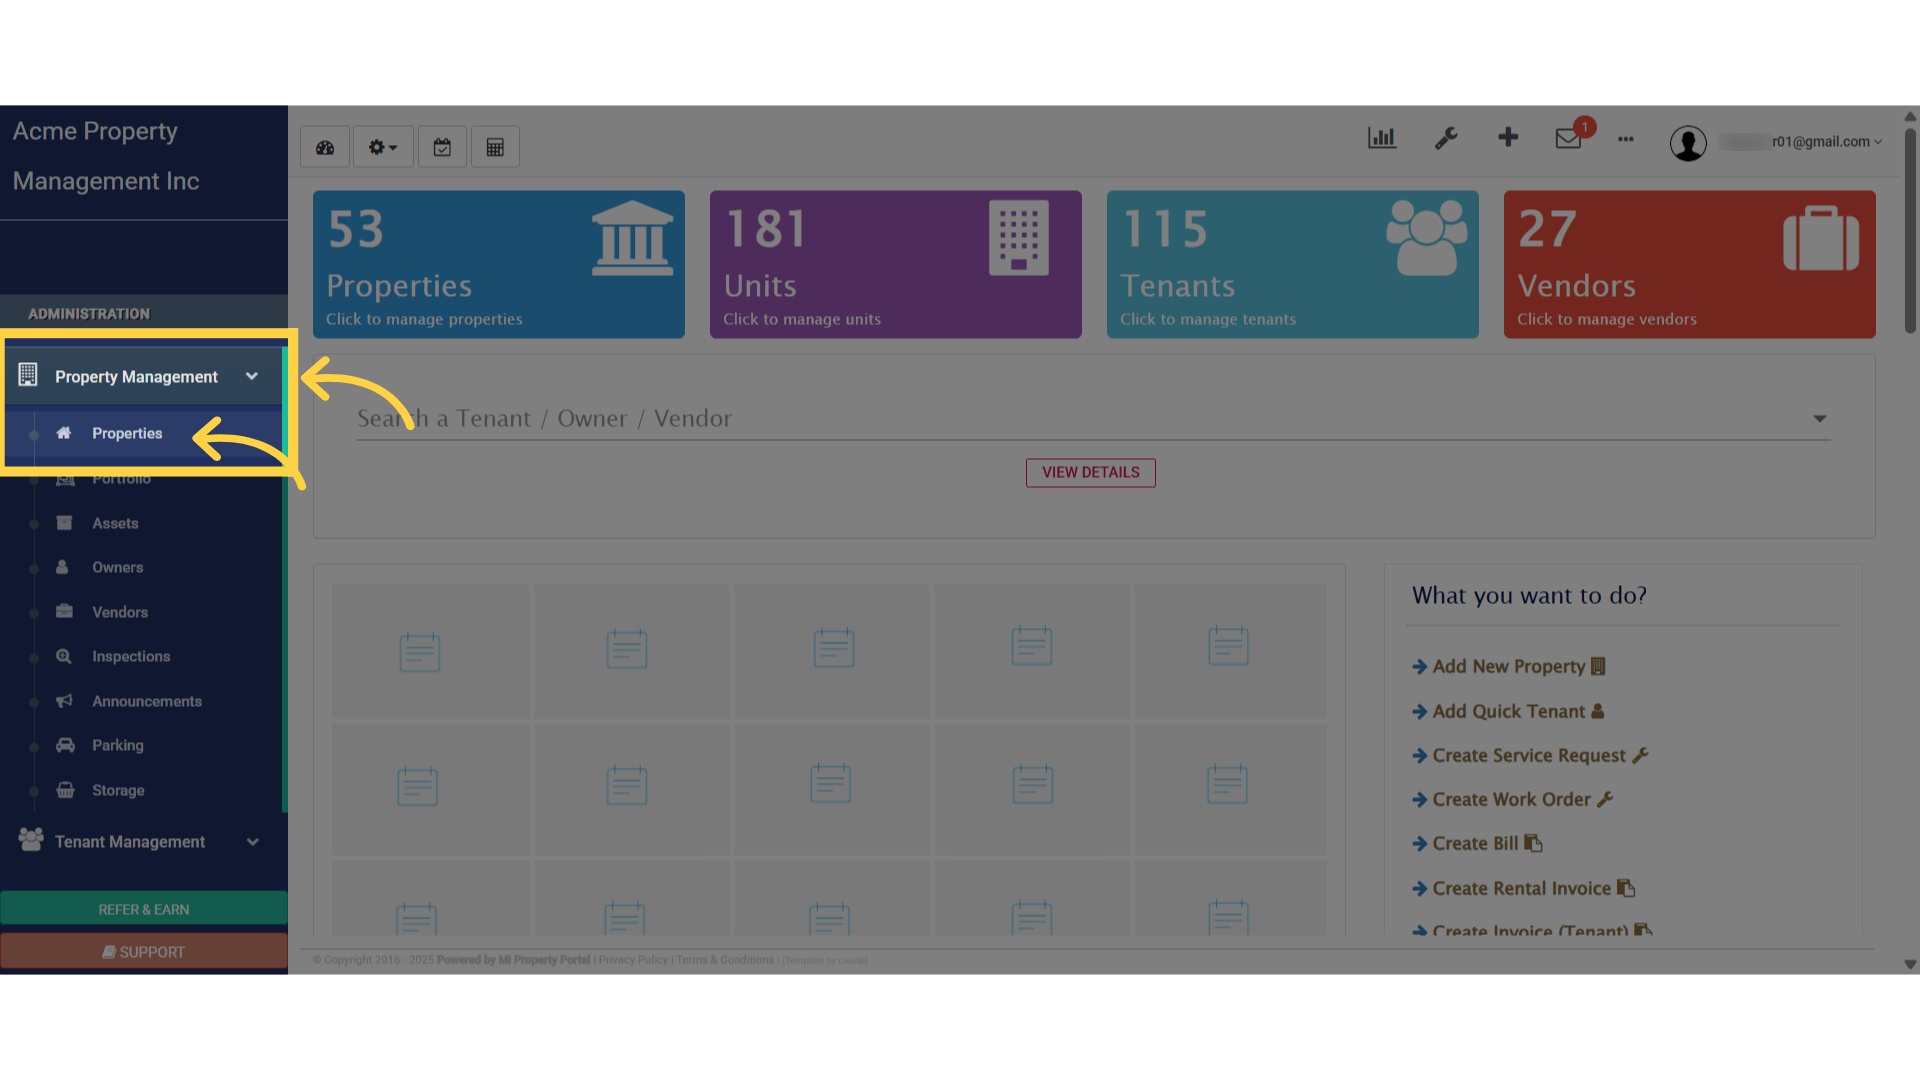
2. Click on the “Property Name” to get into the “Property Details” page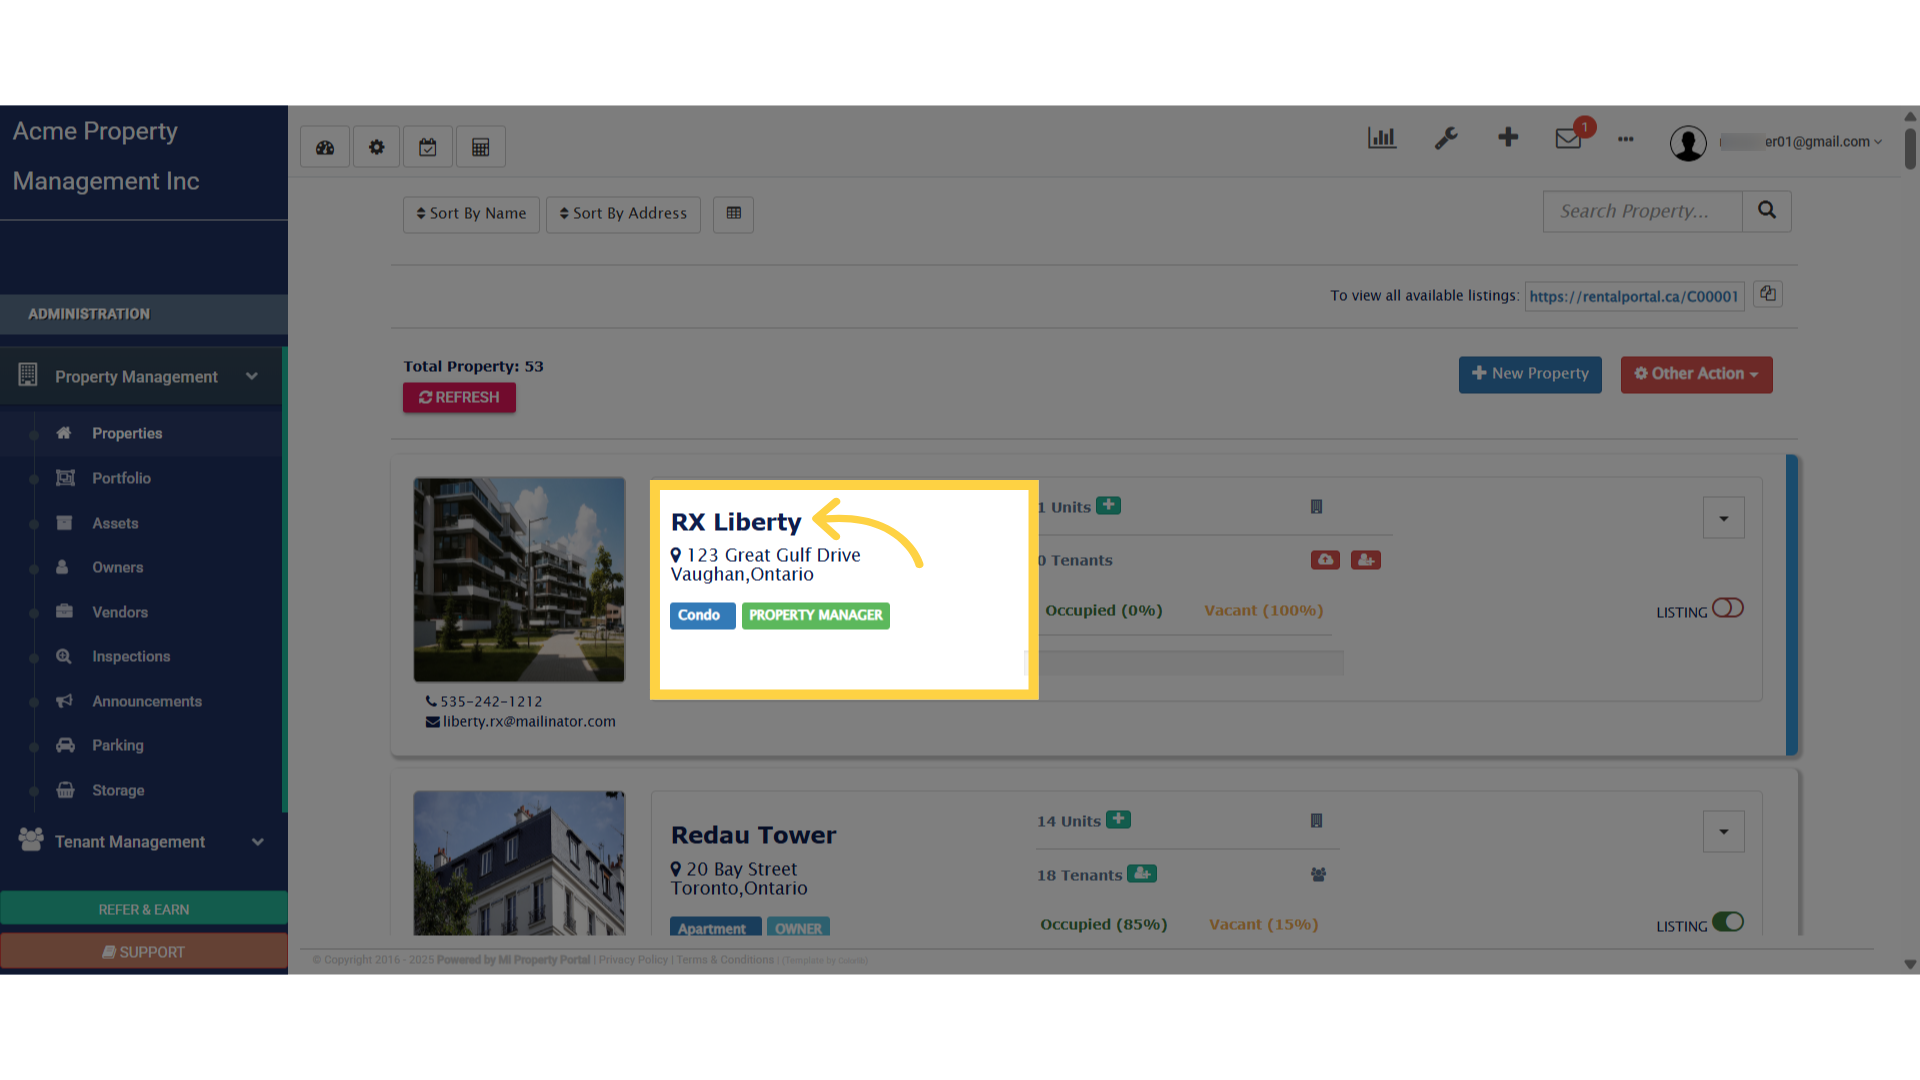
3. Click on the “More Action” dropdown to view the options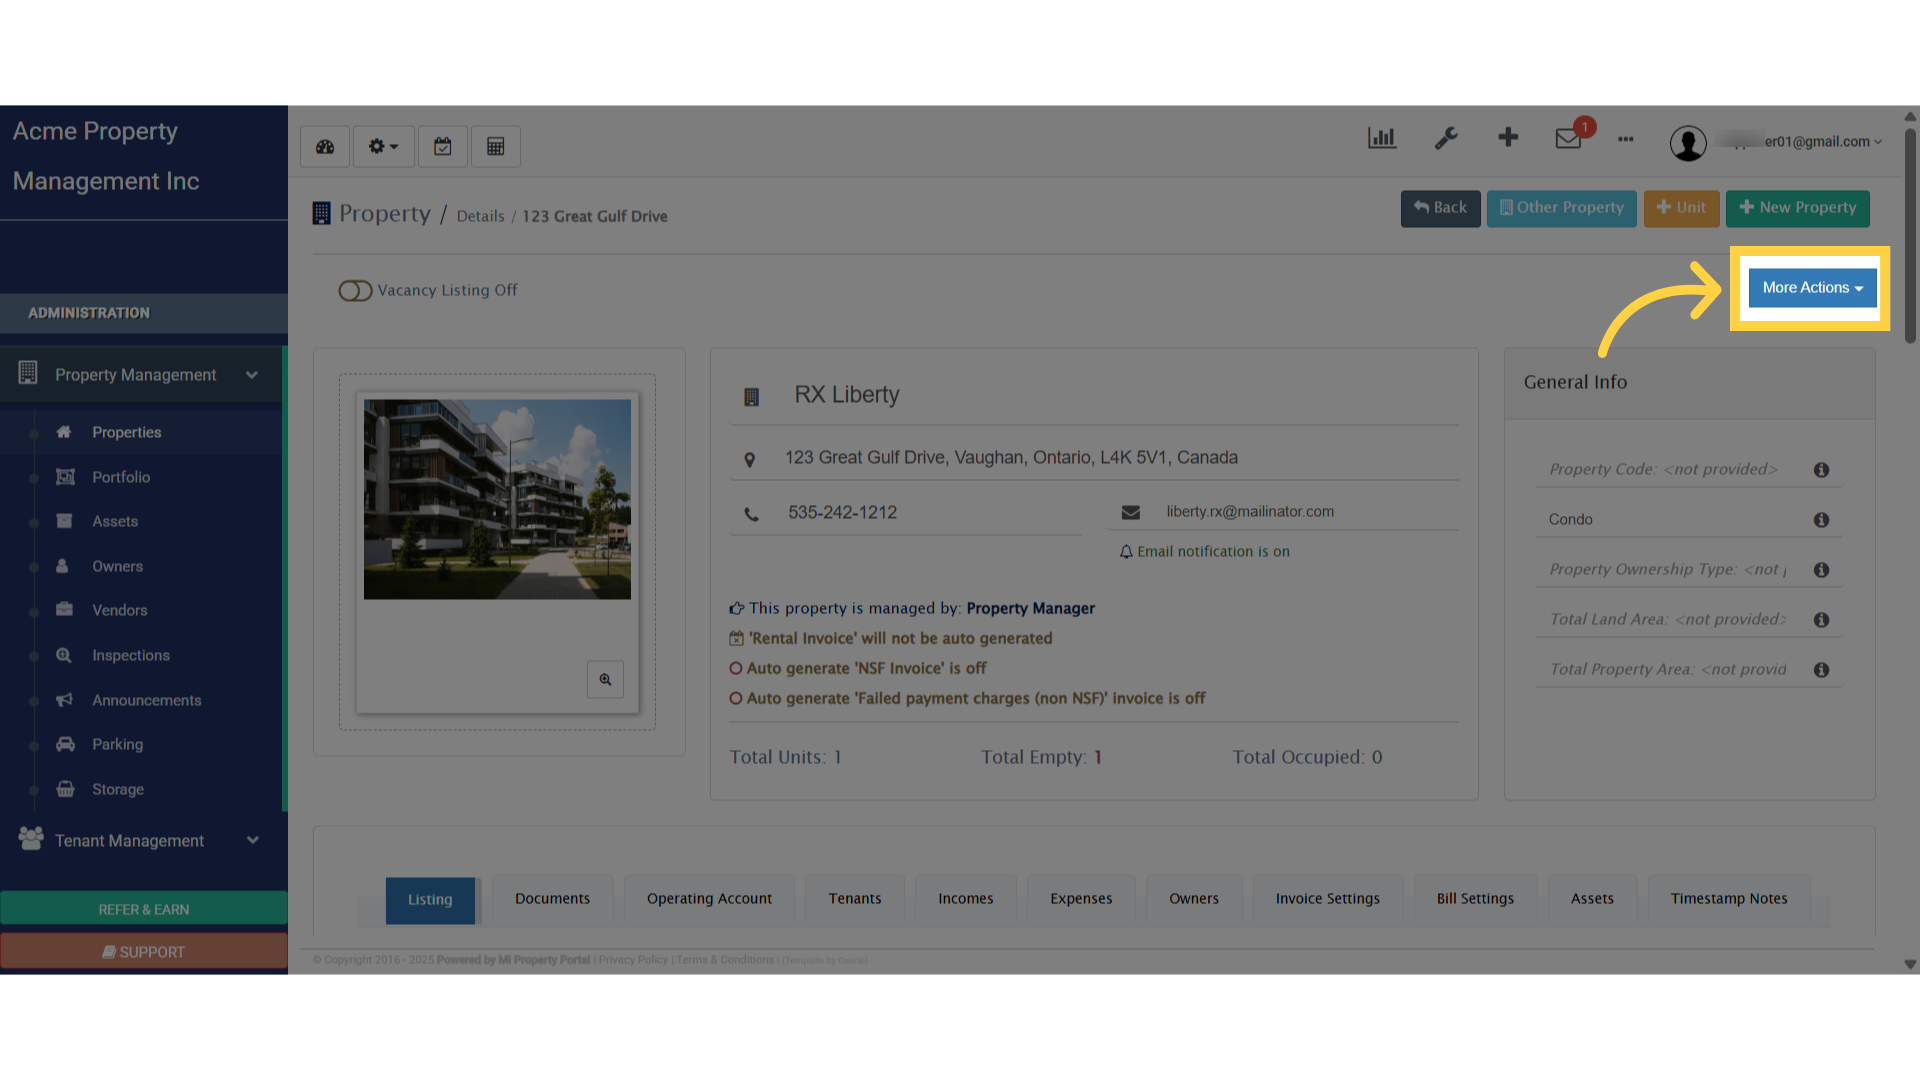
4. Select “Edit”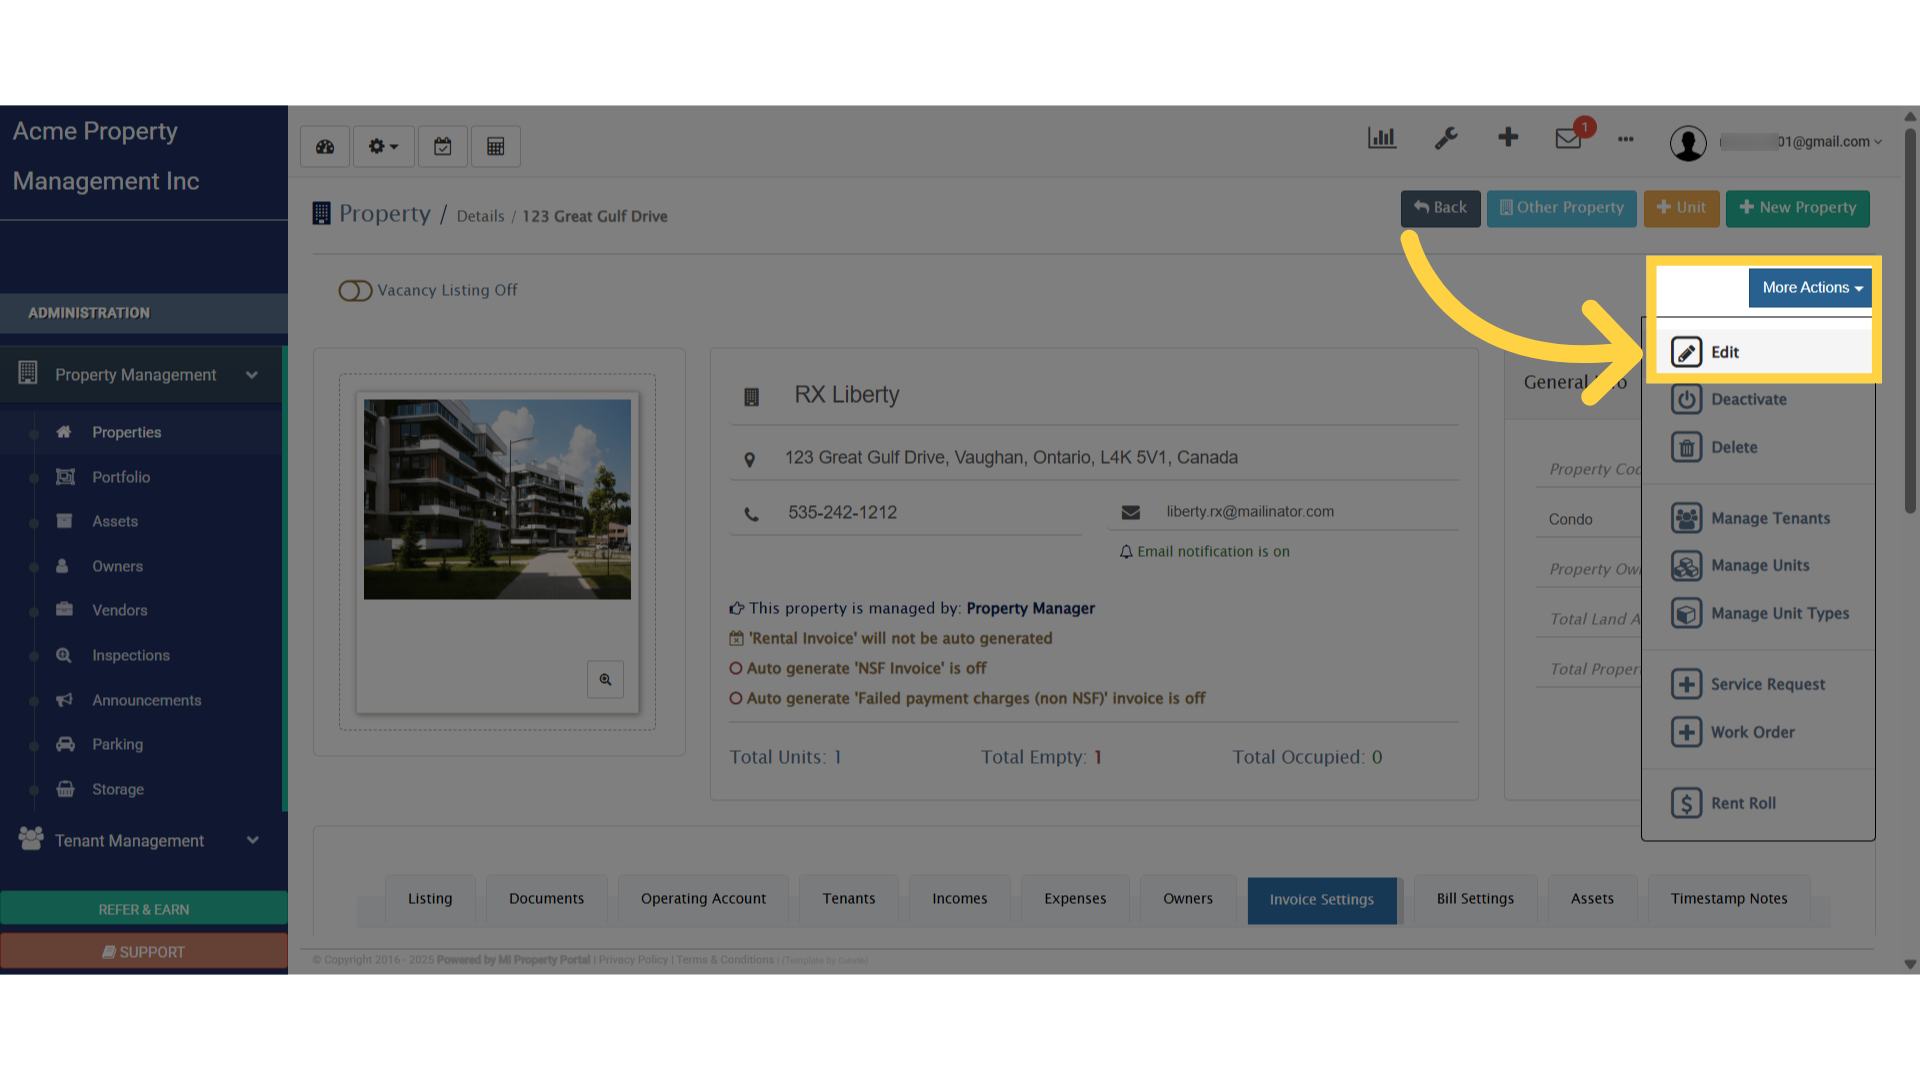
5. Scroll Down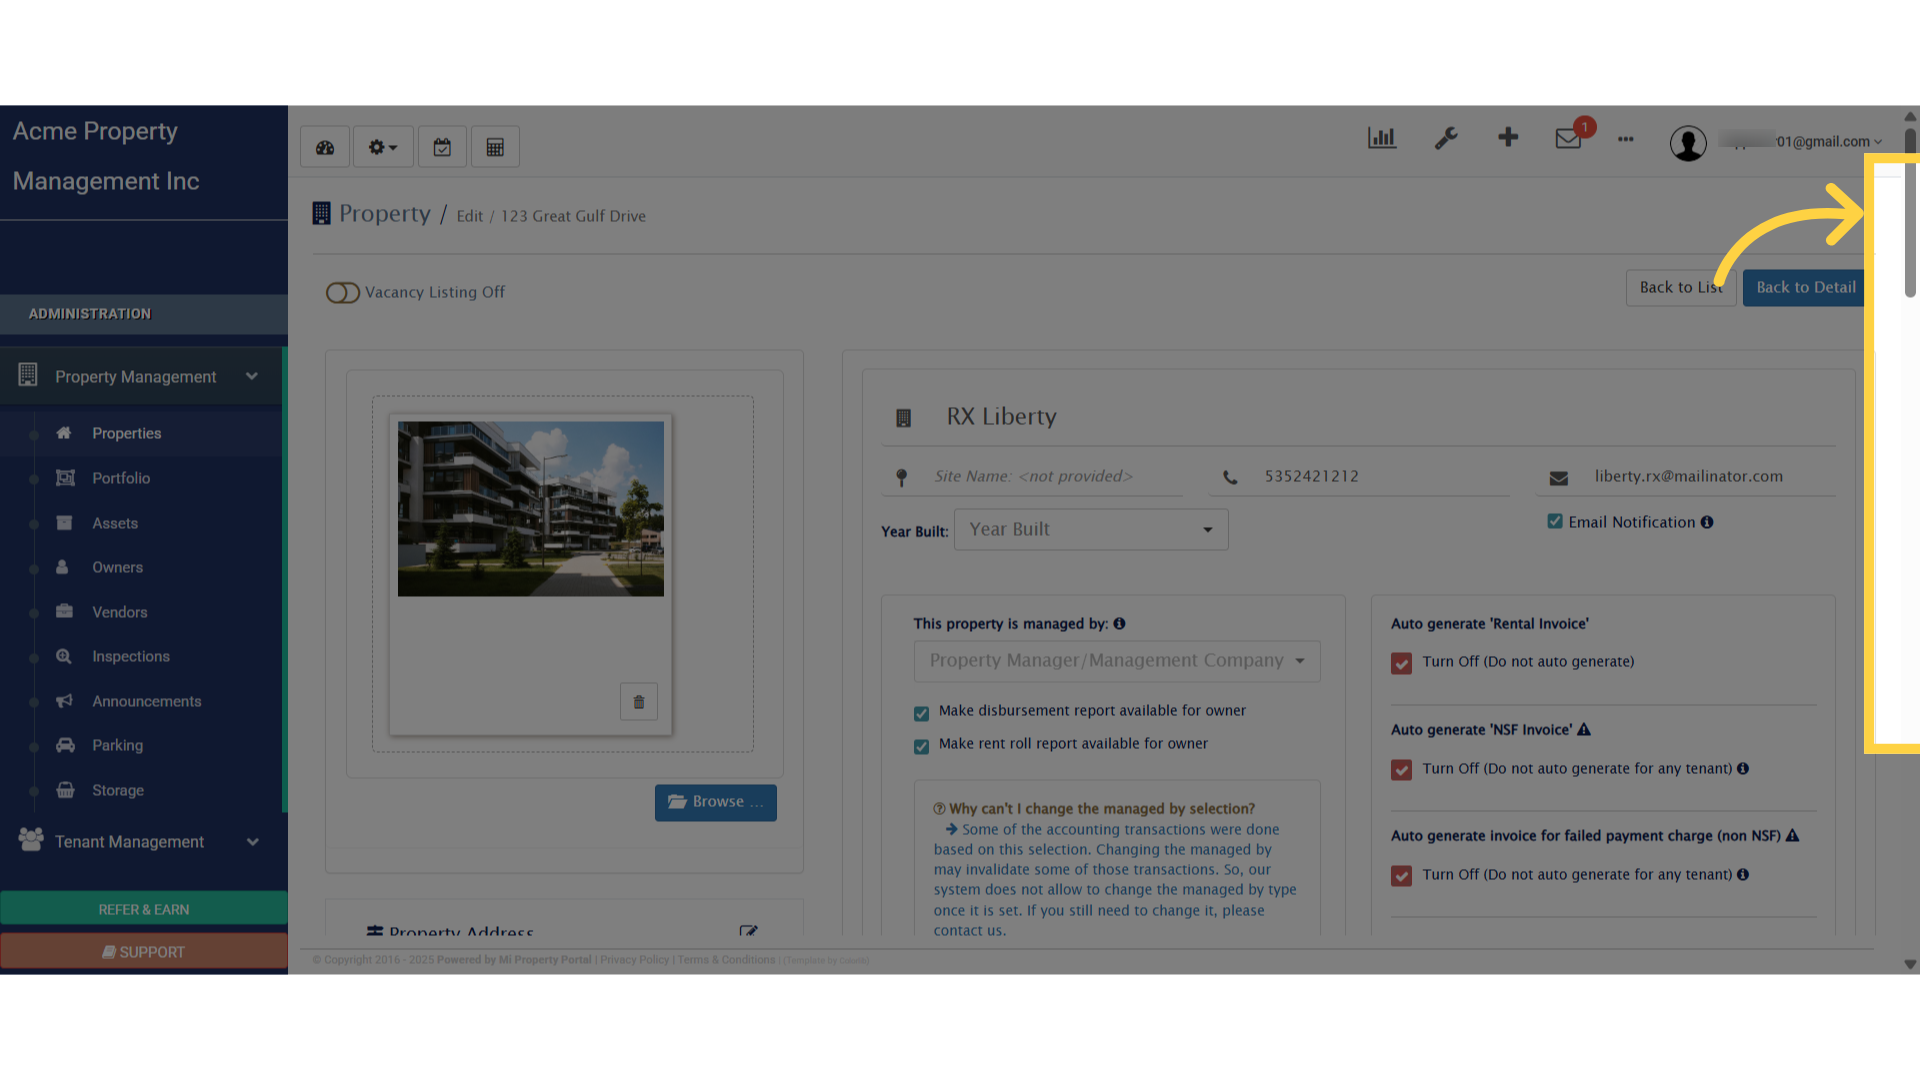
6. Click on “Invoice Settings” to edit the invoice details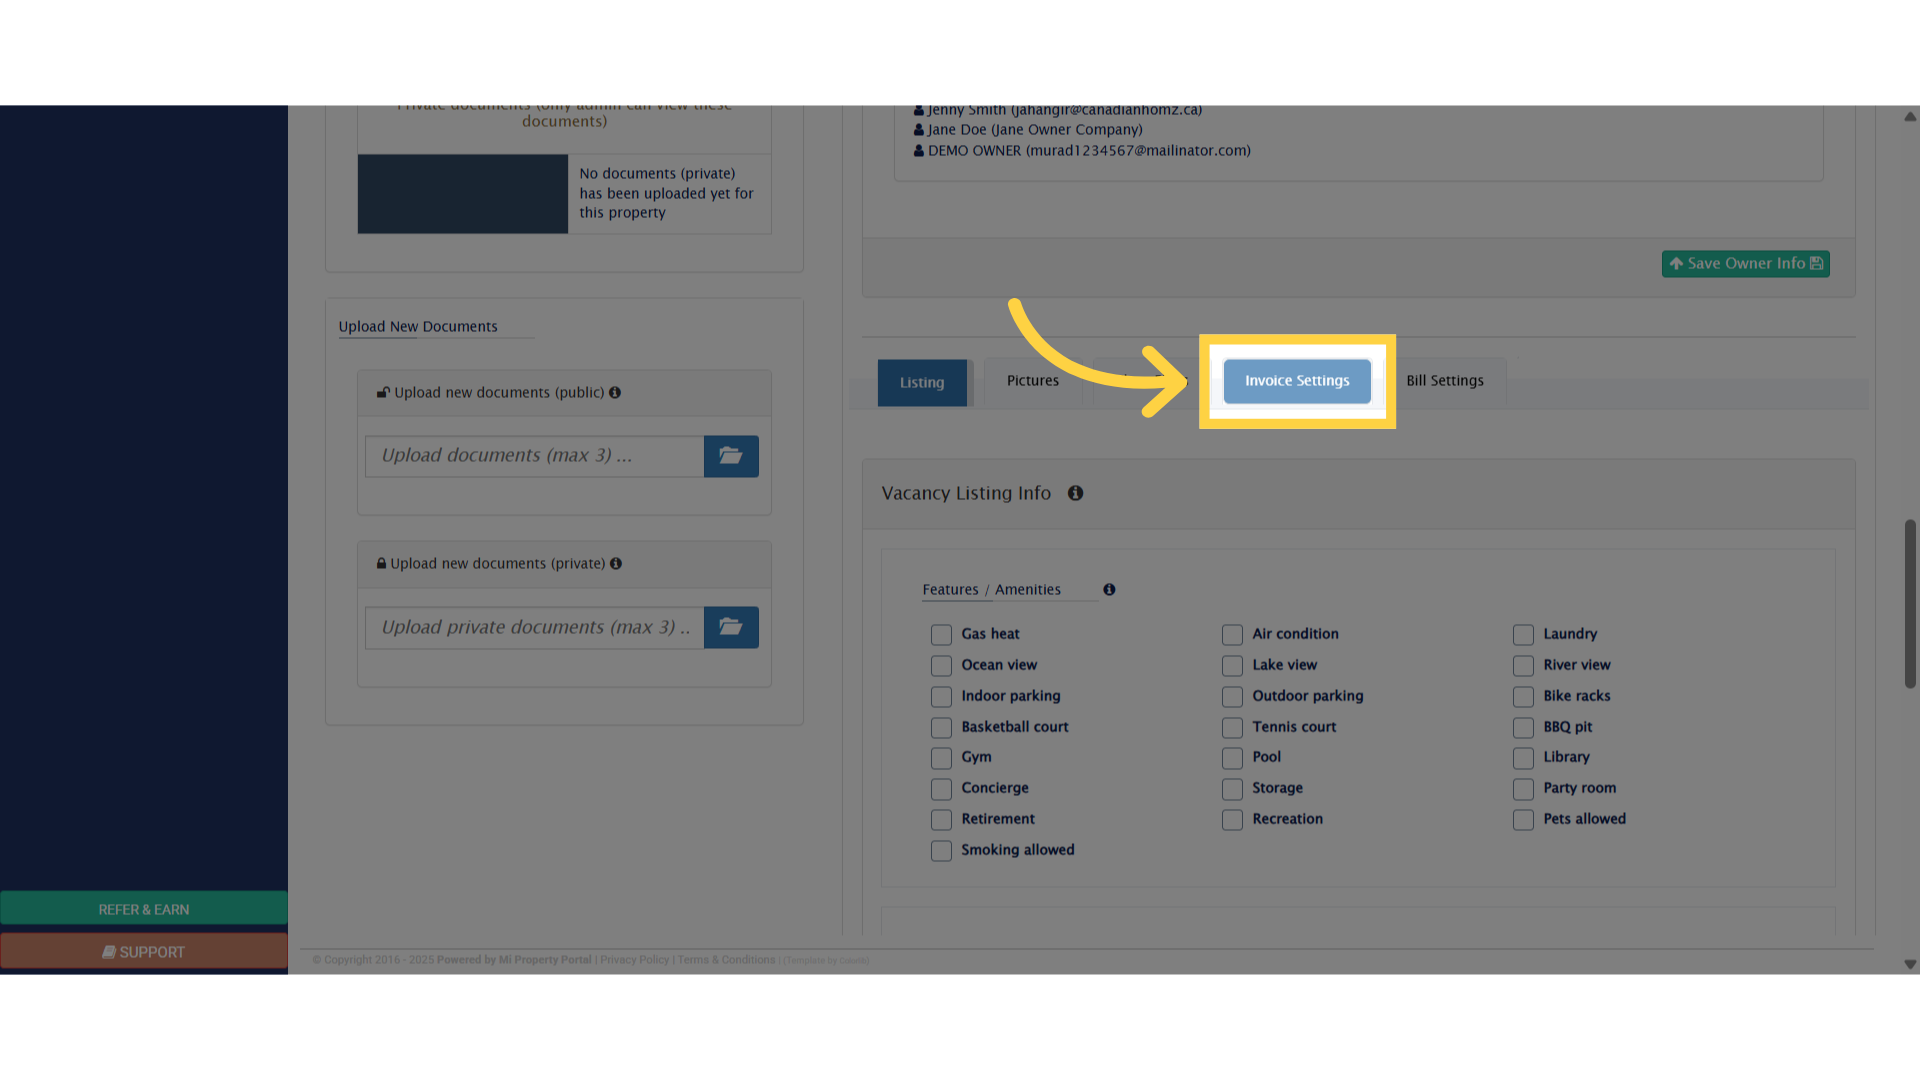
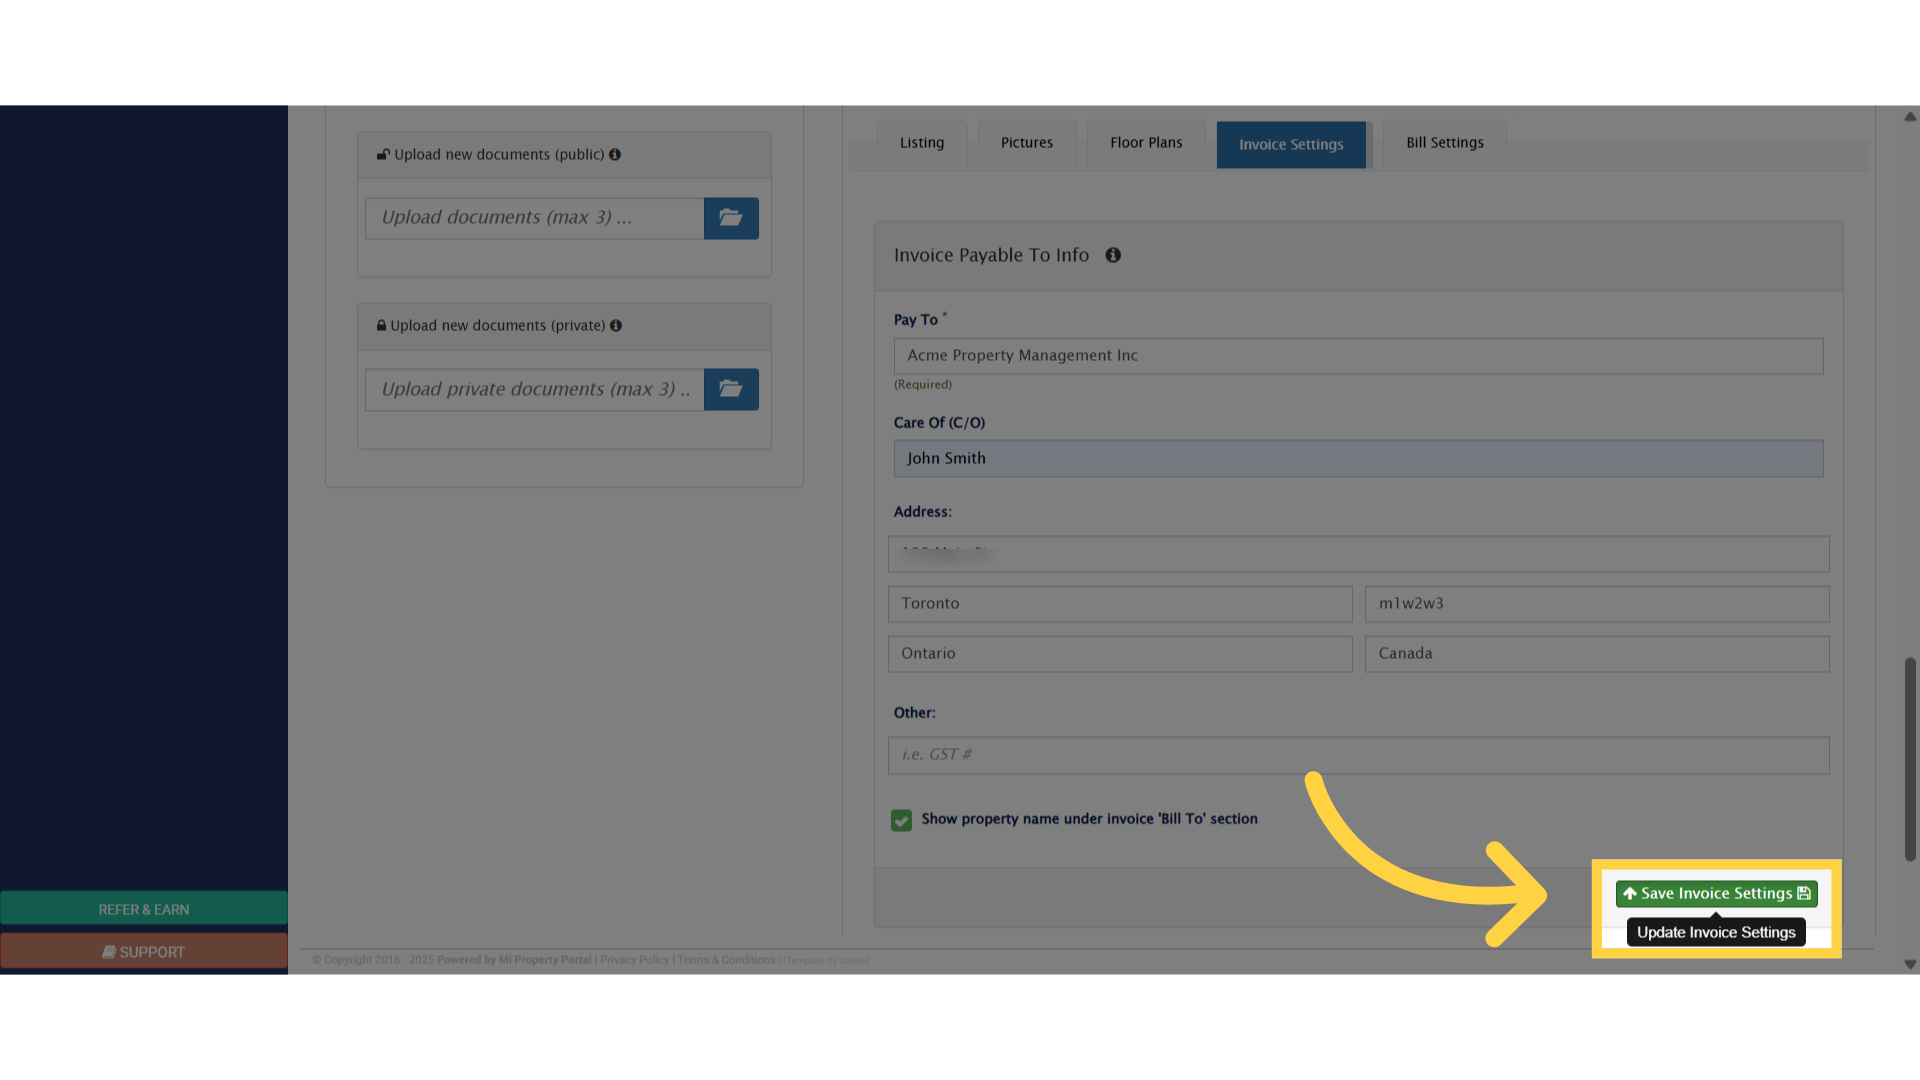
7. Click on each field, enter the appropriate details to make the necessary modifications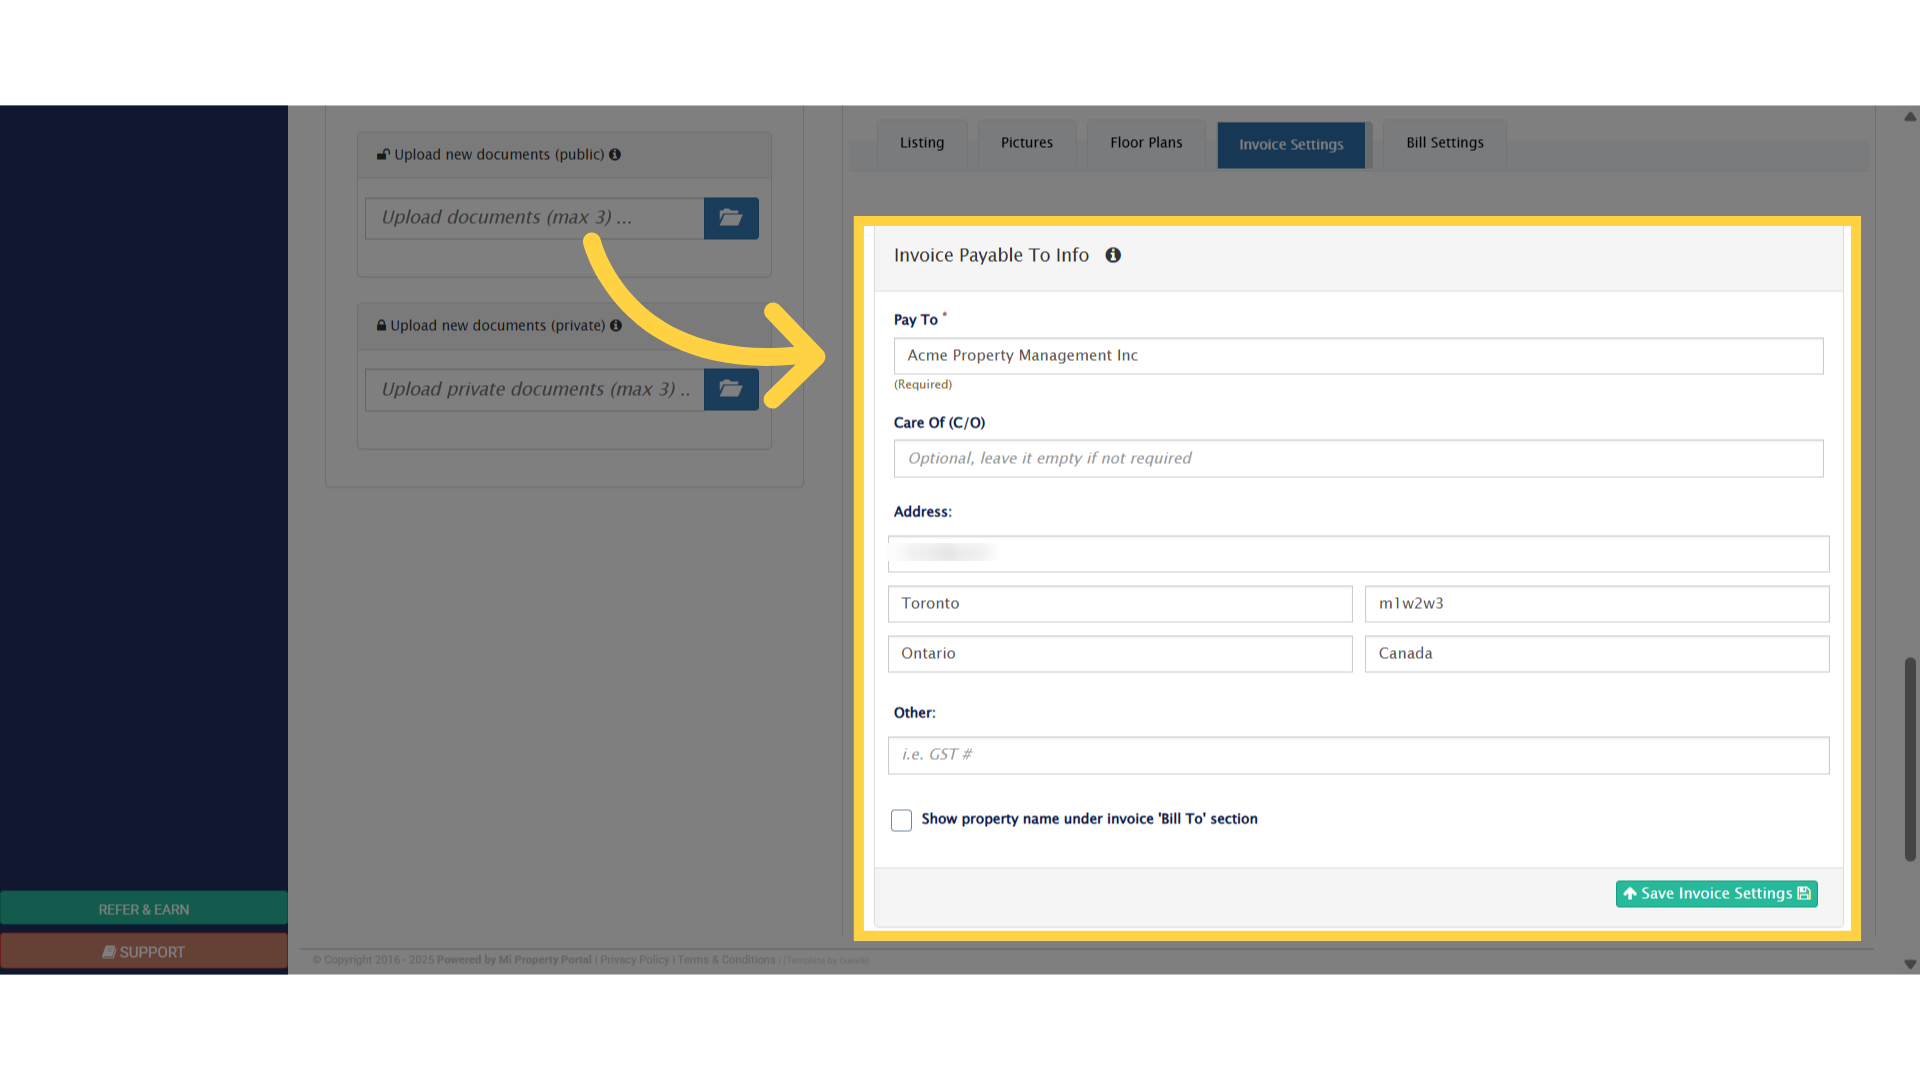
8. Check this box if you would like the Property Name to be displayed, in the “Bill To” section of the invoice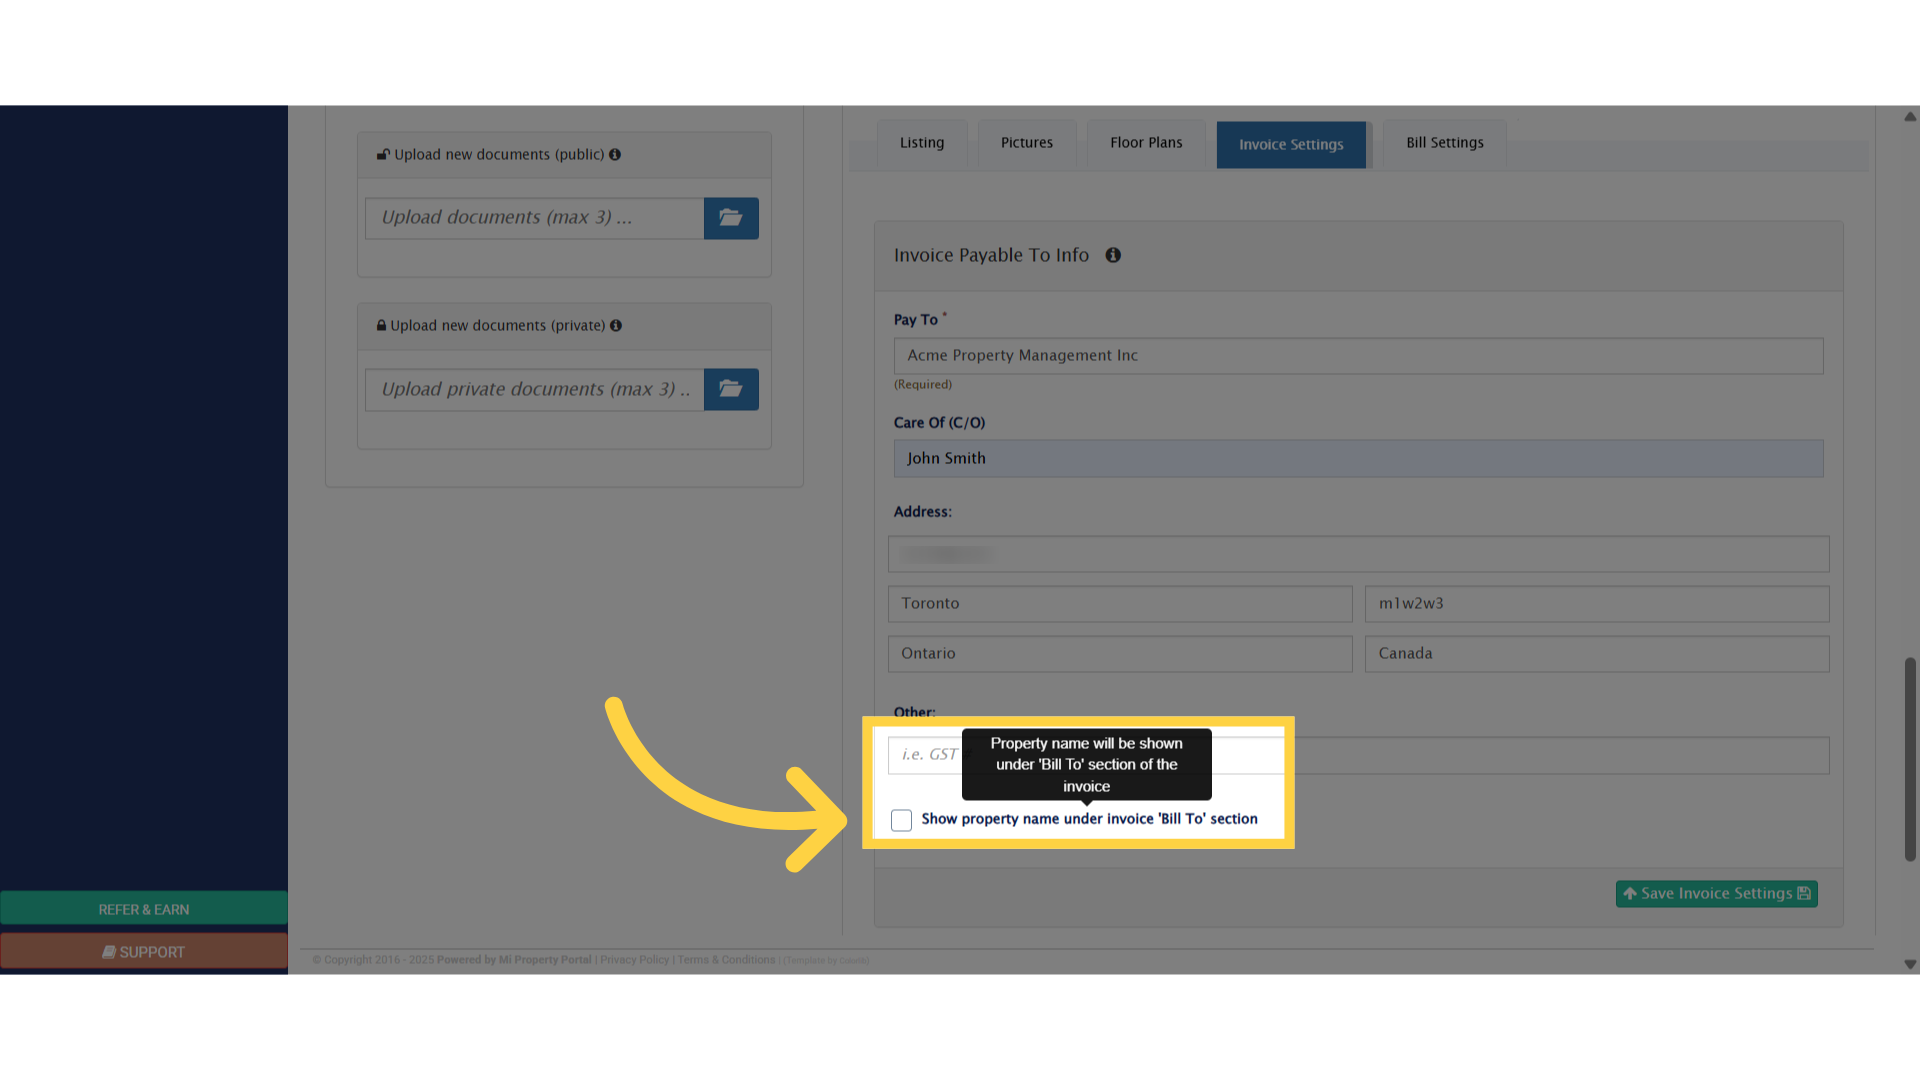
9. Click “Save Invoice Settings”