• Home
  • Blogs
  • FAQs
  • Login
  • Home
  • Blogs
  • FAQs
  • Login
home/Knowledge Base/General/How to Customize your Log In Page Dashboard?

How to Customize your Log In Page Dashboard?

98 views 0 October 31, 2024 mippsupportadmin

1. So, here it is your by default log in page.
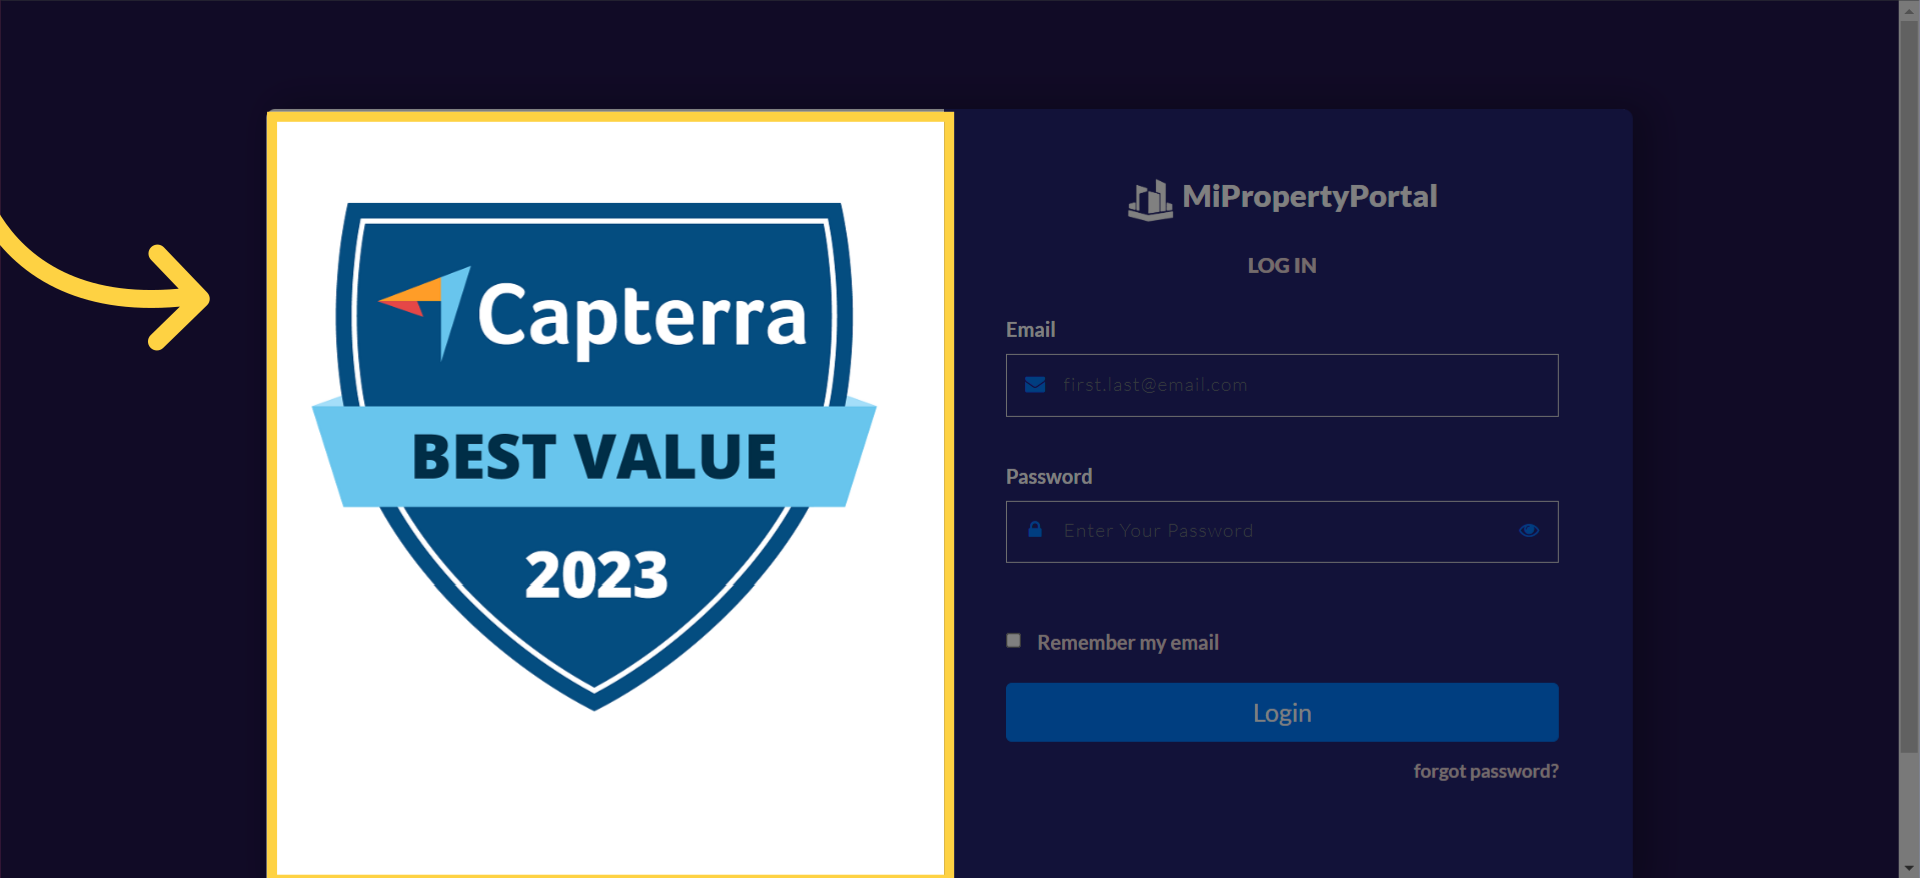
So, here it is your by default log in page.

2. Access the Admin Portal by logging in
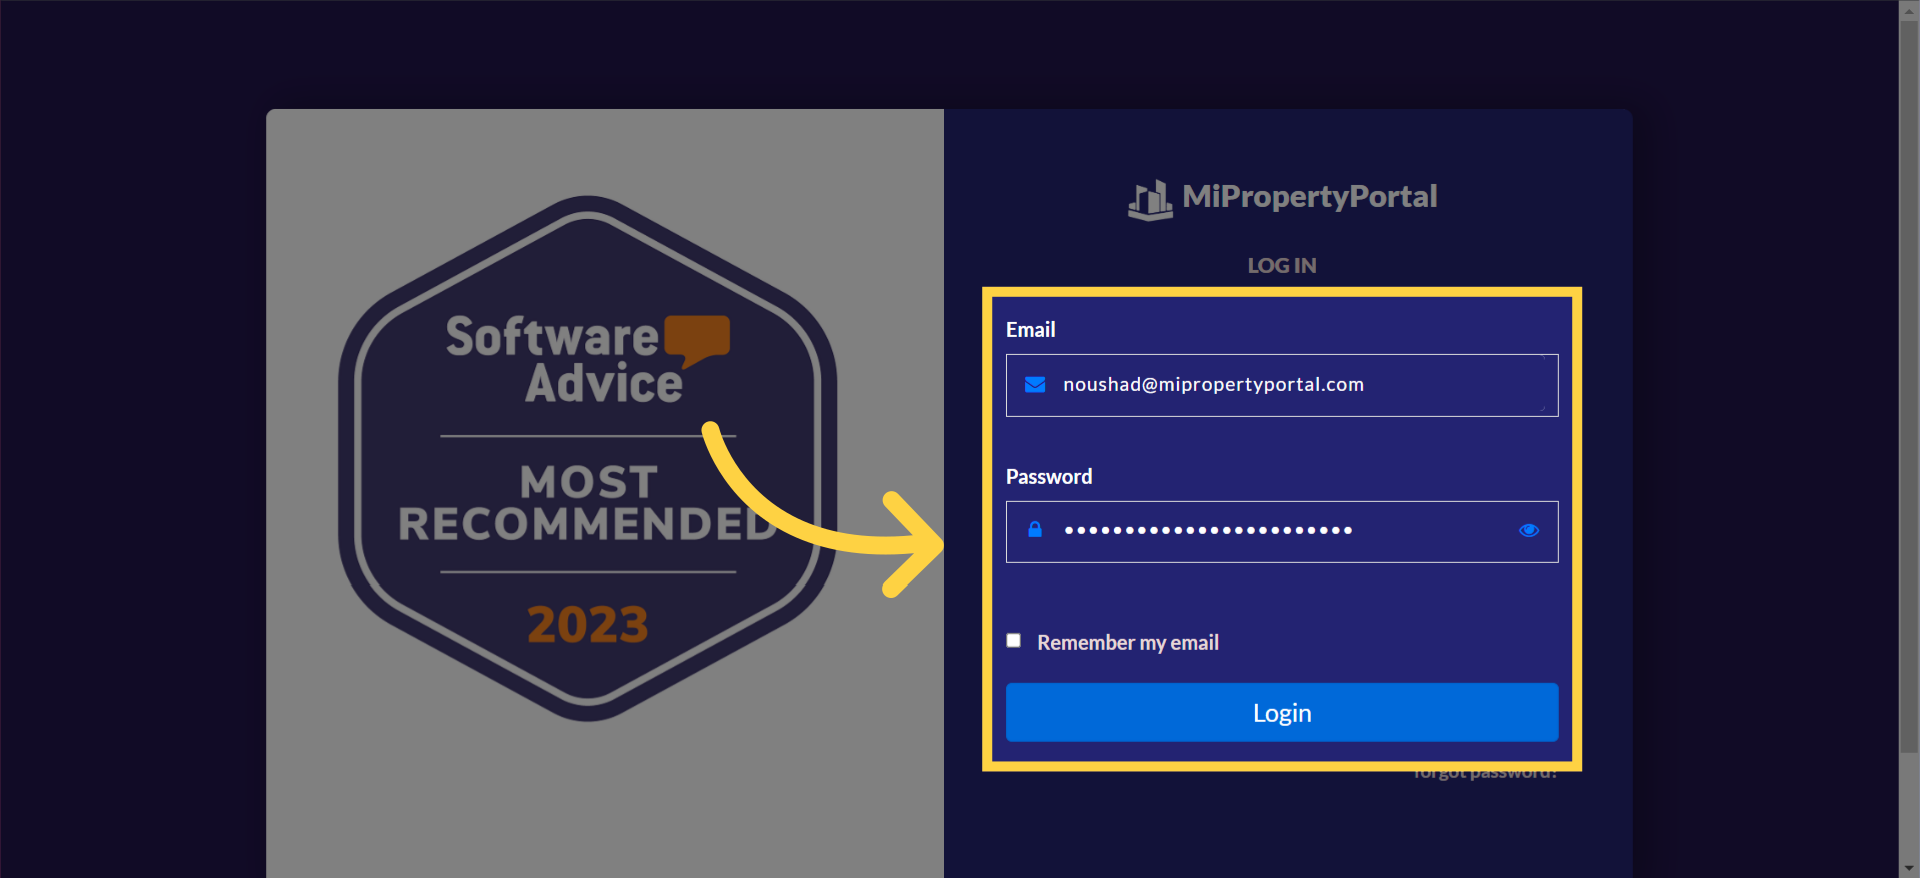
Access the Admin Portal by logging in.

3. Click on your E-mail dropdown menu
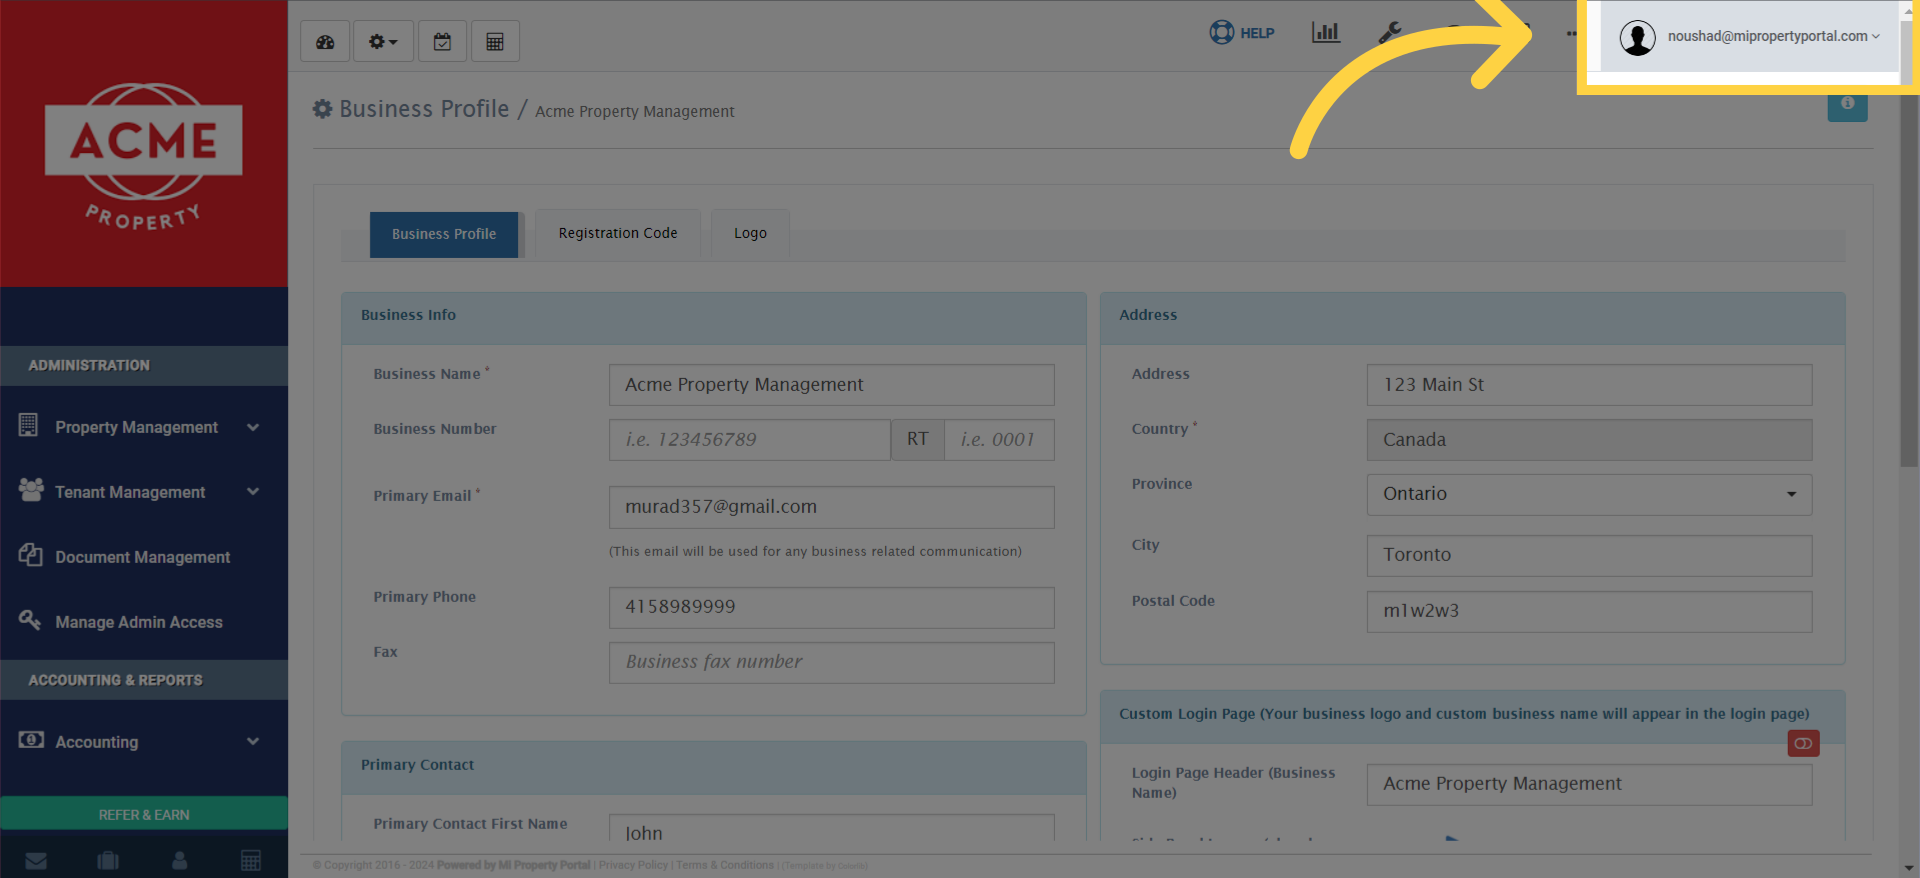
 Click on your E-mail dropdown menu.

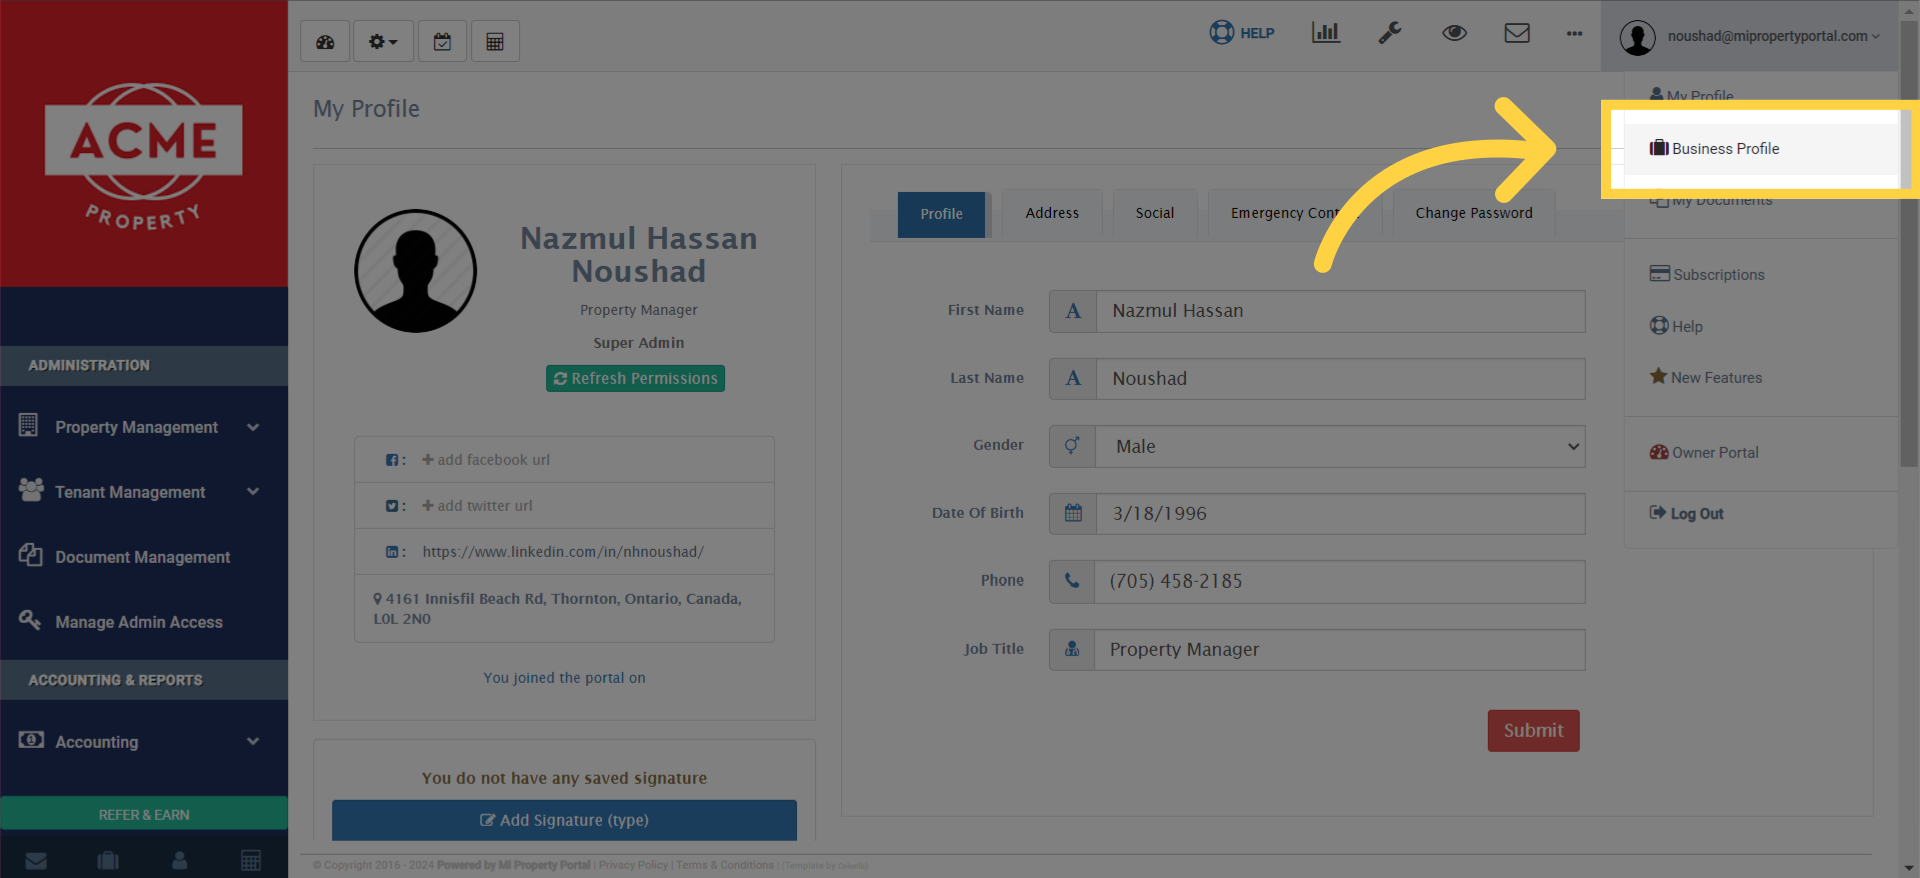
4. Then click on “Business Profile”

Then click on 'Business Profile'.

5. Then scroll down, you’ll get “Custom Login Page” section
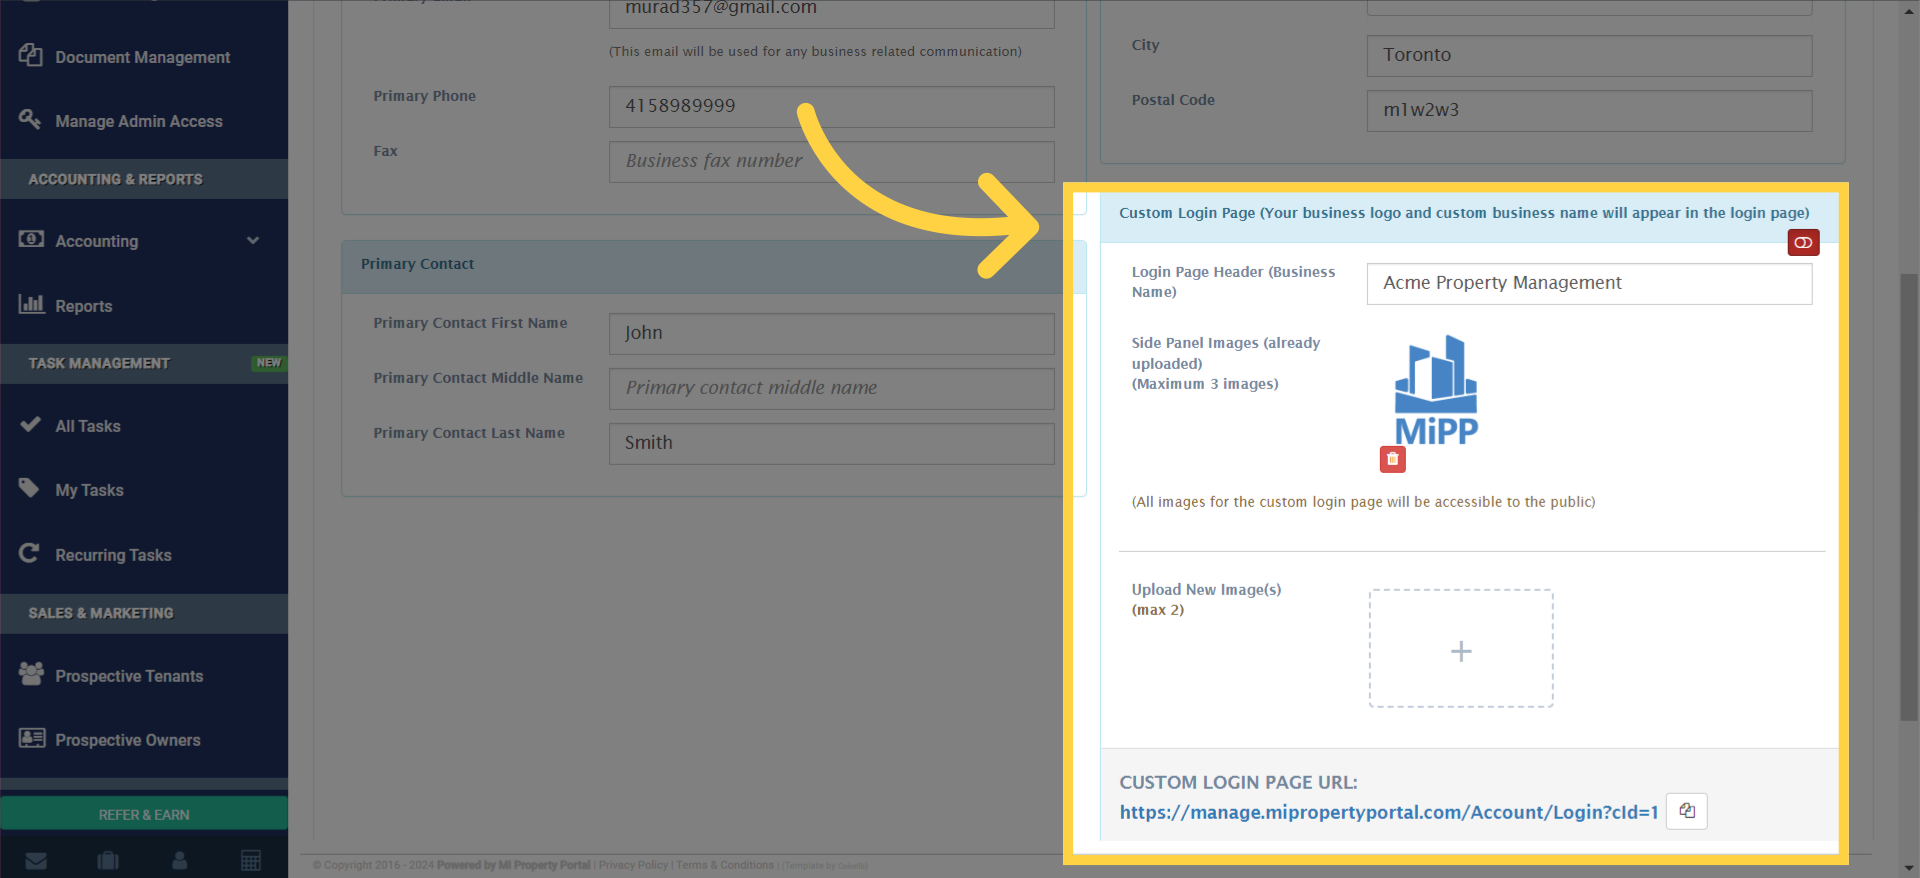
Then scroll down, you'll get 'Custom Login Page' section

6. Simply click on the red button to activate it, turning it green
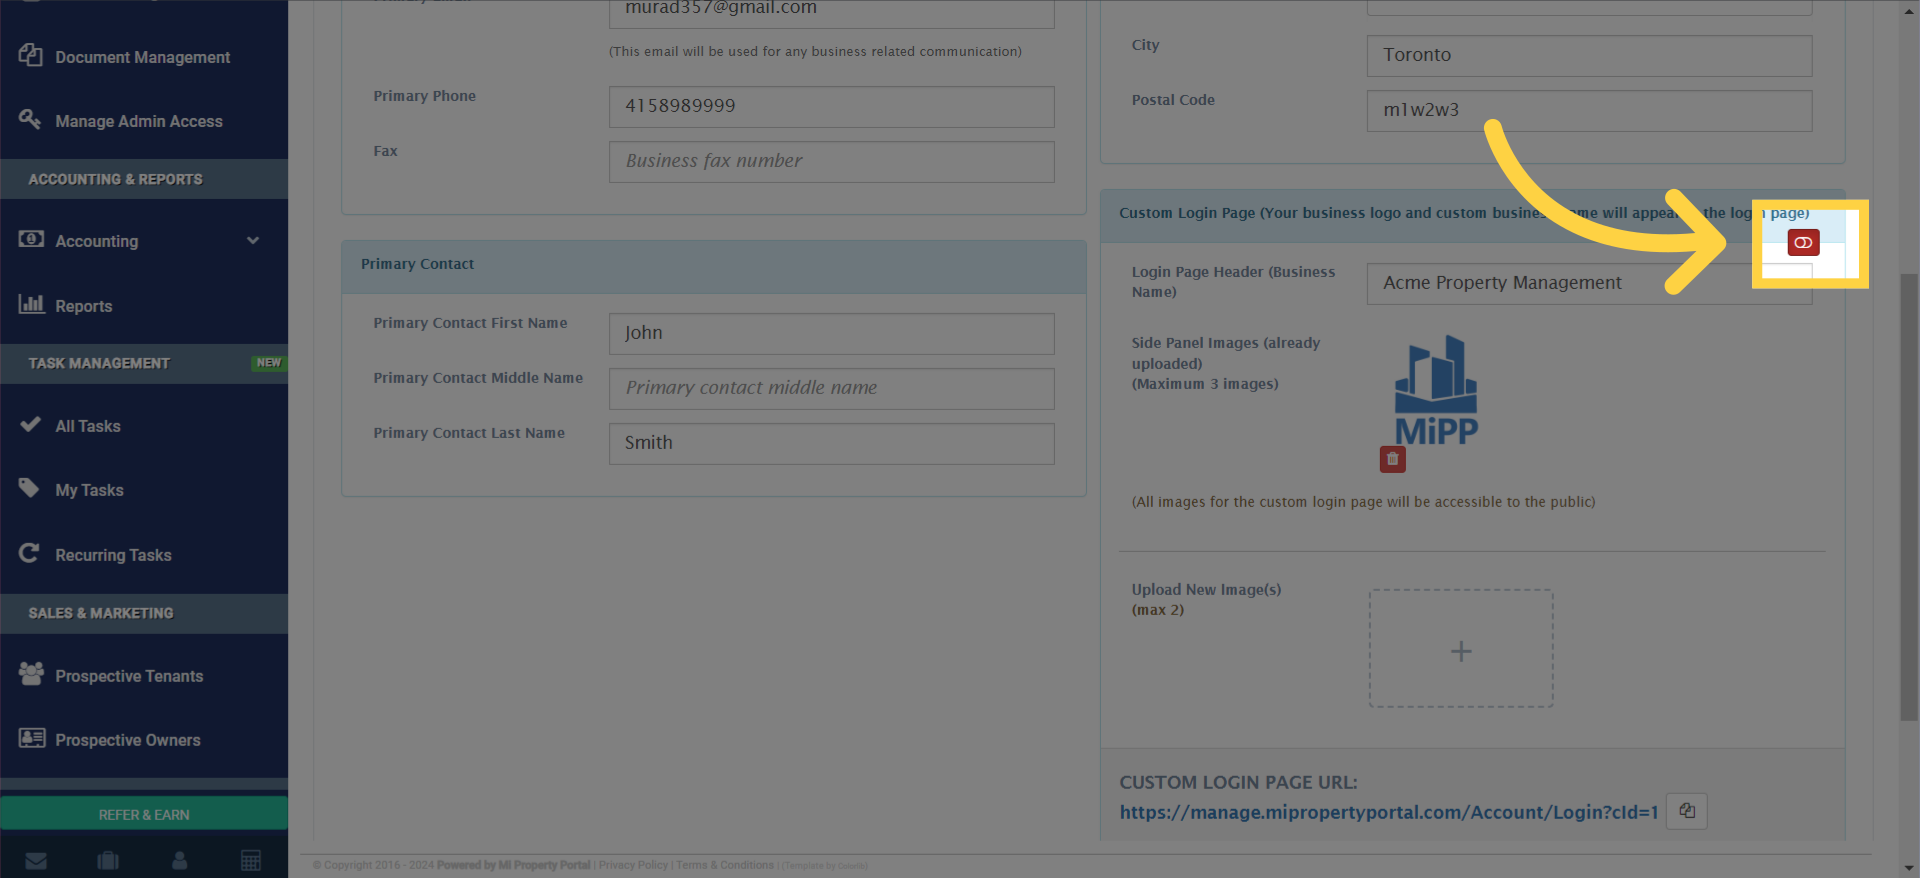
Simply click on the red button to activate it, turning it green.

7. Now, it’s time to personalize your login page by adding your company logo or picture. You can upload up to three images here
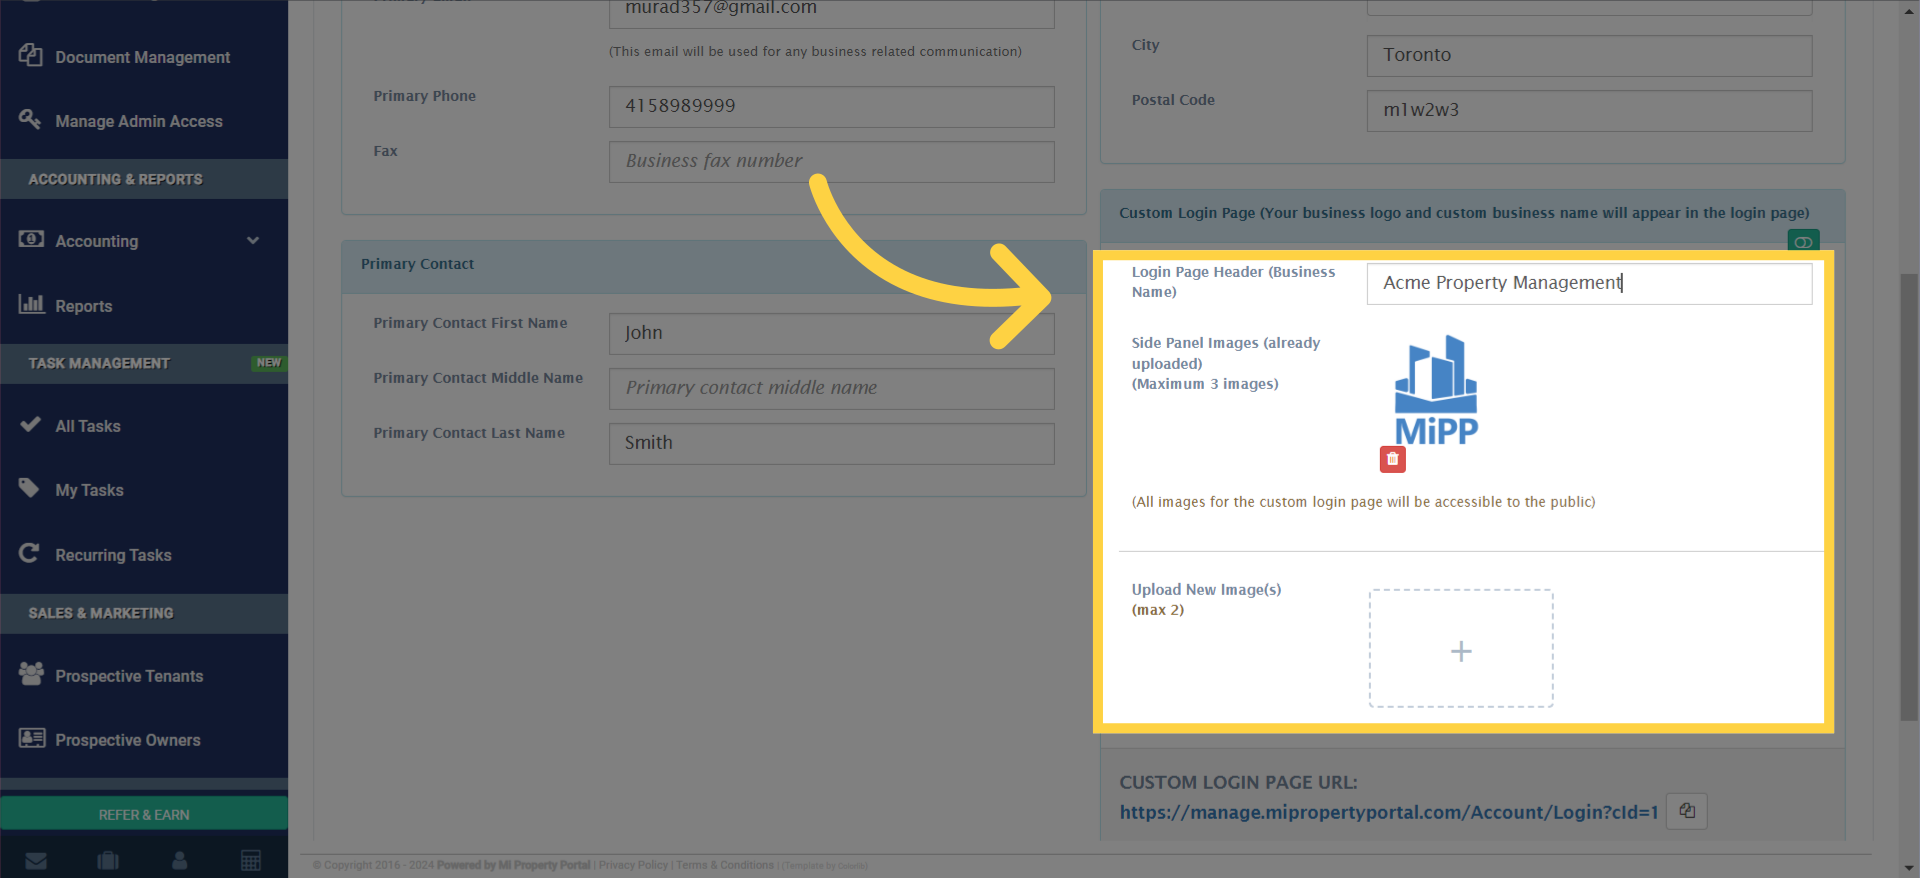
Now, it's time to personalize your login page by adding your company logo or picture. You can upload up to three images here.

8. Don’t forget to save your business profile settings
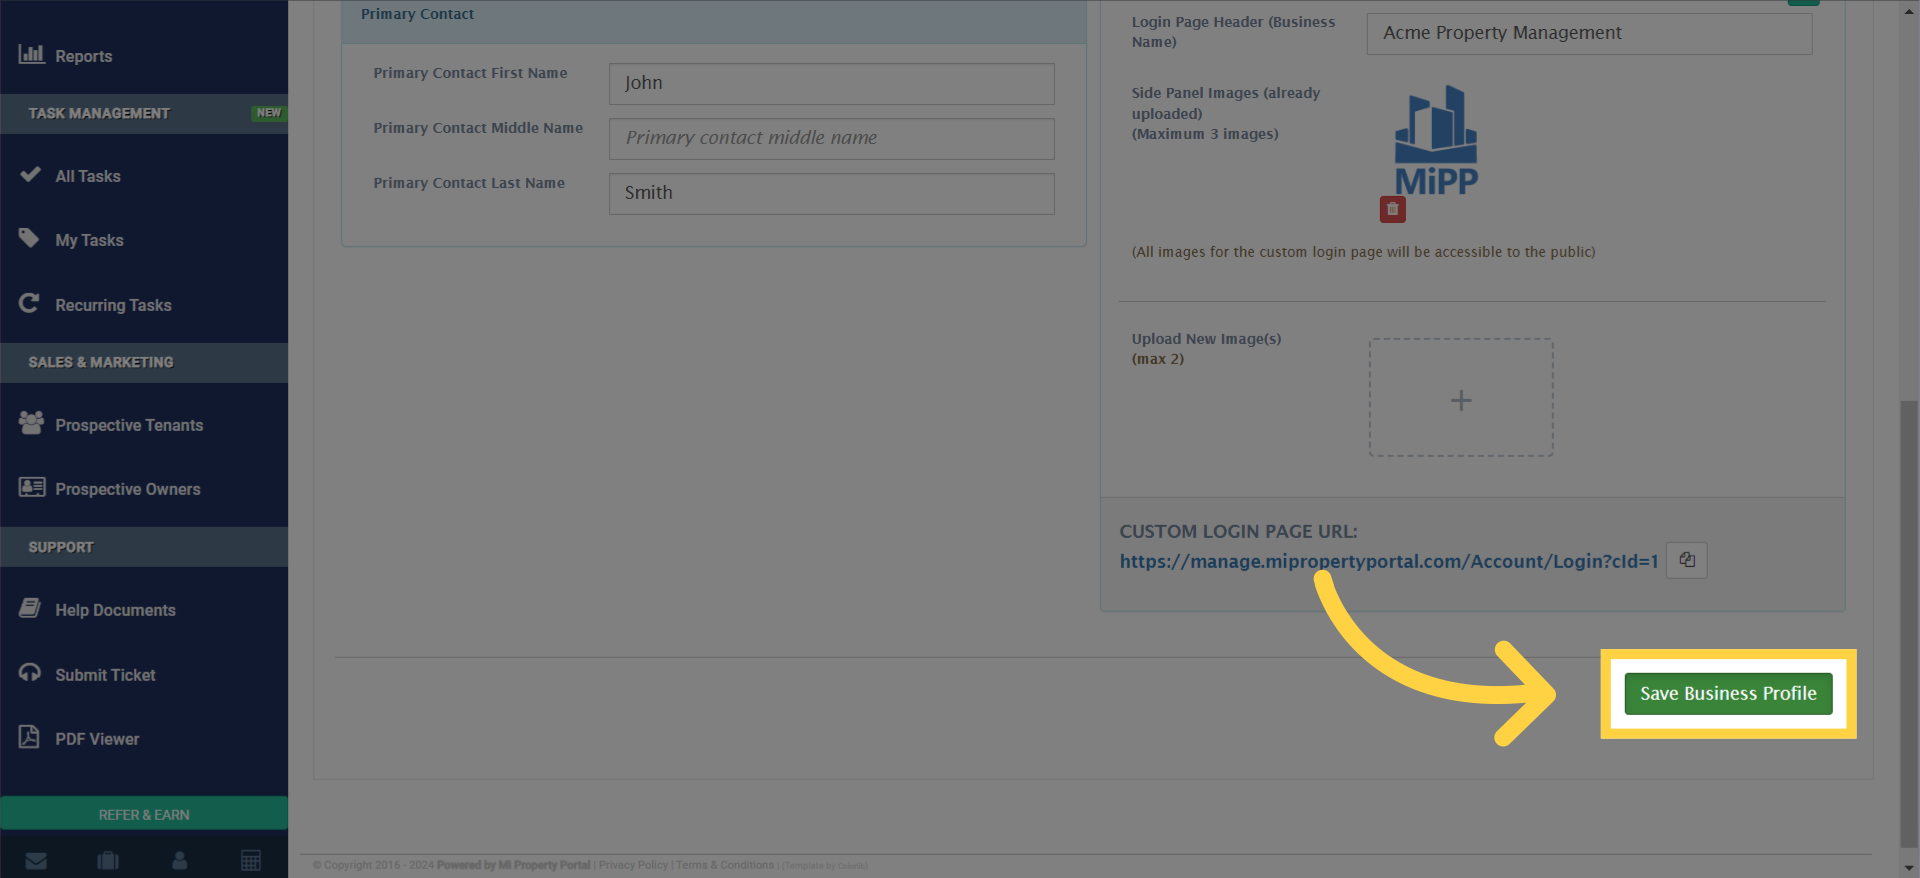
Don't forget to save your business profile settings.

9. Once saved, you’ll receive a success notification. Close it to continue
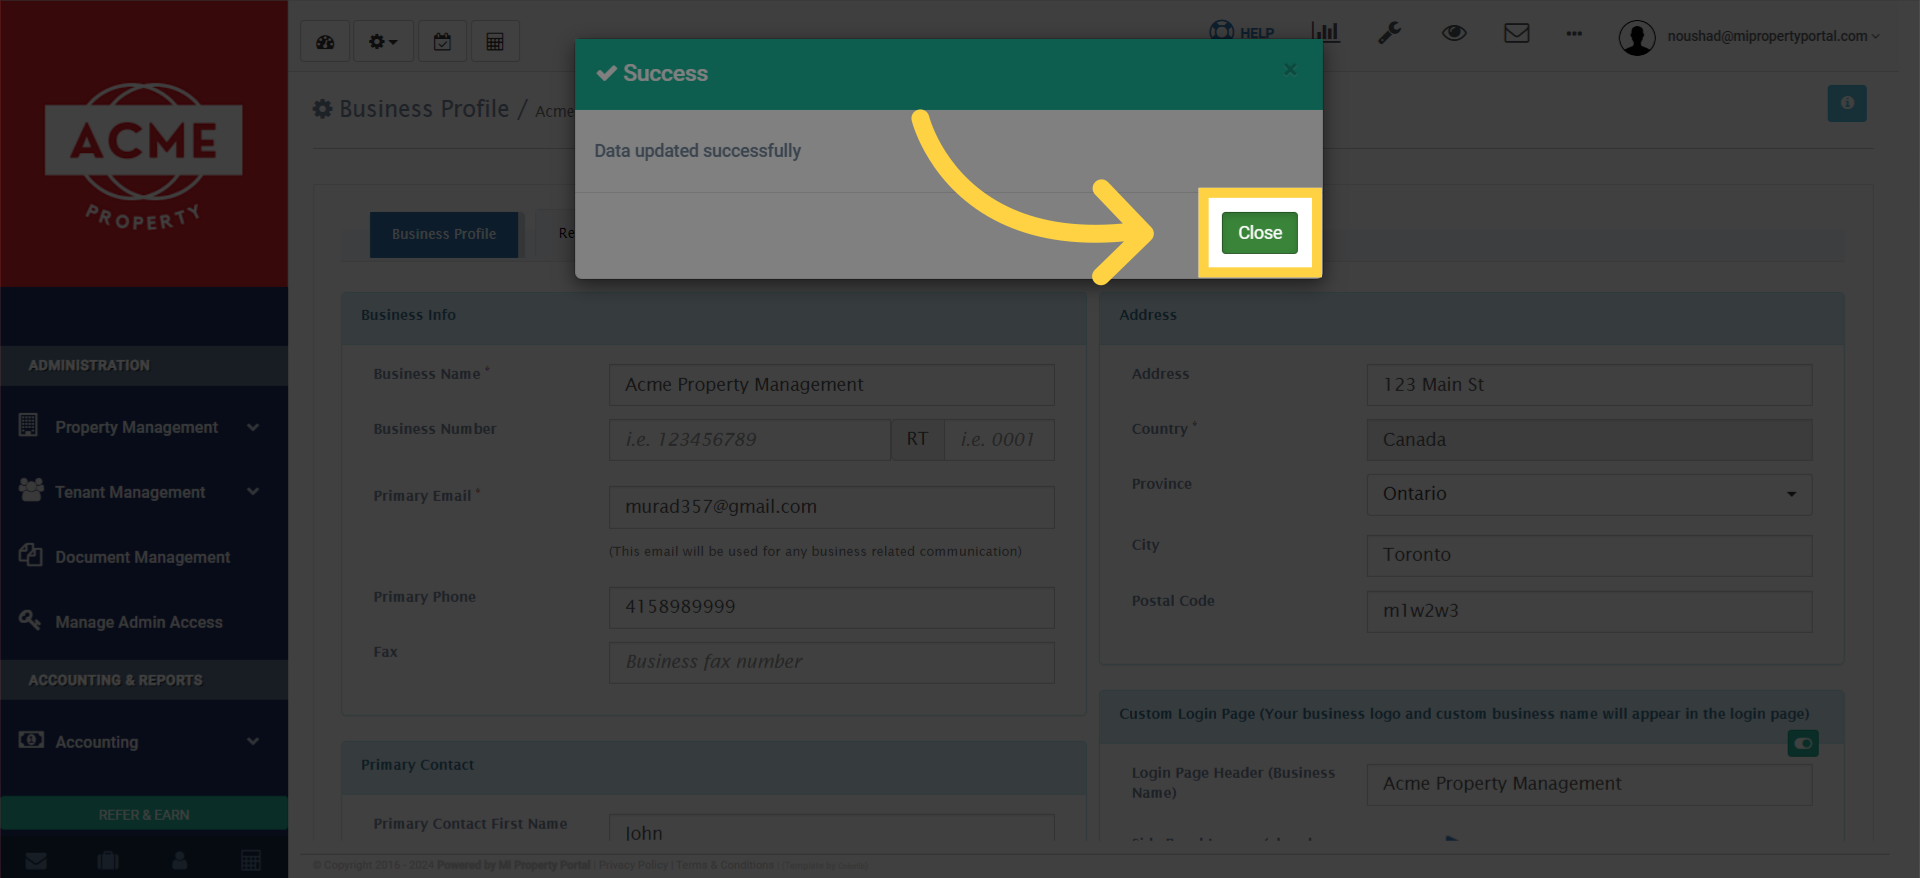
Once saved, you'll receive a success notification. Close it to continue.

10. Finally, log out of the dashboard to apply the changes
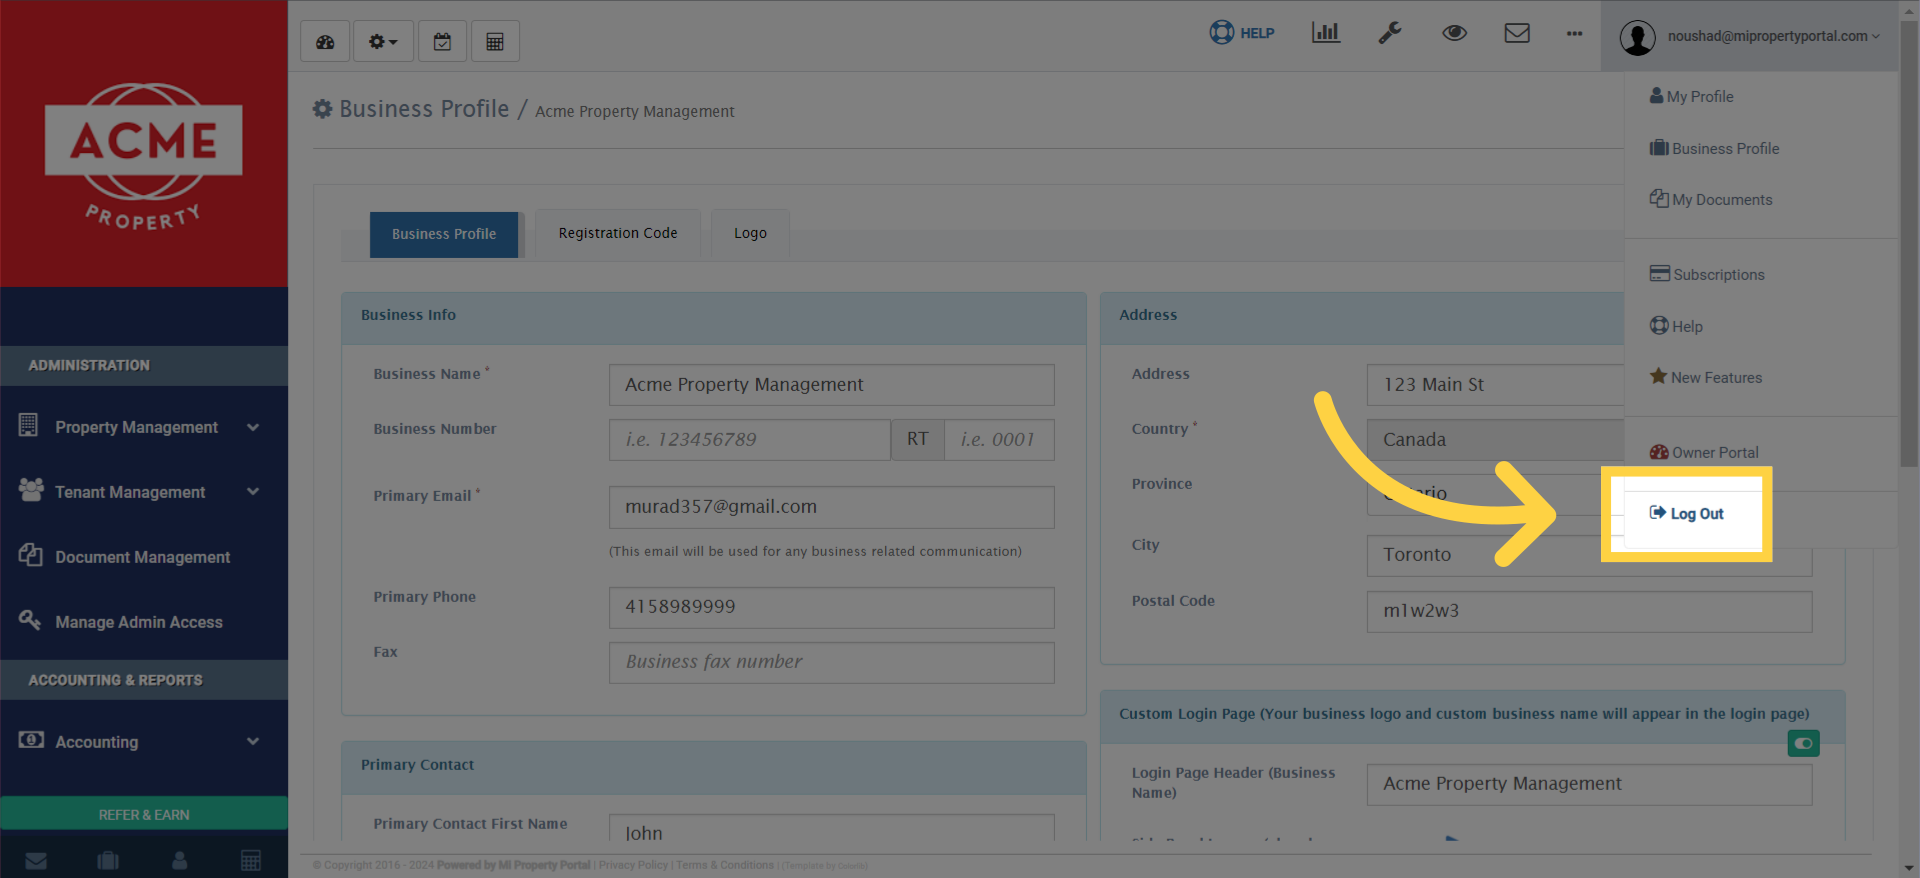
Finally, log out of the dashboard to apply the changes.

11. Your customized login page is now ready for use
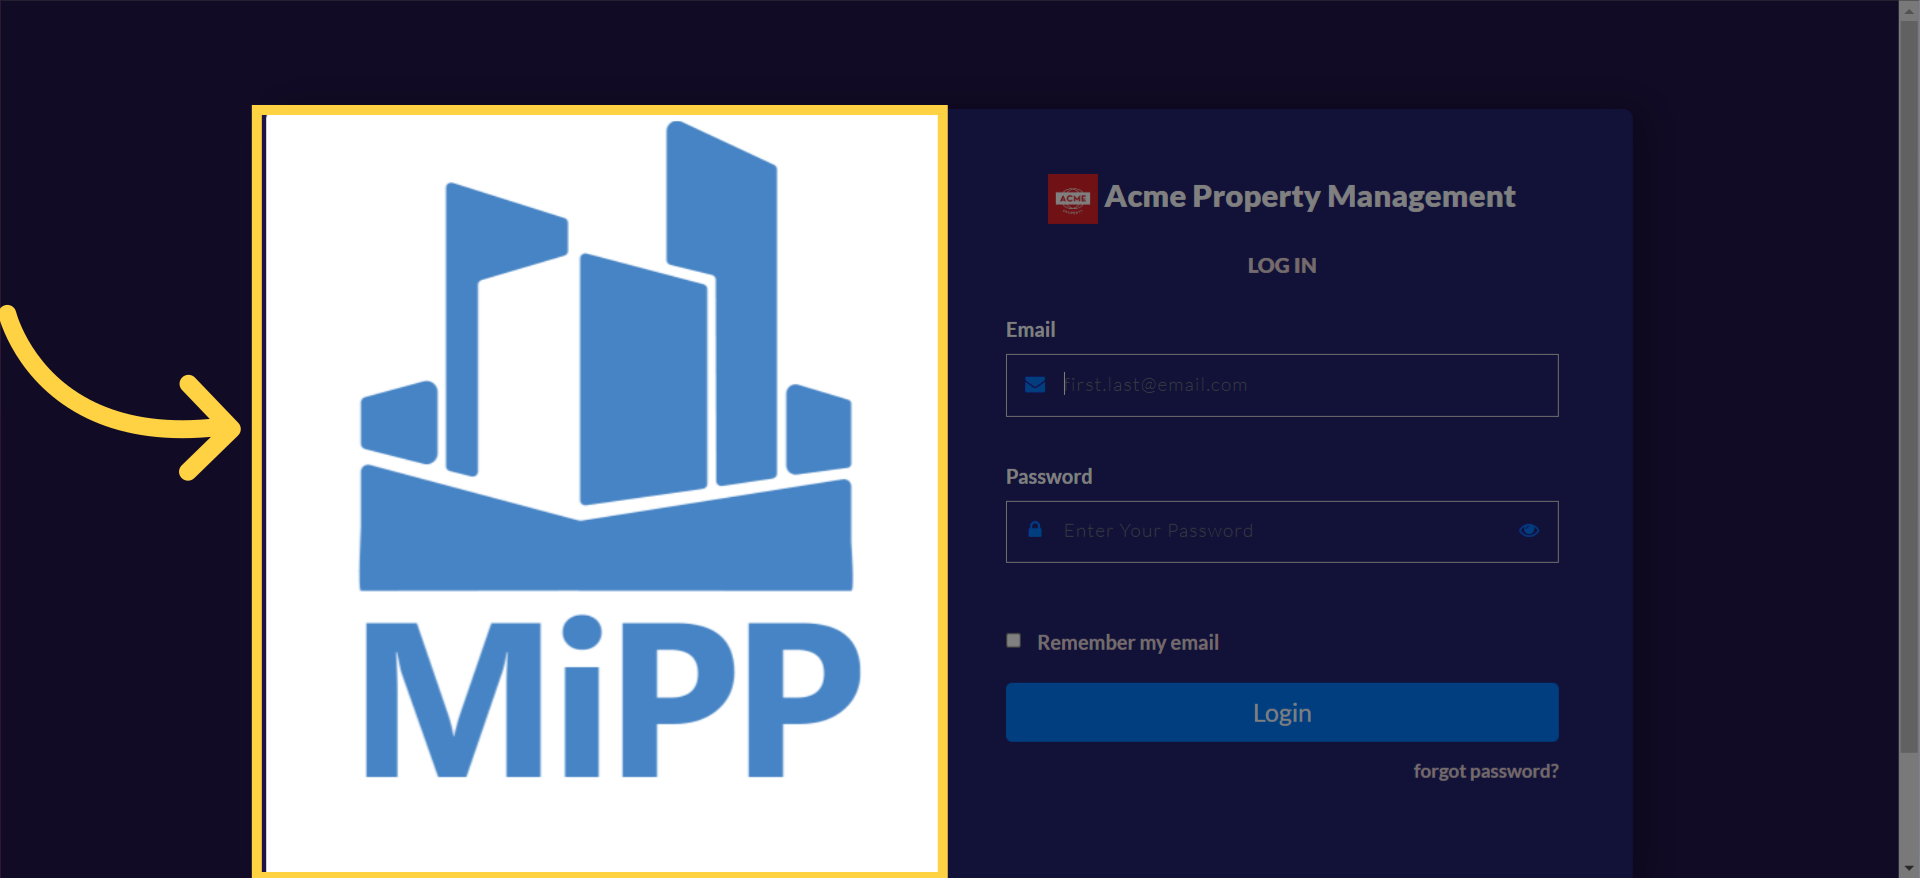
Your customized login page is now ready for use.

Tags:How to Customize your Log In Page Dashboard?Set up custom login page dashboardHow to personalize login dashboard viewCustomize user login page layoutEdit login page dashboard optionsAdd widgets to login page dashboardConfigure welcome dashboard on loginSteps to customize login screen dashboardPersonalize login screen display settingsAdjust login dashboard elementsHow to create a custom dashboard for login page

Was this helpful?

Yes  No
Related Articles
  • How to Enable Tenants to Submit LTB Forms from the Tenant Portal
  • New Feature – Bell Notification Sent to Admin on Tenant Document Upload via Tenant Portal
  • Bulk Data Upload Overview
  • How to Fill Property Data Upload Template?
  • How to Fill Unit Data Upload File?
  • How to Edit a Unit

Didn't find your answer? Contact Us

Leave A Comment Cancel reply

You must be logged in to post a comment.

Popular Articles
  • Can I log rental income for ‘Unpaid’ invoices for ‘Moved-out’ tenants?
  • Email notification sent to tenant on Other document upload
  • How to Receive Lease Expiry Notification in British Columbia(BC) & New Brunswick(NB)?
  • New Feature – Trust Liability Report
  • Send Email Notification After Lease Document Upload
KB Category
  • Service Request
  • Subscription
  • Bulk Data Upload
  • Owner Portal
  • MiPropertyPortal Admins Training Workshop
  • MiPropertyPortal New Features/Improvements Monthly Webinar
  • Task Management
  • Prospective Tenants
  • Setup
  • Vendor Management
  • Tenant Screening
  • Tenant Portal
  • Tenant Management
  • Accounting
  • Security Deposit
  • Reporting
  • Rental Tax
  • Rental Listing
  • Property Owner Related
  • Property
  • Other
  • Asset Management
  • Online Payment
  • Lease Management
  • General
  • Form Management

  How to Update/Edit Uploaded Documents in the Document Management Section?

How to Implement Client Admin Custom Roles with Property Mapping?  

MiPP
MiProperty Portal is Canadian-made for
Canadian landlords and property managers.
COMPANY
  • About Us
  • Why MiPP?
  • Features
SUPPORT
  • Knowledge Base
  • Get Email Help
SOCIAL
  • Linkedin
  • Facebook
  • Twitter
  • Privacy Policy
  • Terms of Use
  • © 2026 mipropertyportal.com. All Rights Reserved.