How to Create a Bill?
99 views 0 December 1, 2022 Updated on May 26, 2025 mippsupportadmin
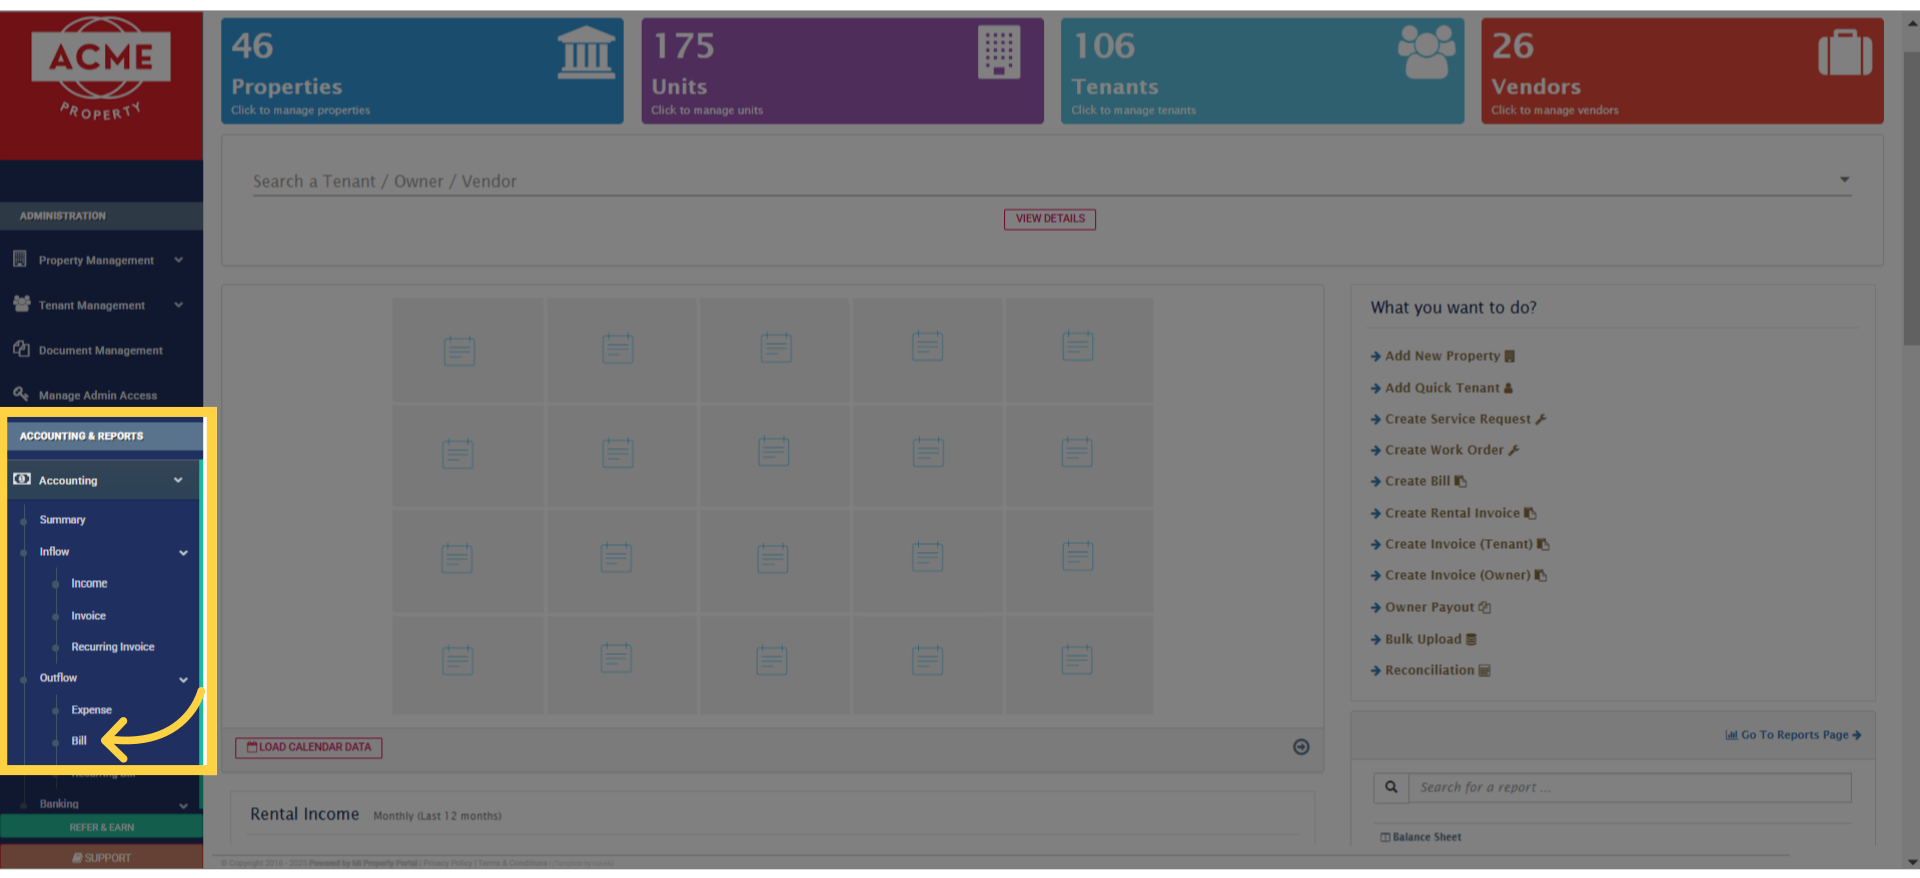
1. First, head over to the ‘Accounting & Reports’ section. In the accounting dropdown, you’ll see ‘Bills’—click on that
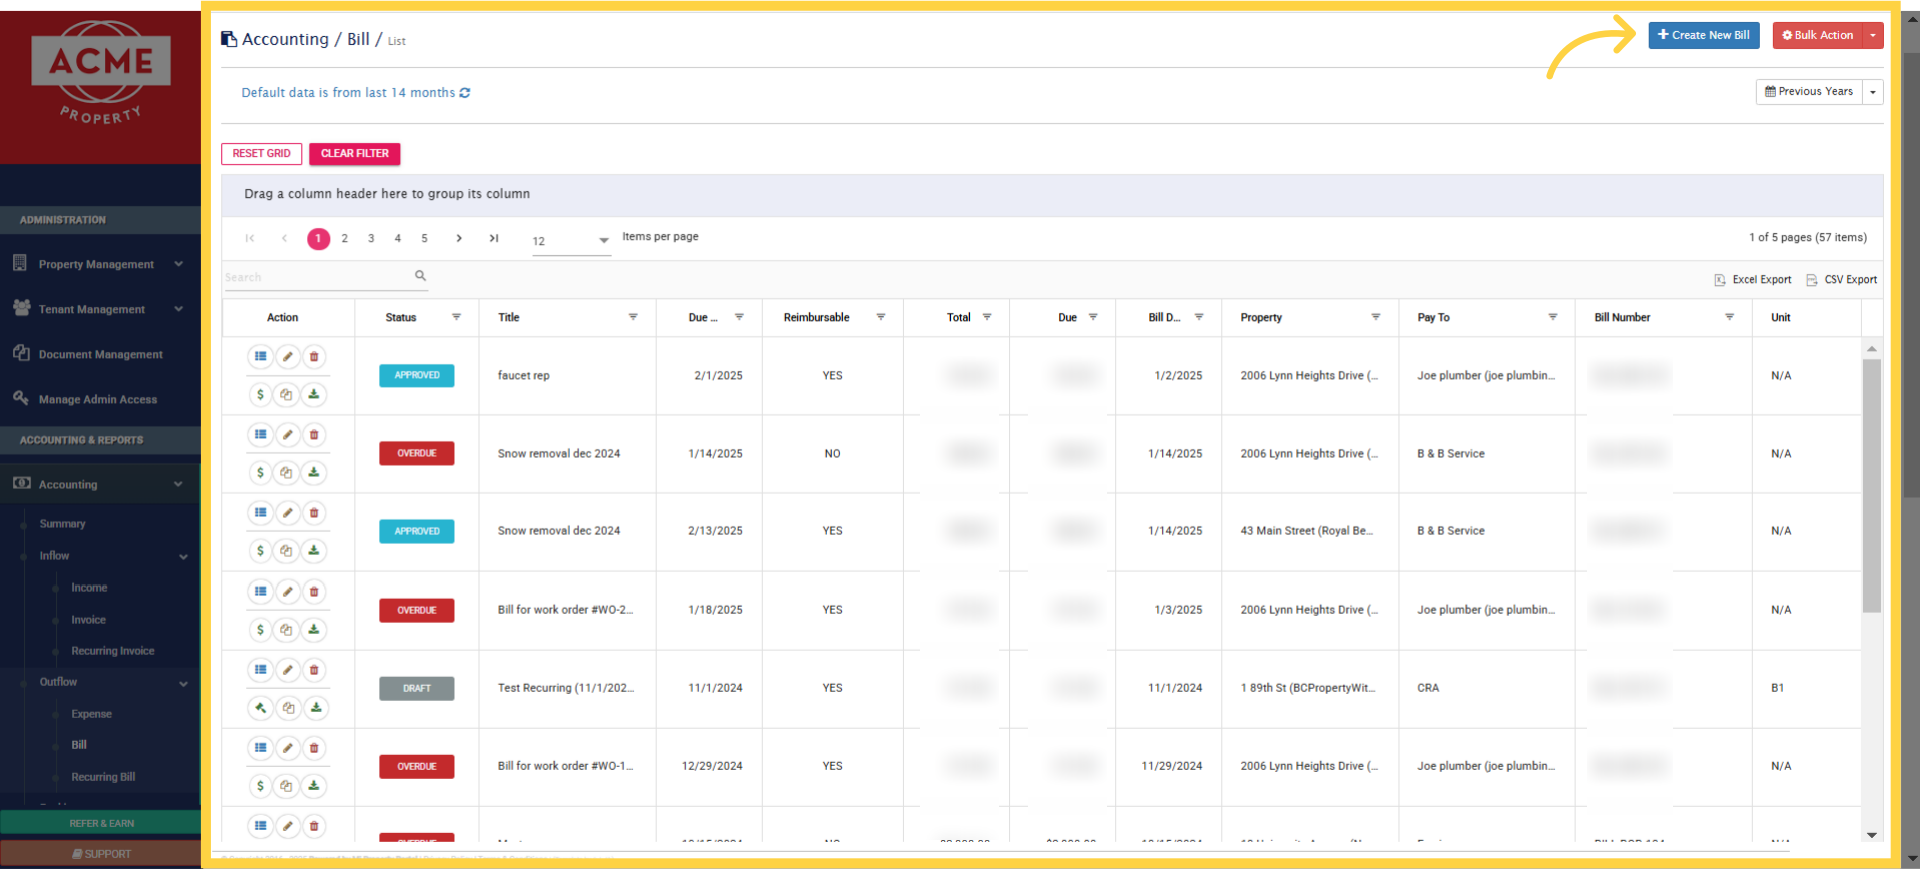
2. And, you are in! This is the bills list view page. Just click the Create New Bill button, at the top
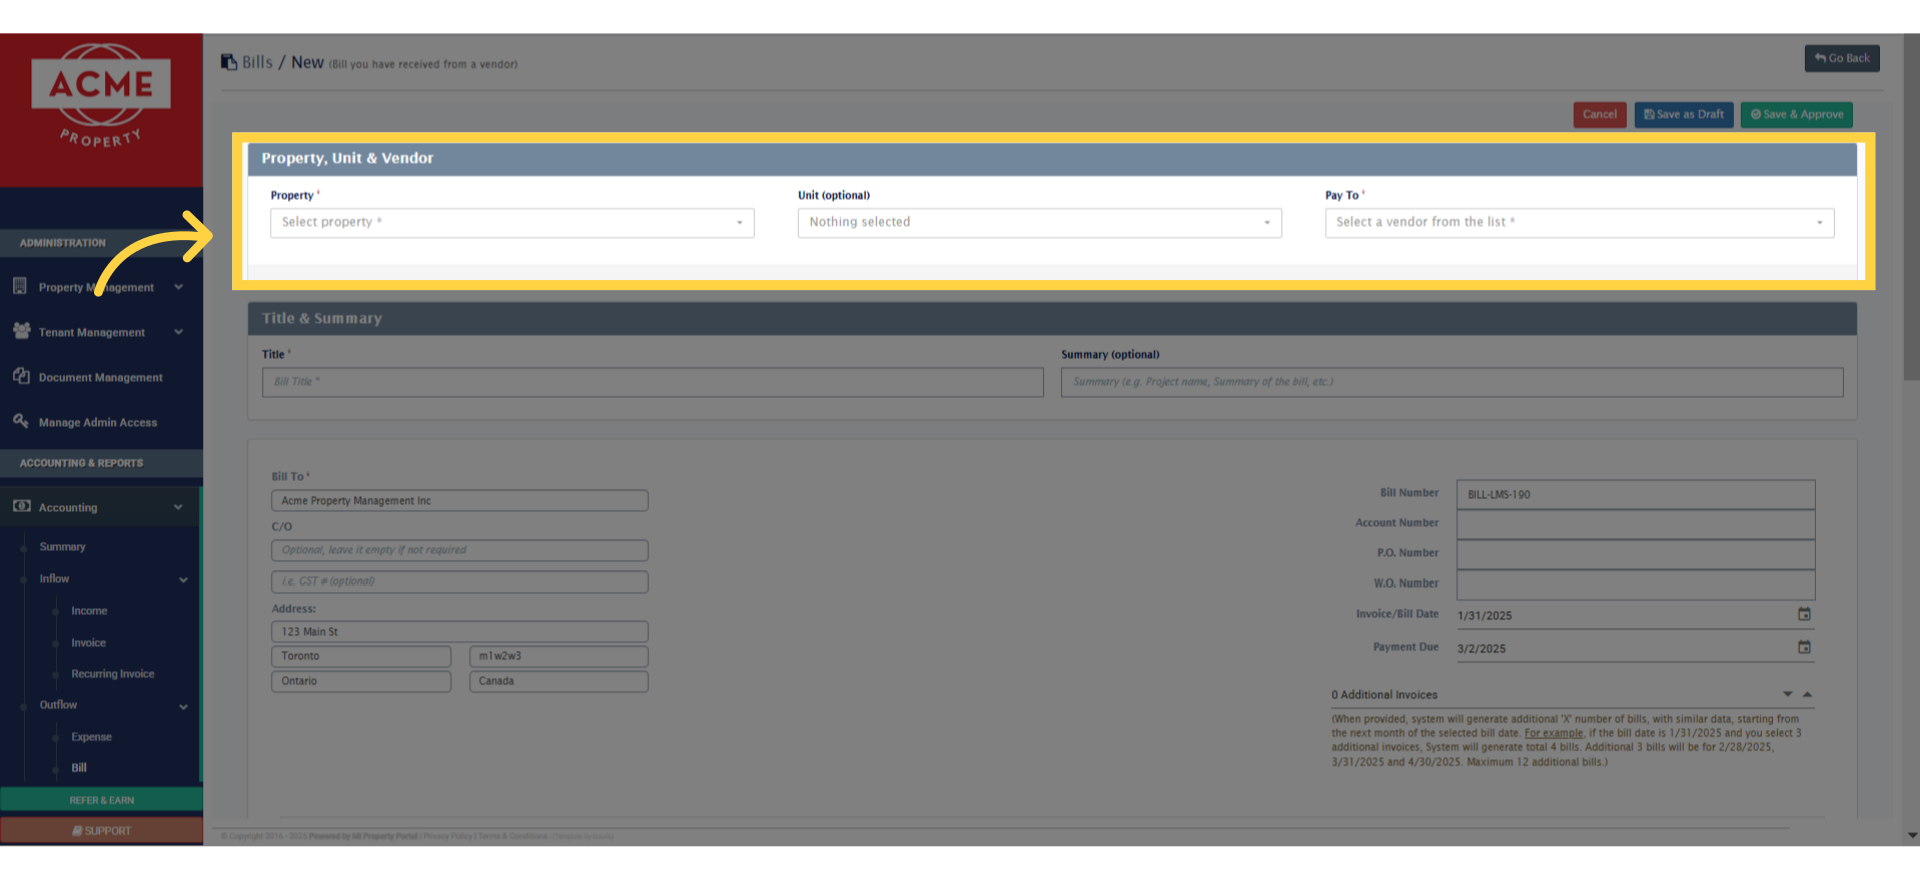
3. Now, just select the property, unit, and the vendor you’re paying from the dropdown menus, nice and simple!
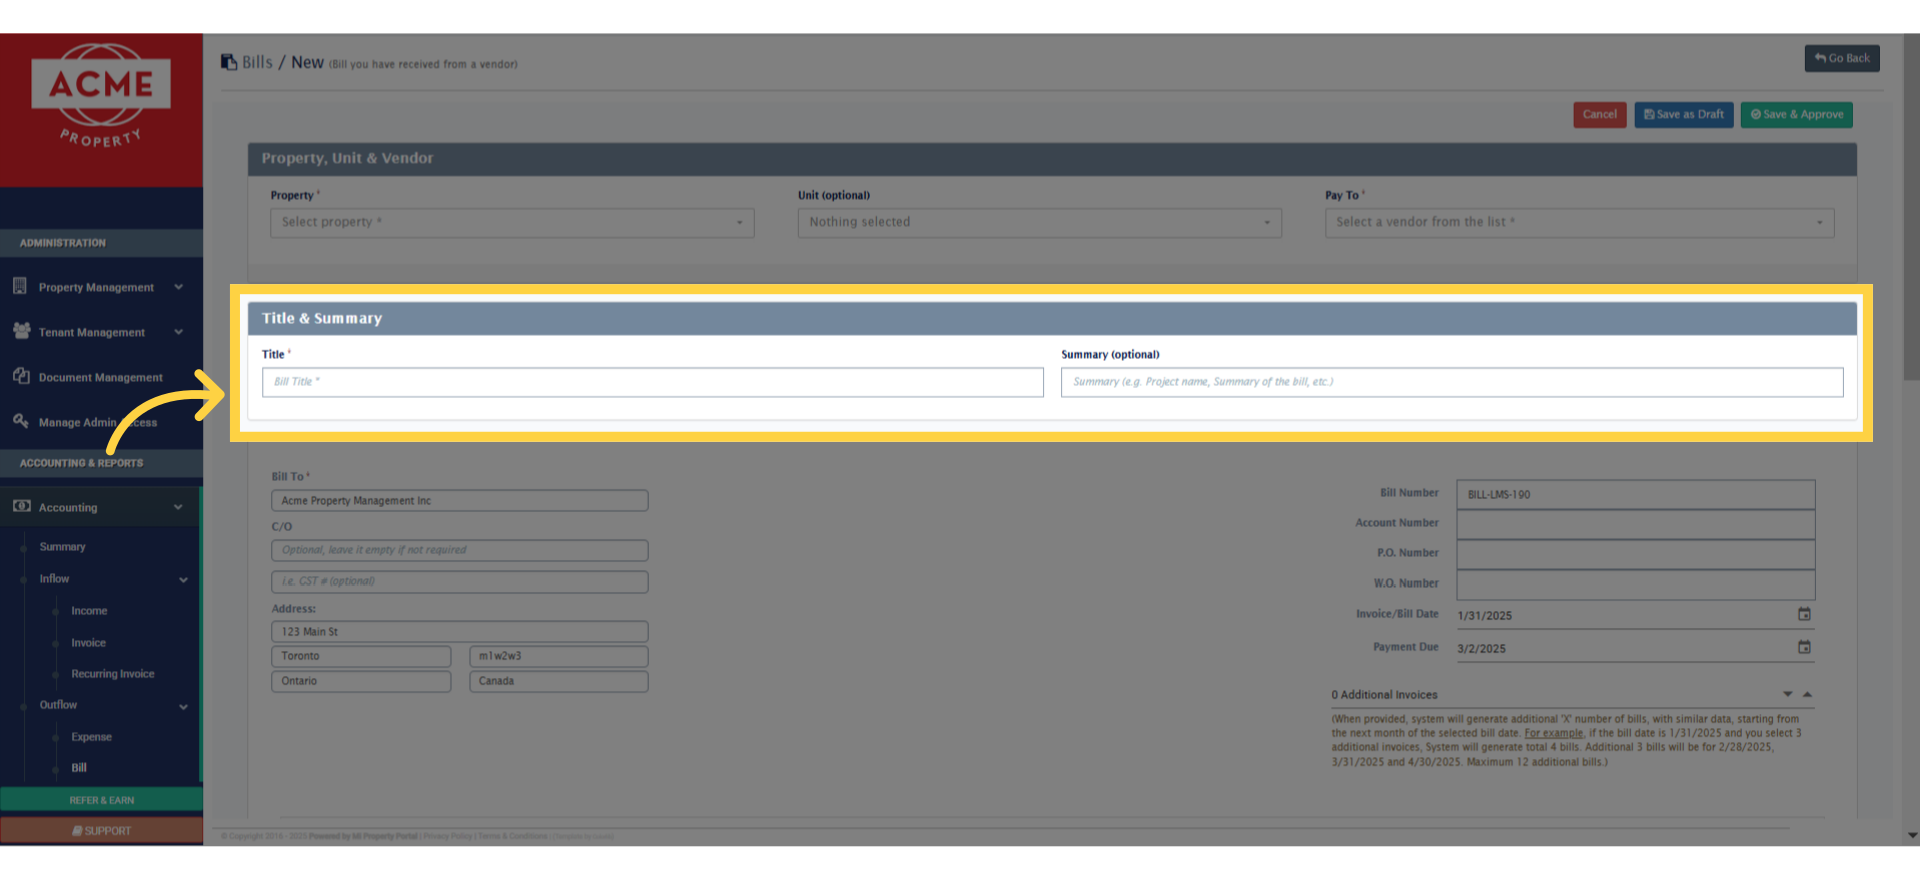
4. Next, enter the Title and Summary in the empty fields
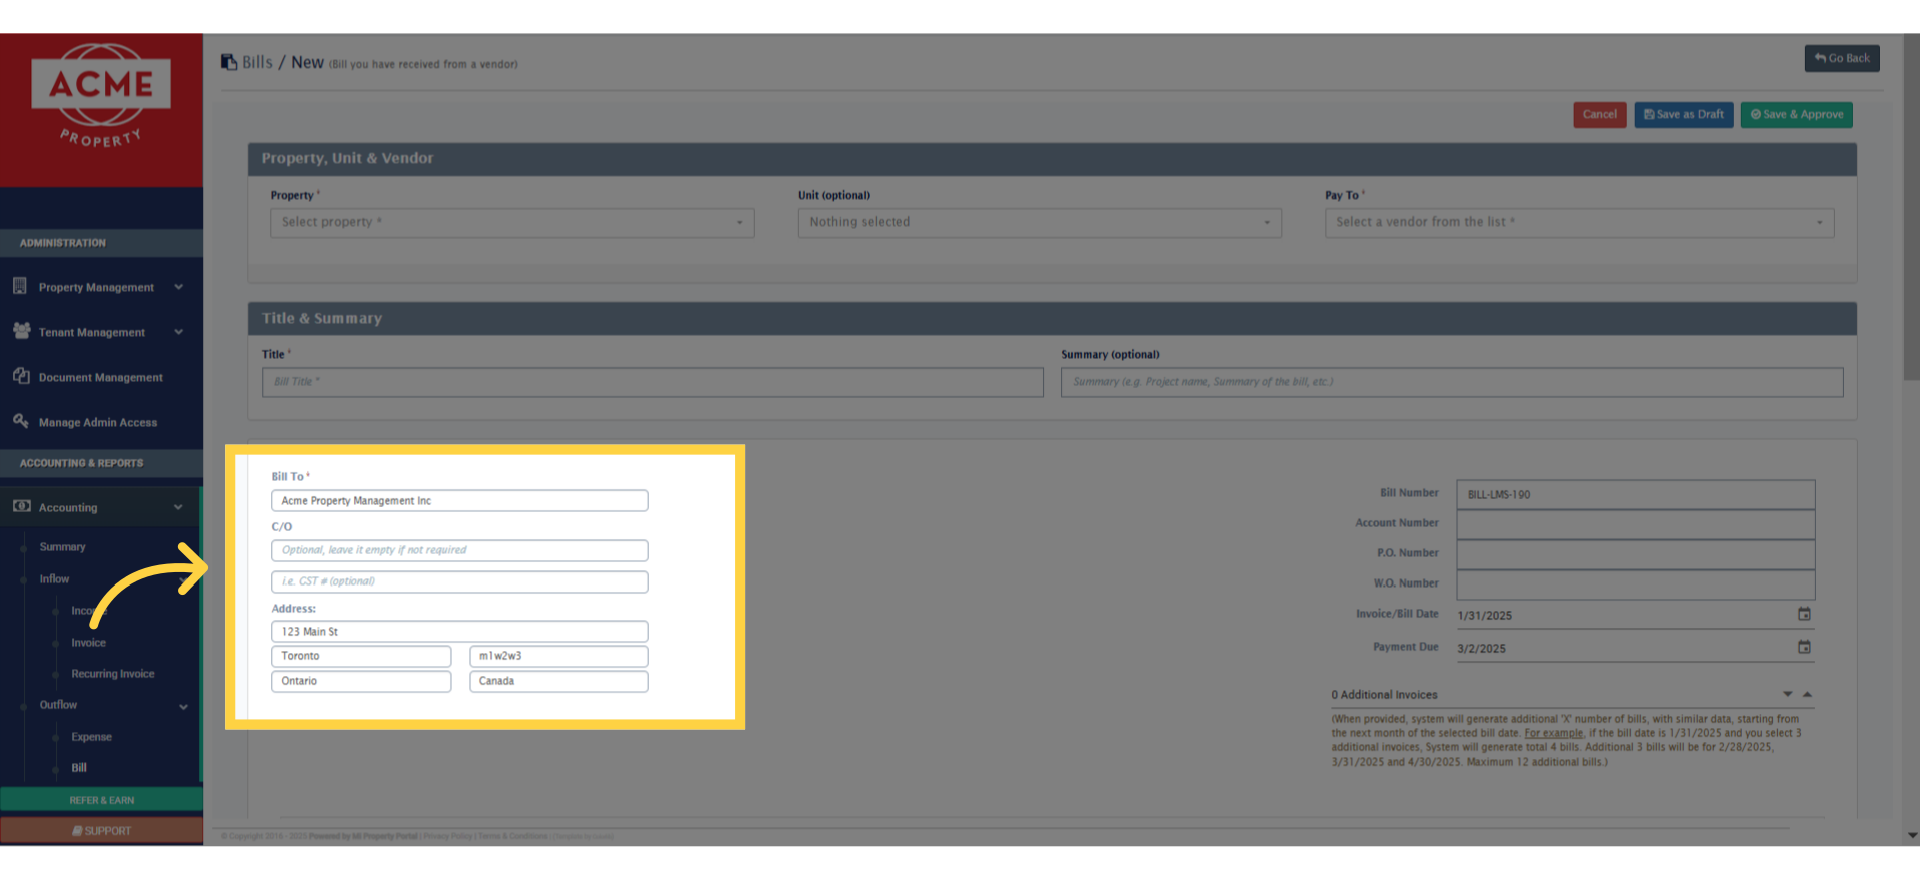
5. In this section, most fields are already pre-filled, but you can also fill out the optional fields if needed
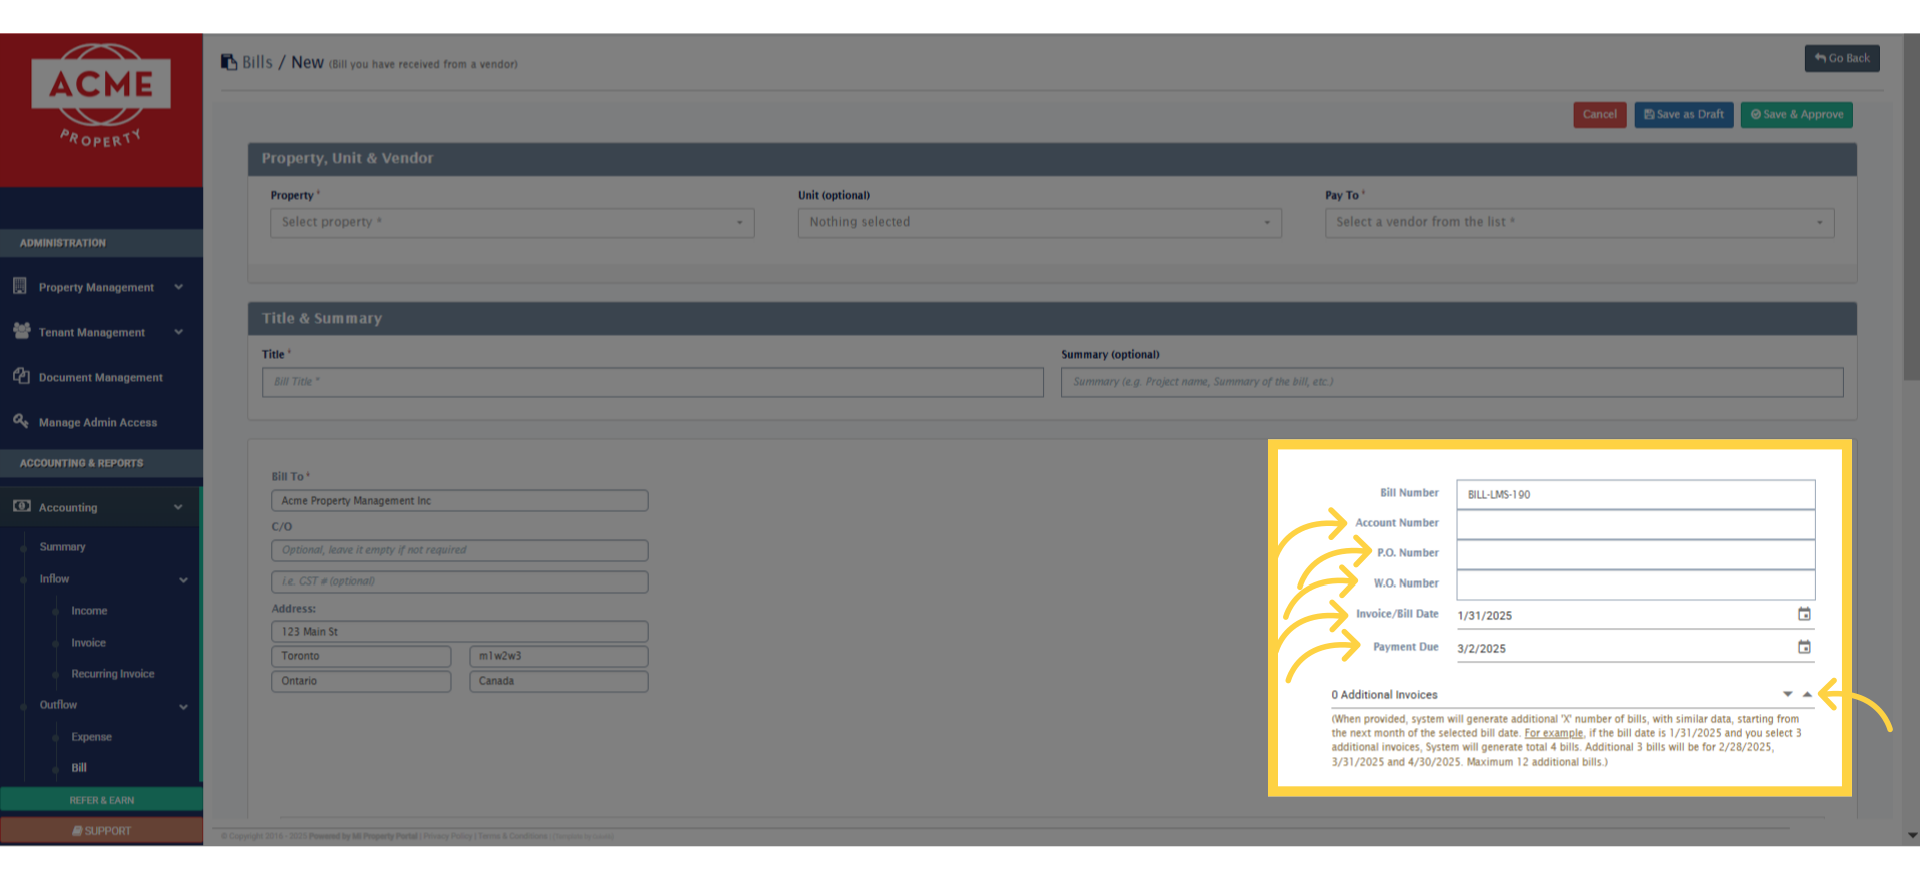
6. Fill in the account number, purchase order, work order, bill date, and payment due date. Use the arrows to add up to 12 extra invoices—each will be auto-generated monthly, starting after the selected bill date
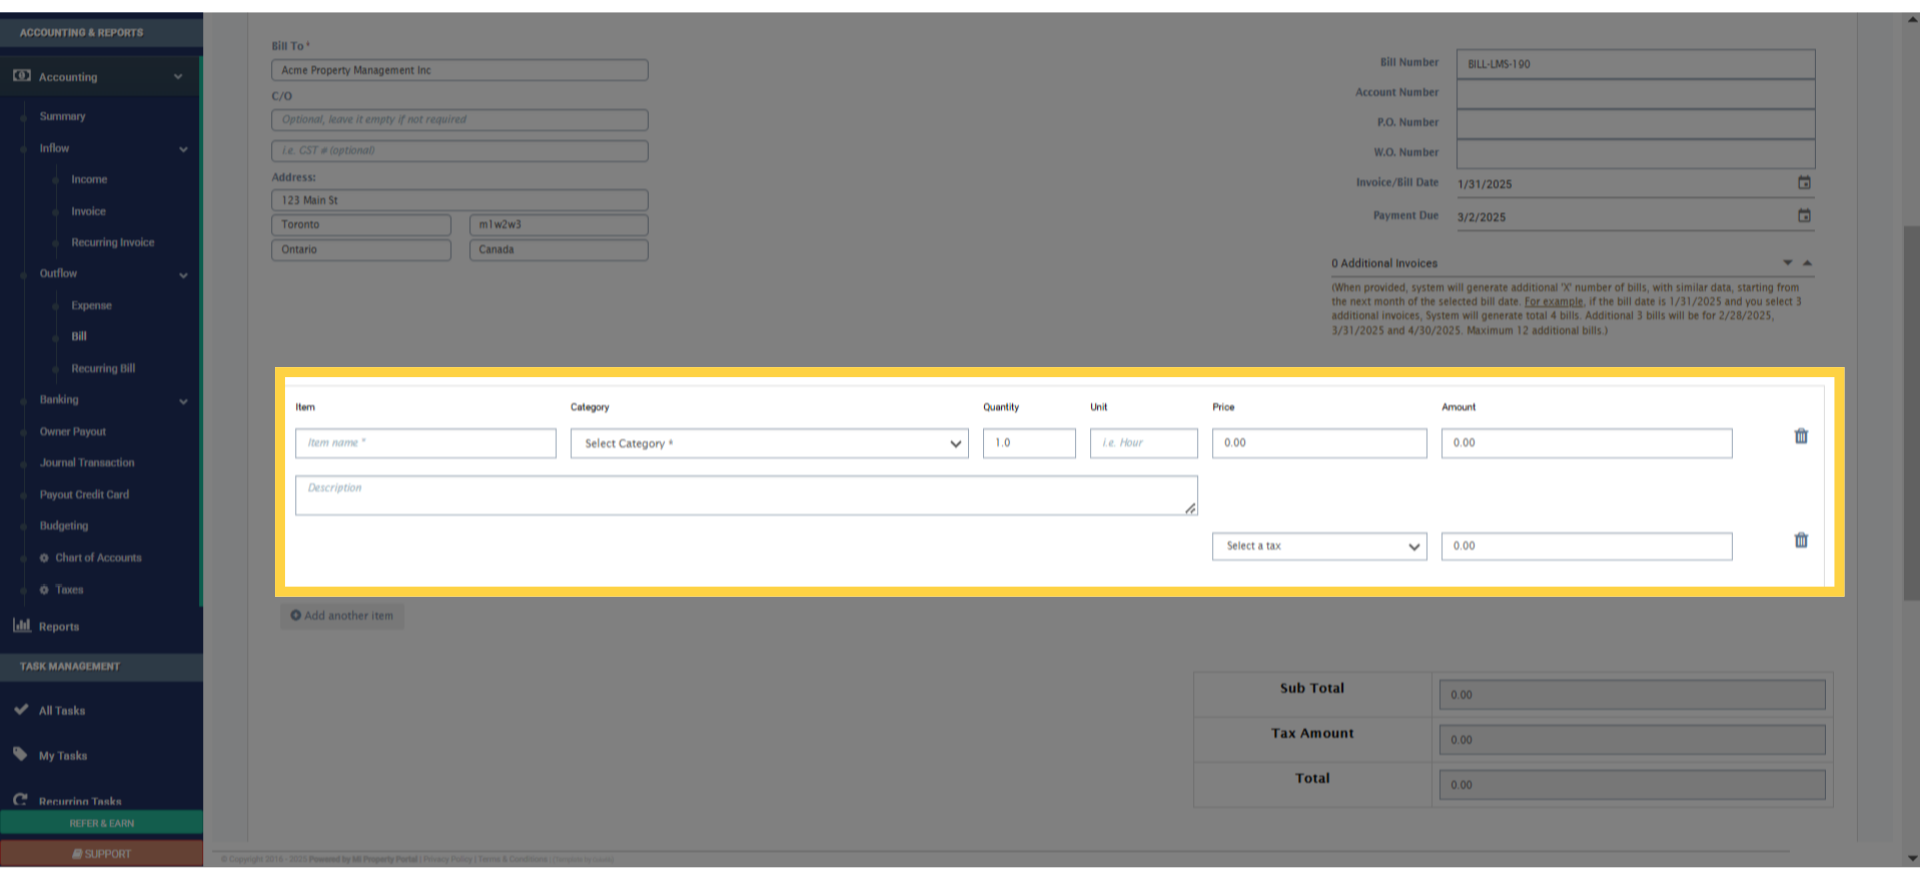
7. In this section, enter the item name, select a category, and fill in the quantity, unit, and price. Choose a tax from the dropdown, and if needed, add a description in the box
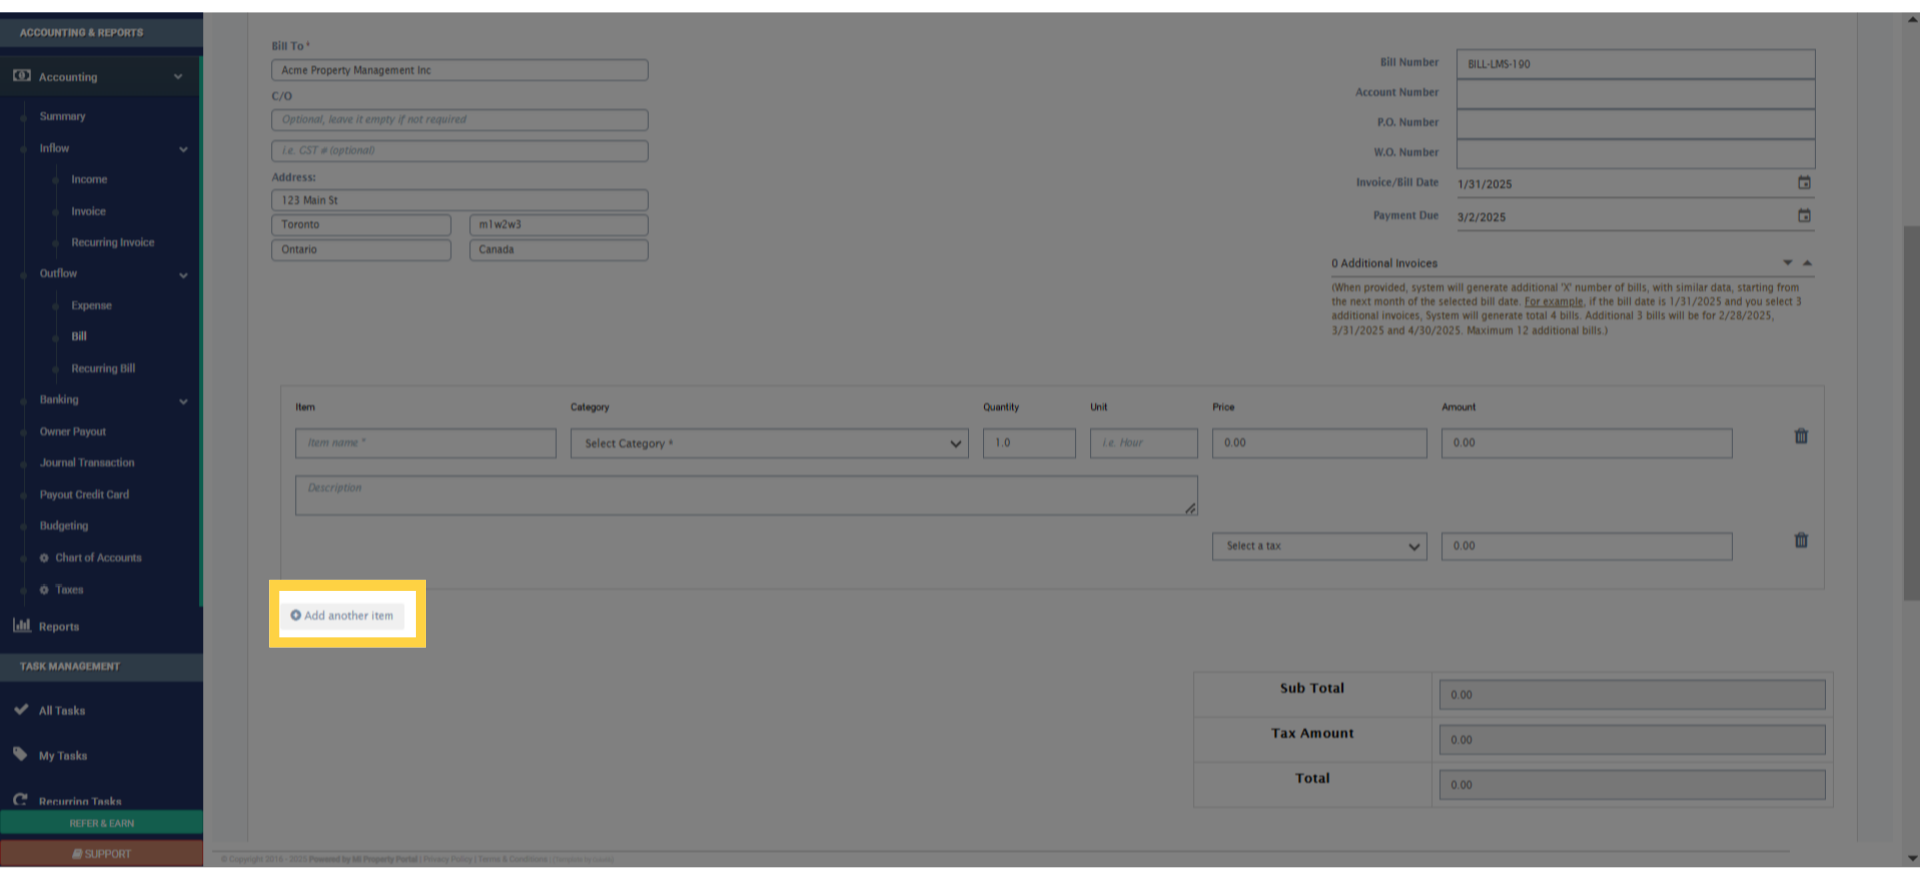
8. Need to add more items? Just click this button to add another line
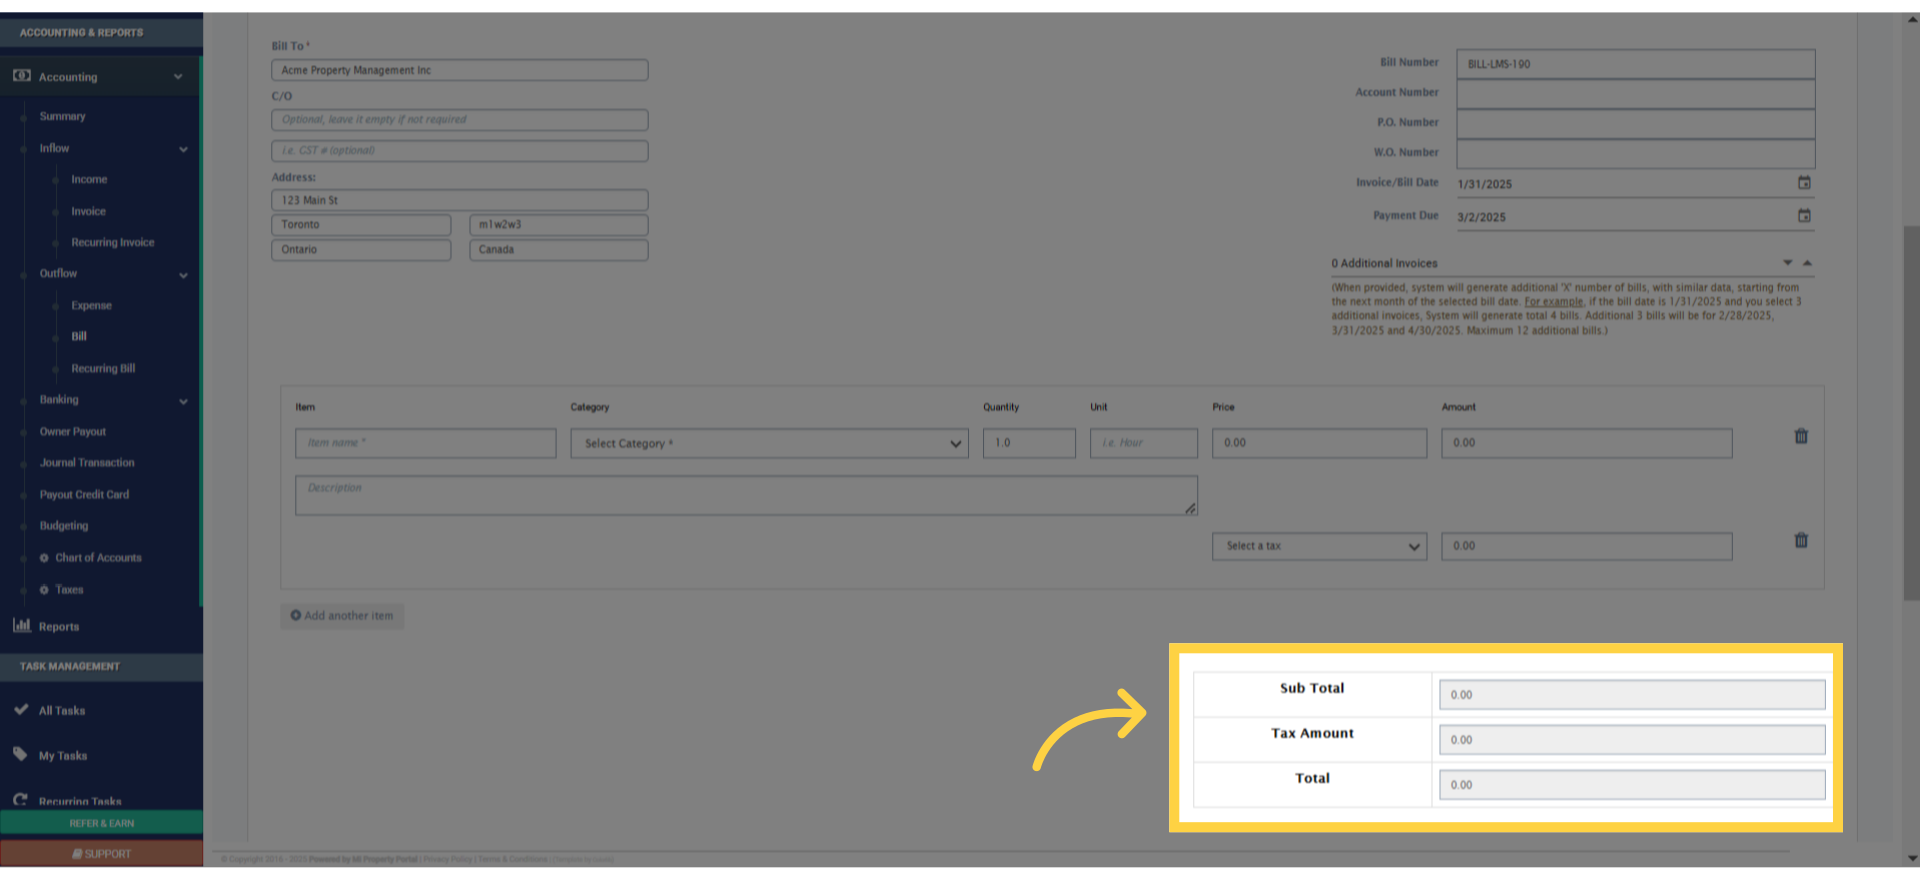
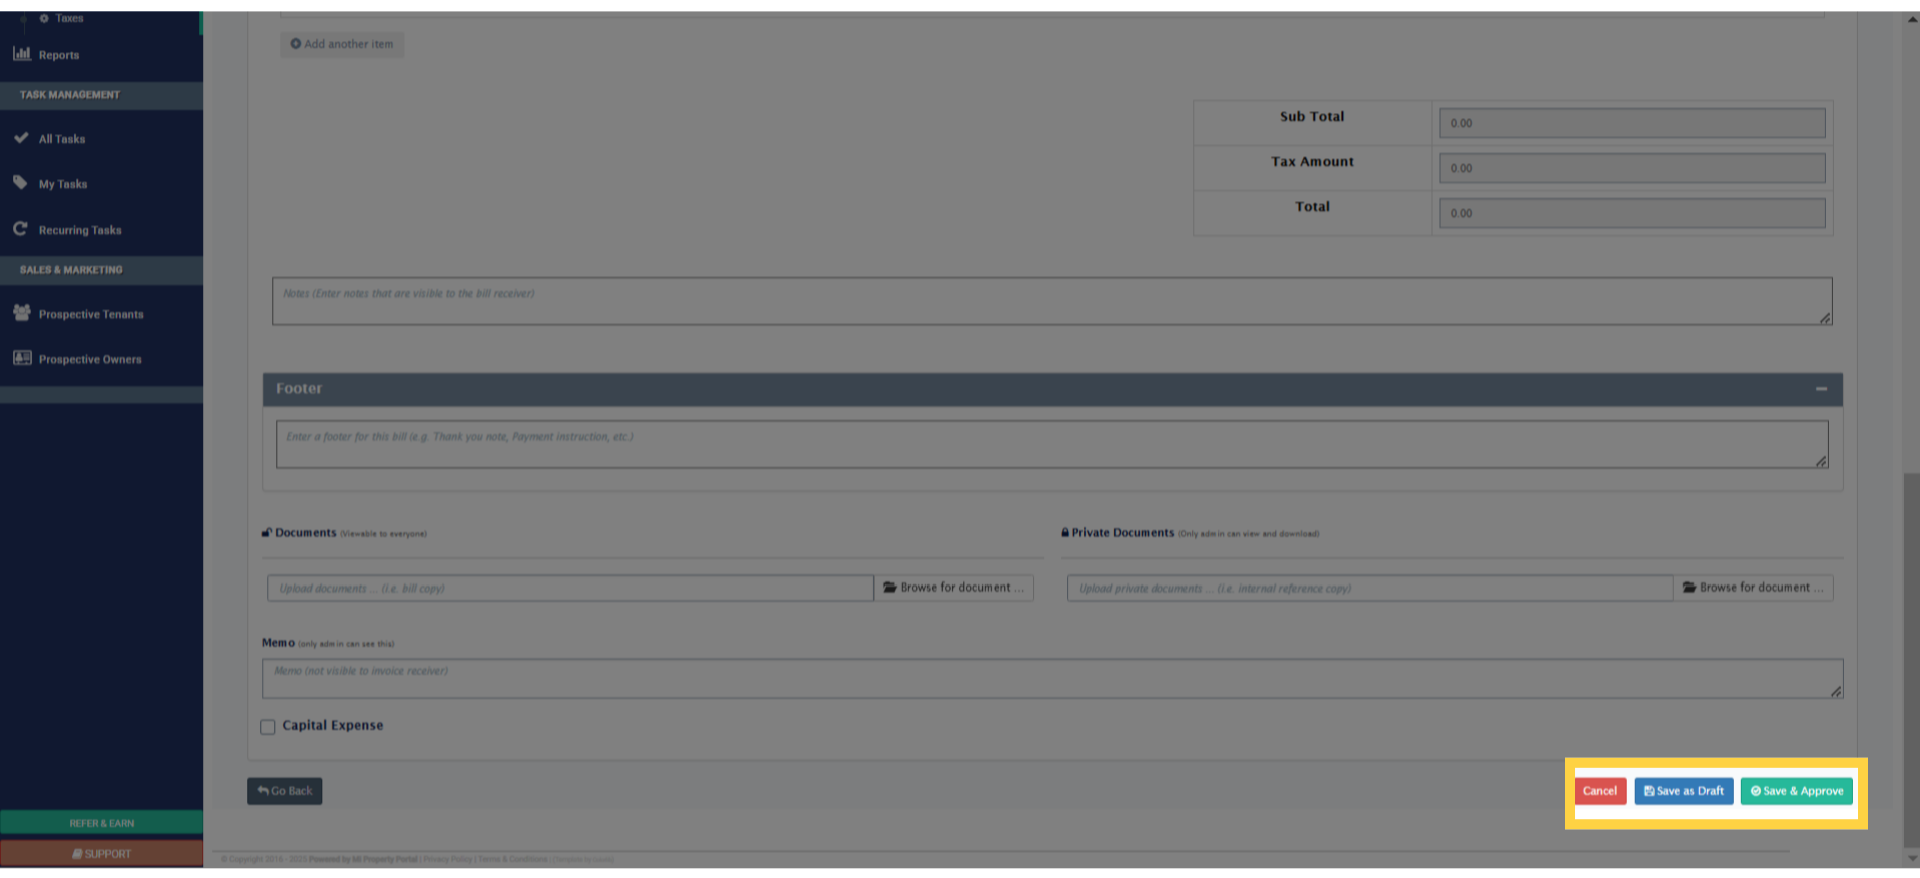
9. The subtotal, tax amount, and total will be automatically calculated, and displayed here
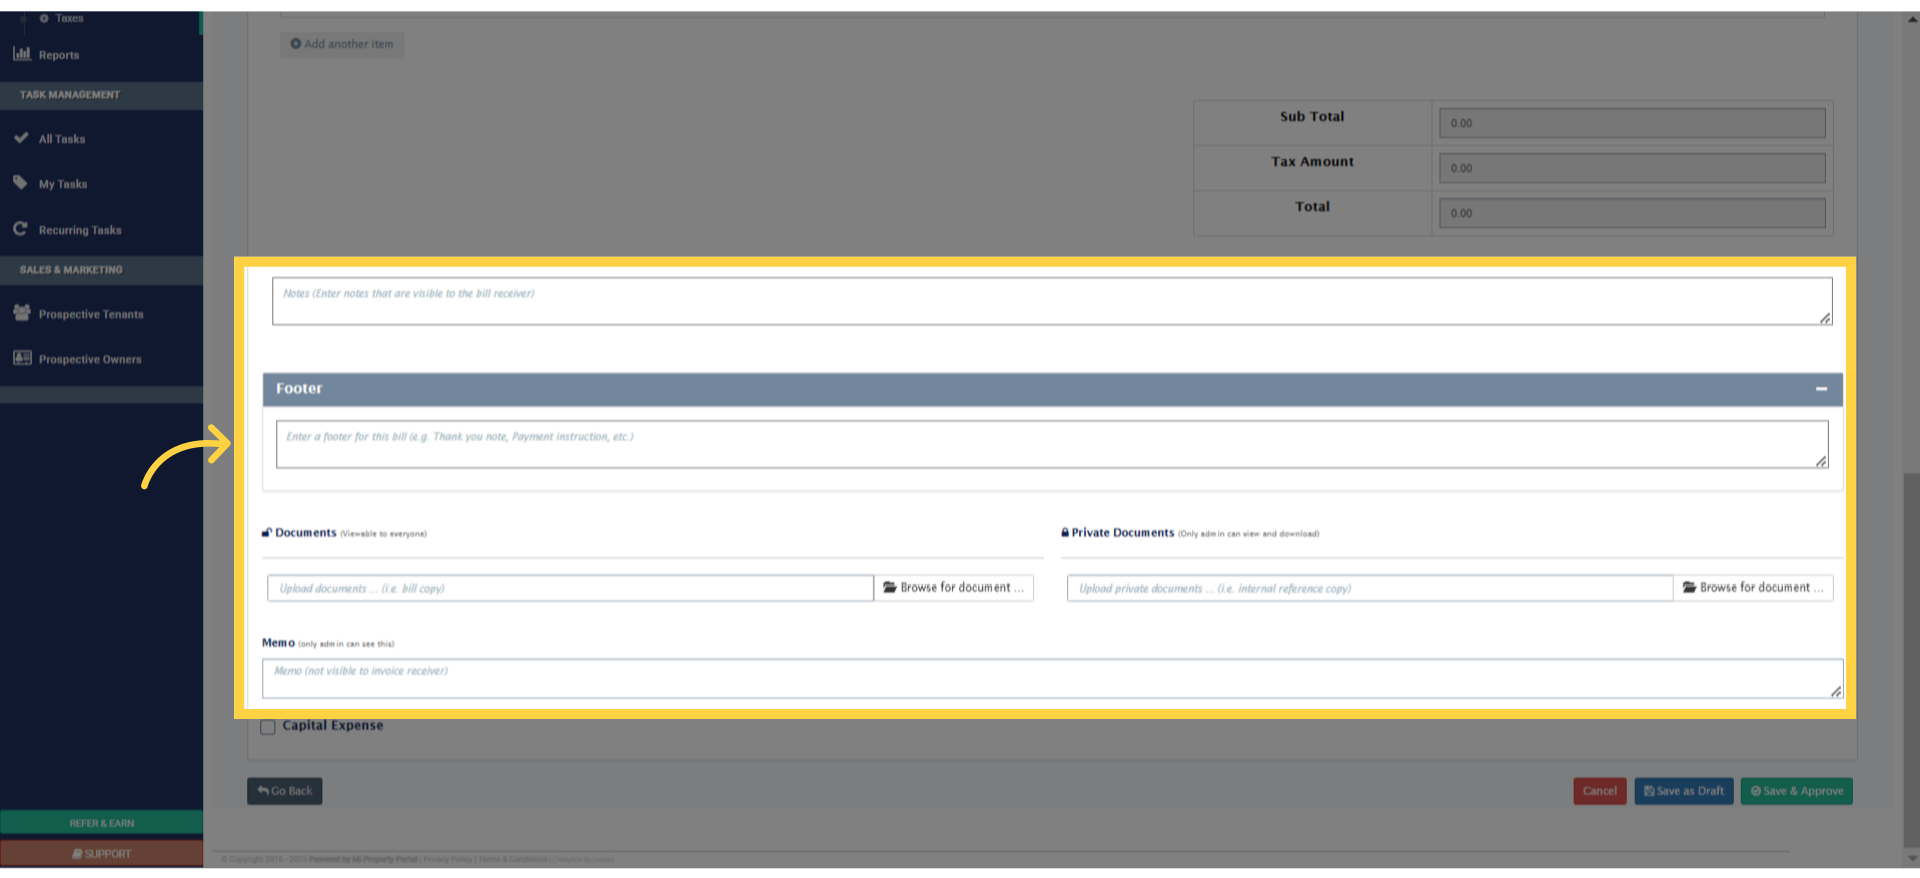
10. And in this section, you can add notes, a footer message, upload documents, and include a memo if needed
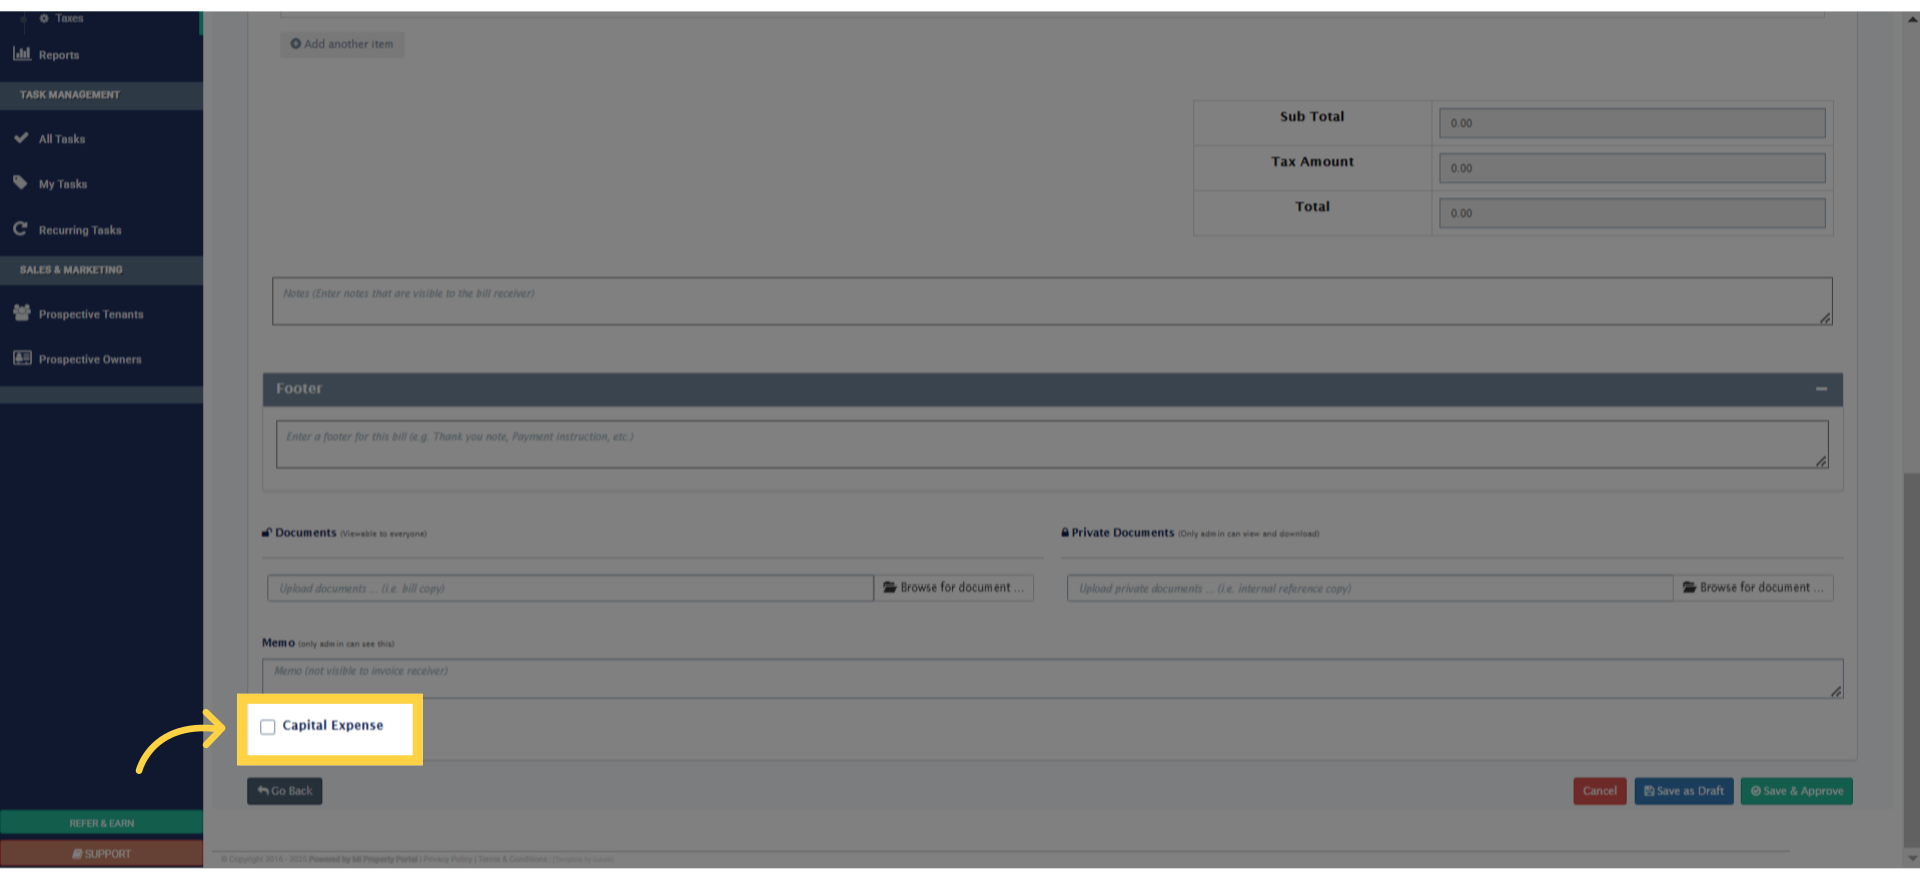
11. Also, If this is a capital expense, just tick the box to mark it as one
12. Finally, click ‘Save & Approve’ to proceed—you’re all set!
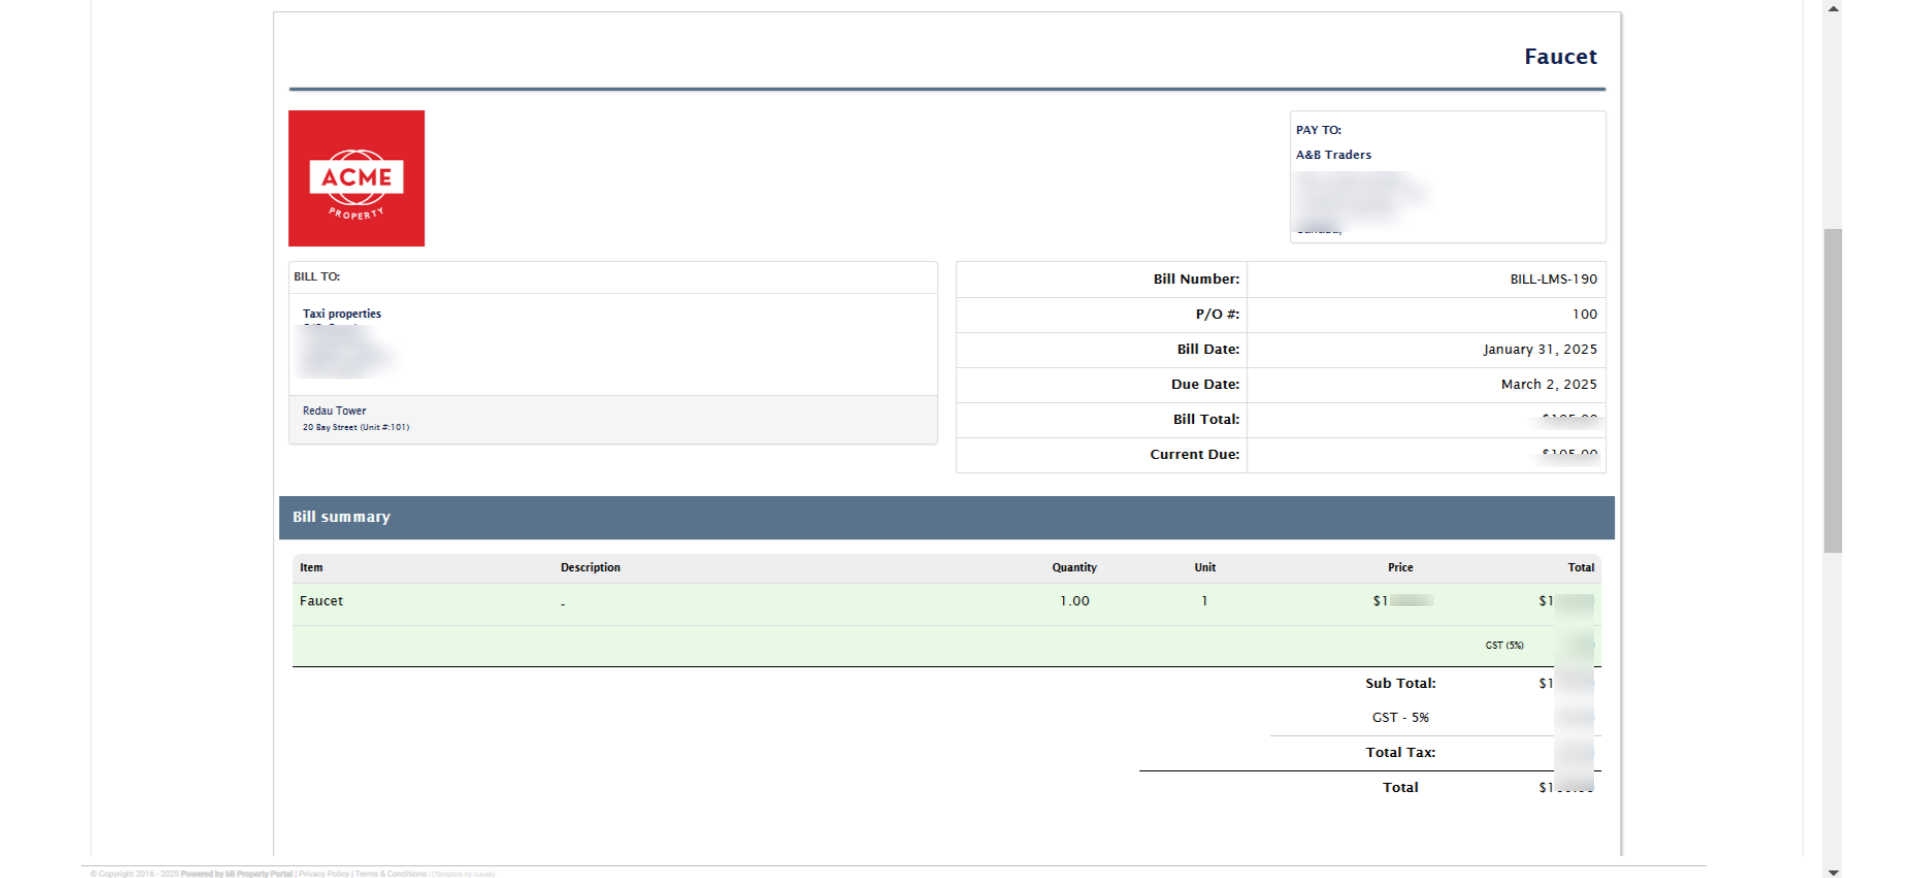
13. You’ll be redirected to this page, where you can review the bill details and check its status. Scroll down
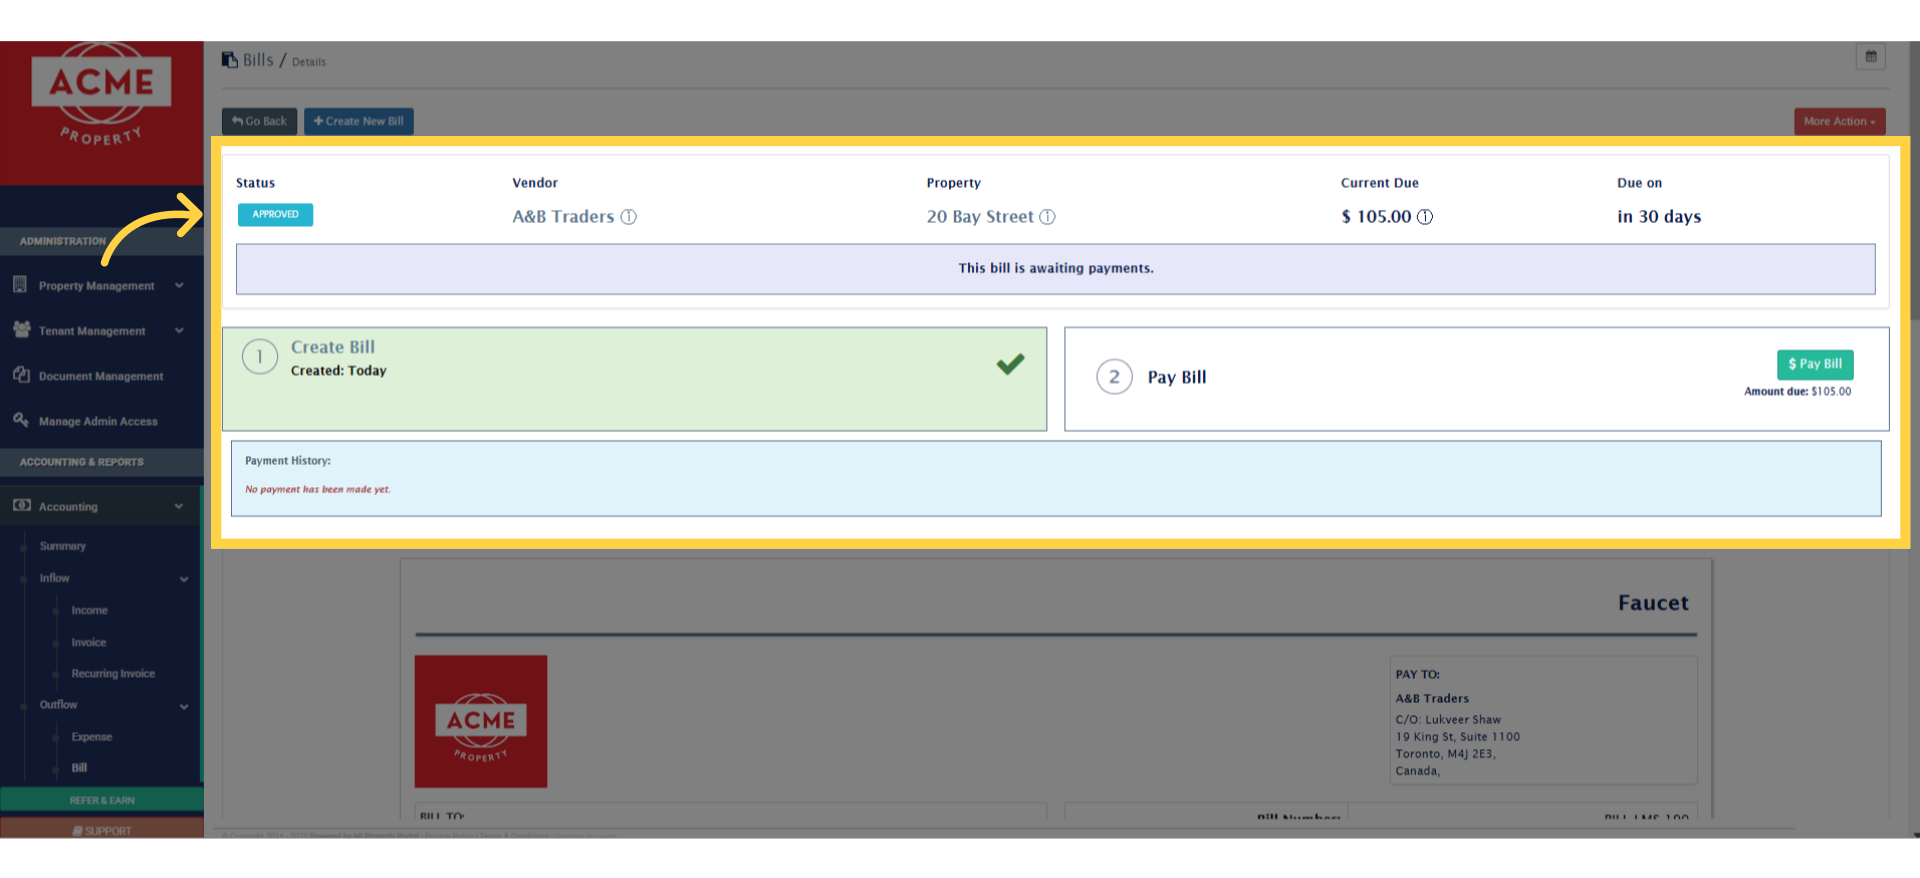
14. And here’s the finalized bill, we just created. You can also view it from the Bill List View page, from under accounting module