Alright, now we’re going to see how to add, edit, or delete a Chart of Accounts.
1. What is Chart of Accounts?
The Chart of Accounts is a structured list of all financial accounts in a company’s ledger, categorizing transactions into assets, liabilities, income, and expenses. It serves as the backbone of financial reporting, ensuring organized and accurate bookkeeping. Let’s go to the portal and start creating one

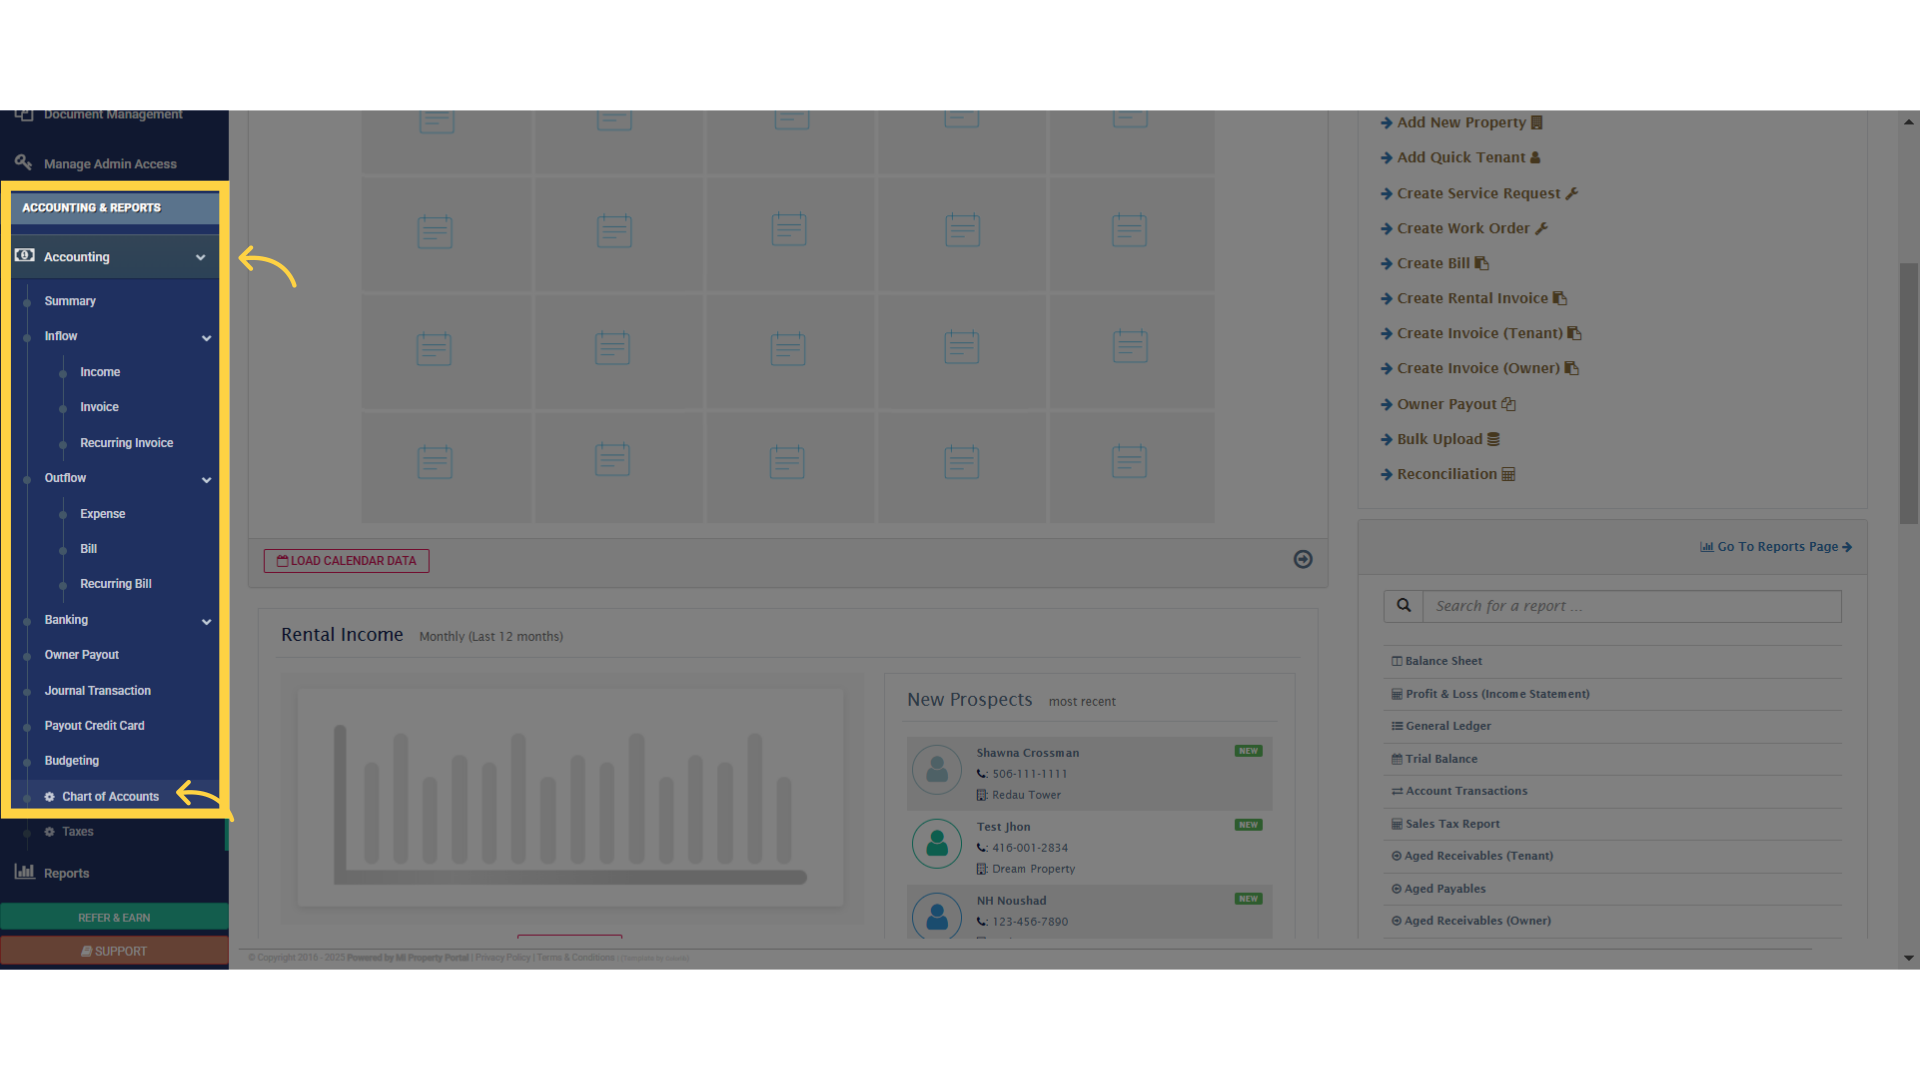
2. Click “Chart of Accounts”
First step, from the dashboard, go to the Accounting dropdown under the “Accounting & Reports” section and click on Chart of Accounts
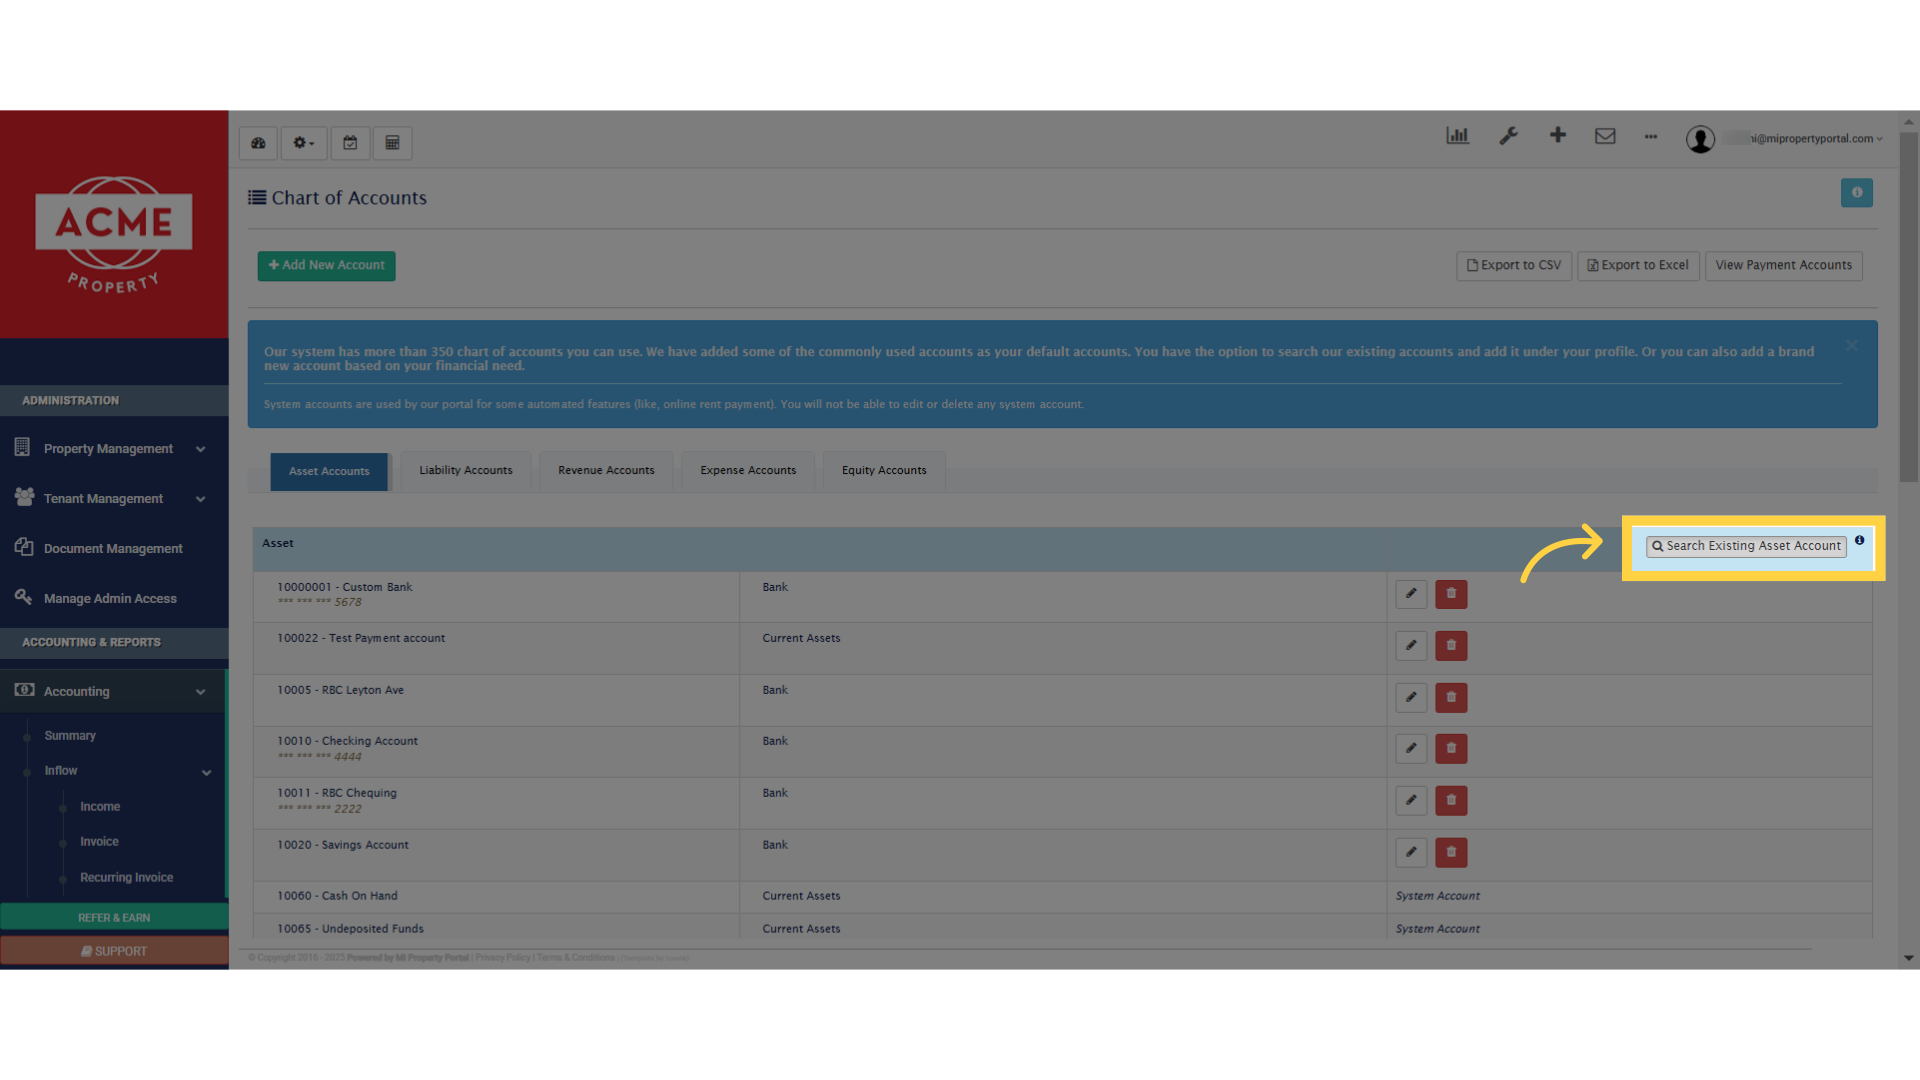
3. This is the Chart of Accounts List view page. This is where you can view, add, edit or delete one from

4. Our Chart of Accounts follows standard Canadian accounting principles, categorized into Assets, Liabilities, Revenue, Expenses, and Equity. If you create a Liability account, for example, you can easily find it under the Liability tab.
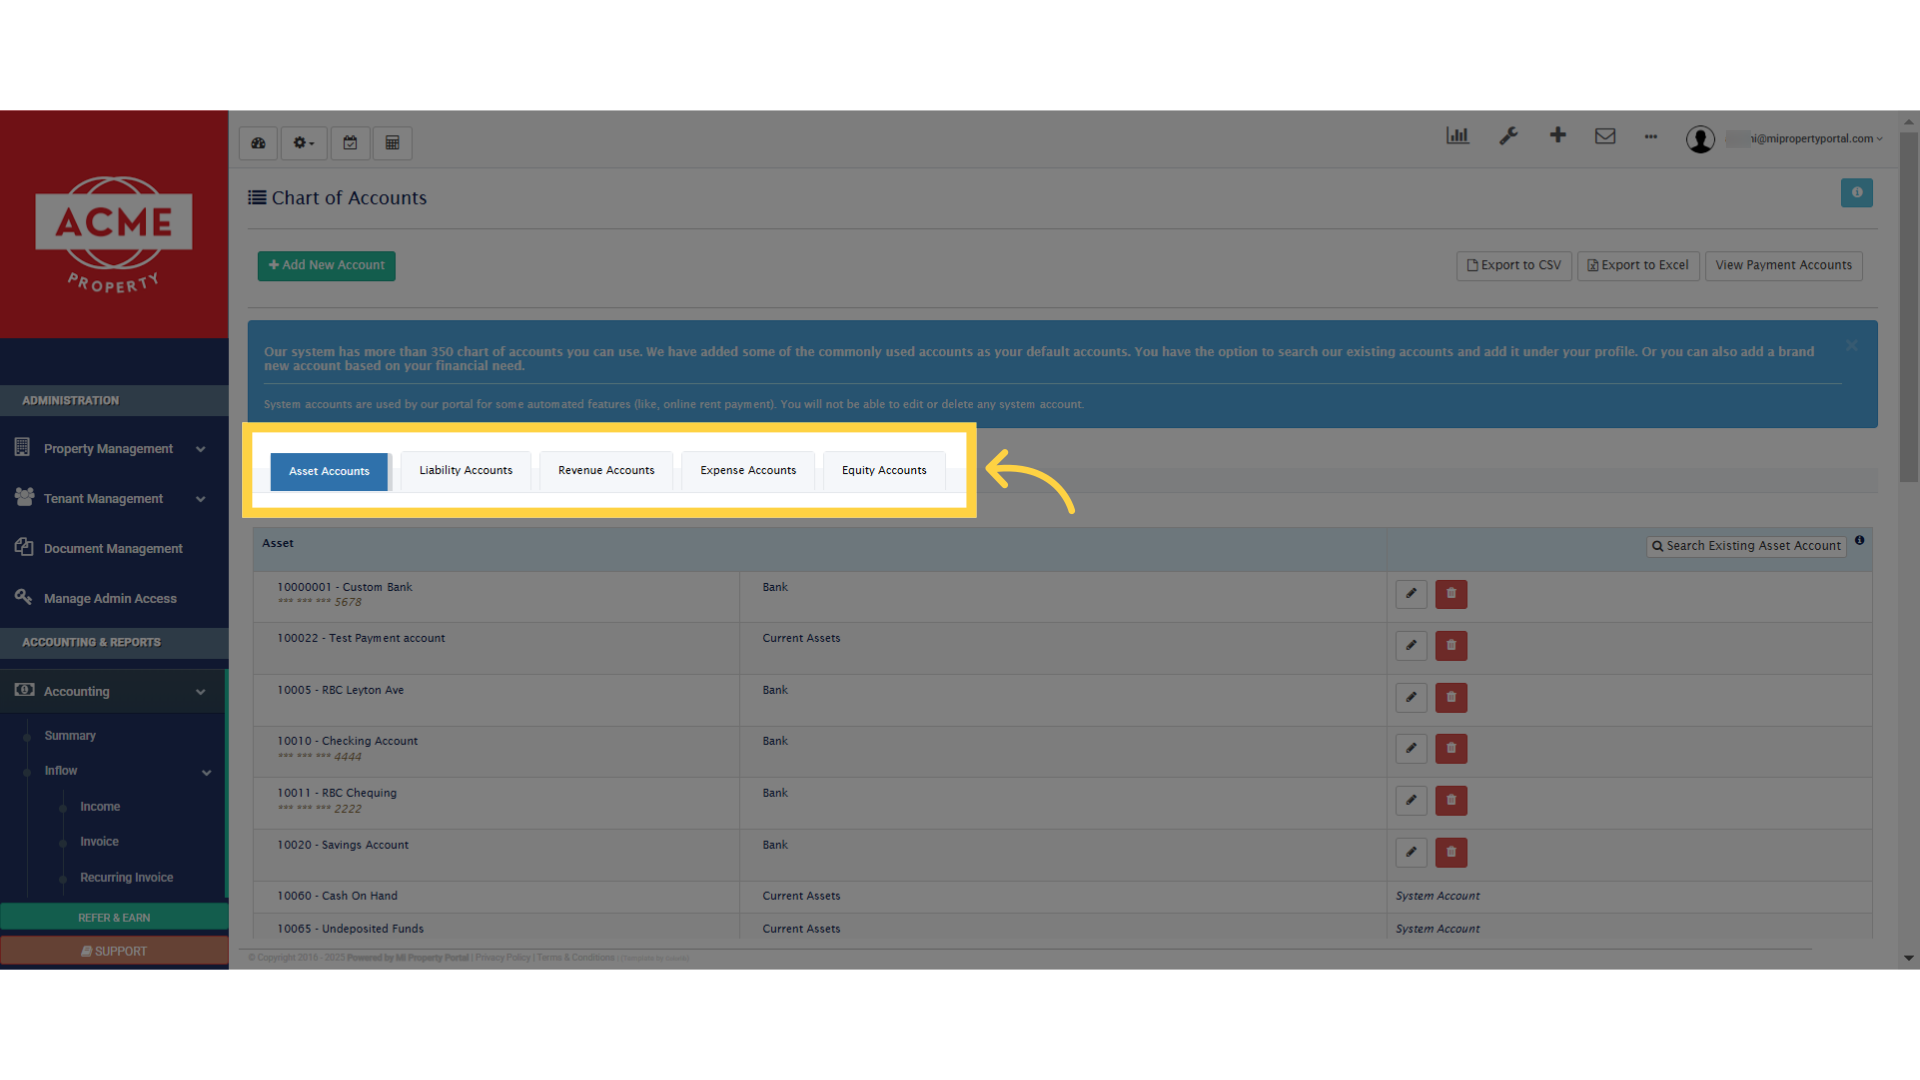
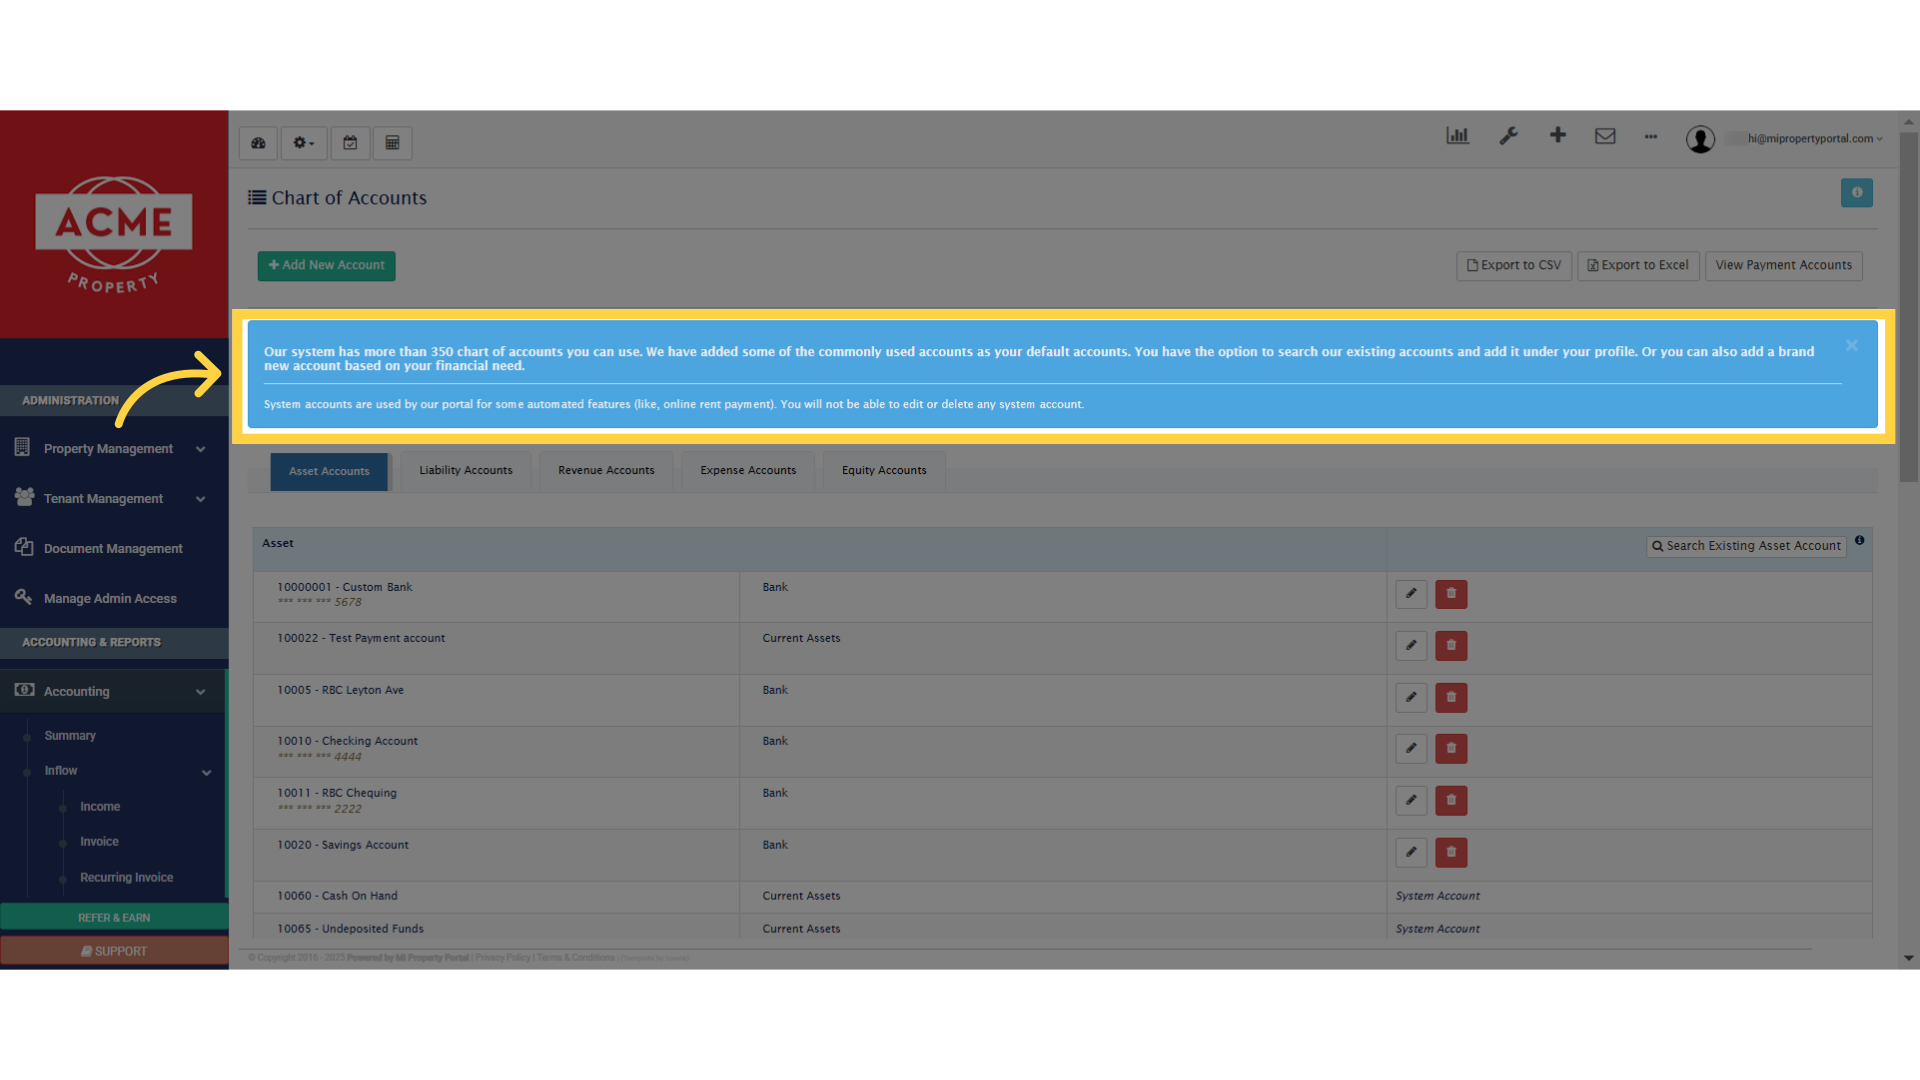
5. By default, the system comes with over 350 preloaded Chart of Accounts when you sign up. However, you can add new accounts as needed or edit the existing ones to better fit your financial setup
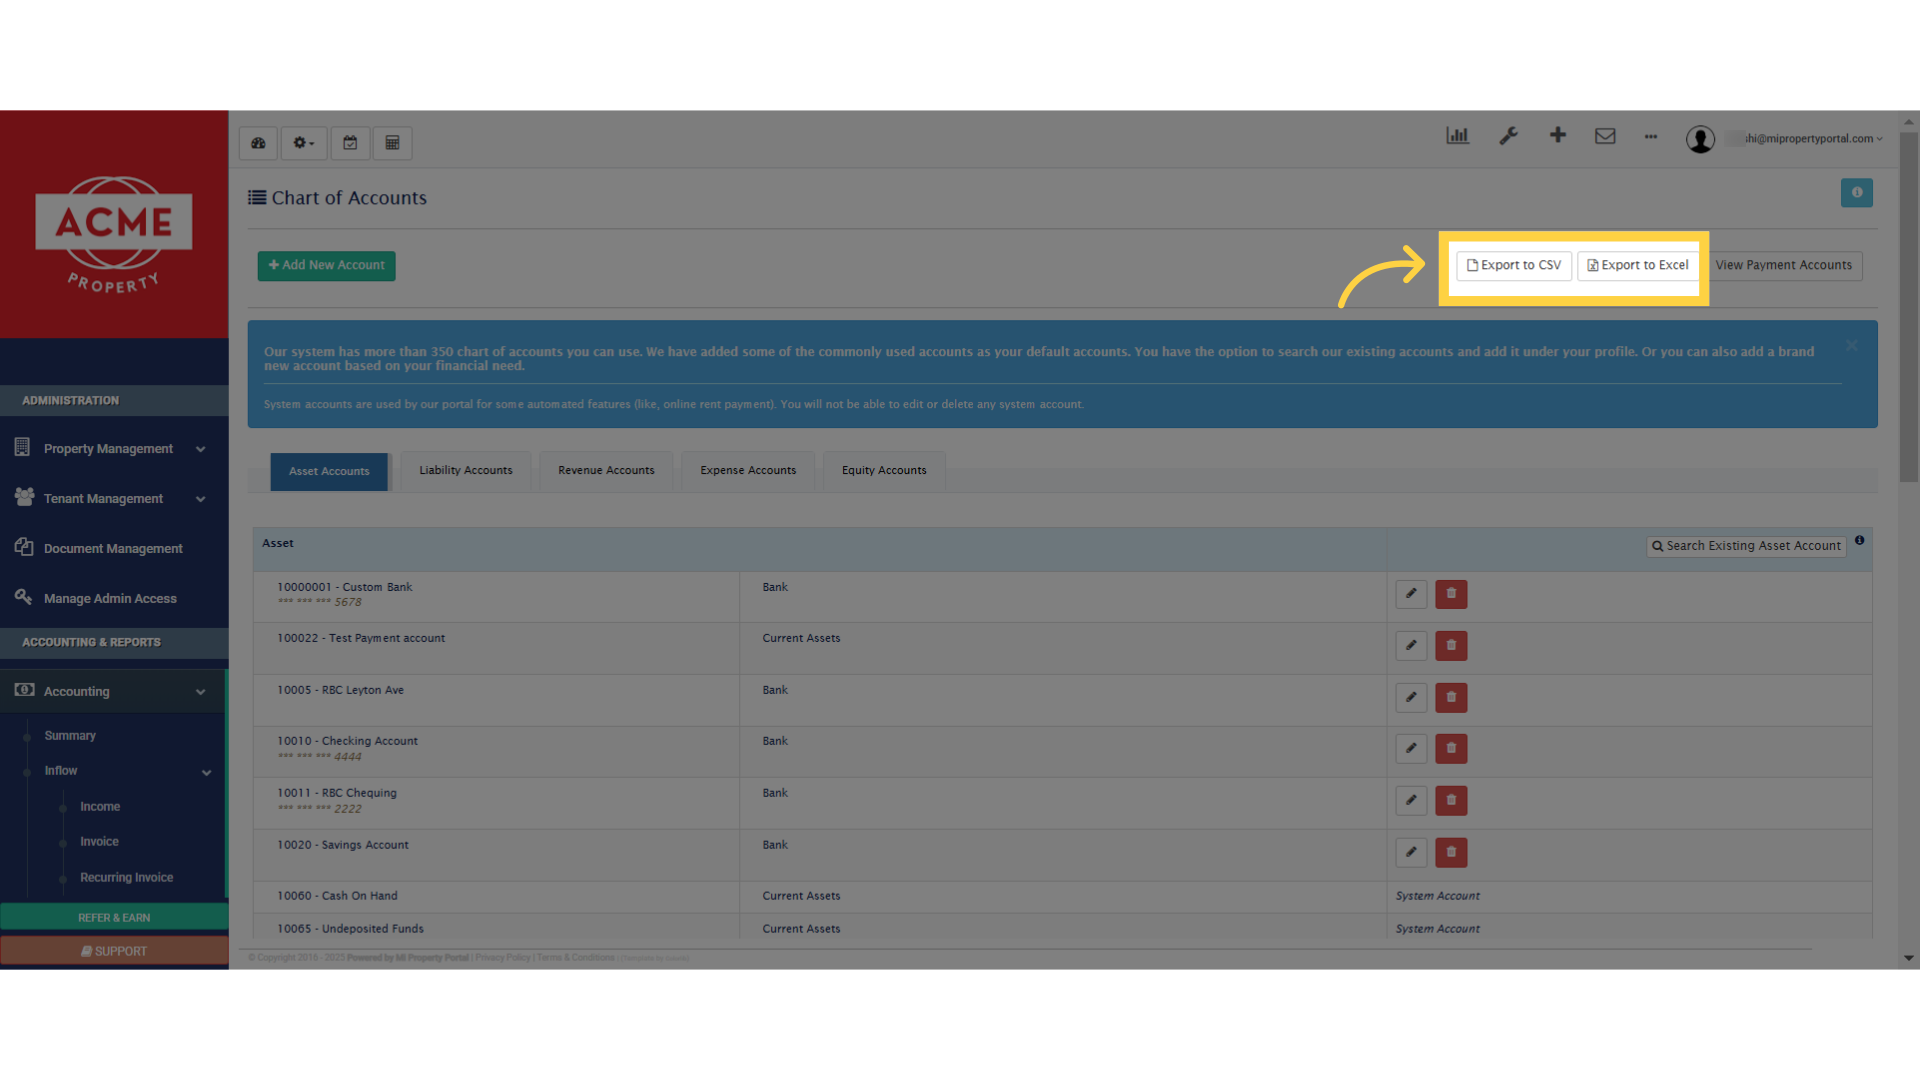
6. You can export your Chart of Accounts in CSV or Excel format from here
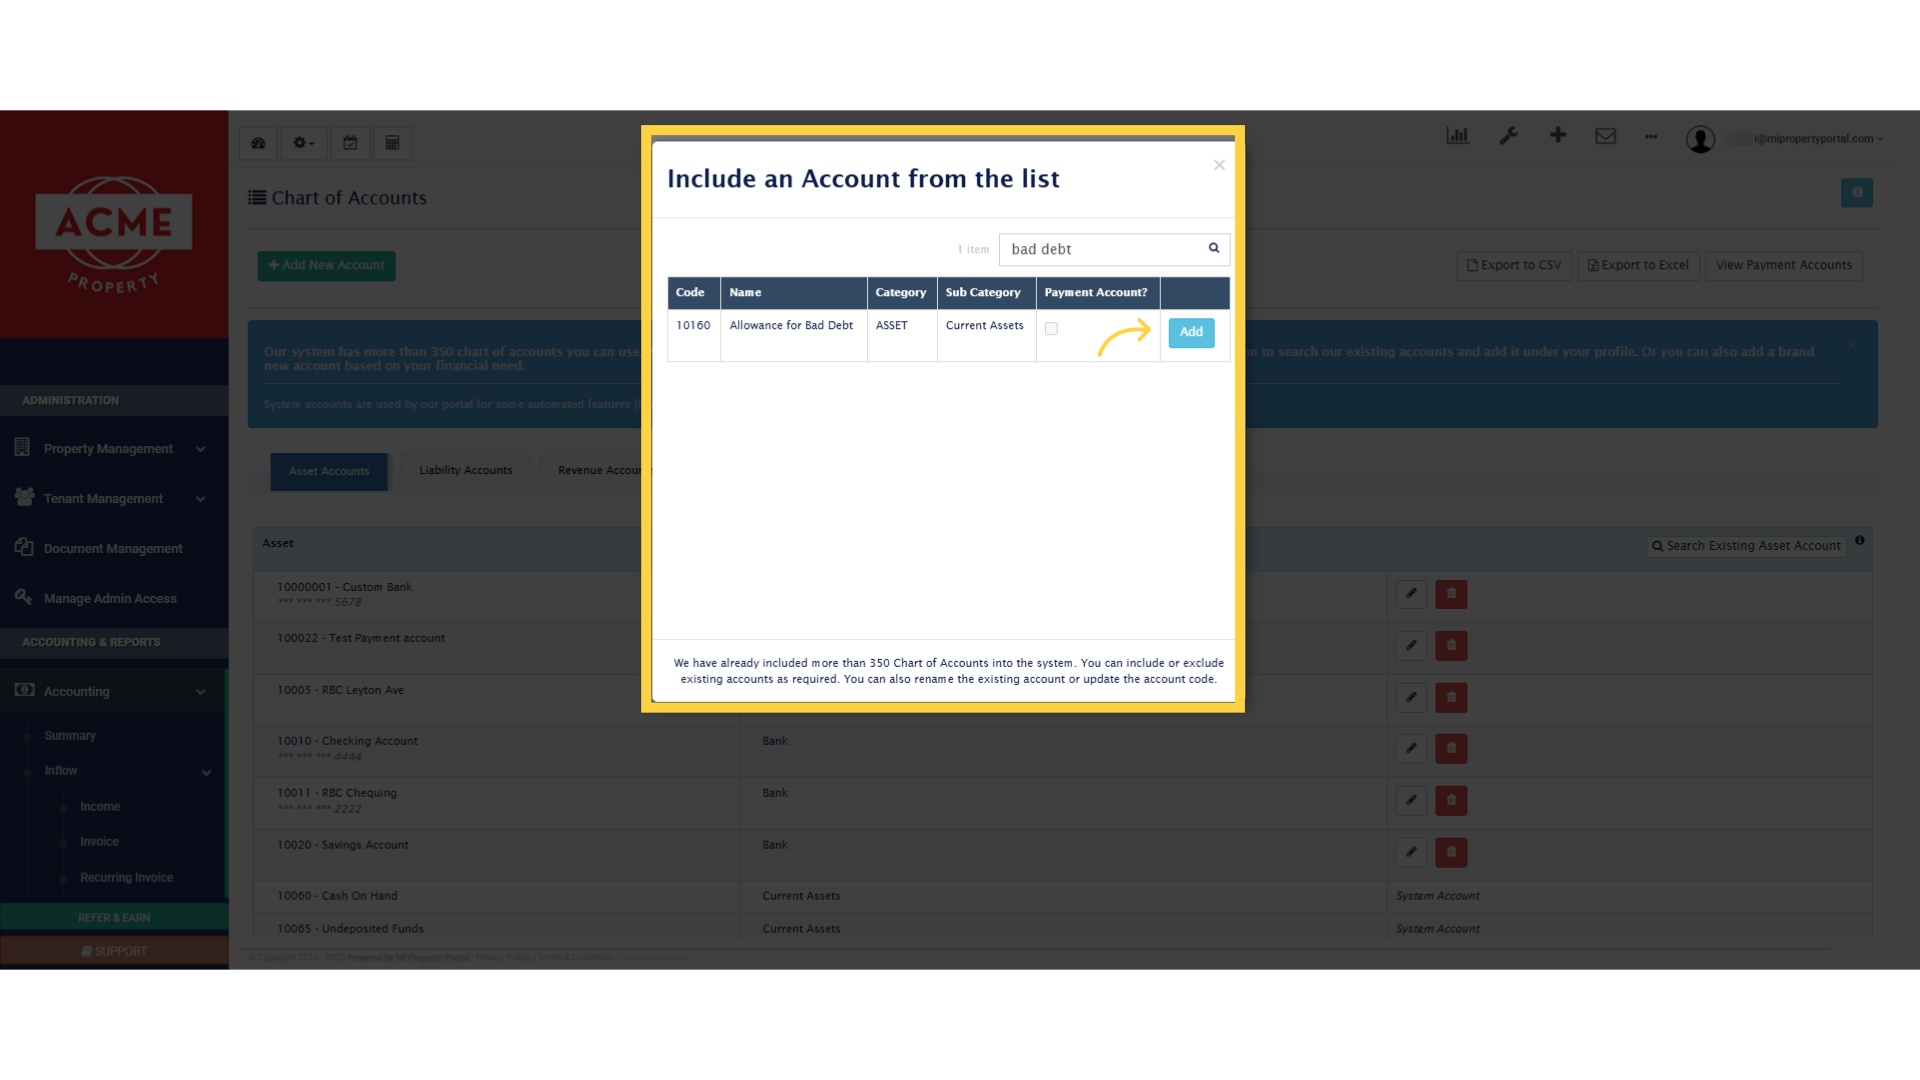
7. You can quickly find a Chart of Account by using the search feature here
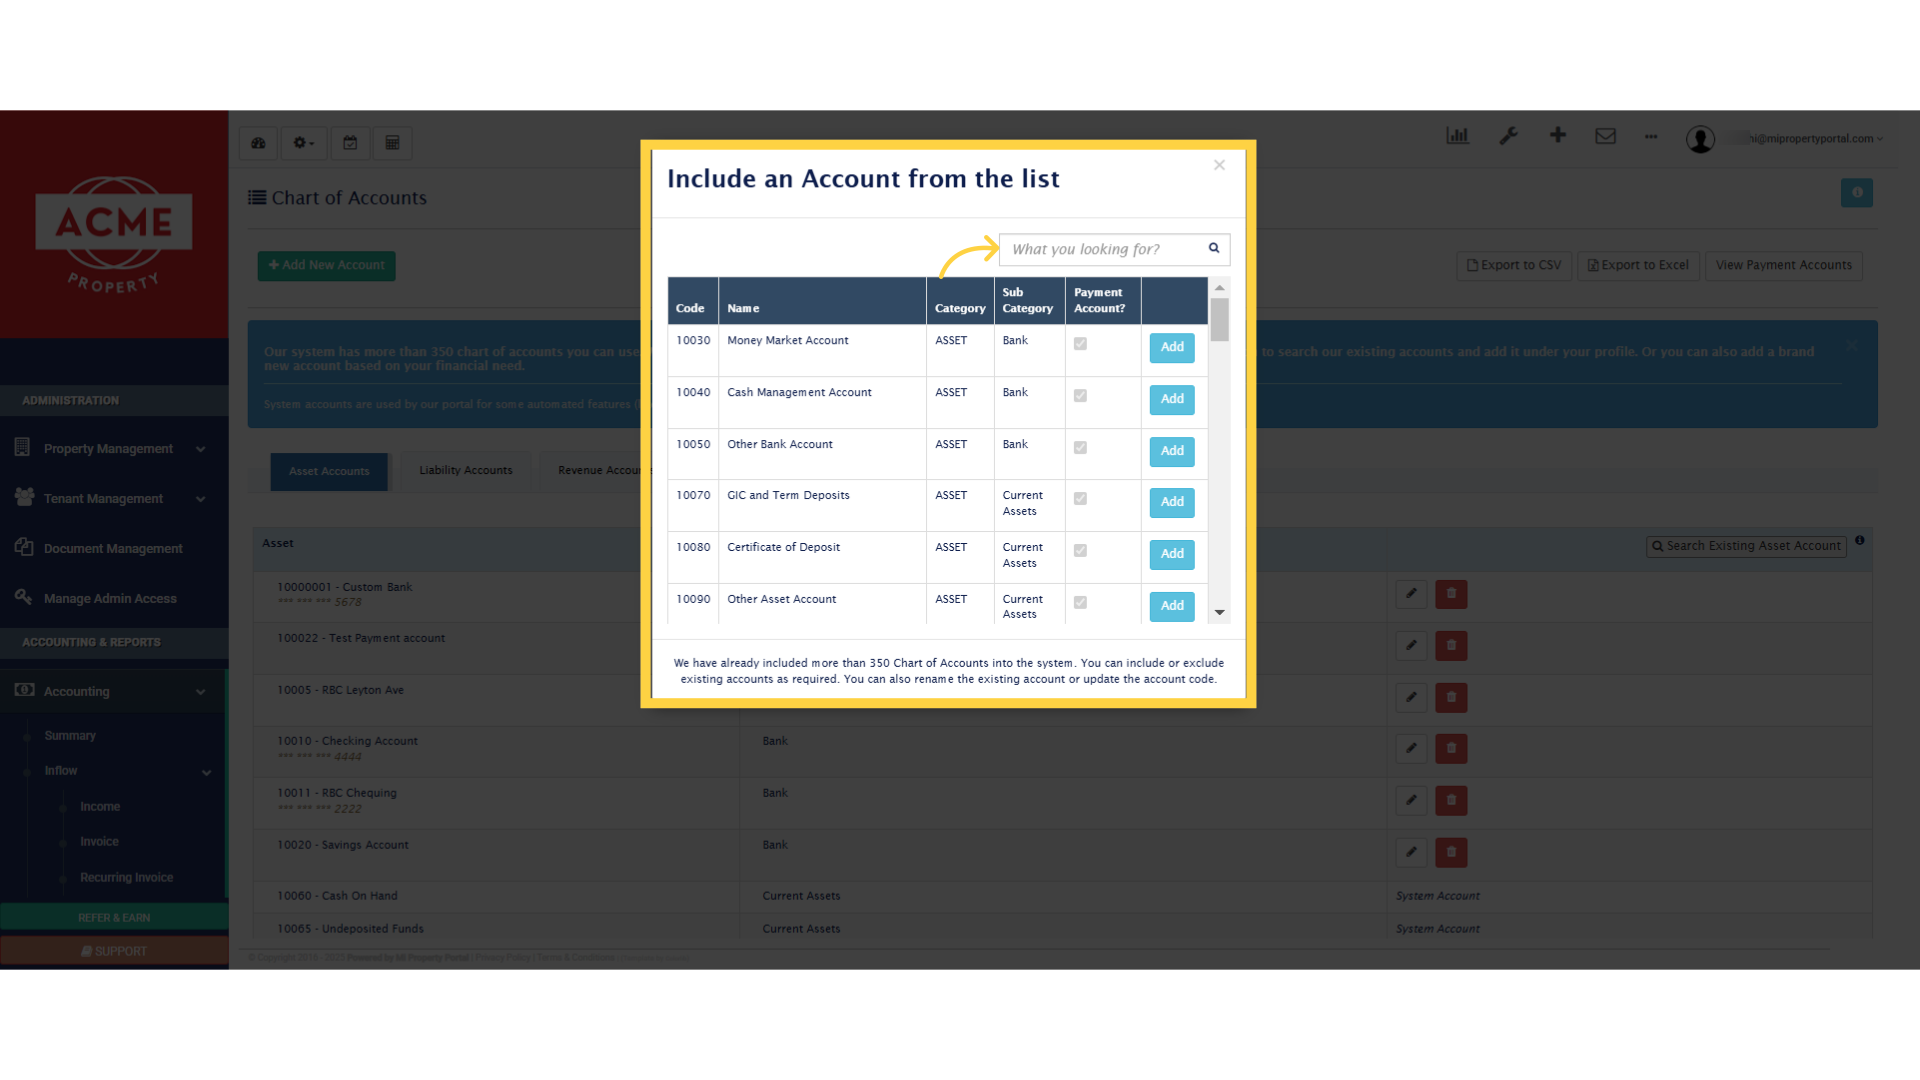
8. Clicking on the search feature will open a floating window, displaying the listed Chart of Accounts for easy access
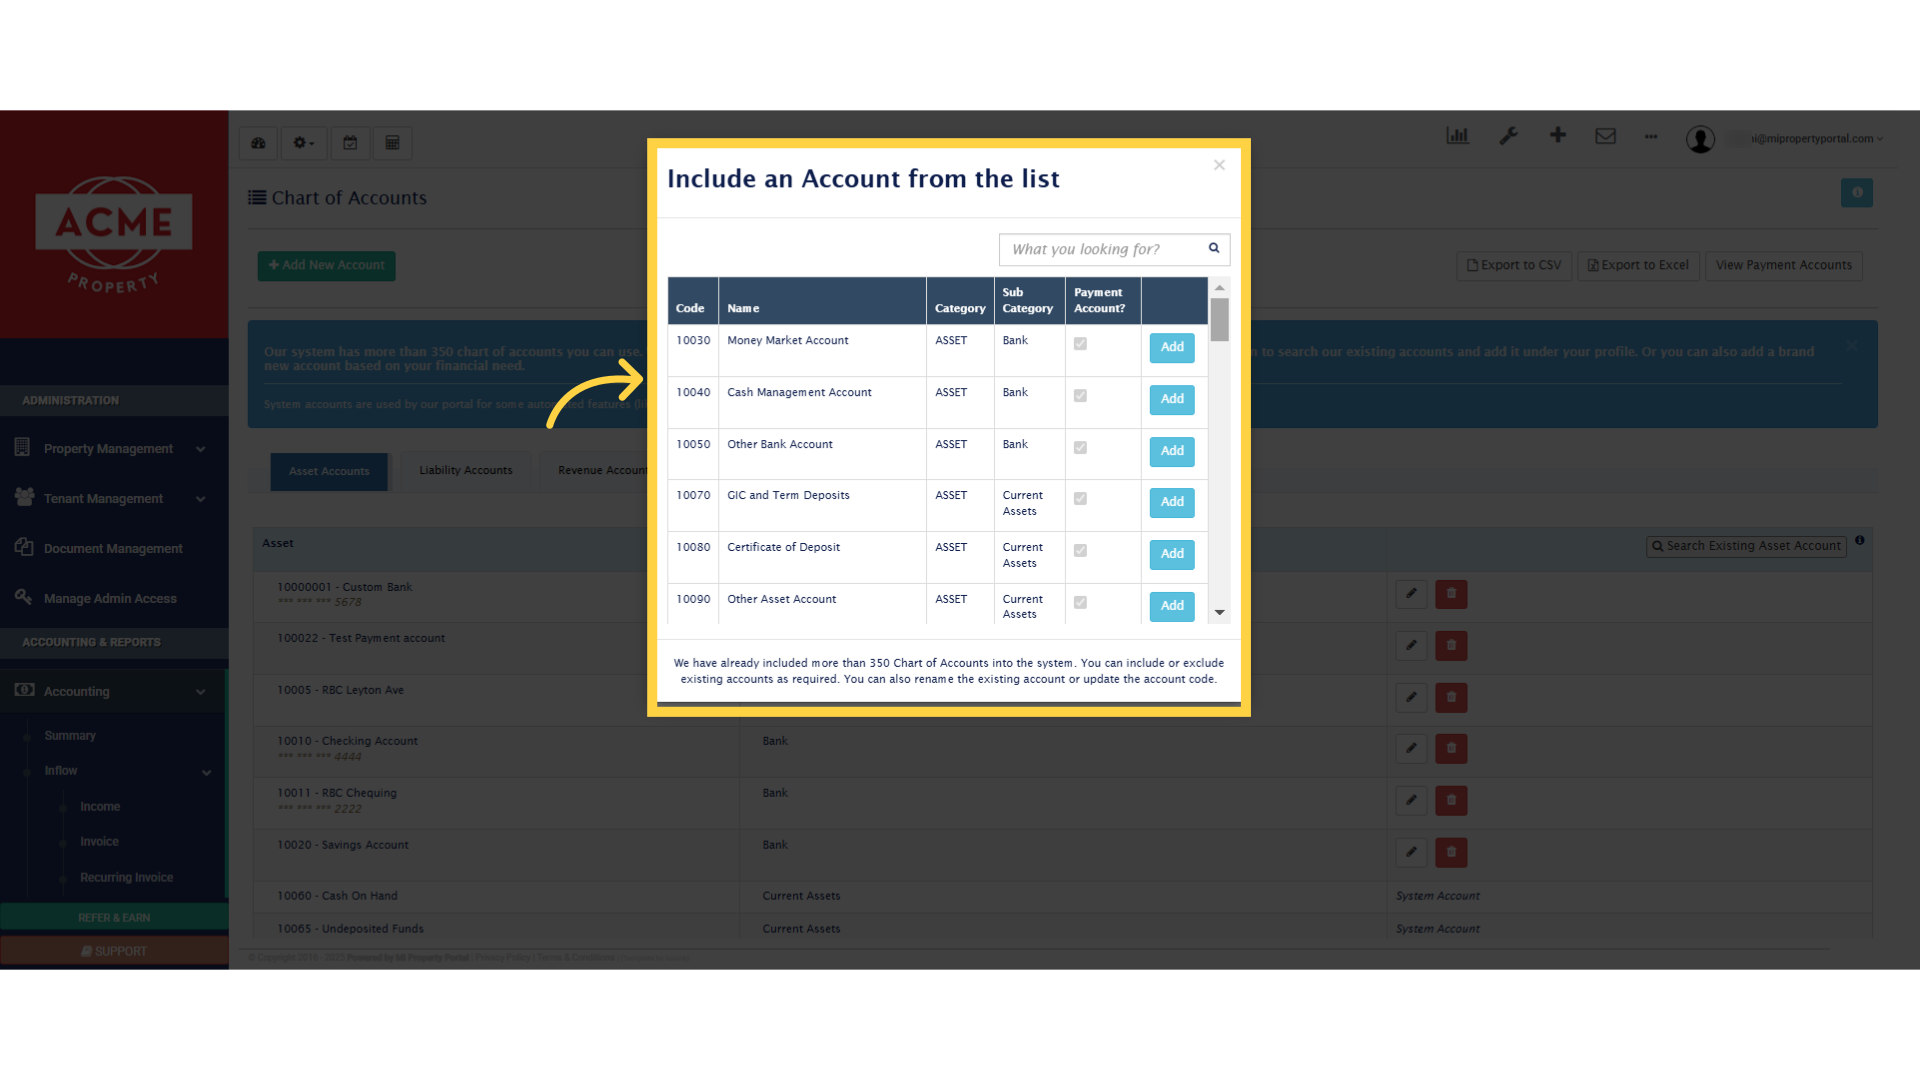
9. You can use this search box to quickly find the Account you need
10. For example, I searched for Bad Debt Account in the search box, and now I can see the result appearing here
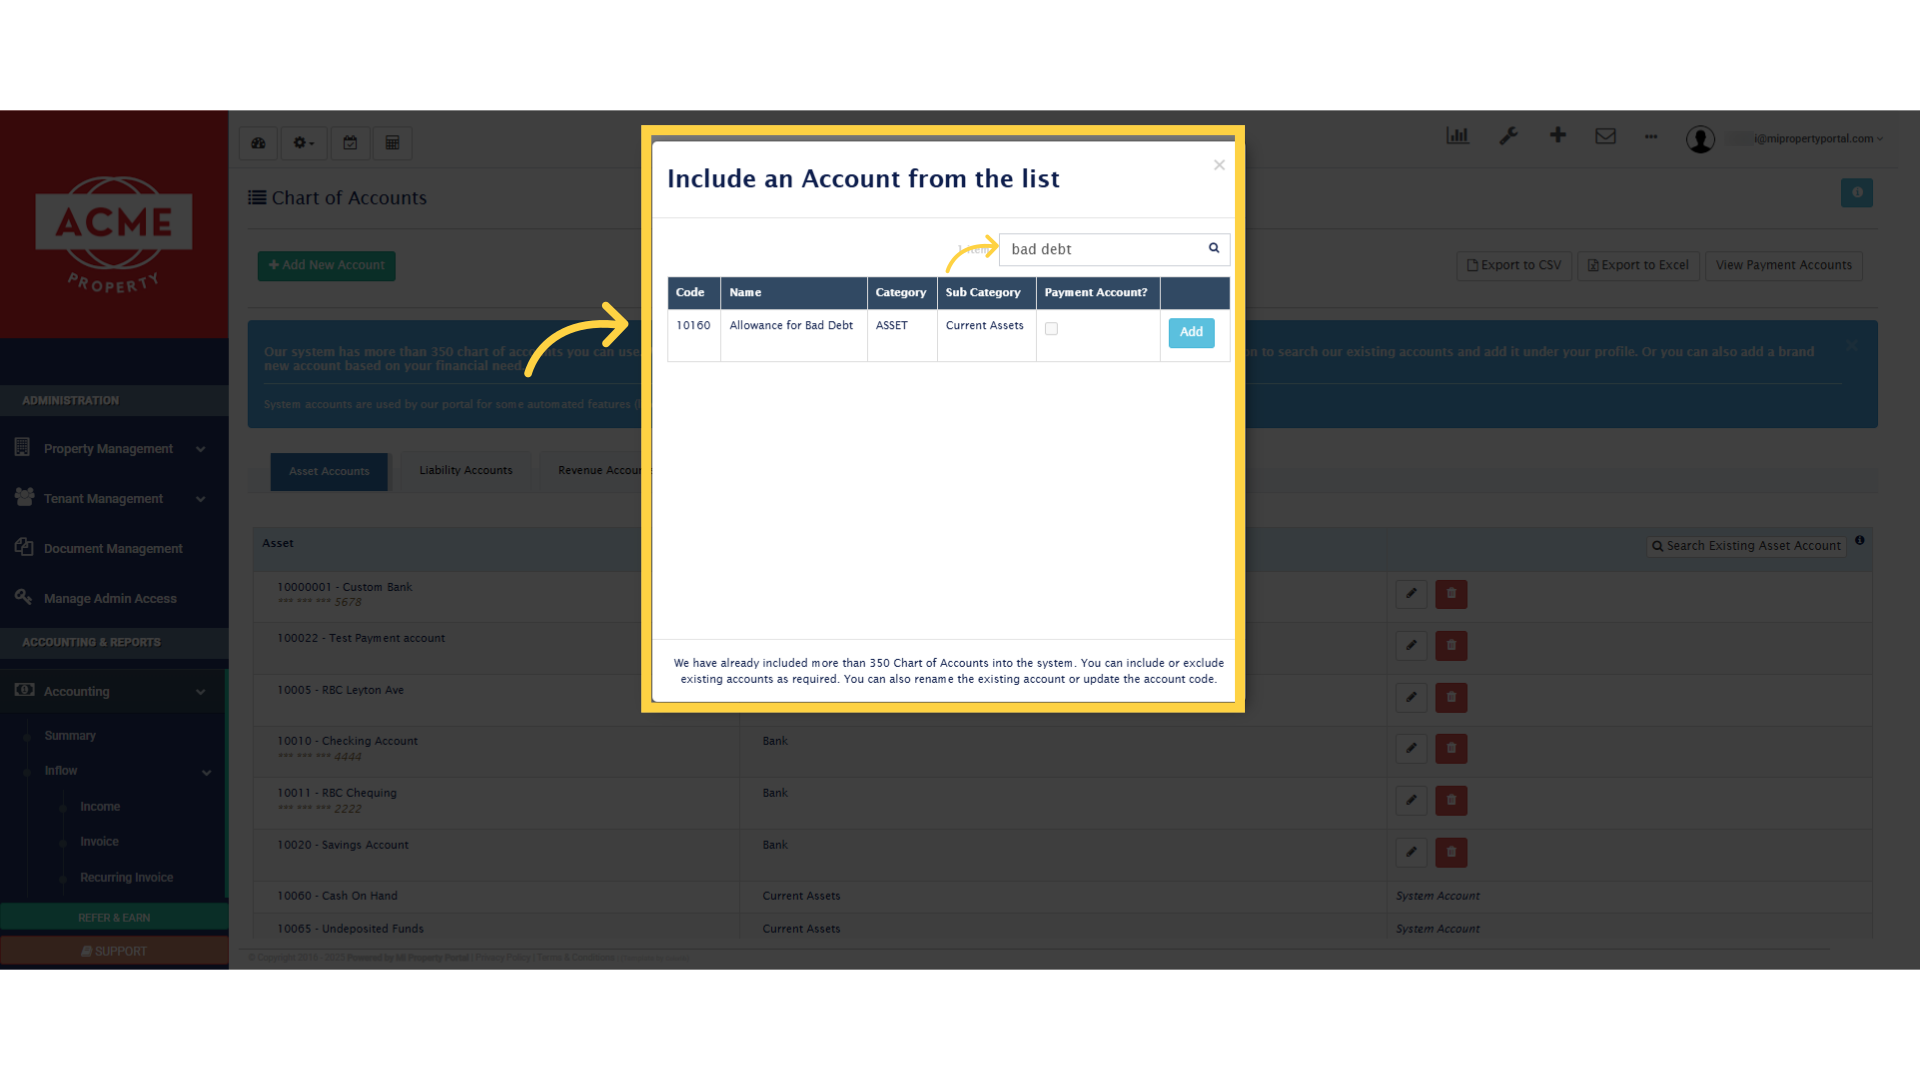
11. You can simply add one after finding it from here
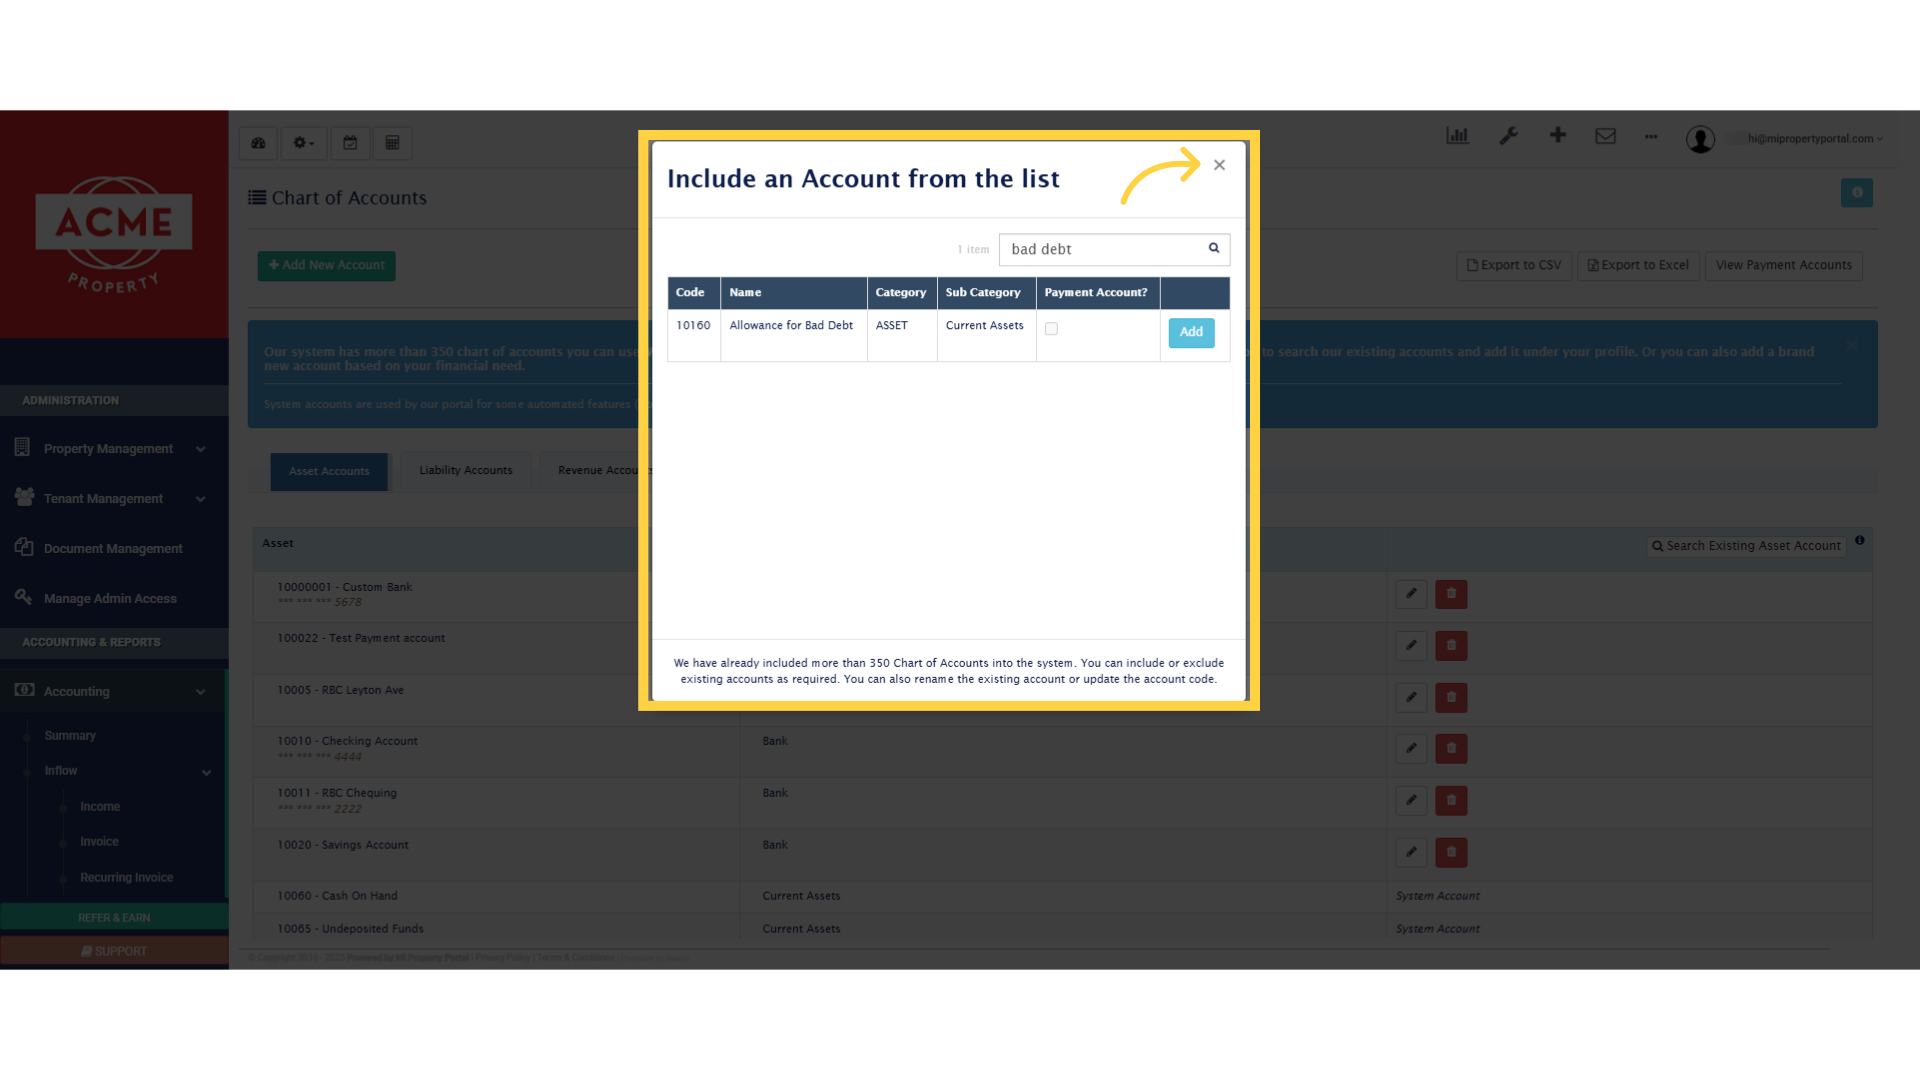
12. Okay, Close the window
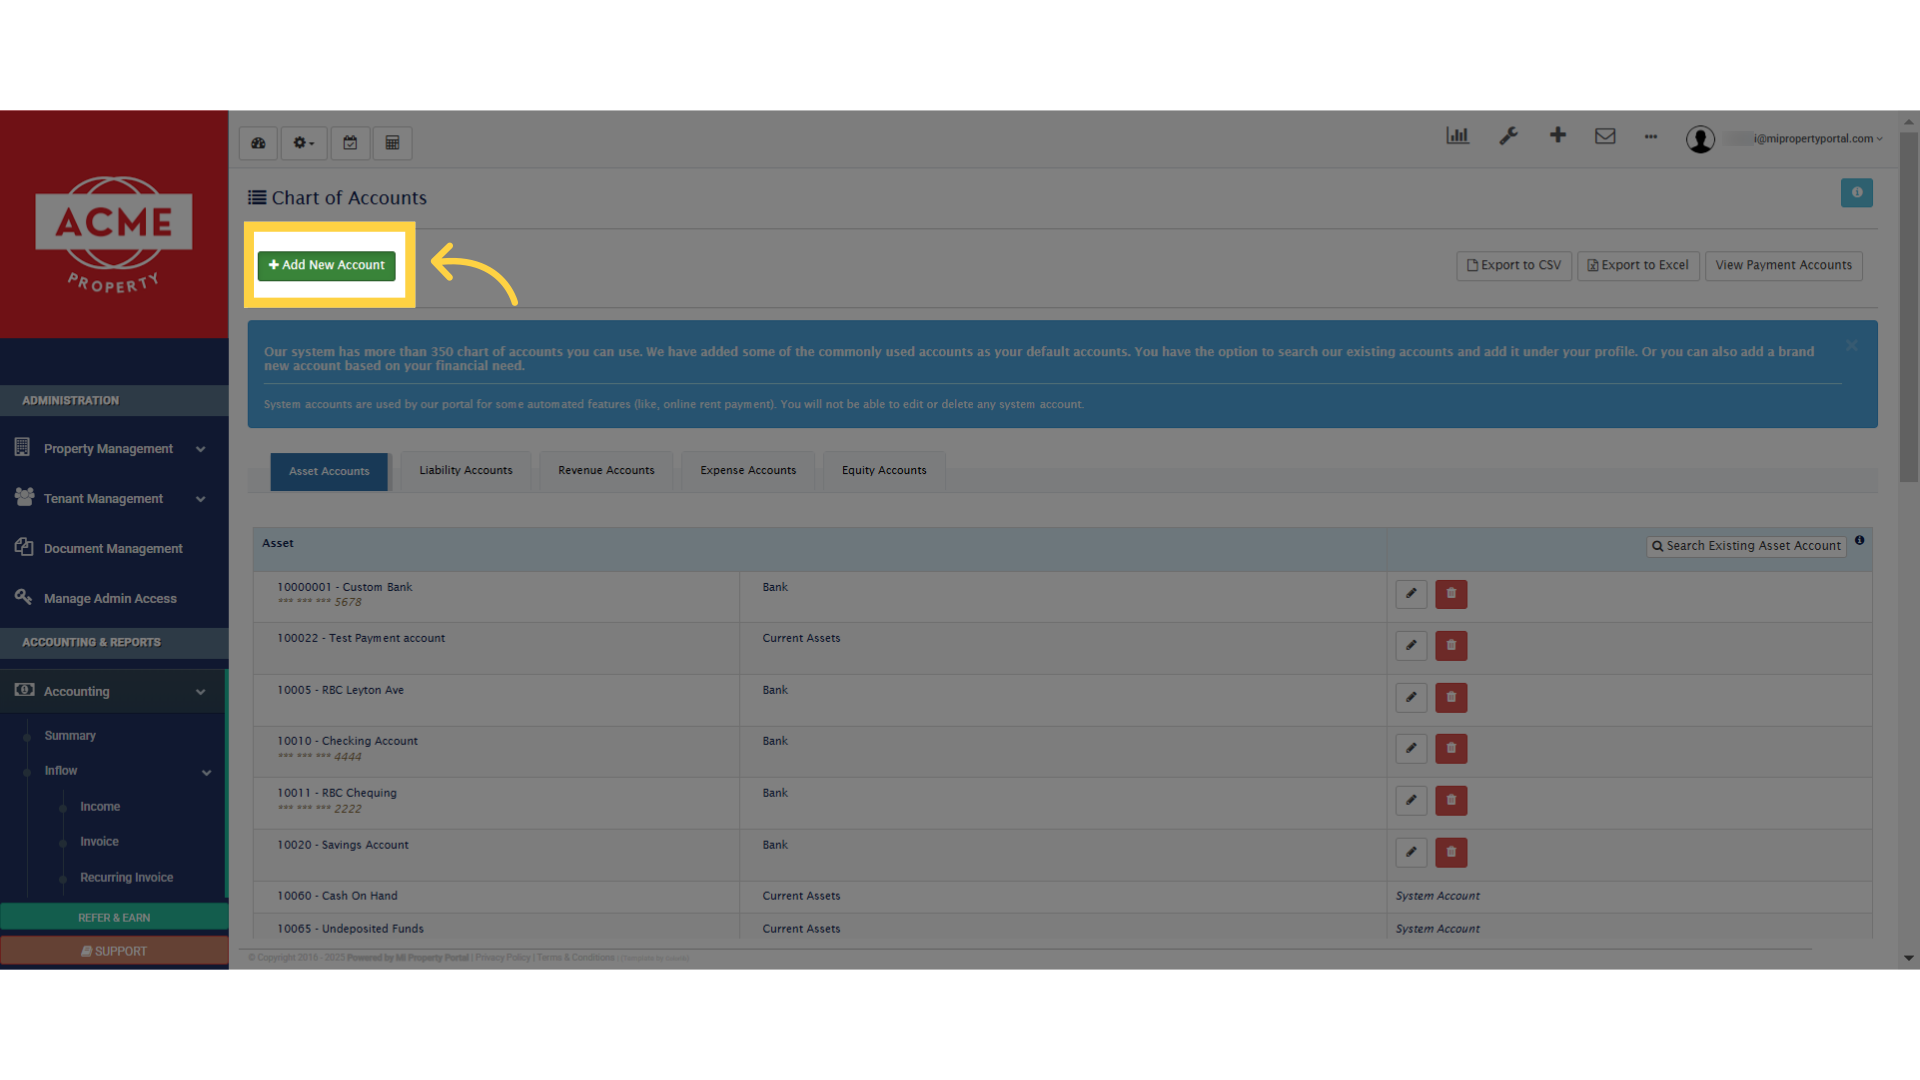
13. Add a new account by clicking this button on the top left
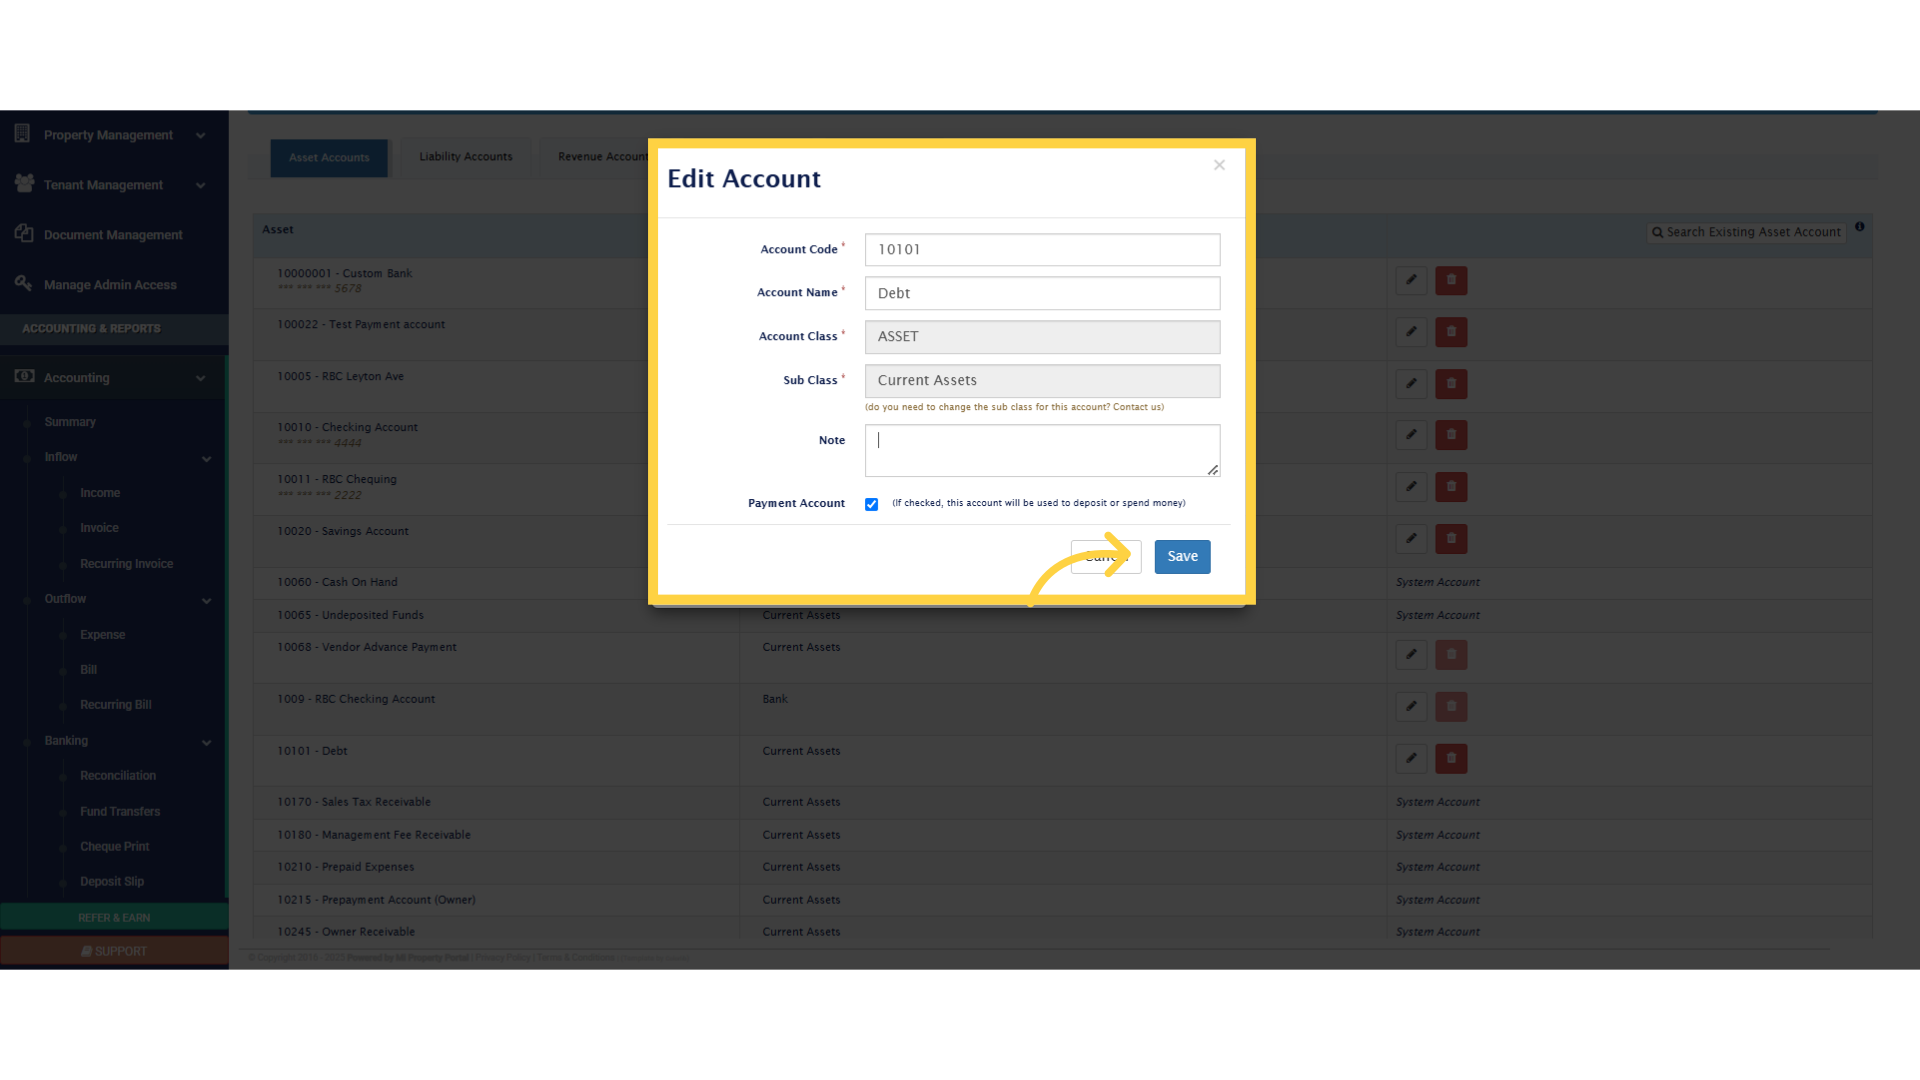
14. Choose an Account Class and Sub class from the respective dropdowns
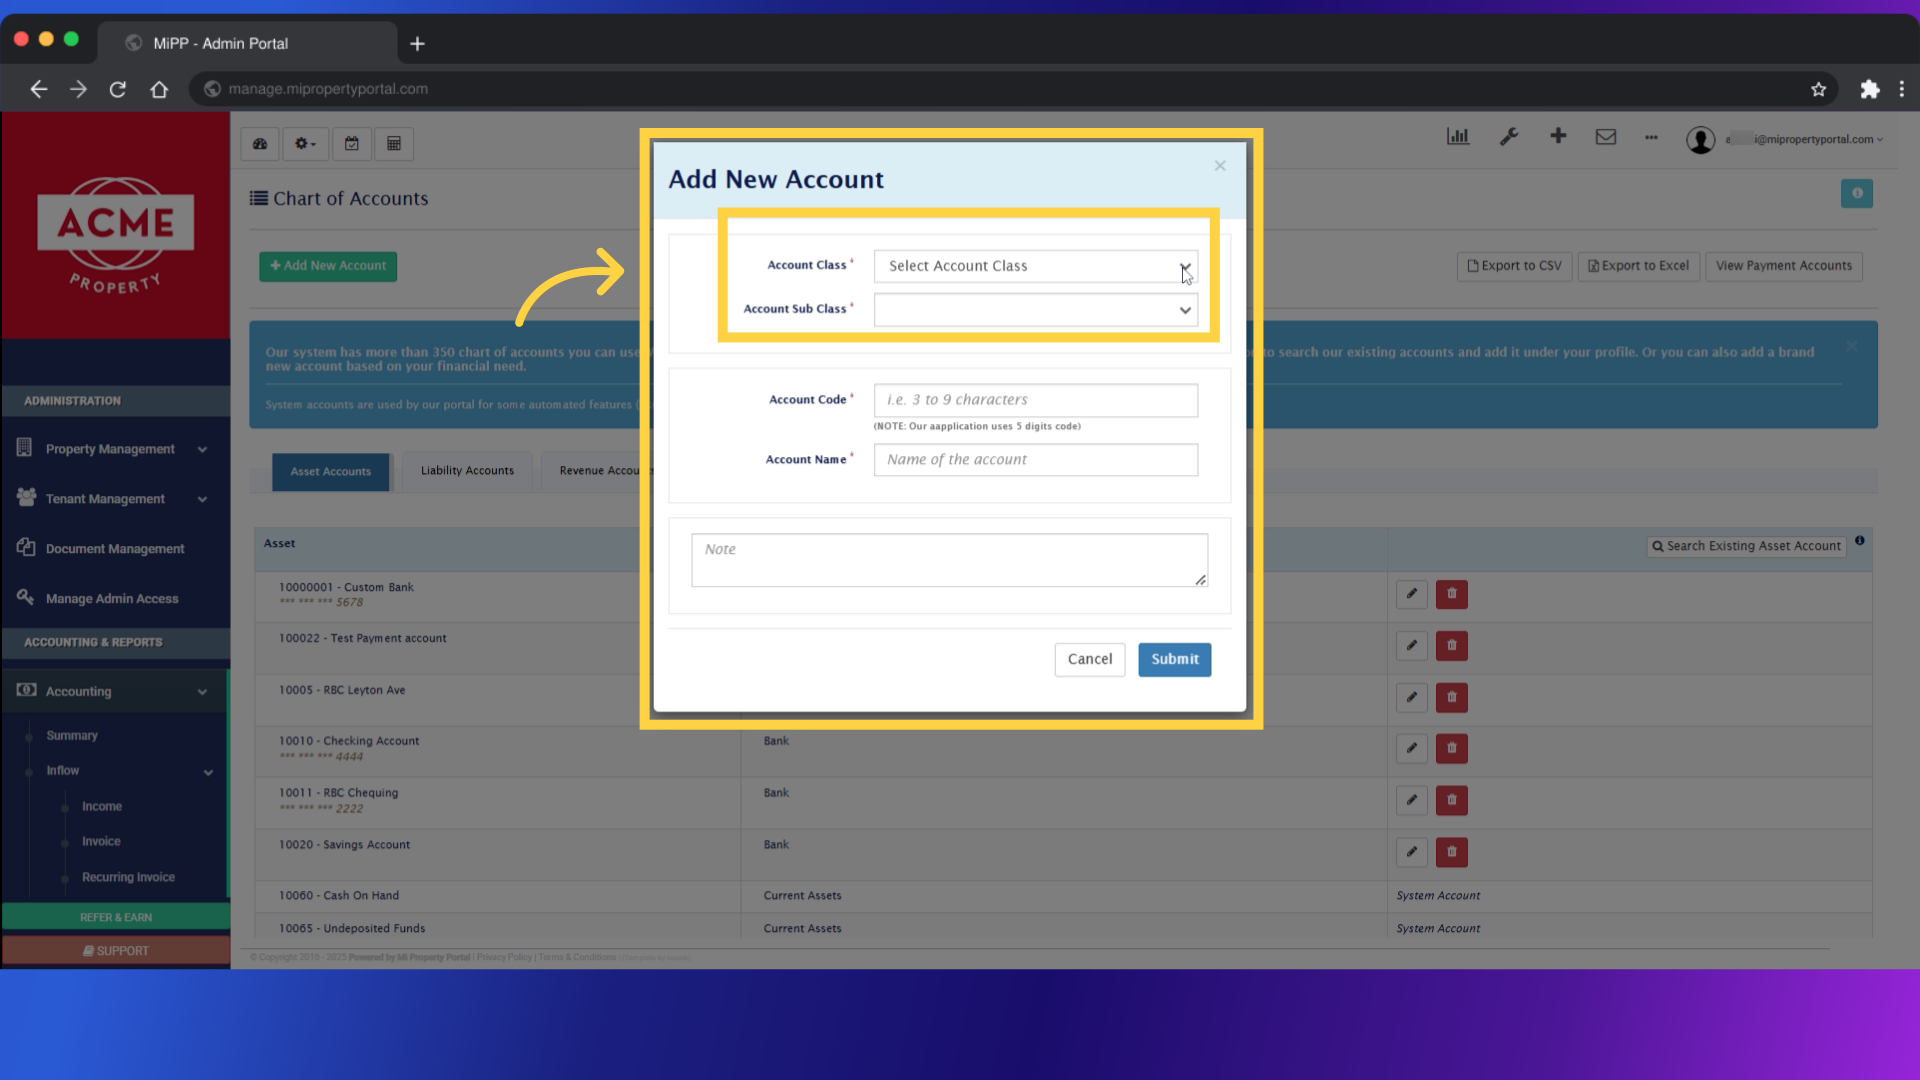
15. Enter an account code between 3-9 characters, our system uses 5 digit codes, i.e. For Account class Asset, all accounts start with 1 0
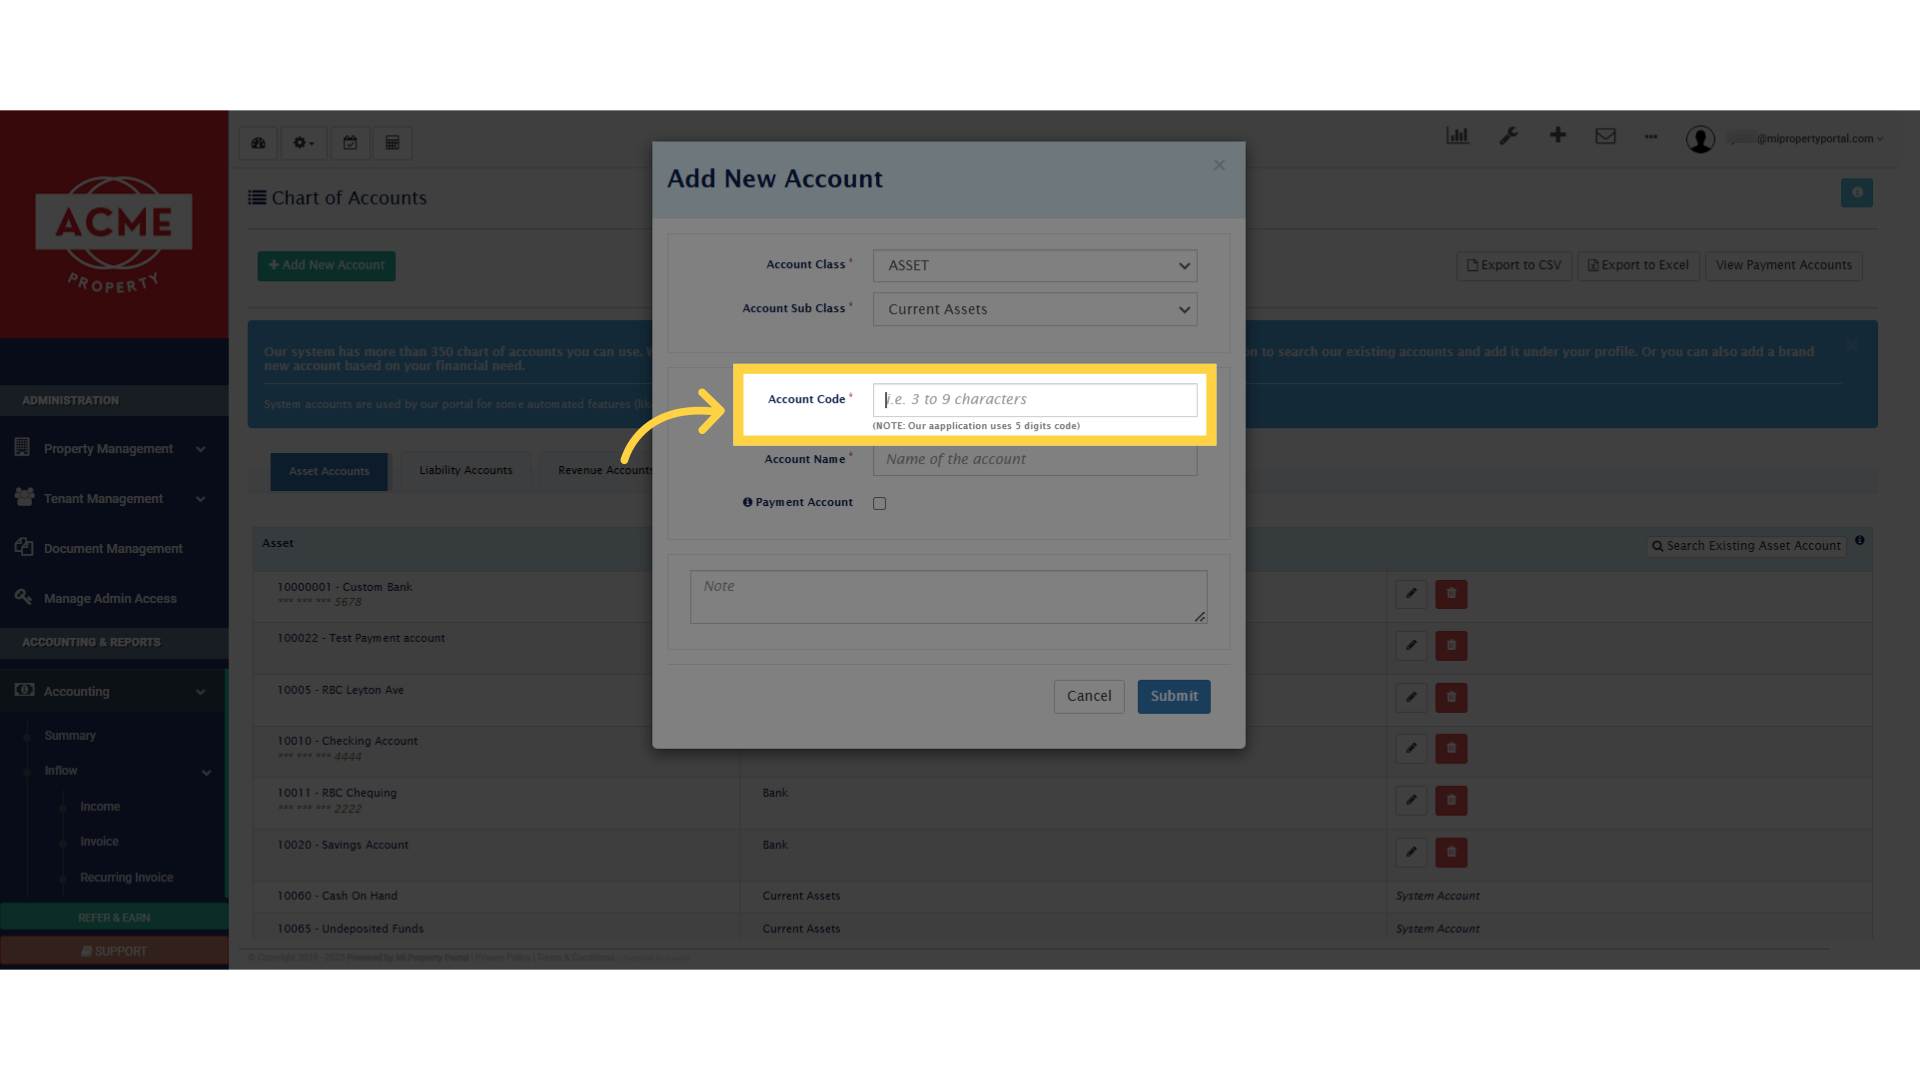
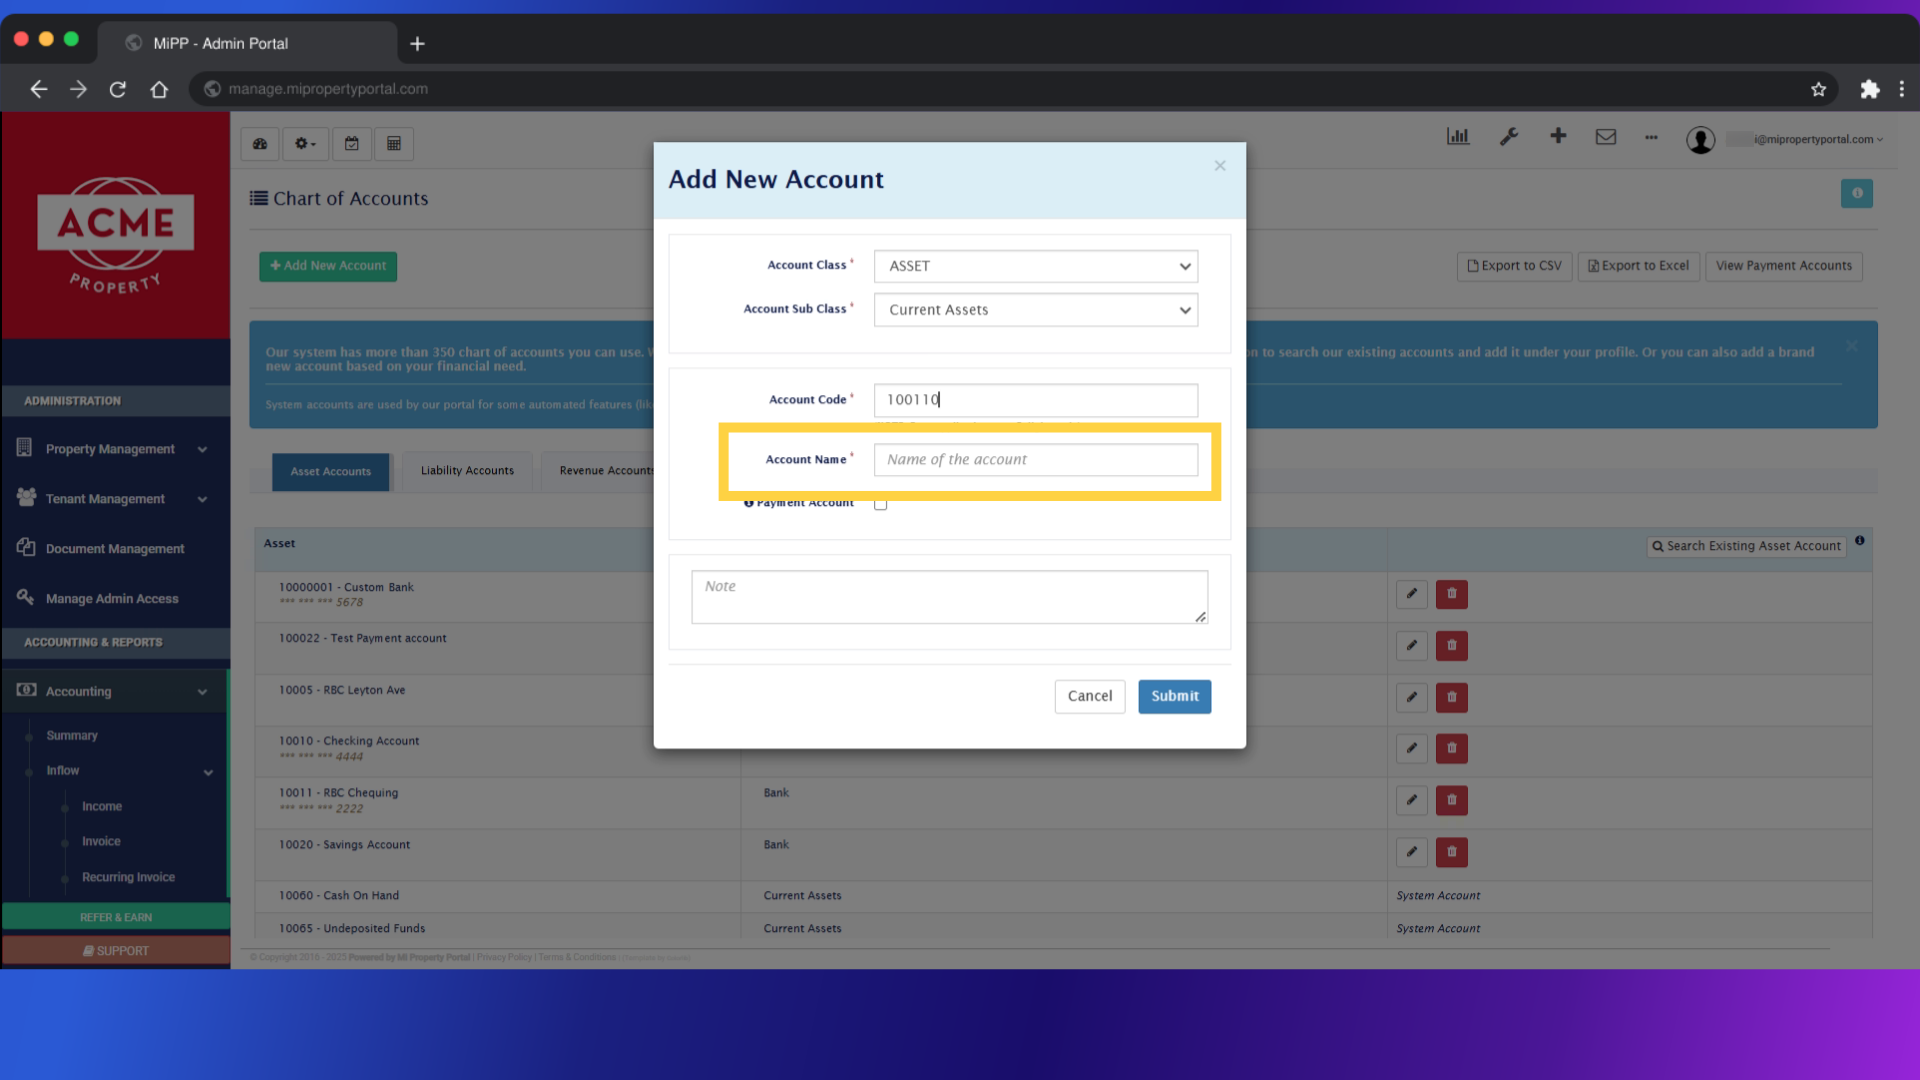
16. Put a Name of the Account
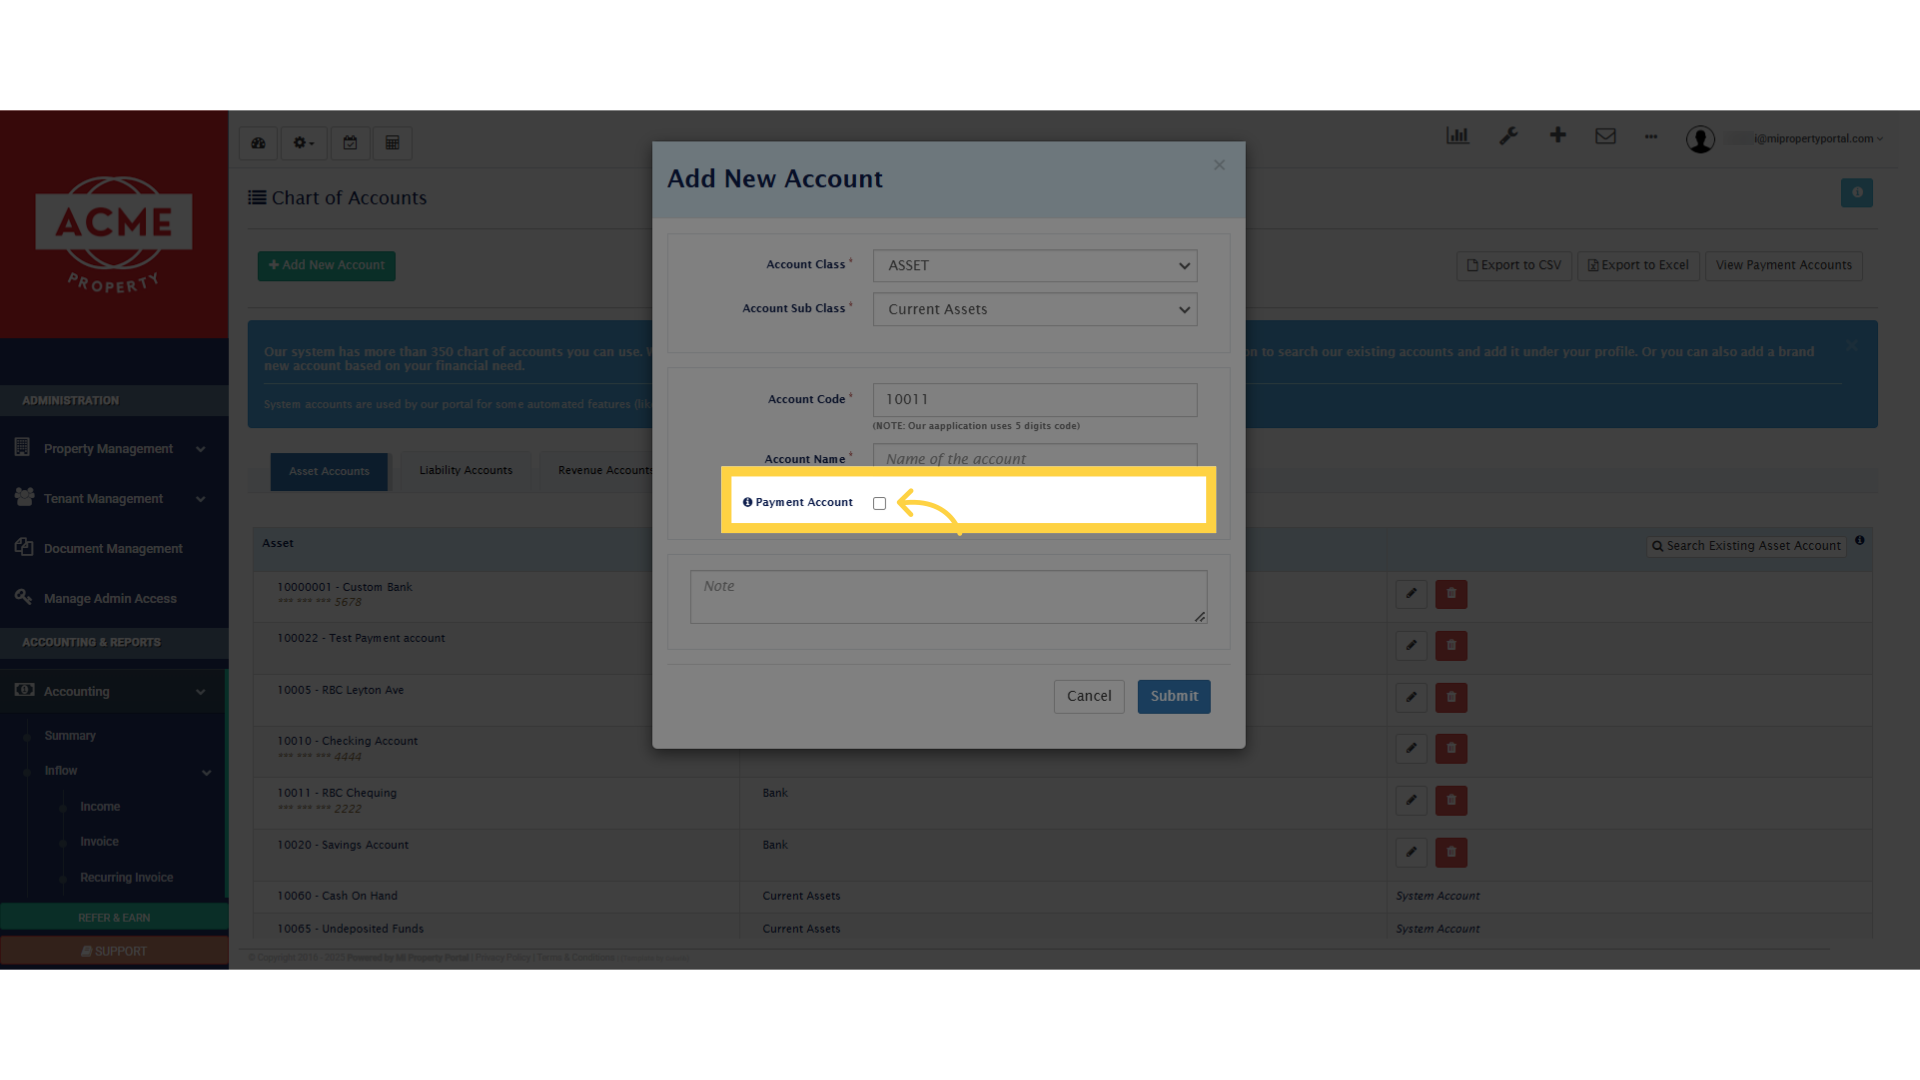
17. Tick mark the “Payment Account” box if this account will be used for deposits or spending money, such as a bank account, credit card, or line of credit
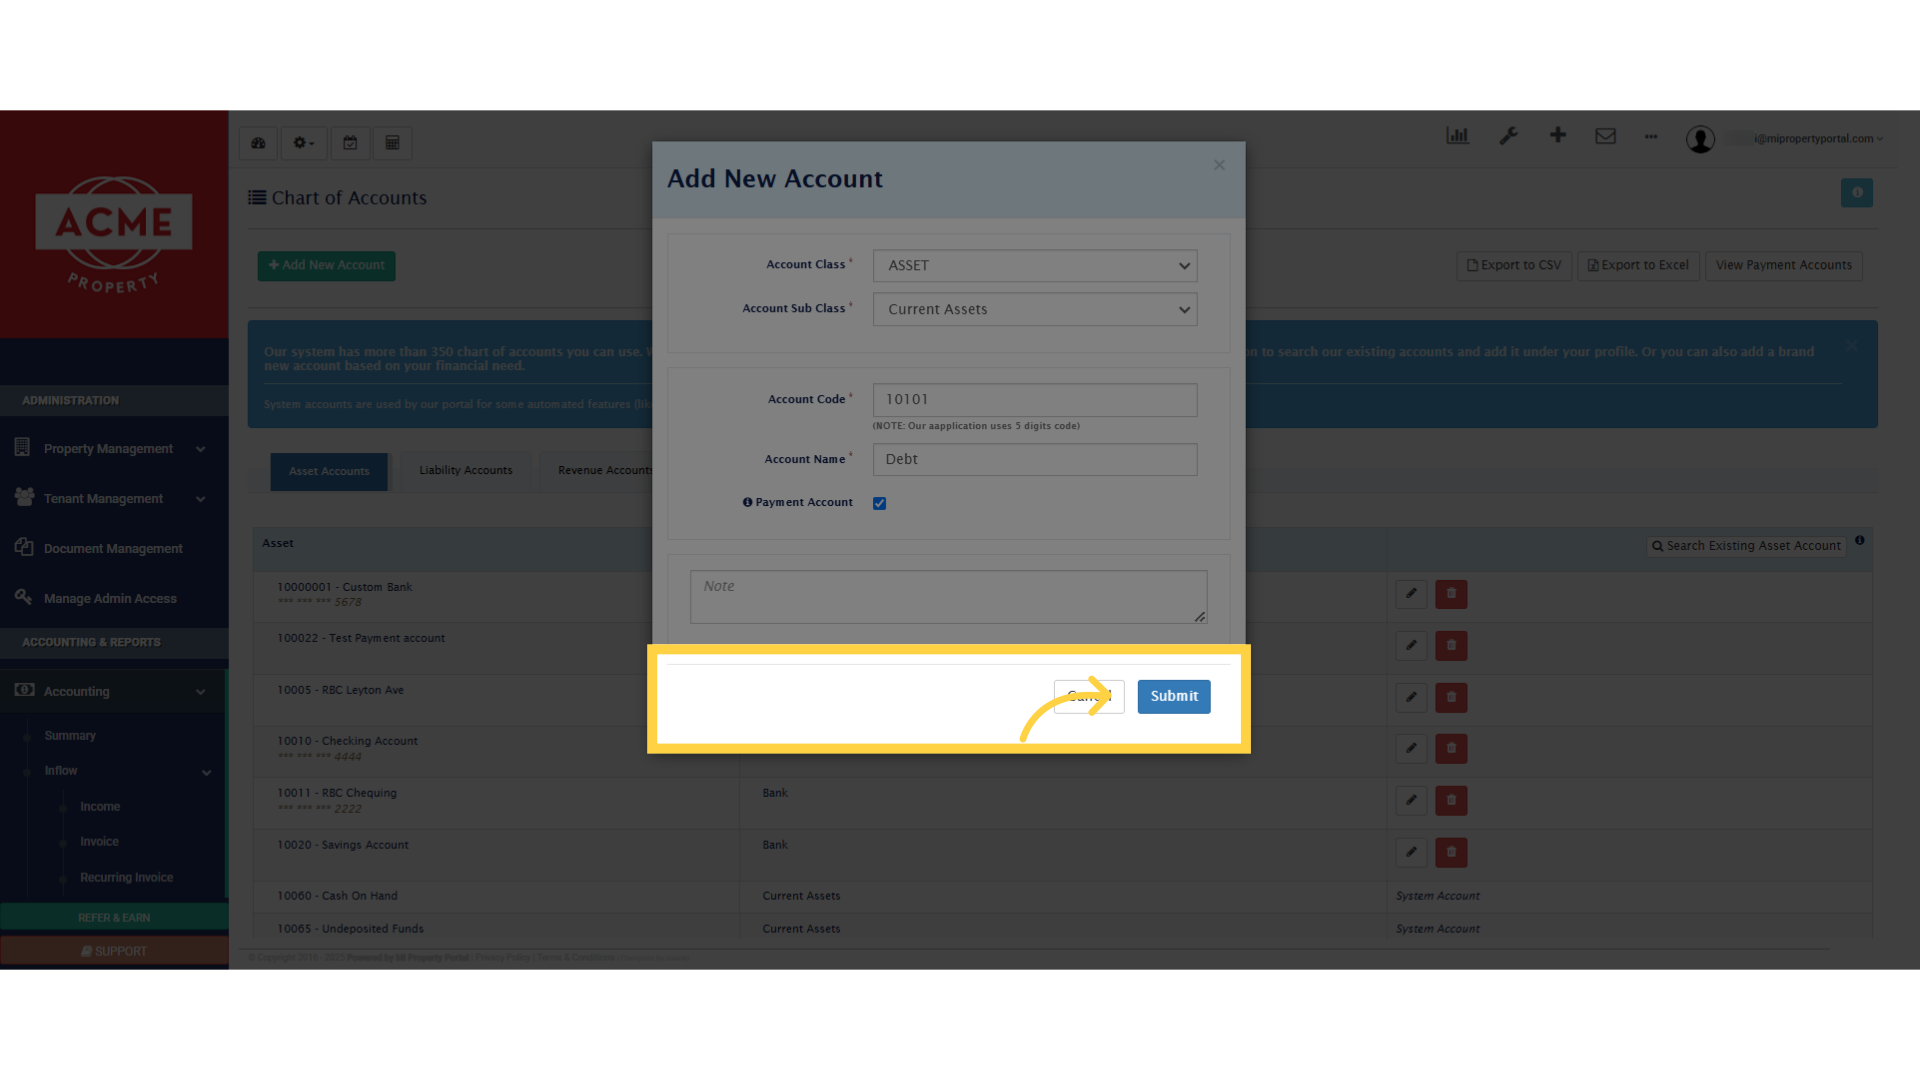
18. Add a note if needed

19. And click here to submit
20. That’s it! The account is created and will now appear under the Asset tab
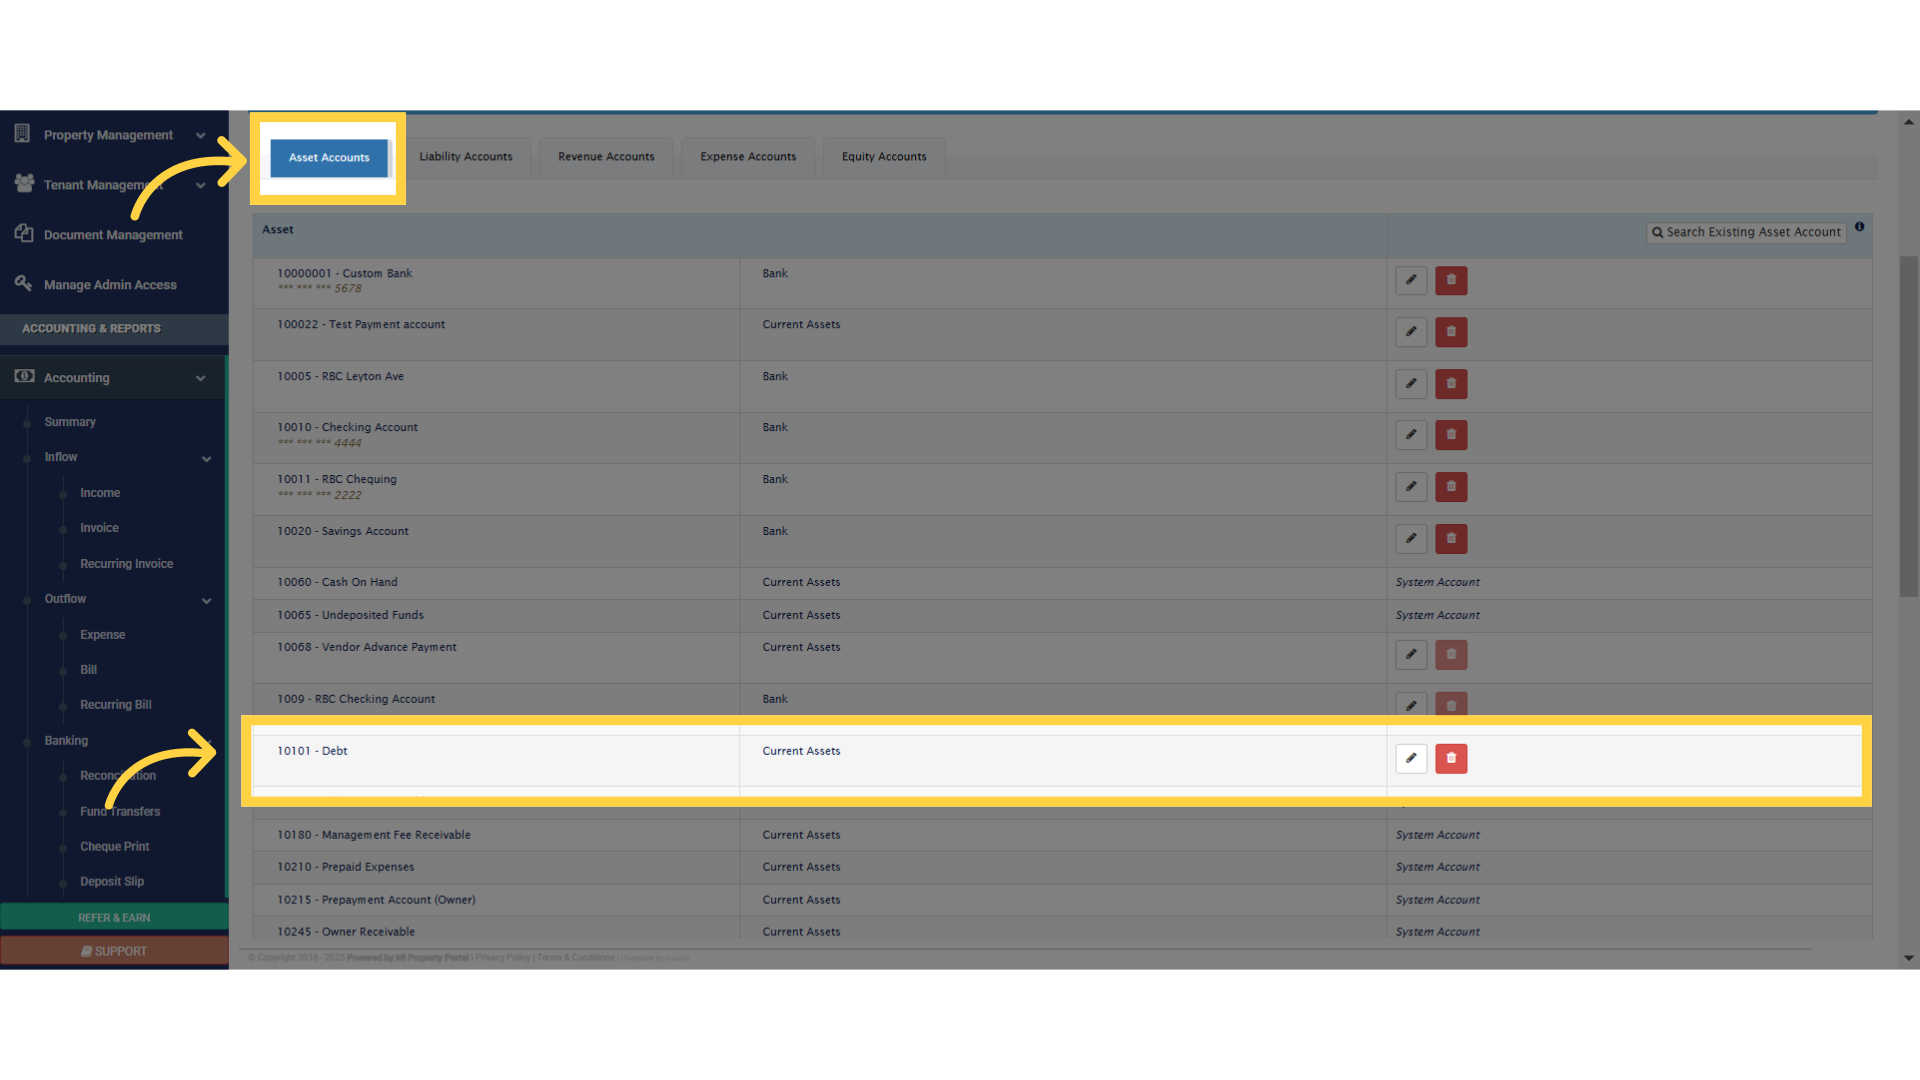
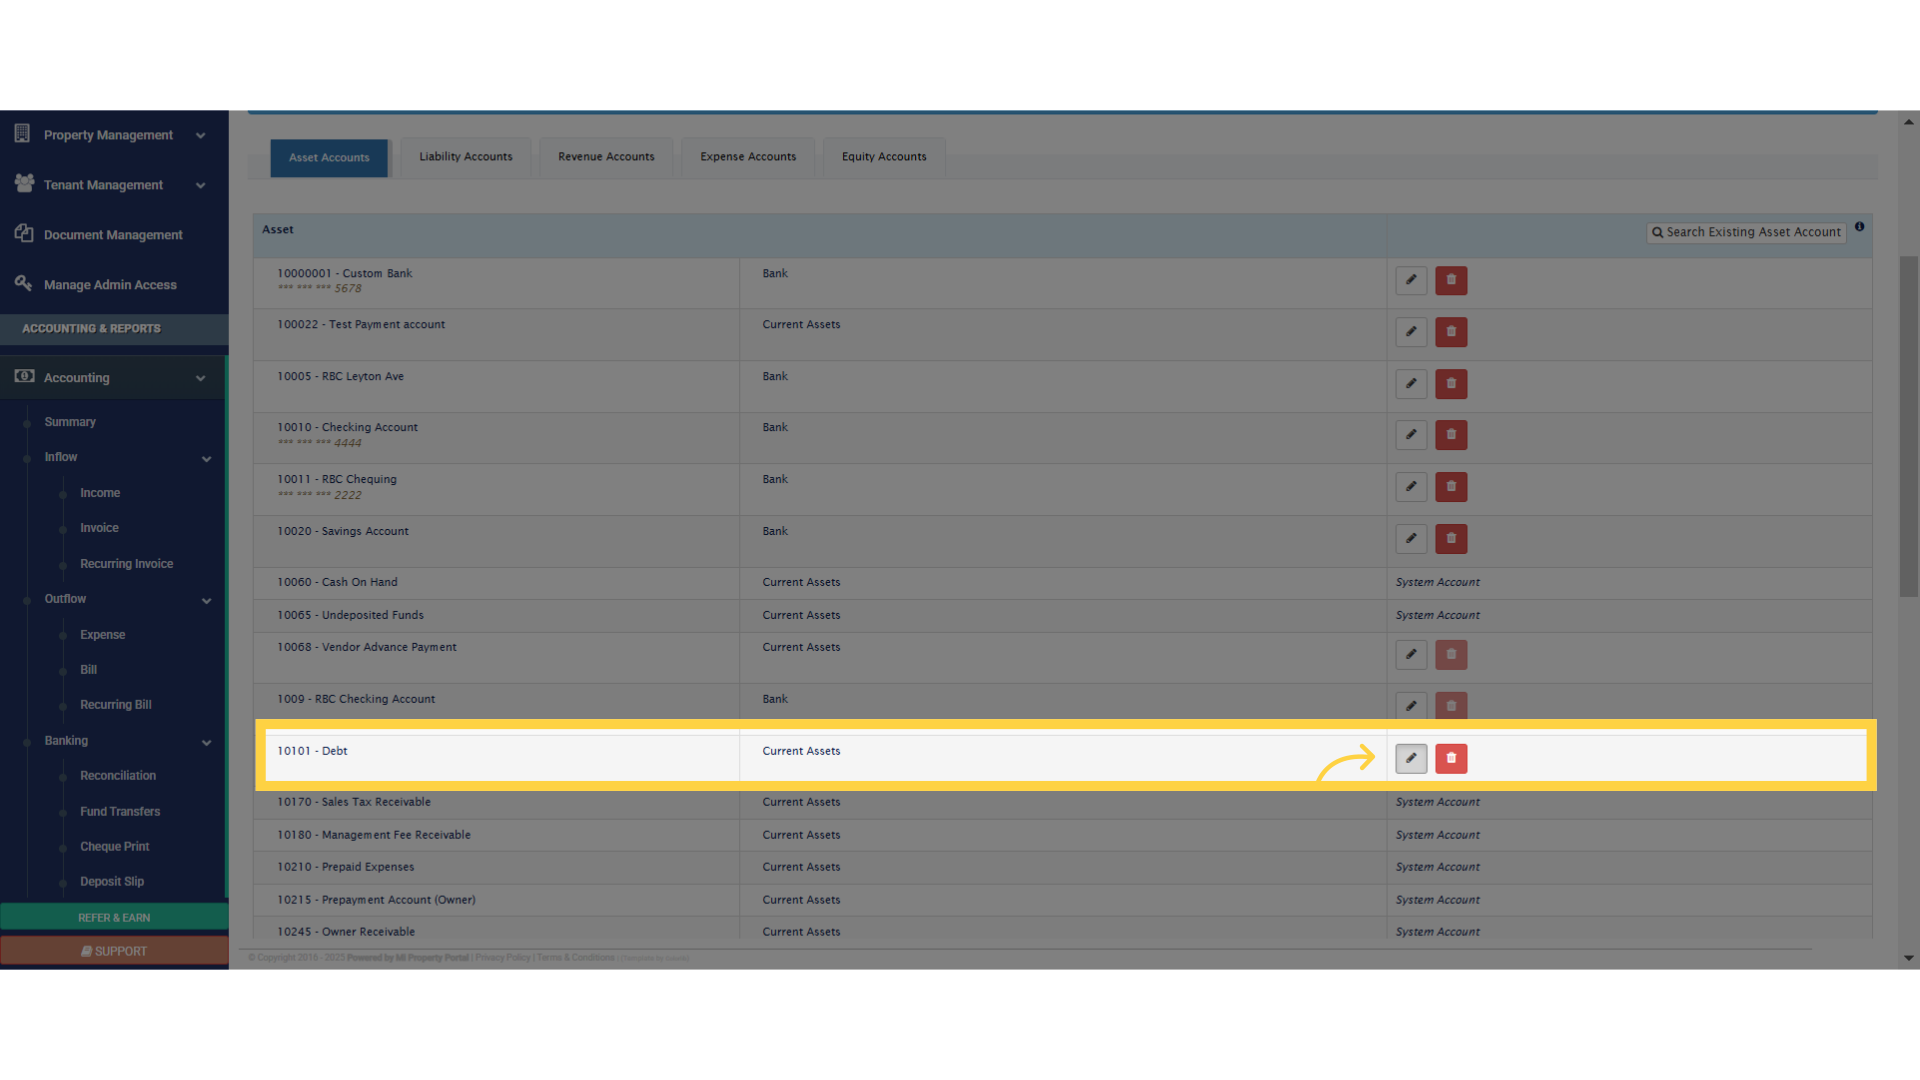
21. Now, to edit an account, simply click on the pencil icon on the far right side of the account
22. Make the necessary changes and click on the Save button
23. To delete an account, just click on the trash icon beside the edit icon
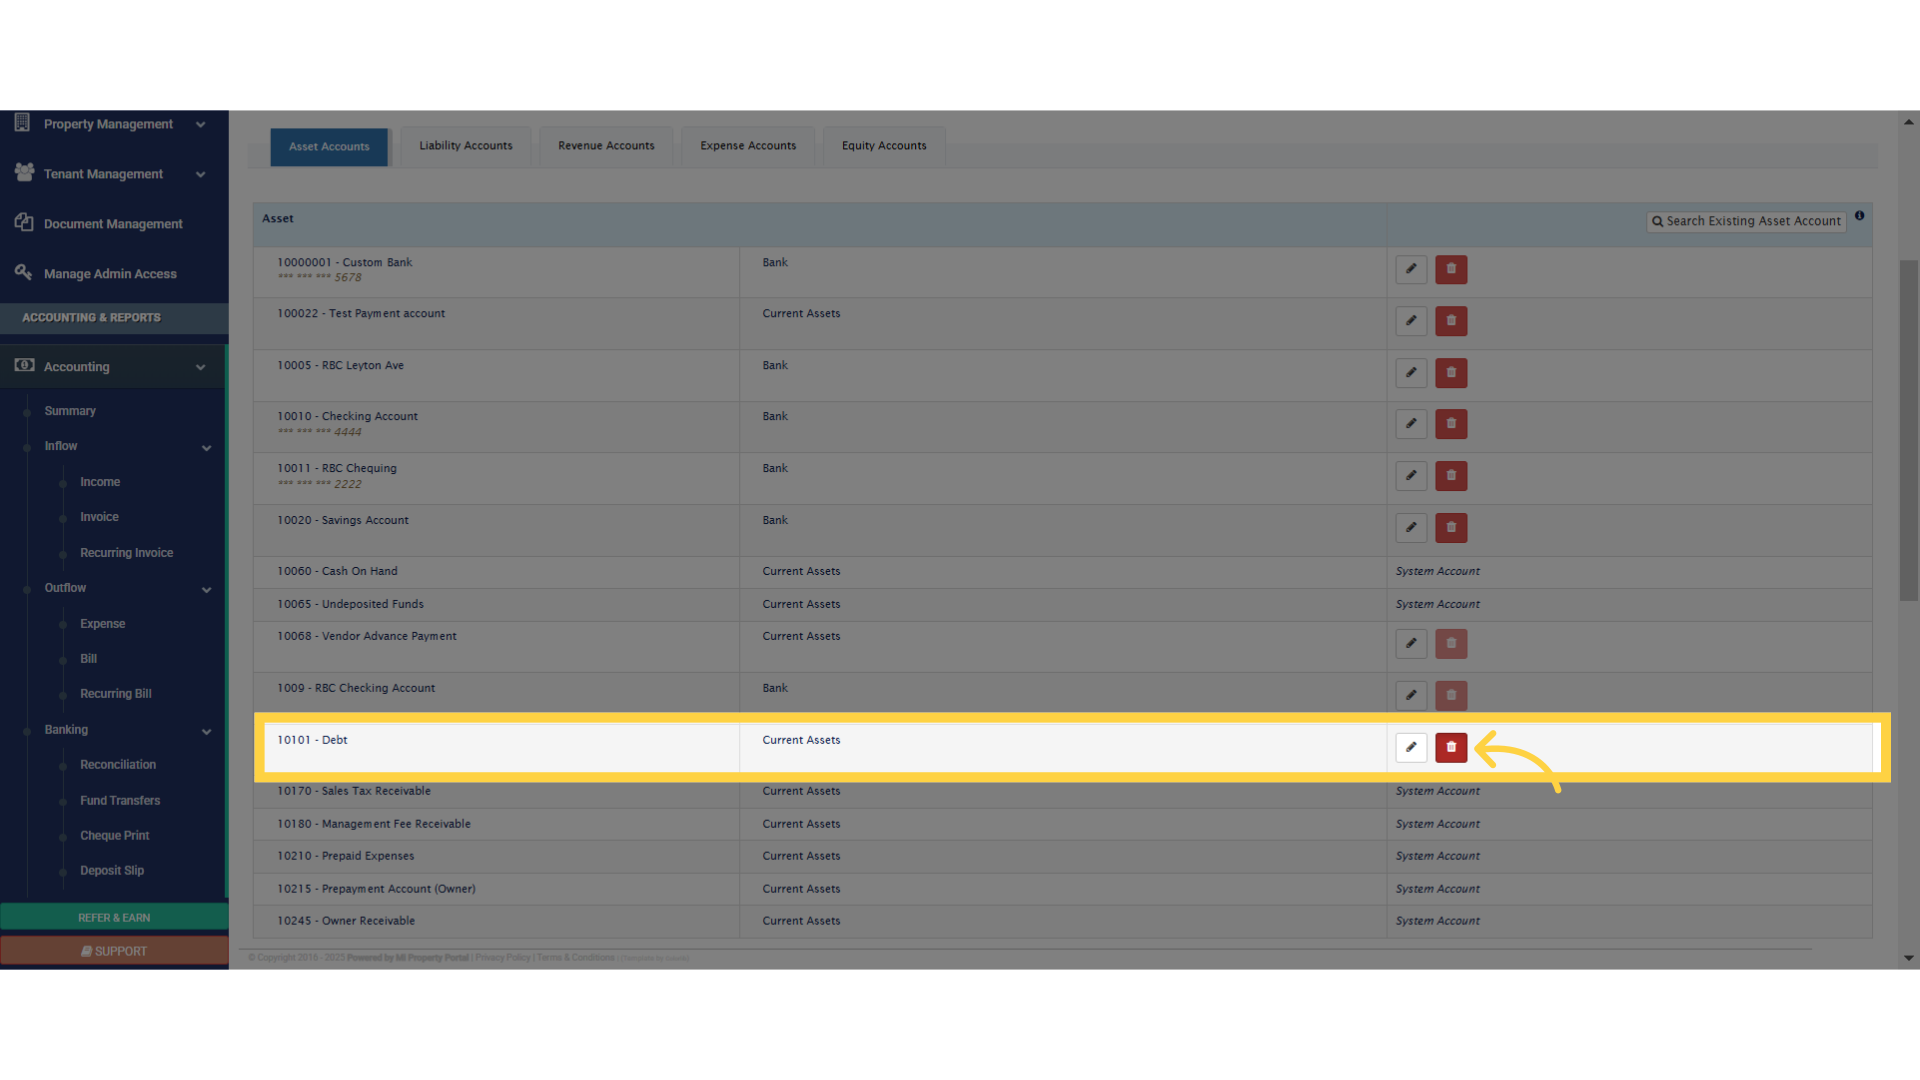
24. Confirm the action by clicking on the Yes button

25. However, some chart of accounts cannot be deleted as they are required, and they are marked as System Account. As well as, If a transaction is logged under a particular account, it cannot be deleted. You won’t be able to remove a chart of account that has related transactions to it

And that’s all about finding, adding, editing, and deleting chart of accounts in our system. Ready to watch the next one?