How to Create Inspection (Different Types)?
167 views 0 December 1, 2022 Updated on May 19, 2025 mippsupportadmin
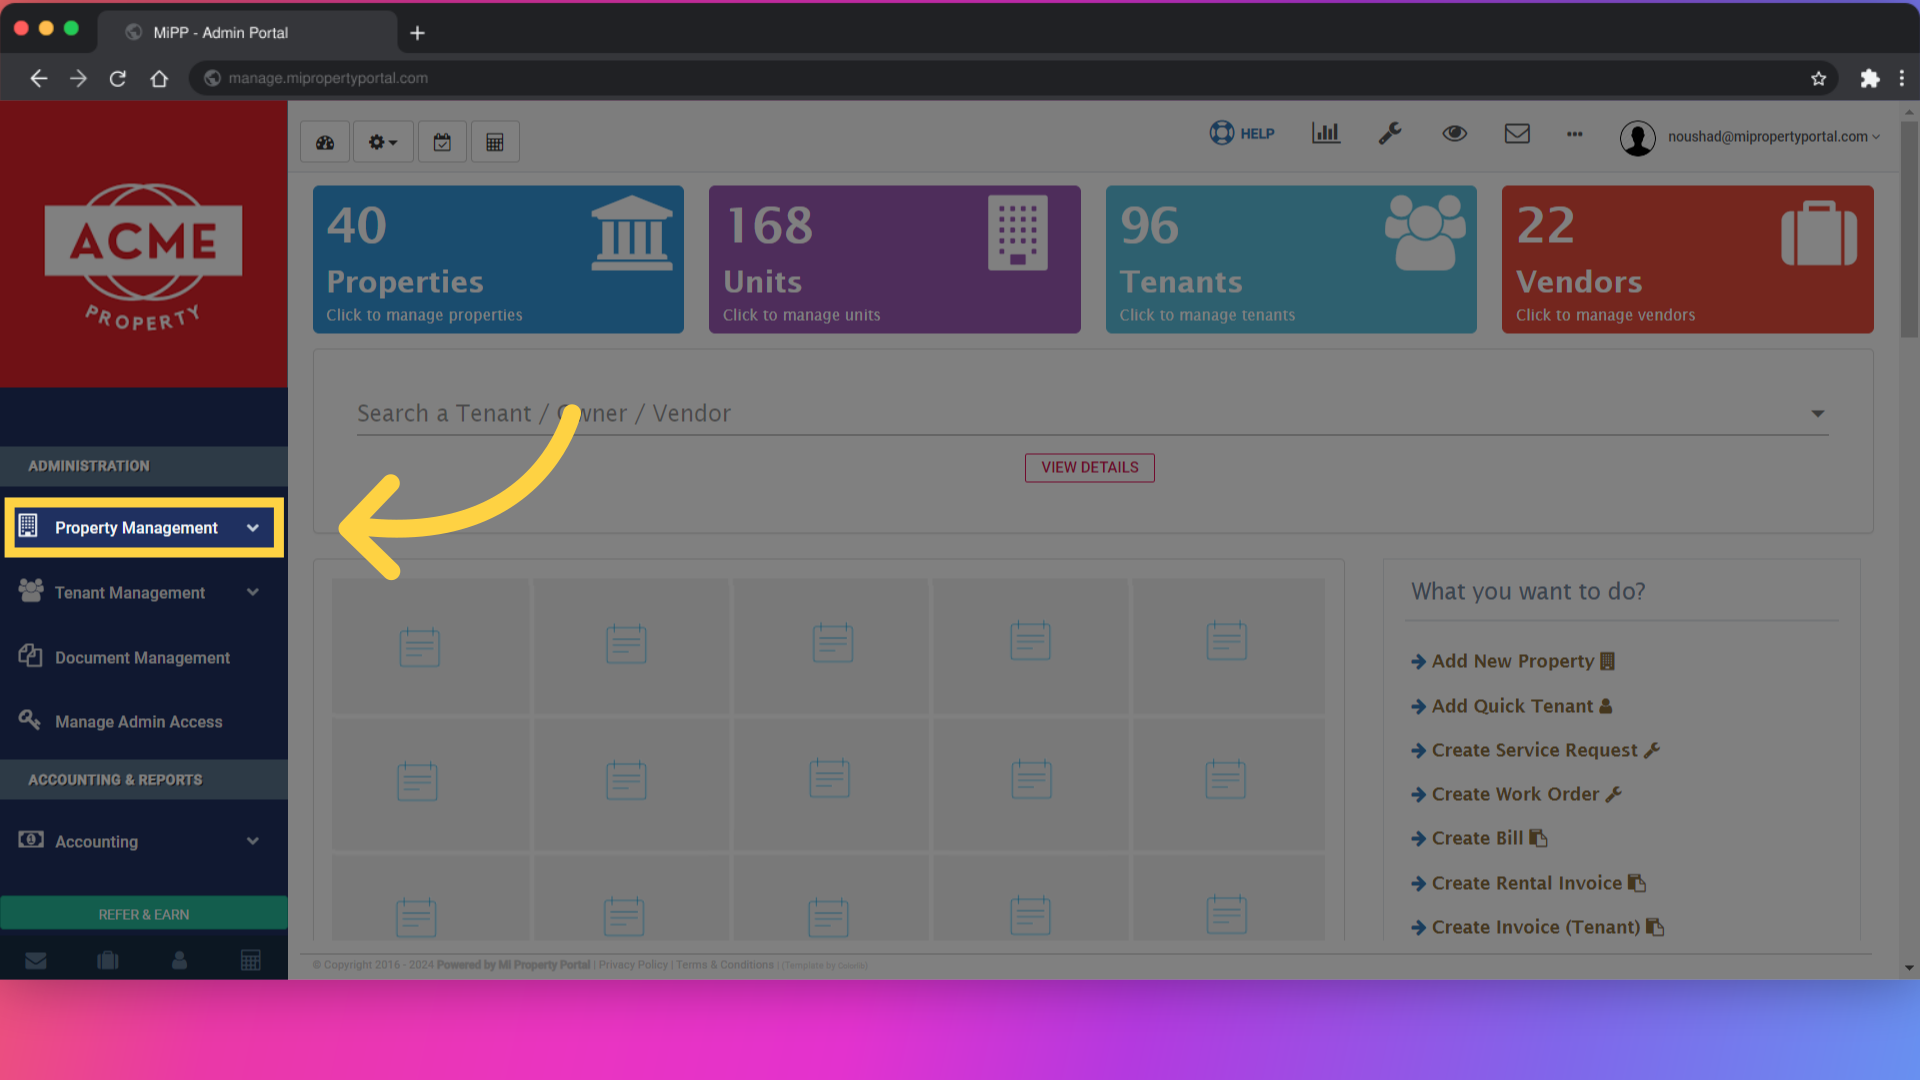
1. Click on “Property Management” dropdown under “Administration”
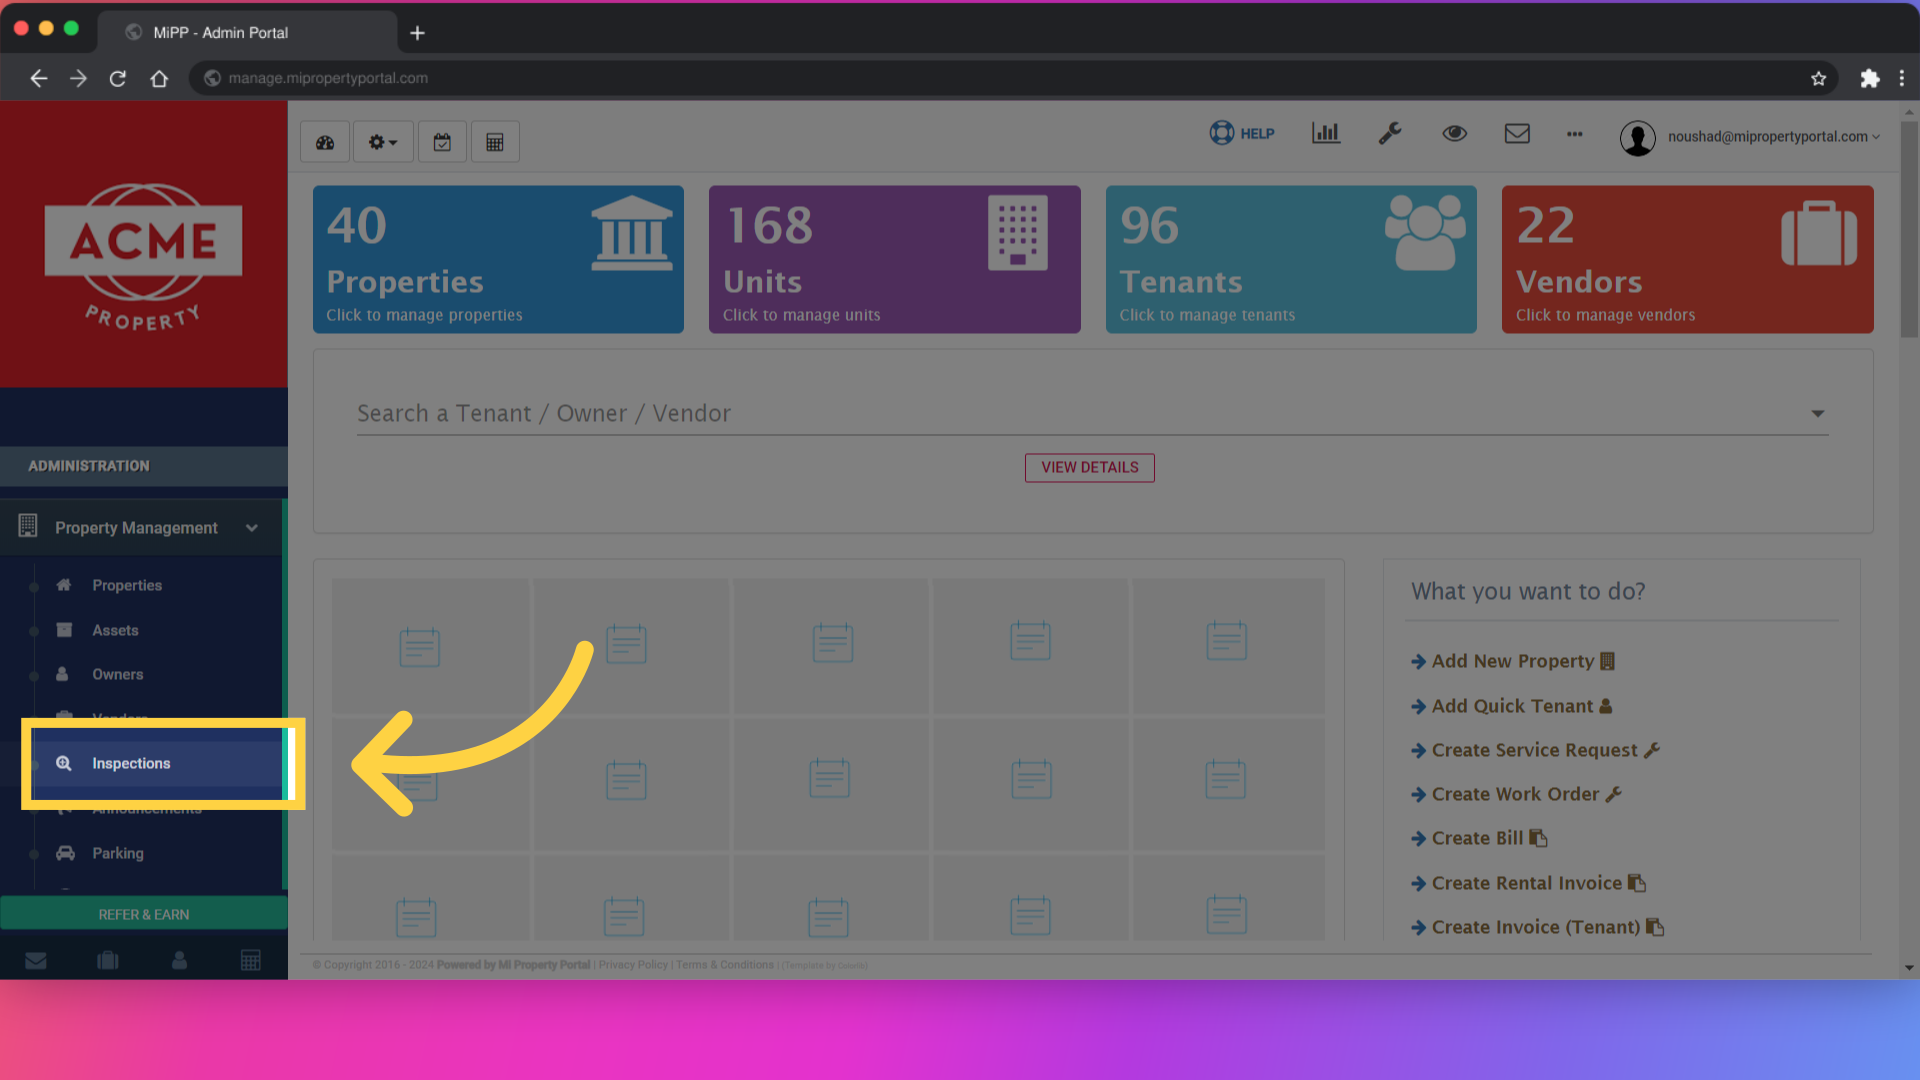
2. Click on “Inspections.”
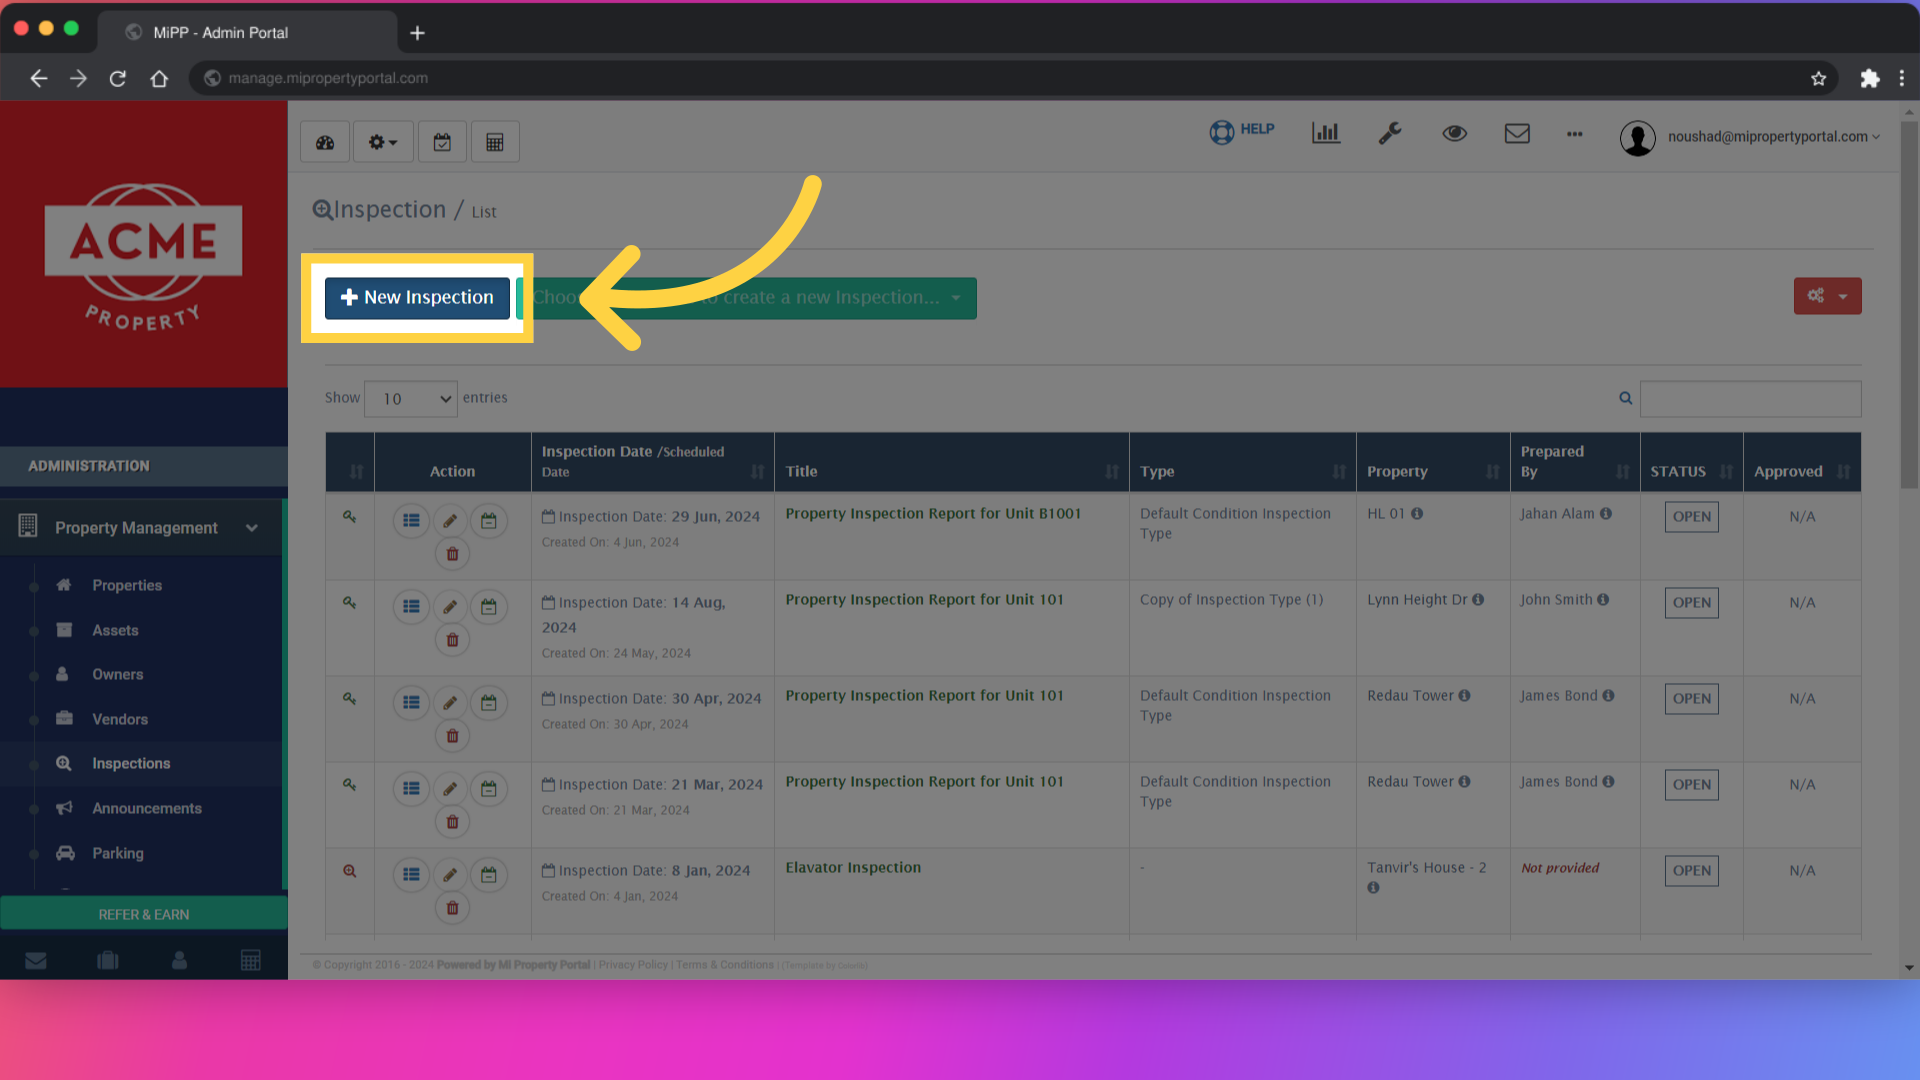
3. Click on the “+ New Inspection” button on the left under the “Inspection/List” header

4. Select “Move-In/Move-Out”

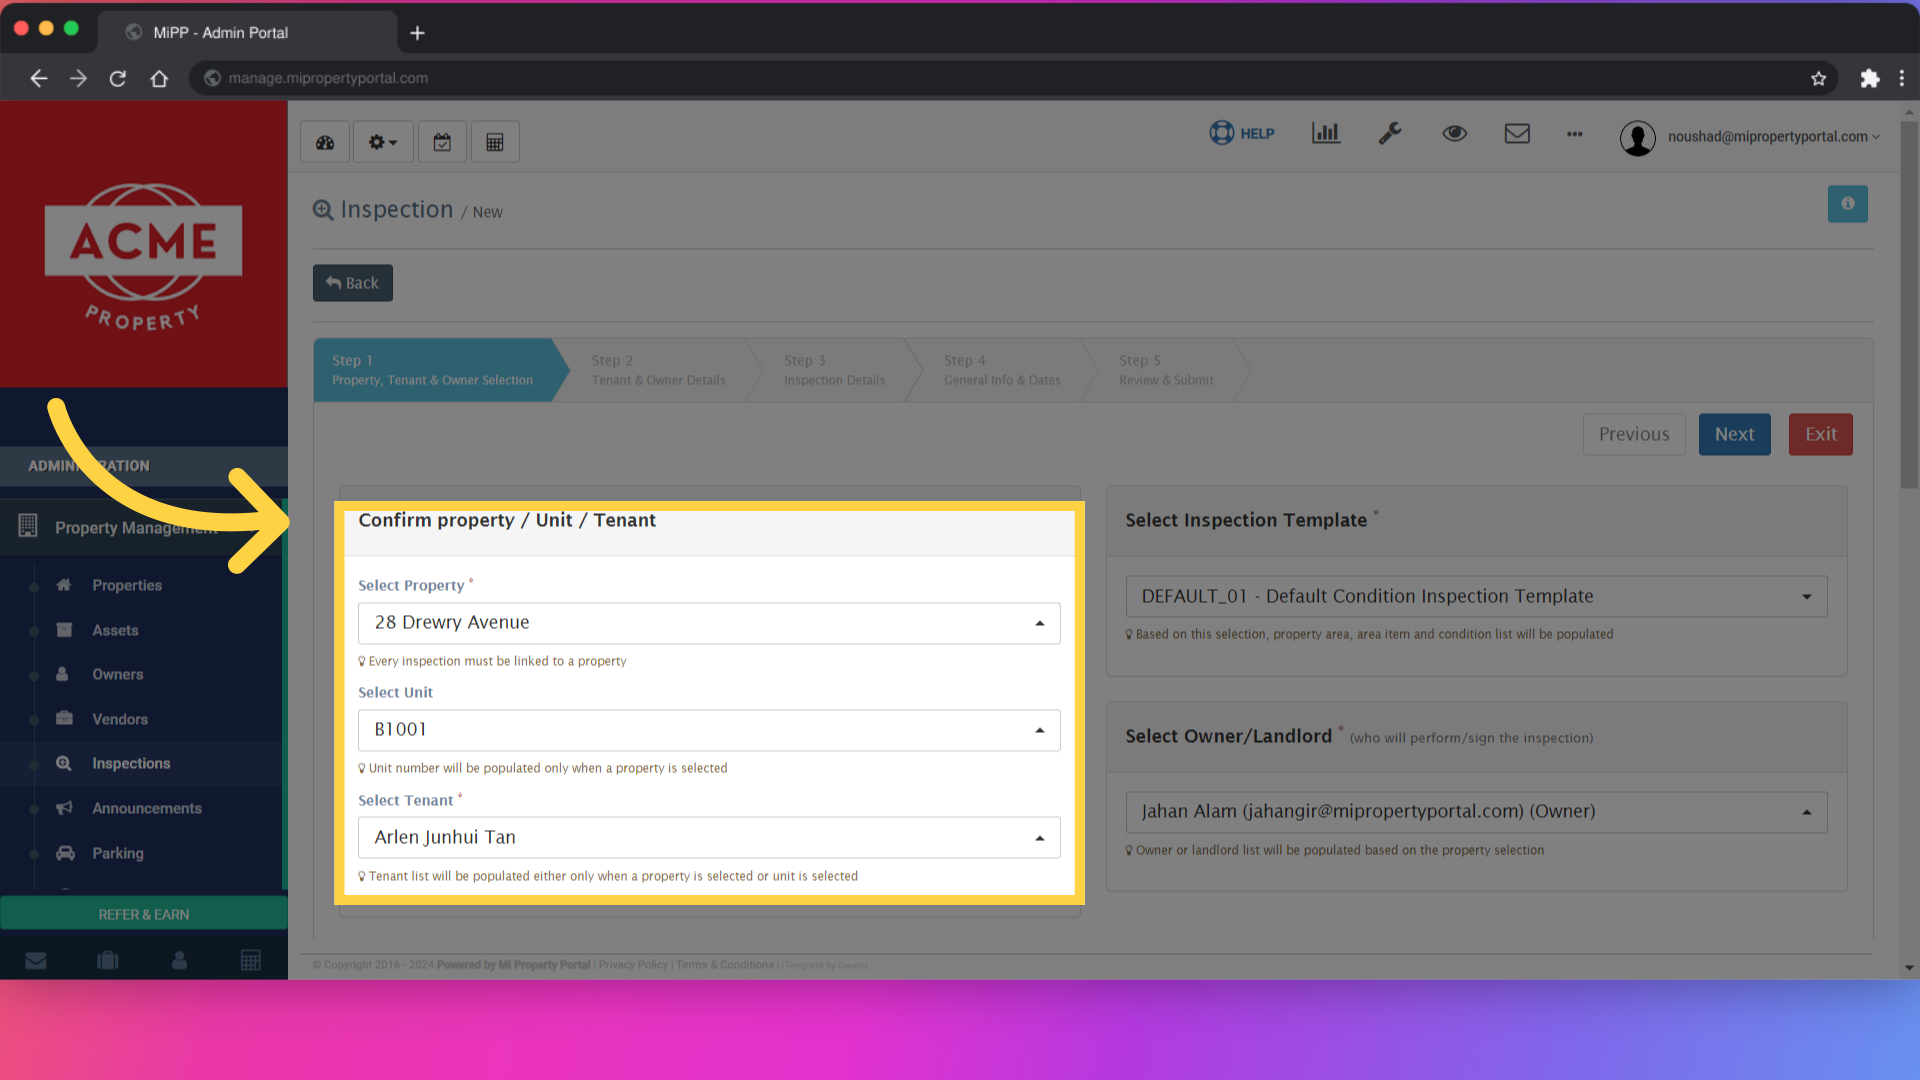
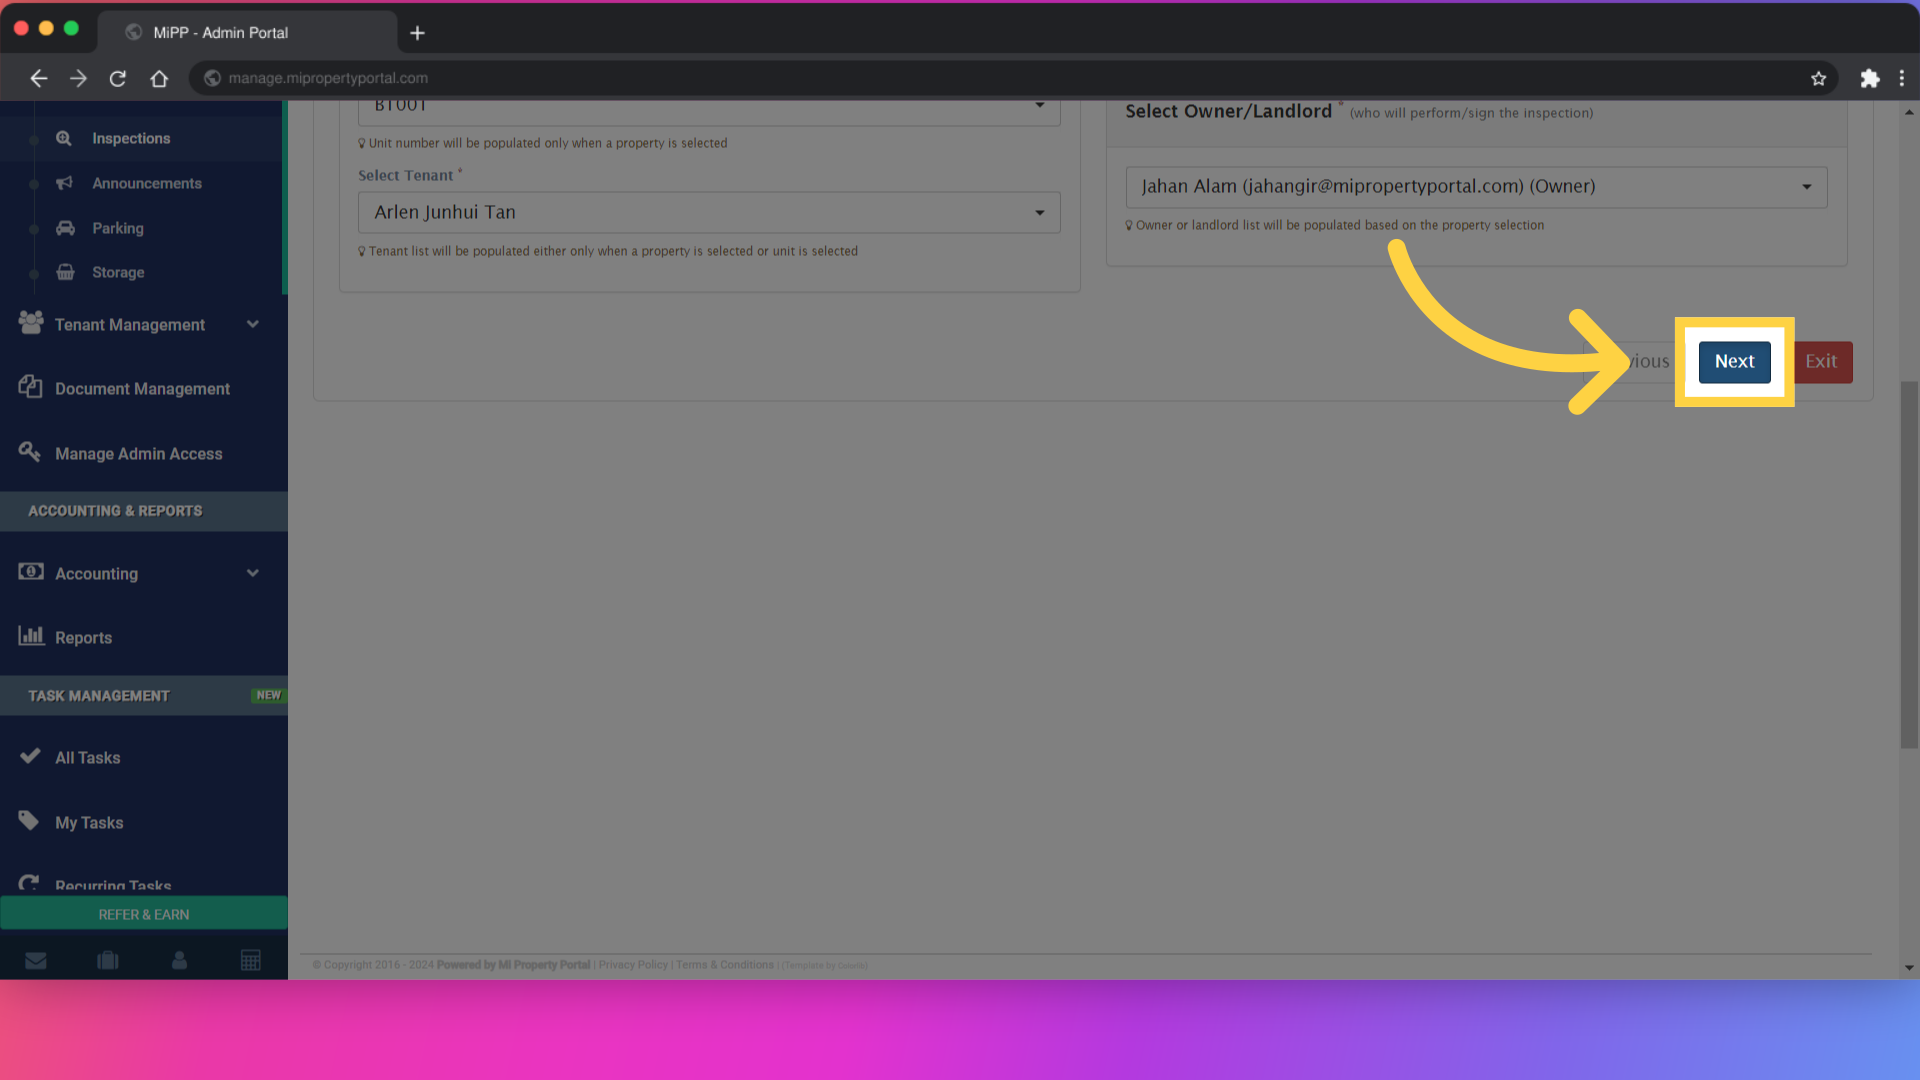
5. Fill out all the fields under “Confirm Property / Unit / Tenant.”
6. Click on “Next”
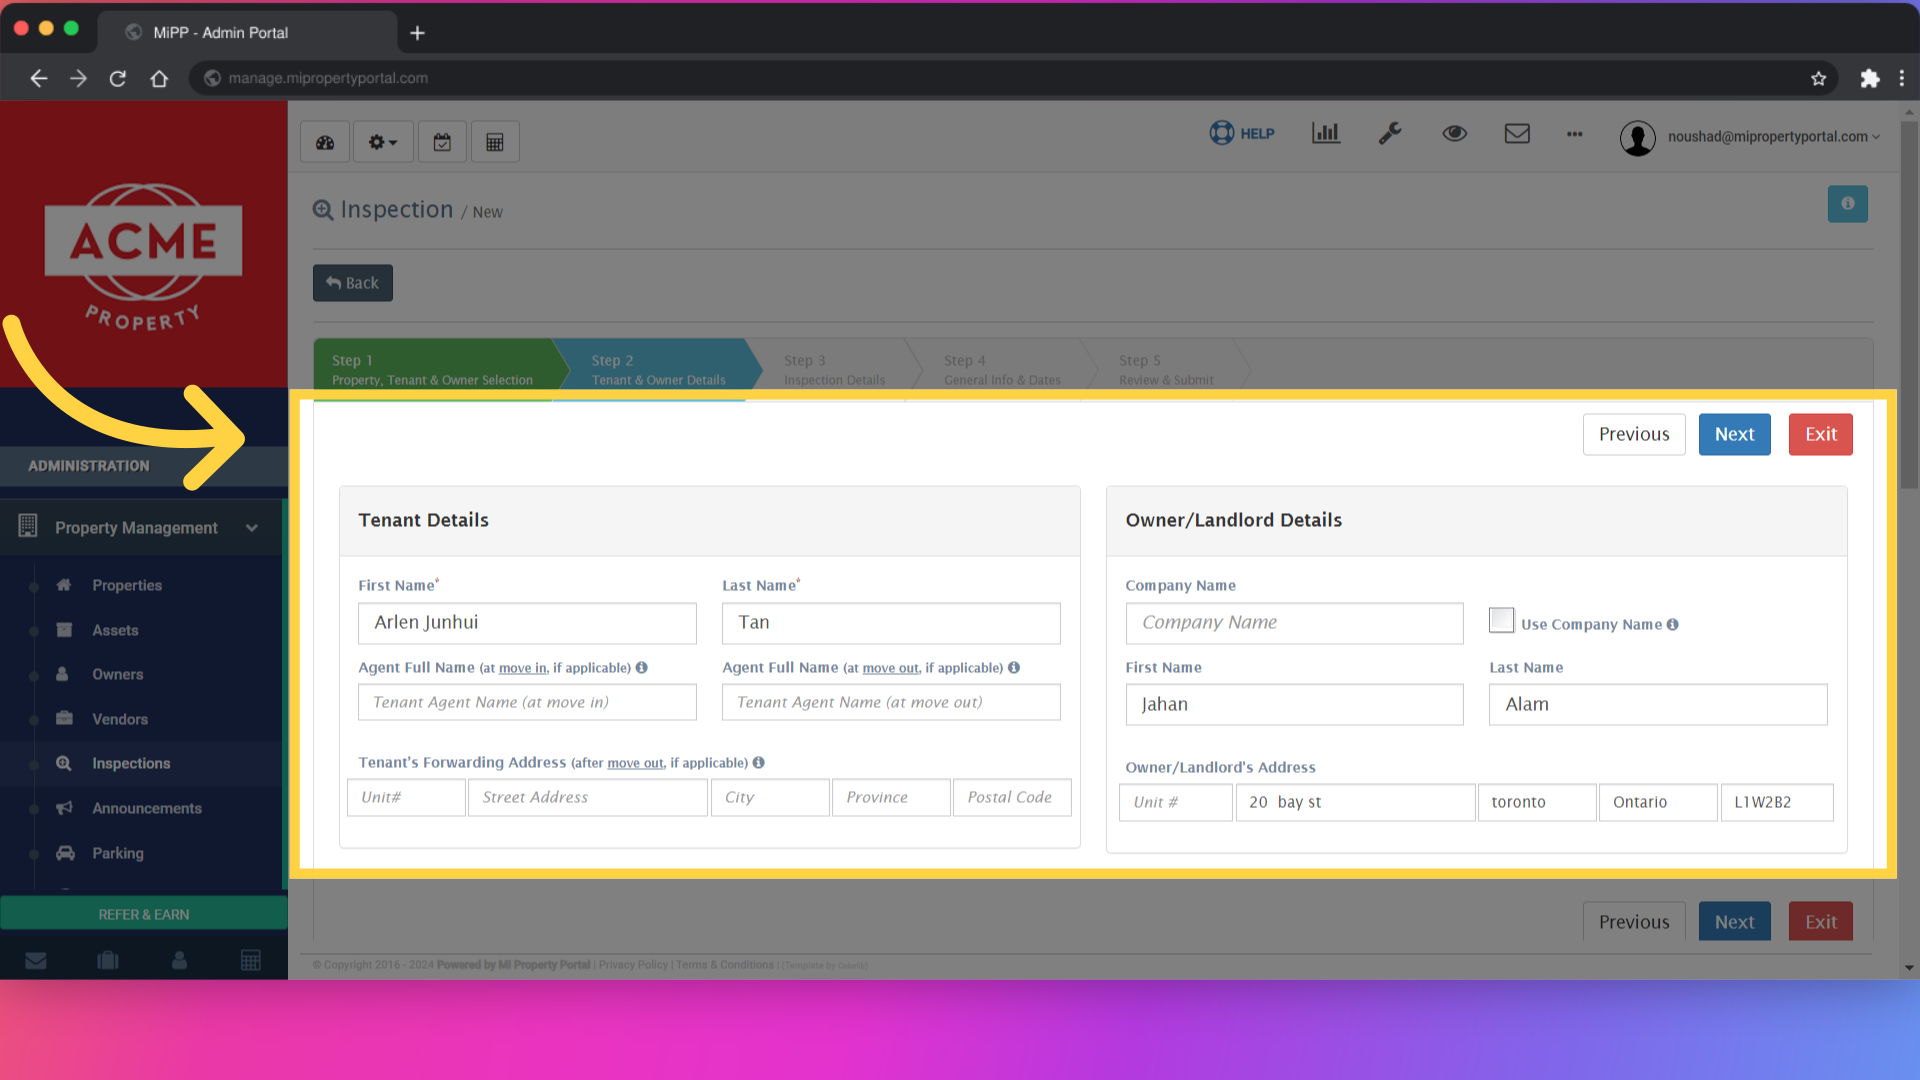
7. In “Step 2,” fill in the fields under “Tenant Details” and “Owner/Landlord Details”
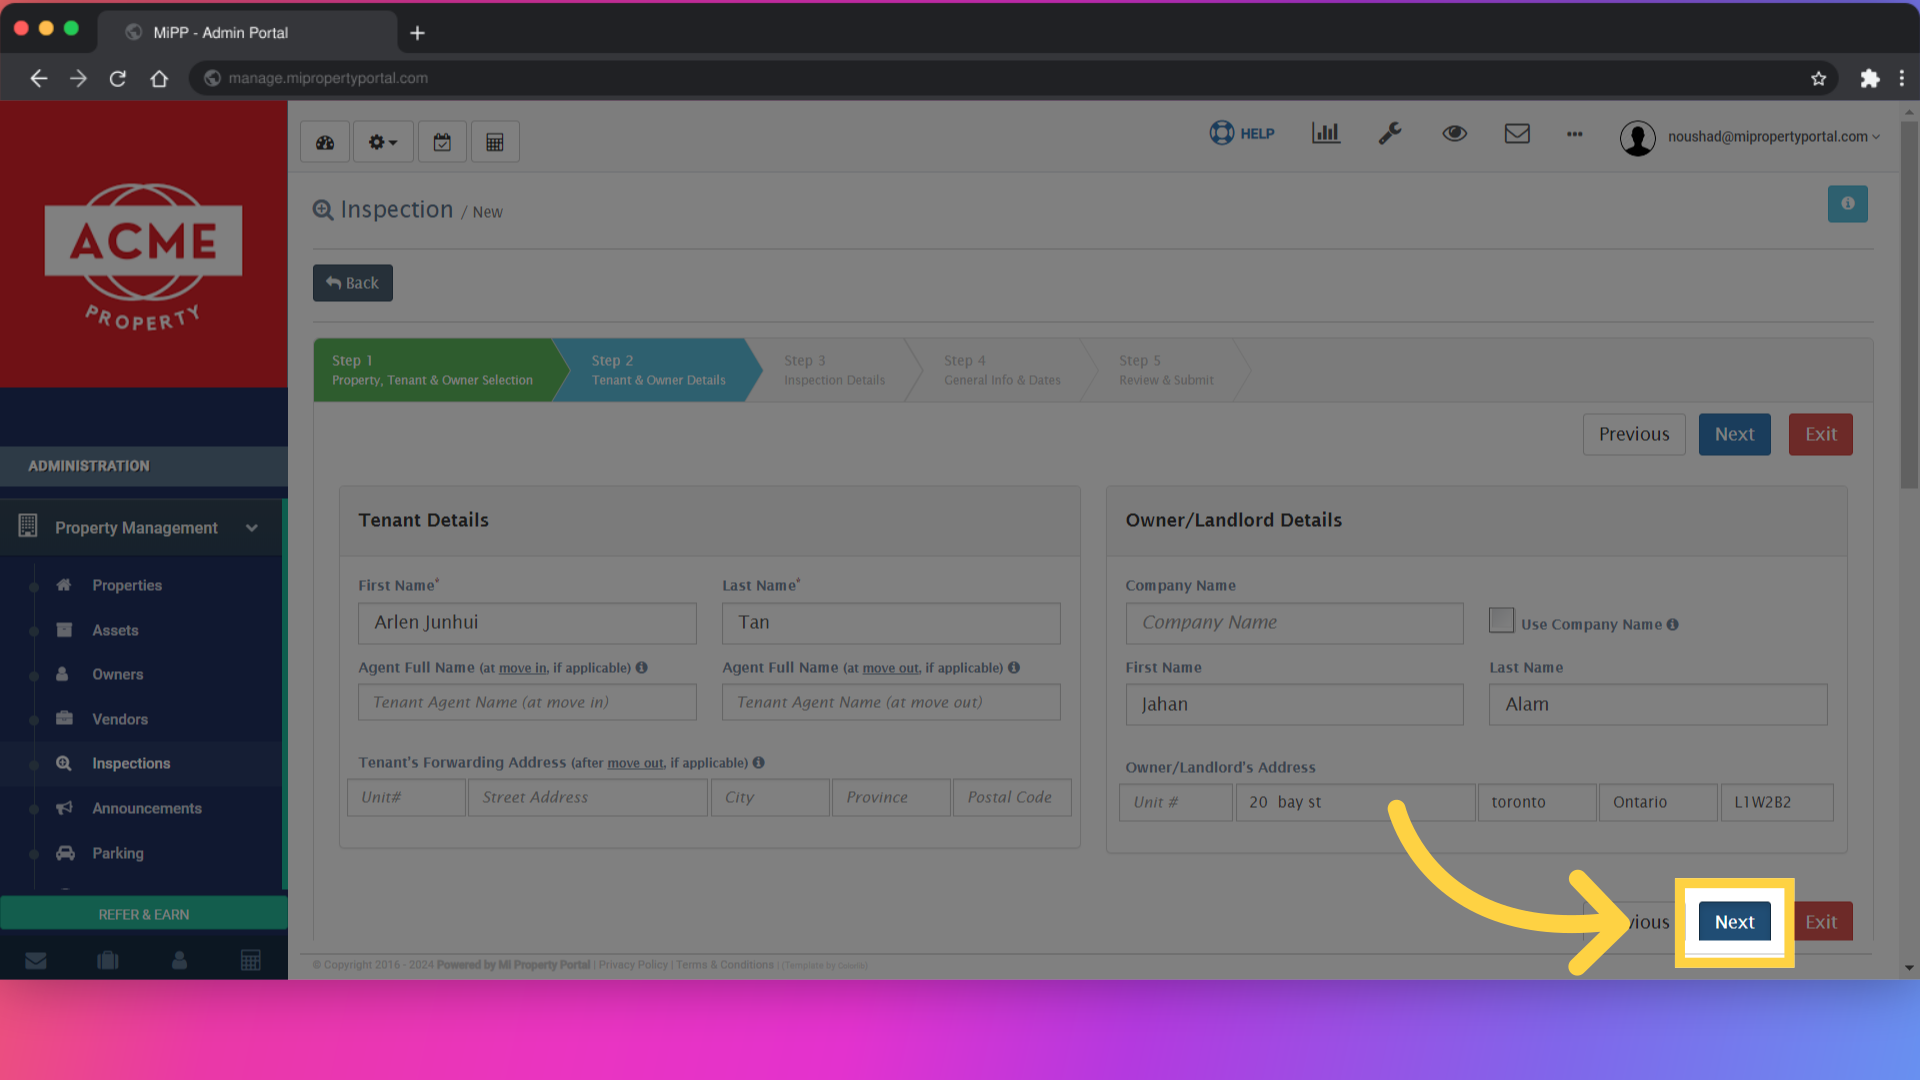
8. Click on “Next”
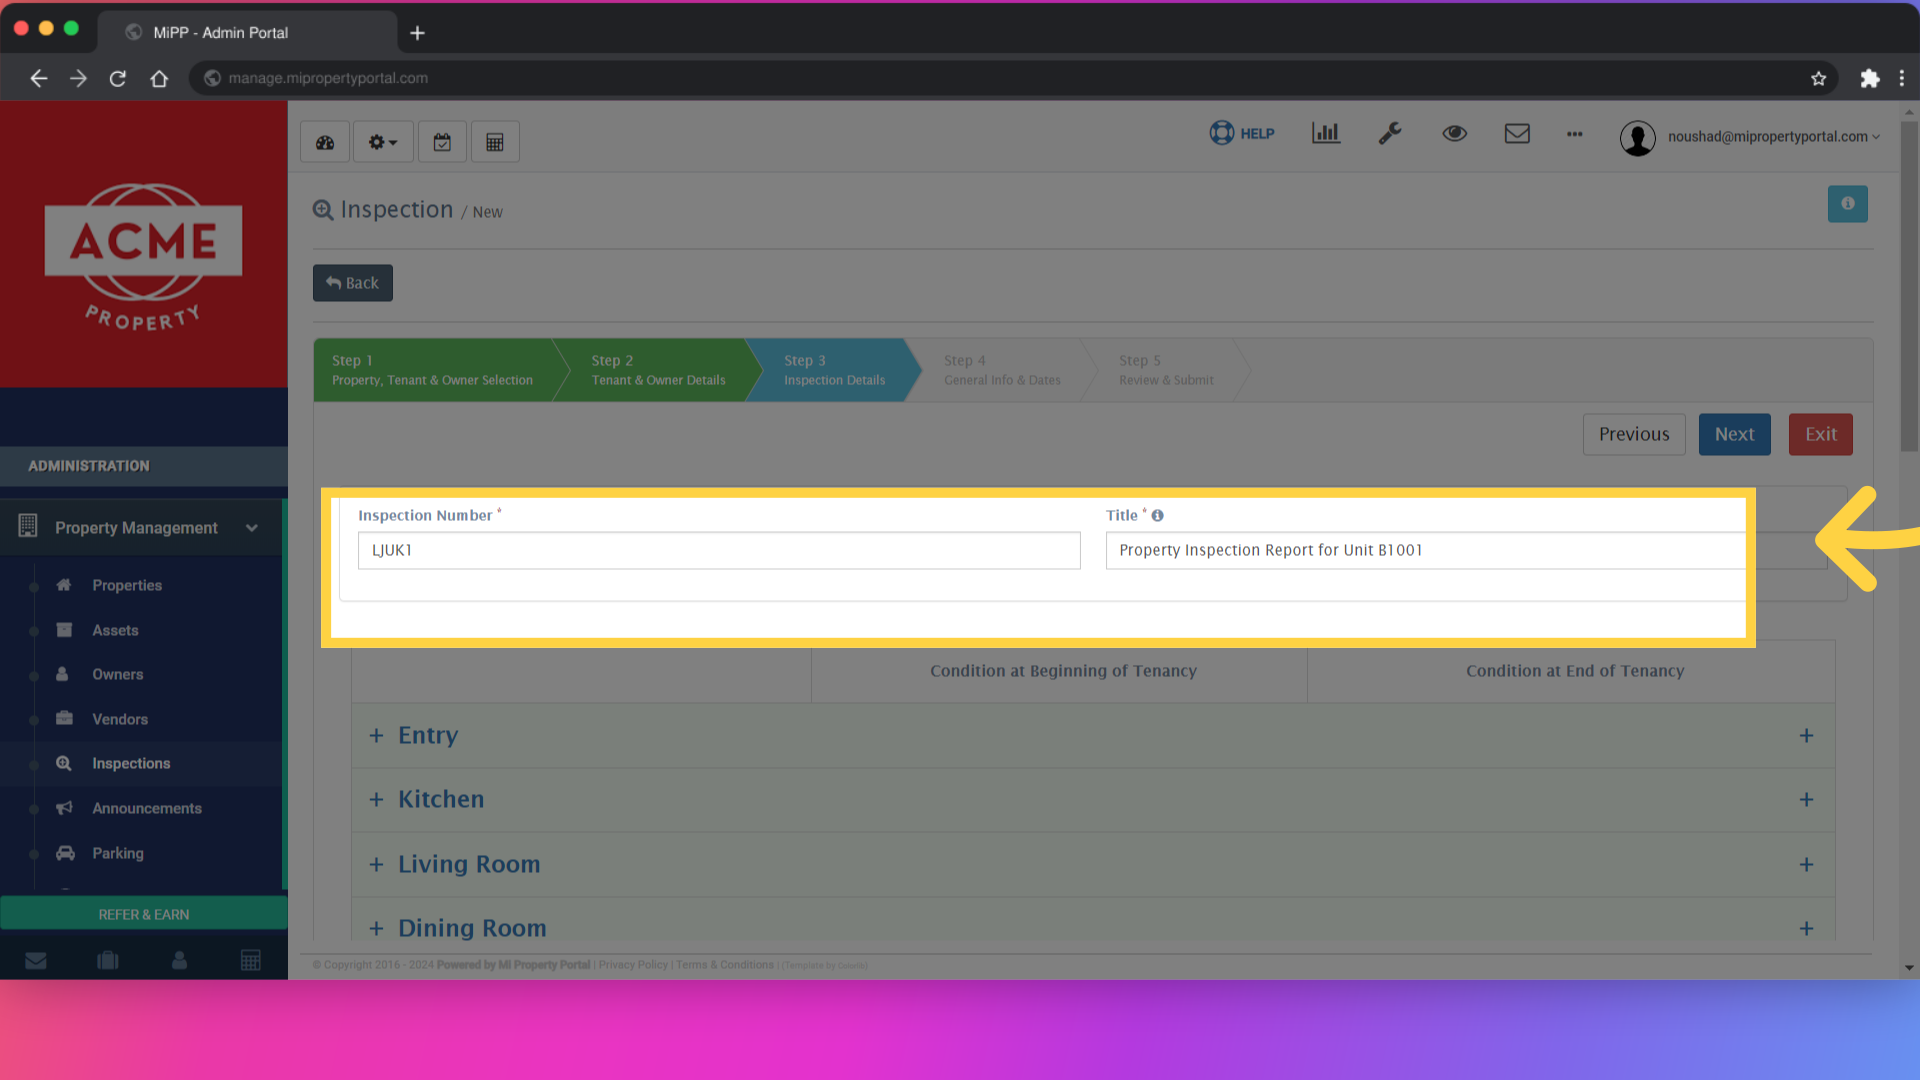
9. fill in the fields under “Inspection Number” and “Title.” Then Scroll down
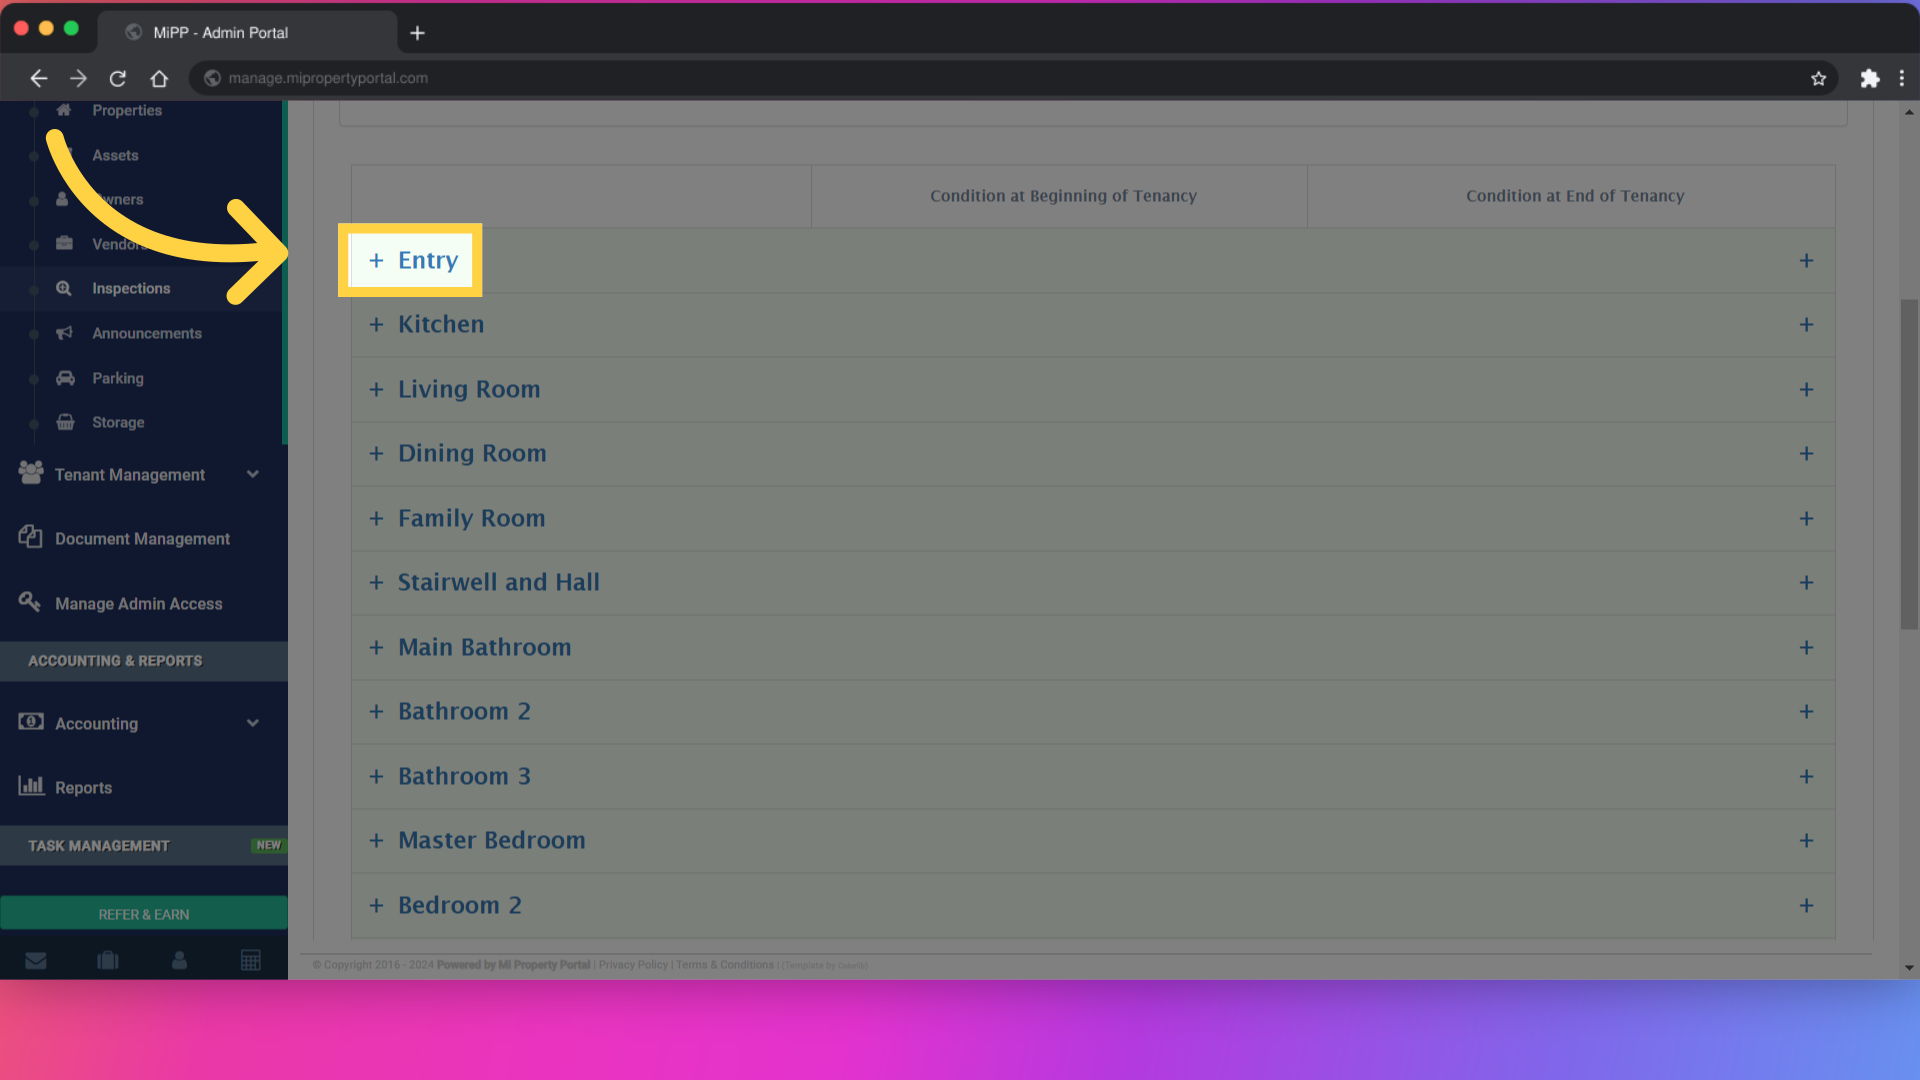
10. Click on the any “+” icon beside the options
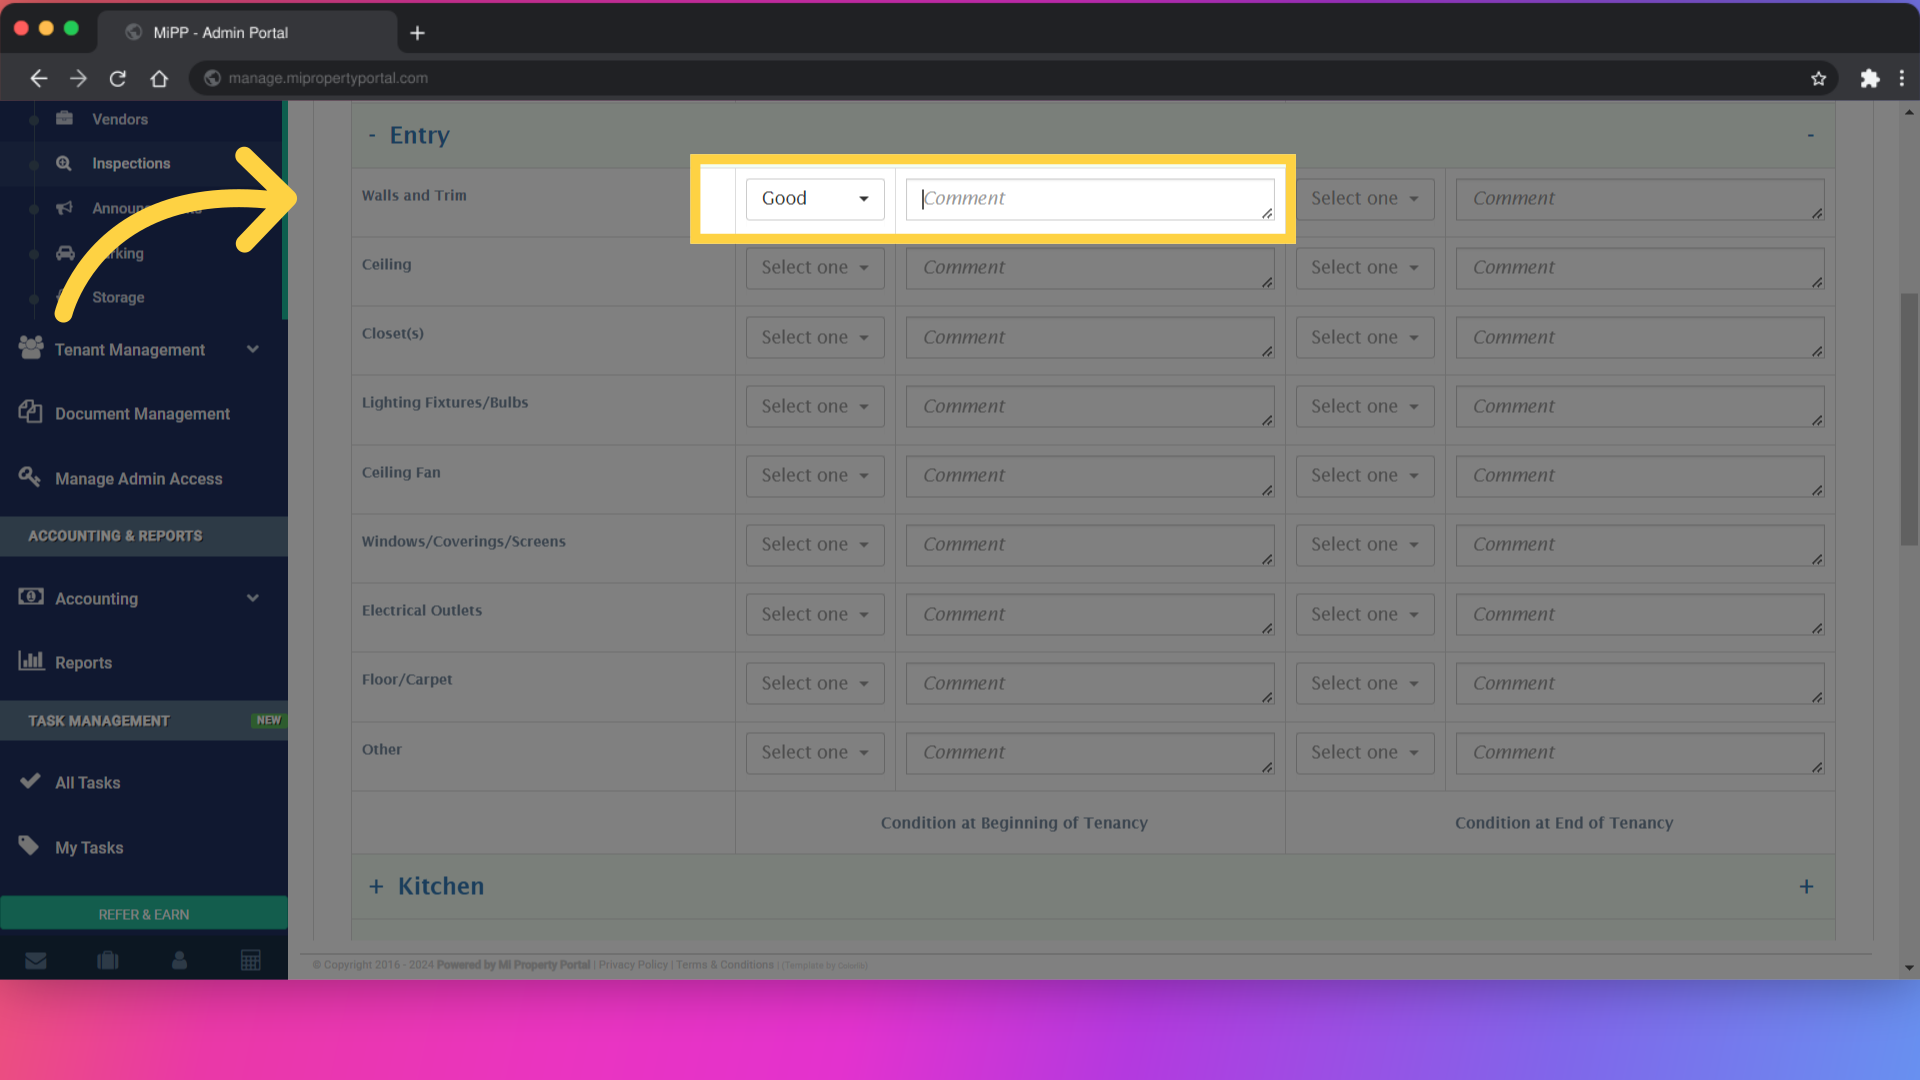
11. Use the “Good” dropdown to select the appropriate condition and add comments
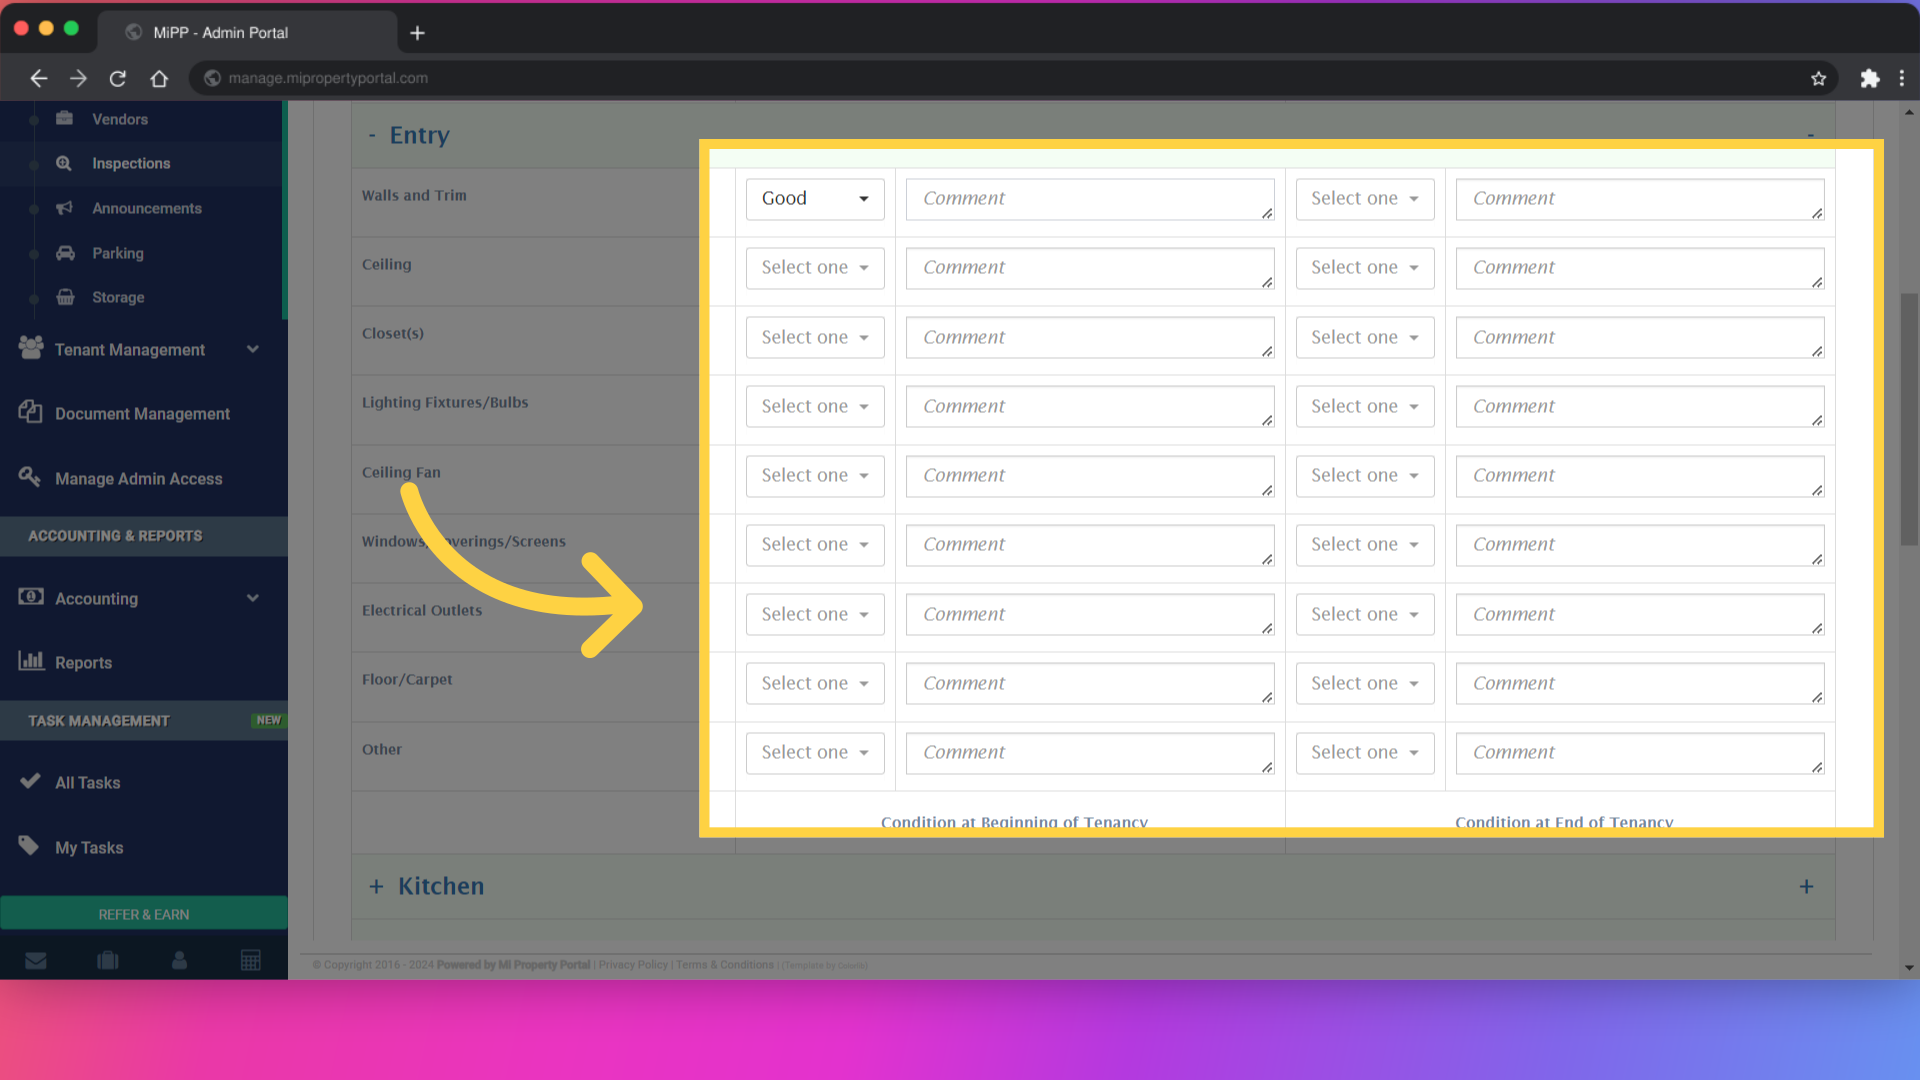
12. Fill out the “Condition at Beginning of Tenancy” and “Condition at End of Tenancy”
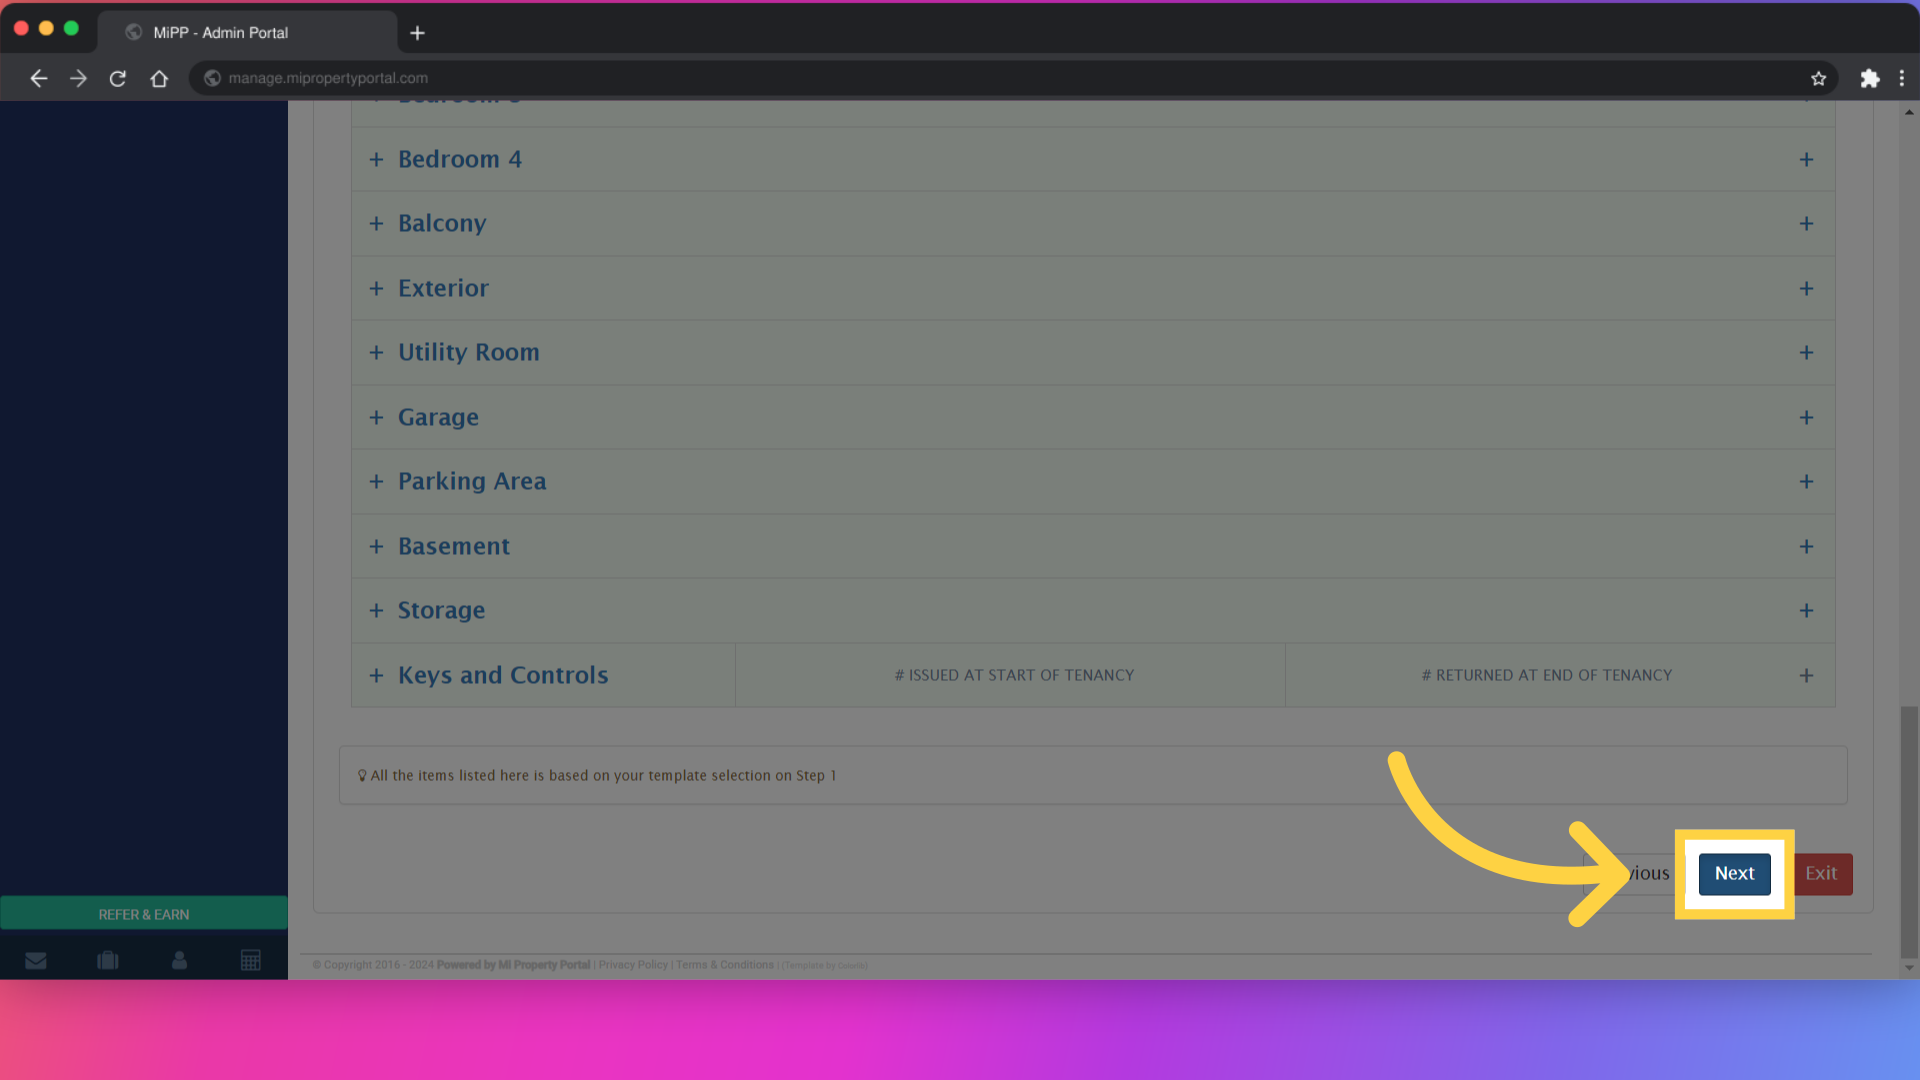
13. Click on “Next”
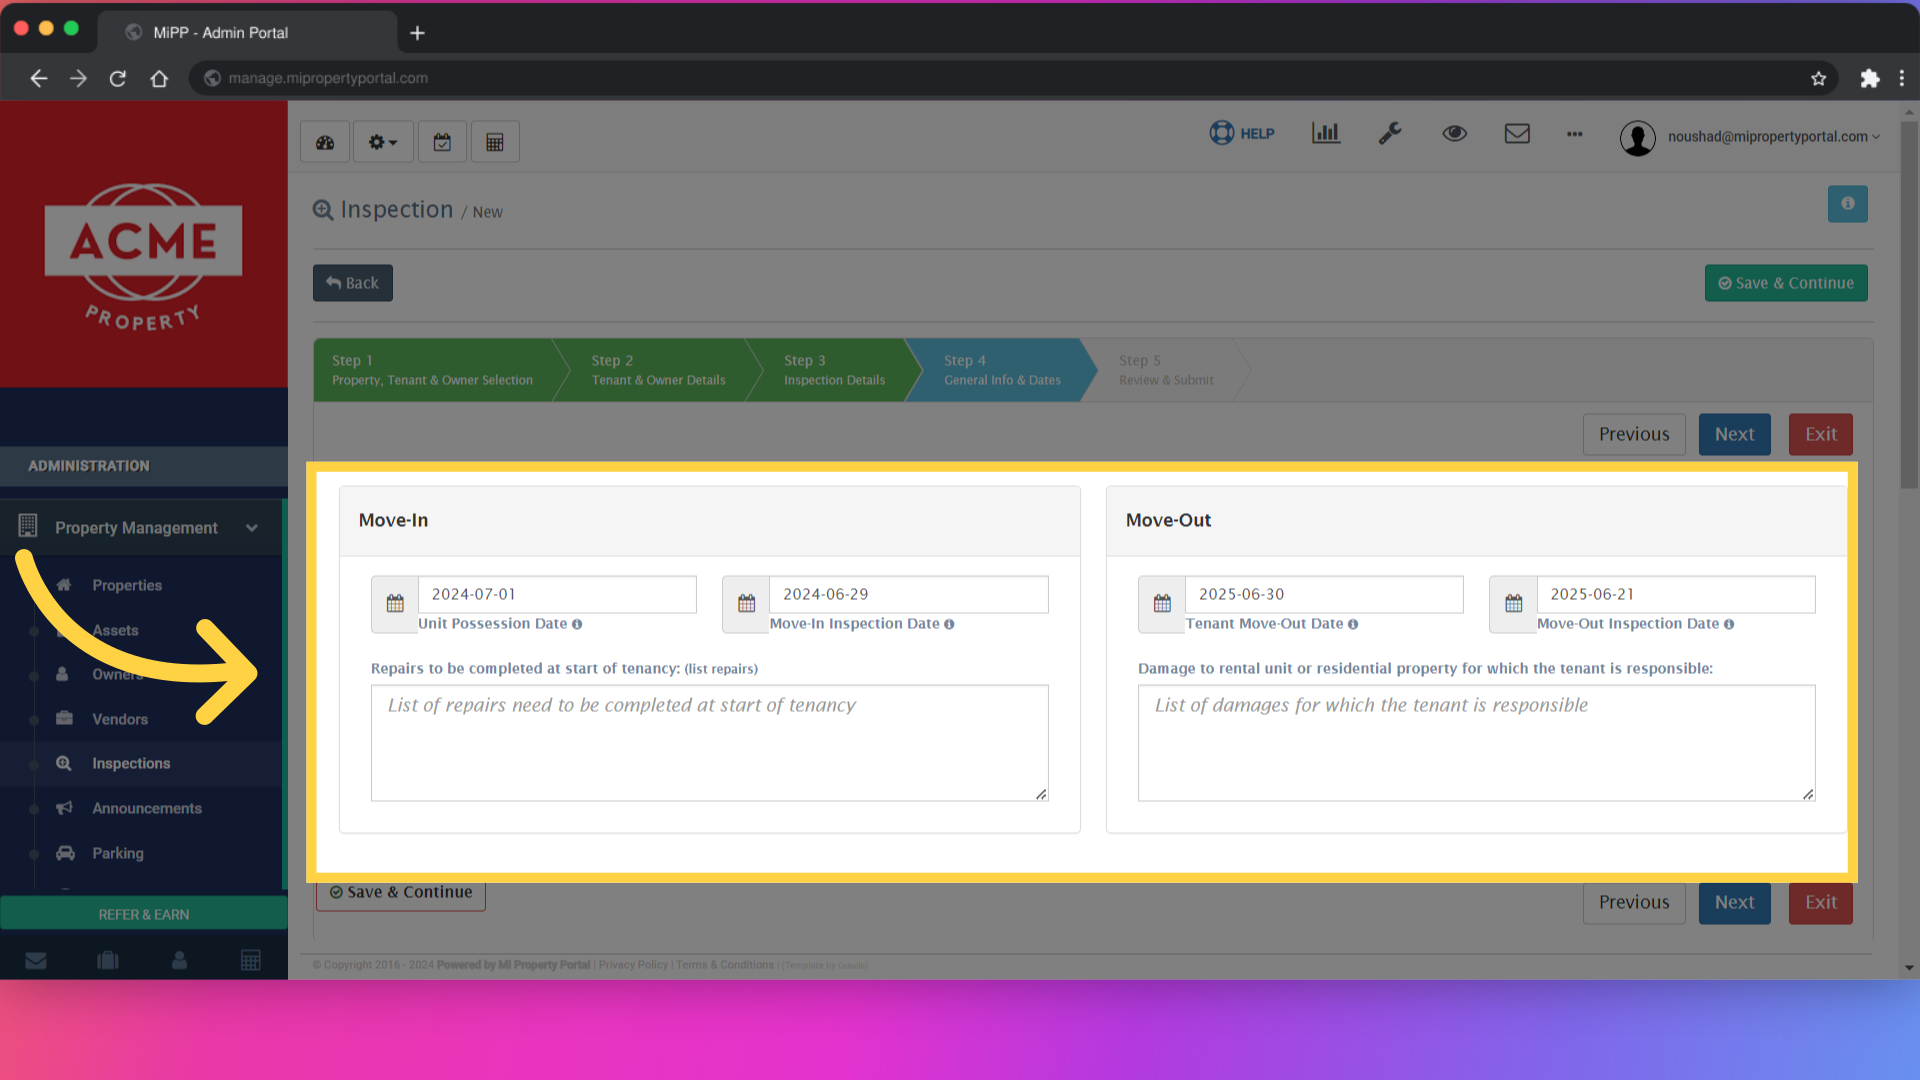
14. fill in the details under “Move-In” and “Move-Out”
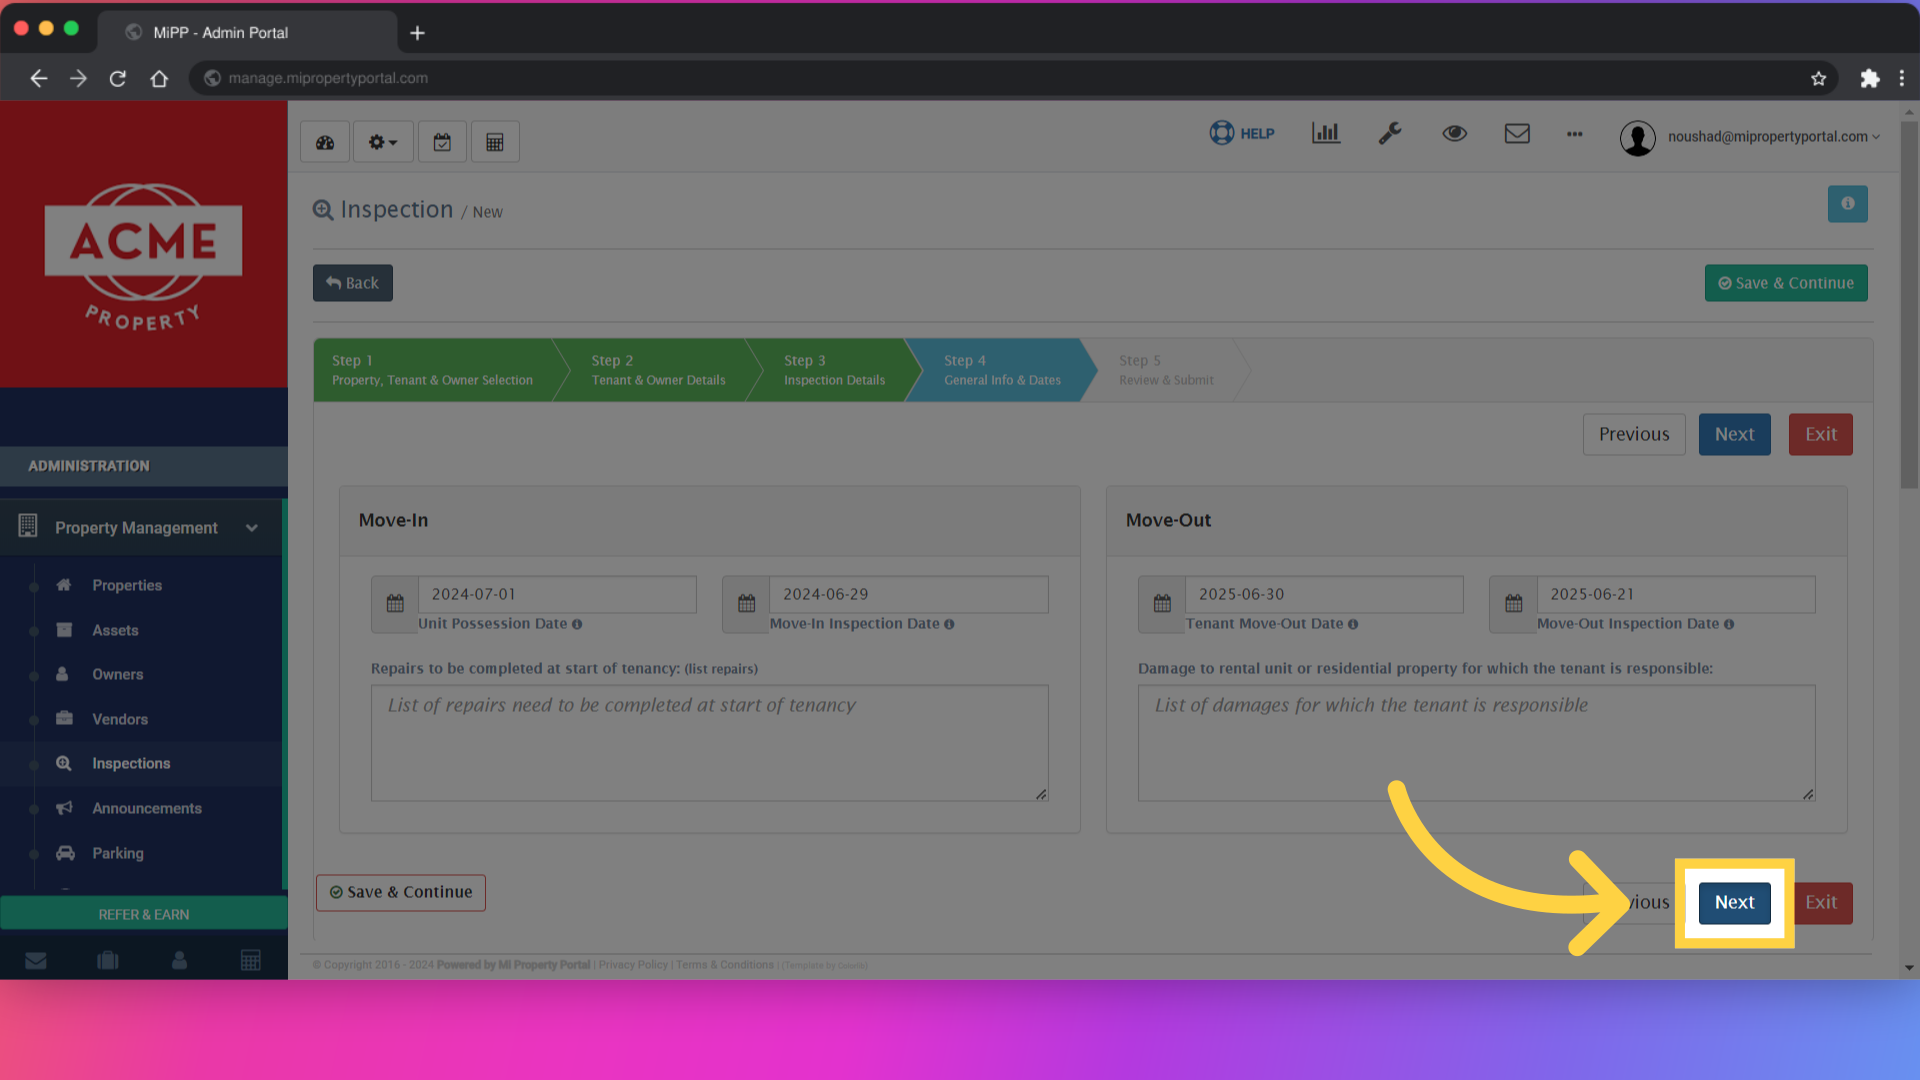
15. Click “Next”
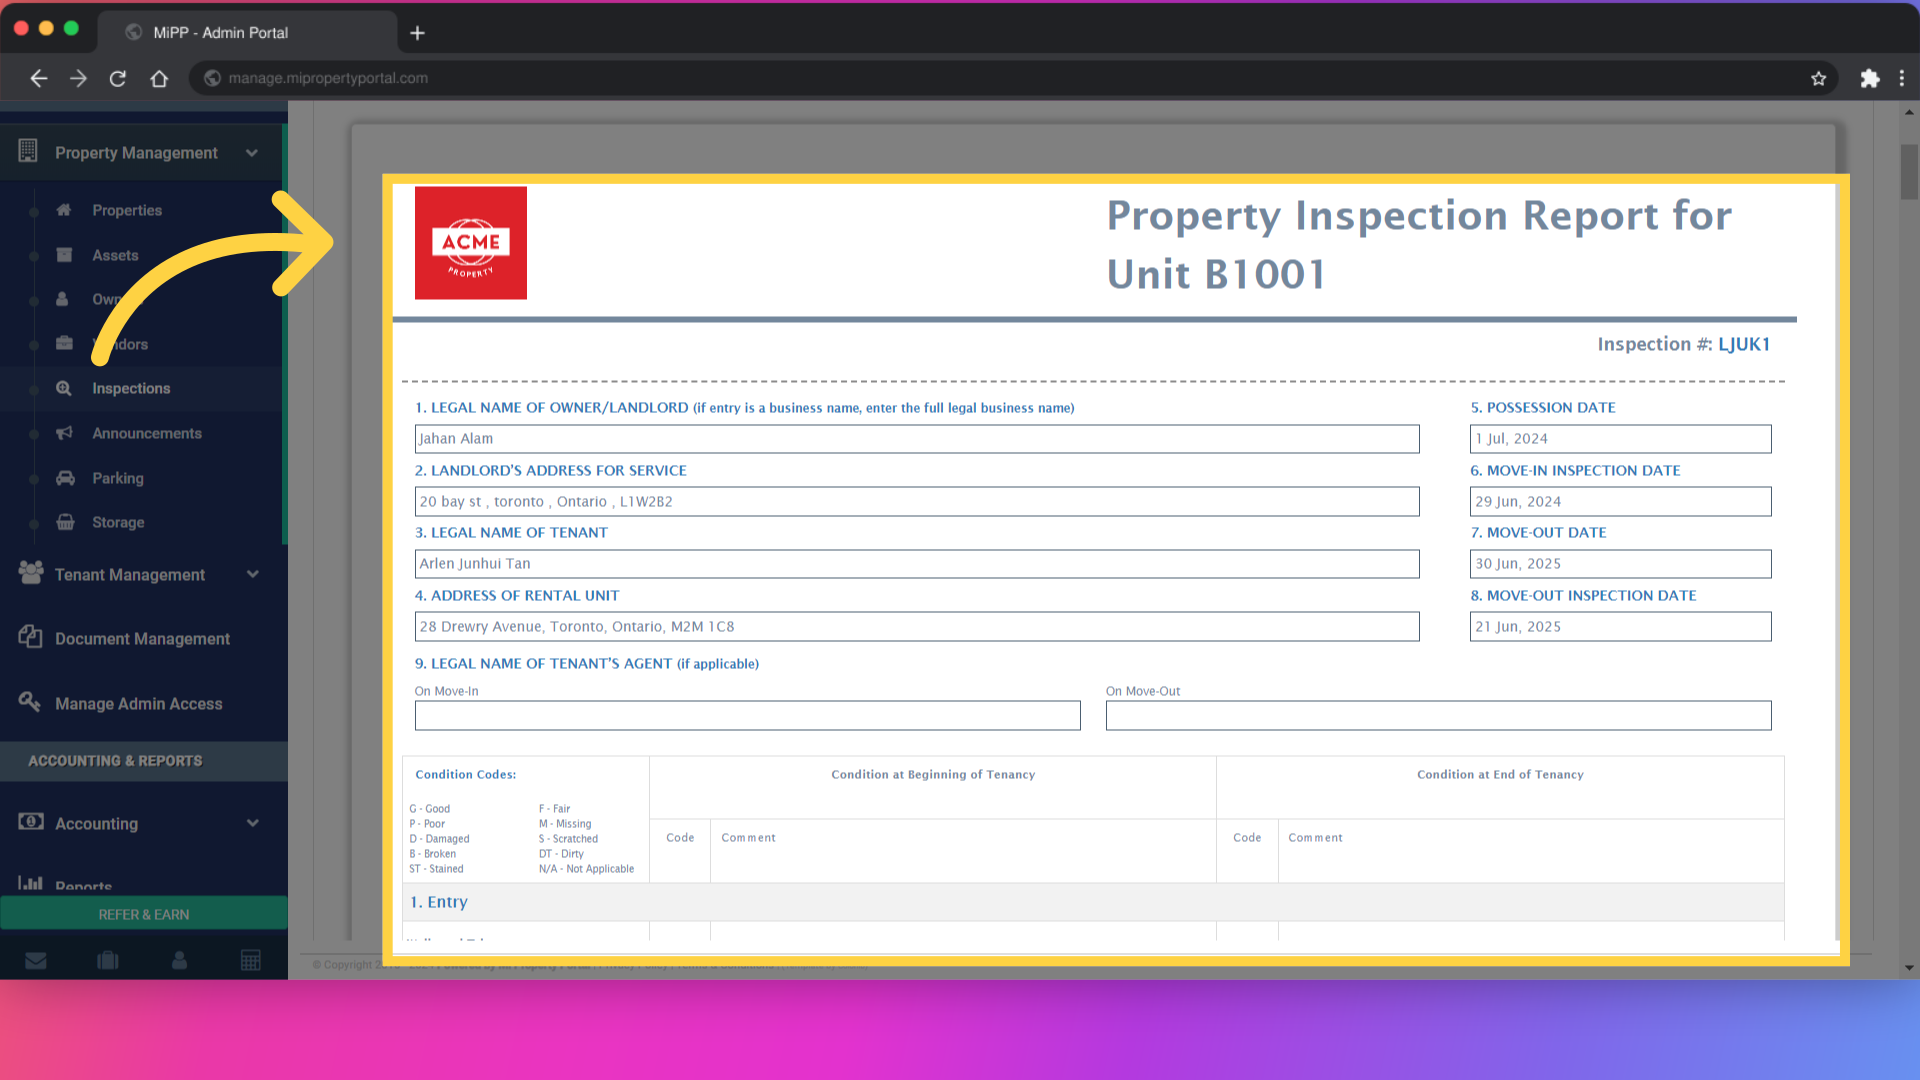
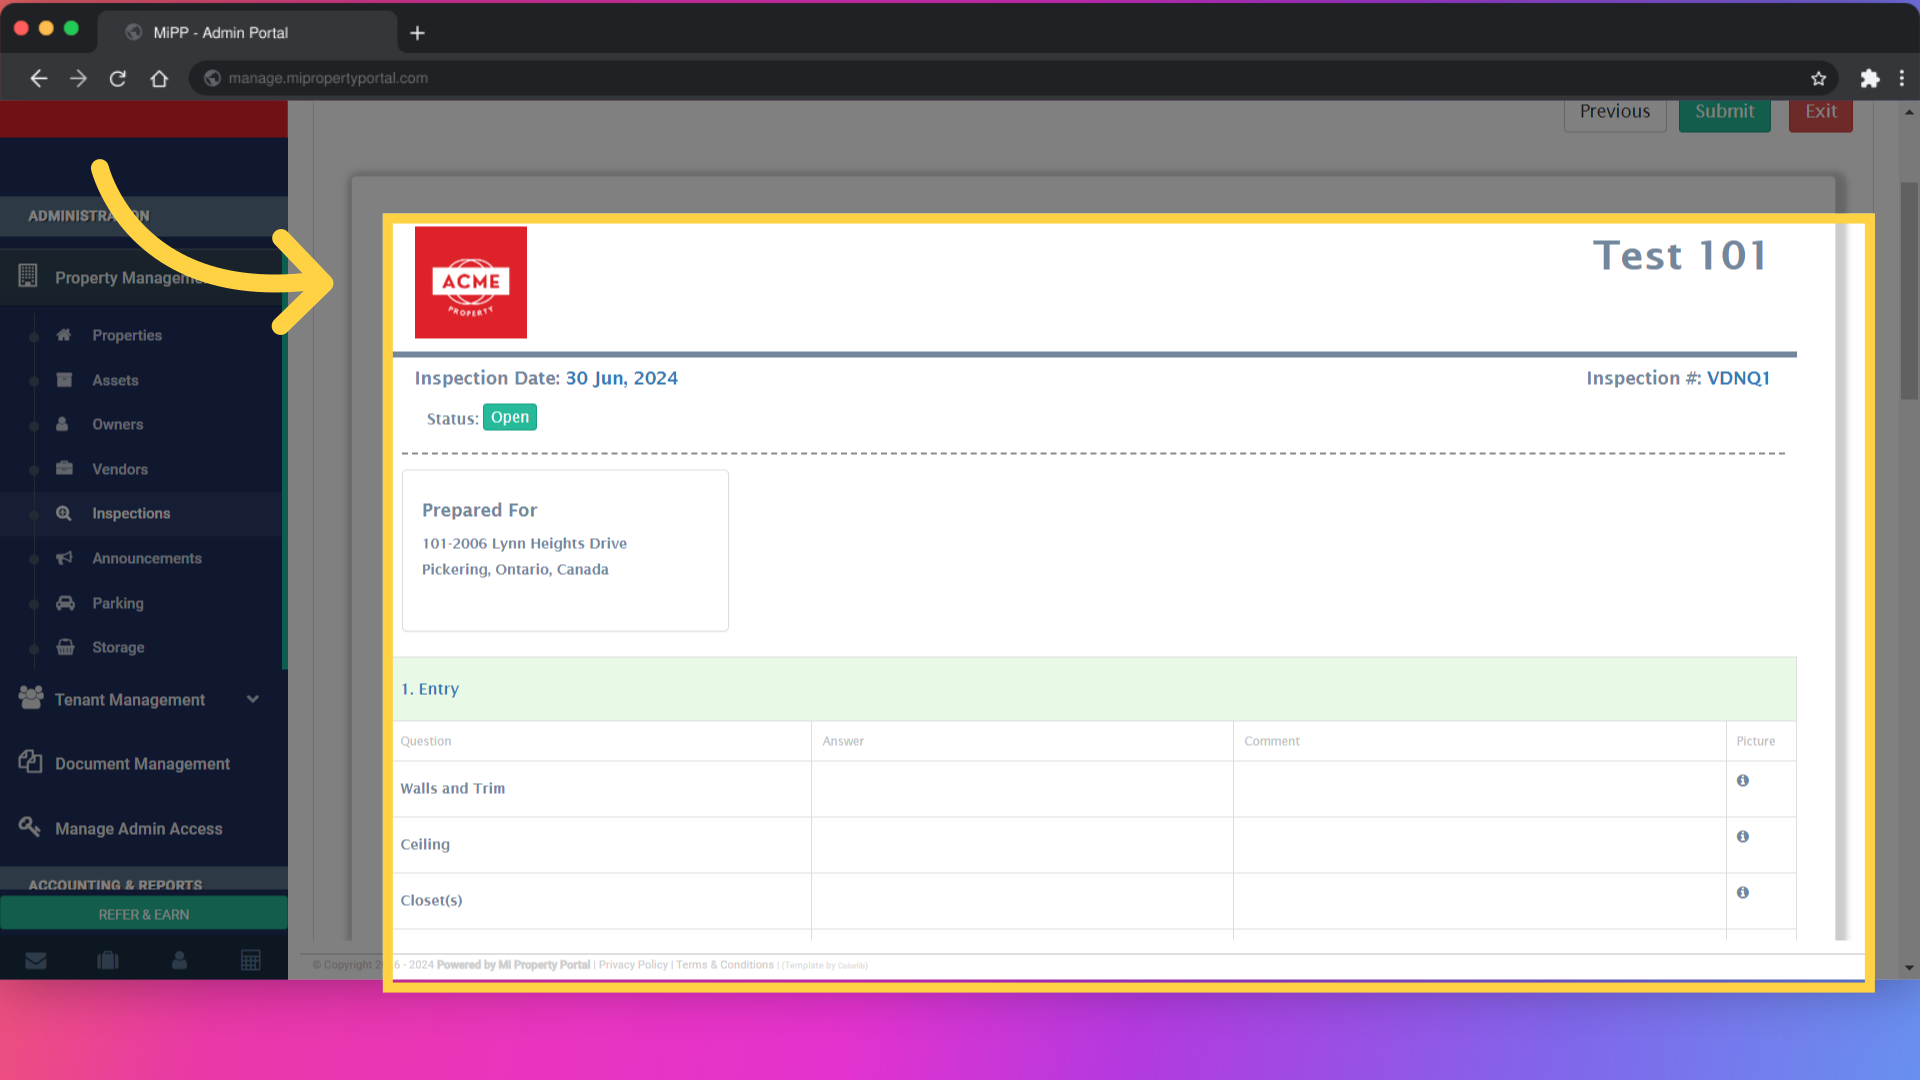
16. A preview of the Inspection Report will appear
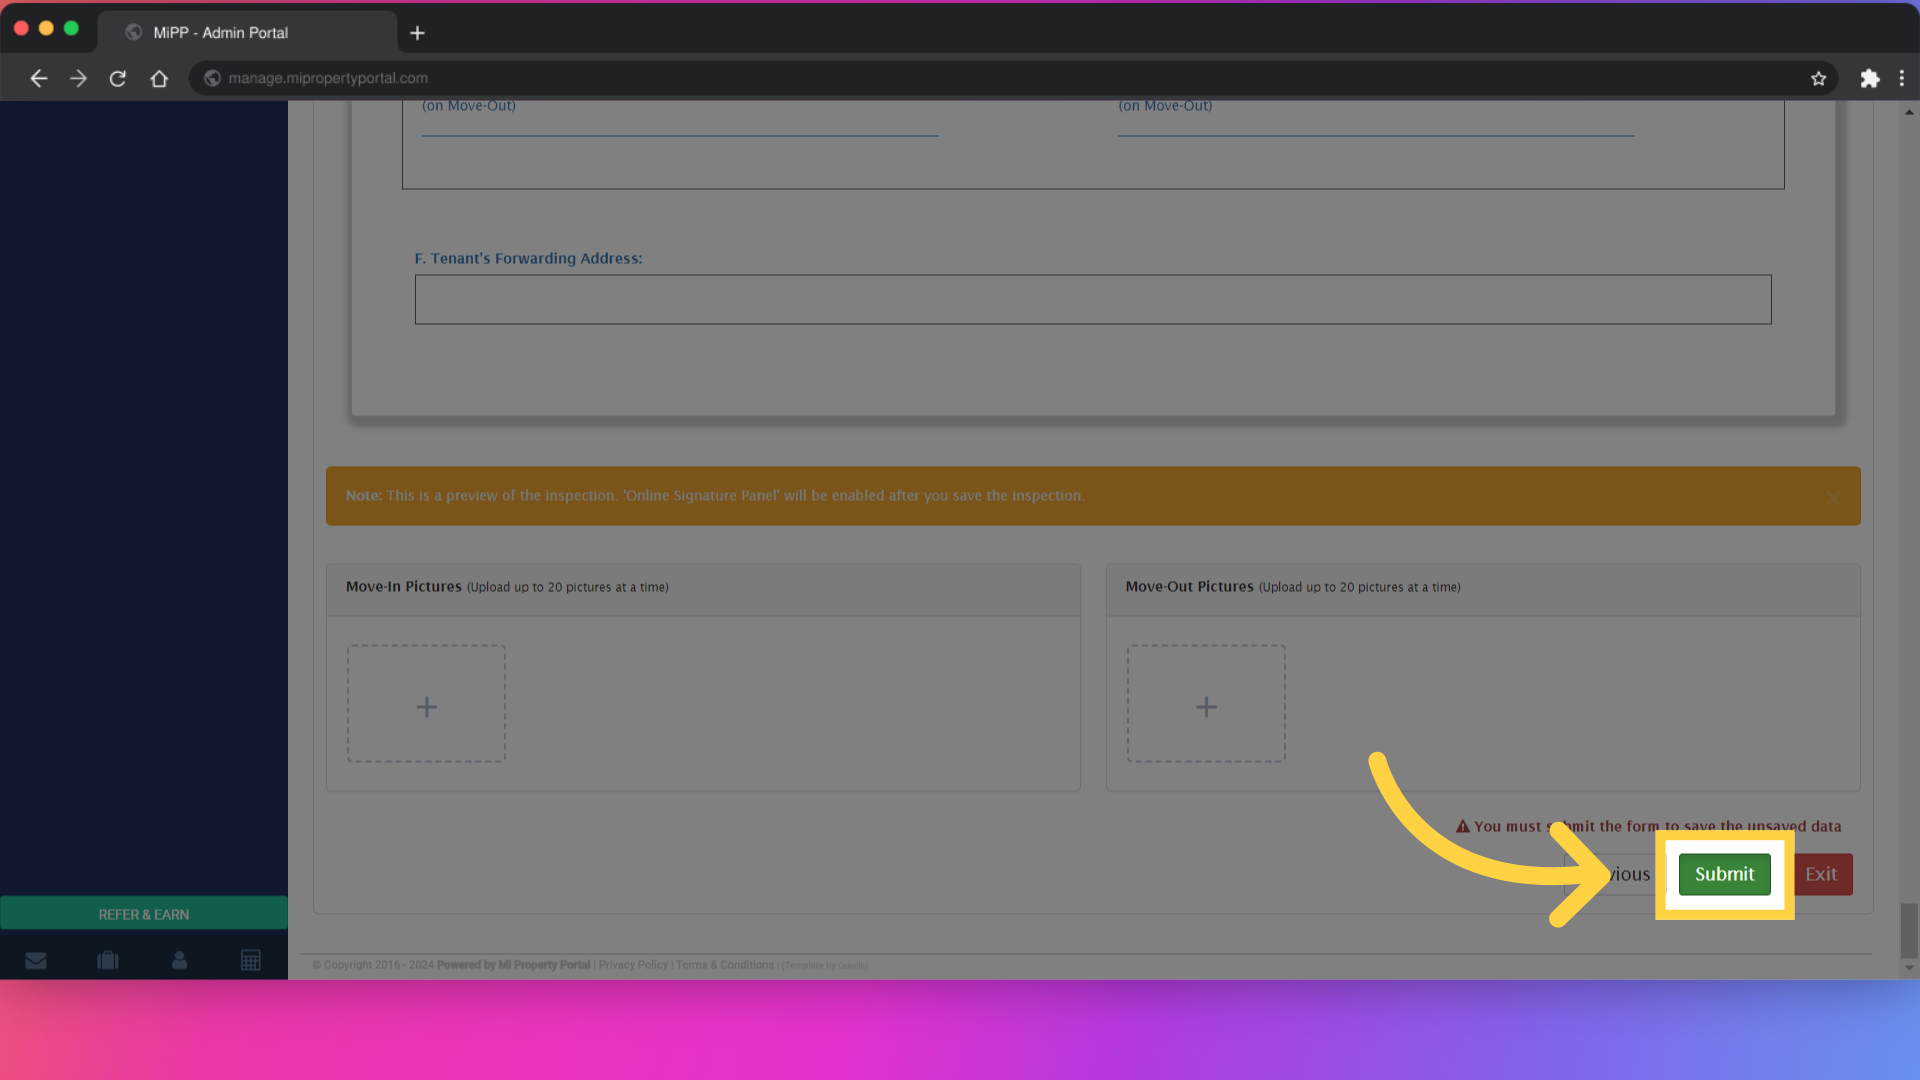
17. Click on the “+” icon to upload pictures from your device
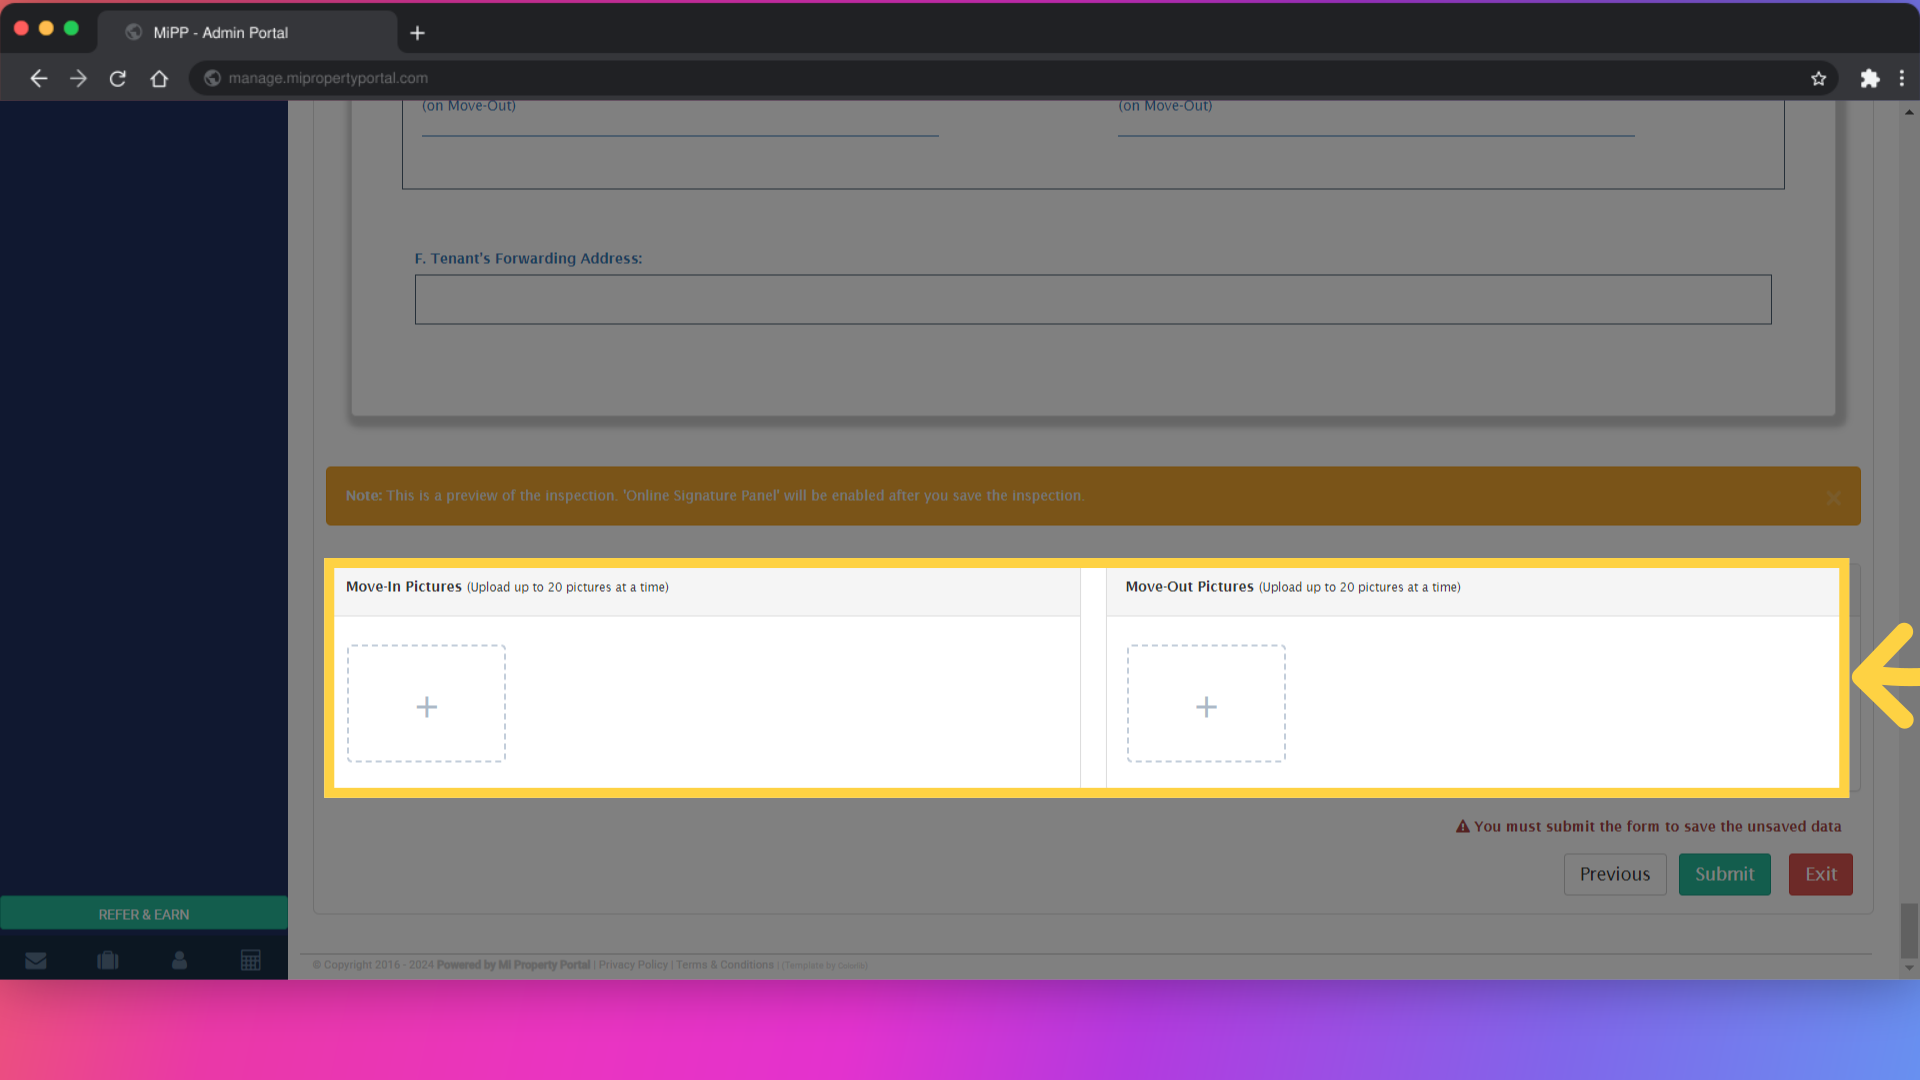
18. Click on “Submit”
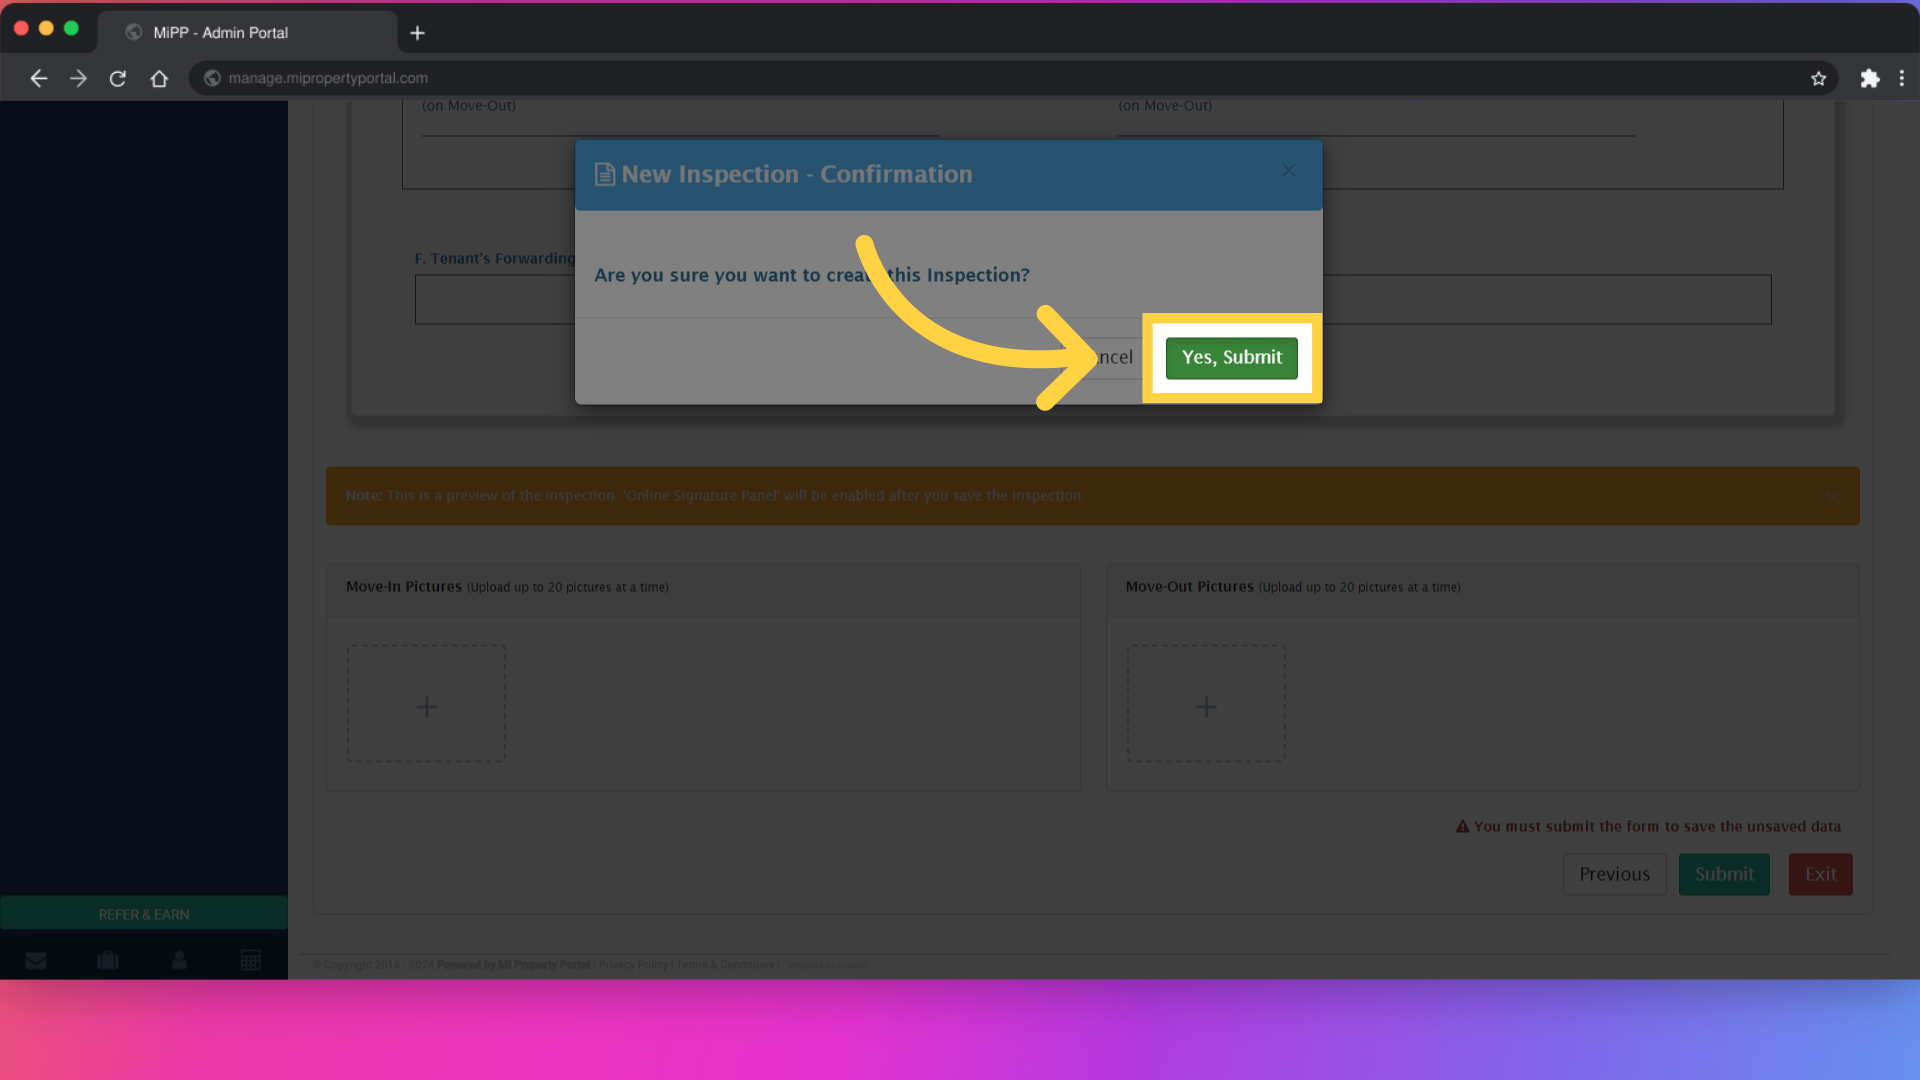
19. Confirm by clicking “Yes, Submit”
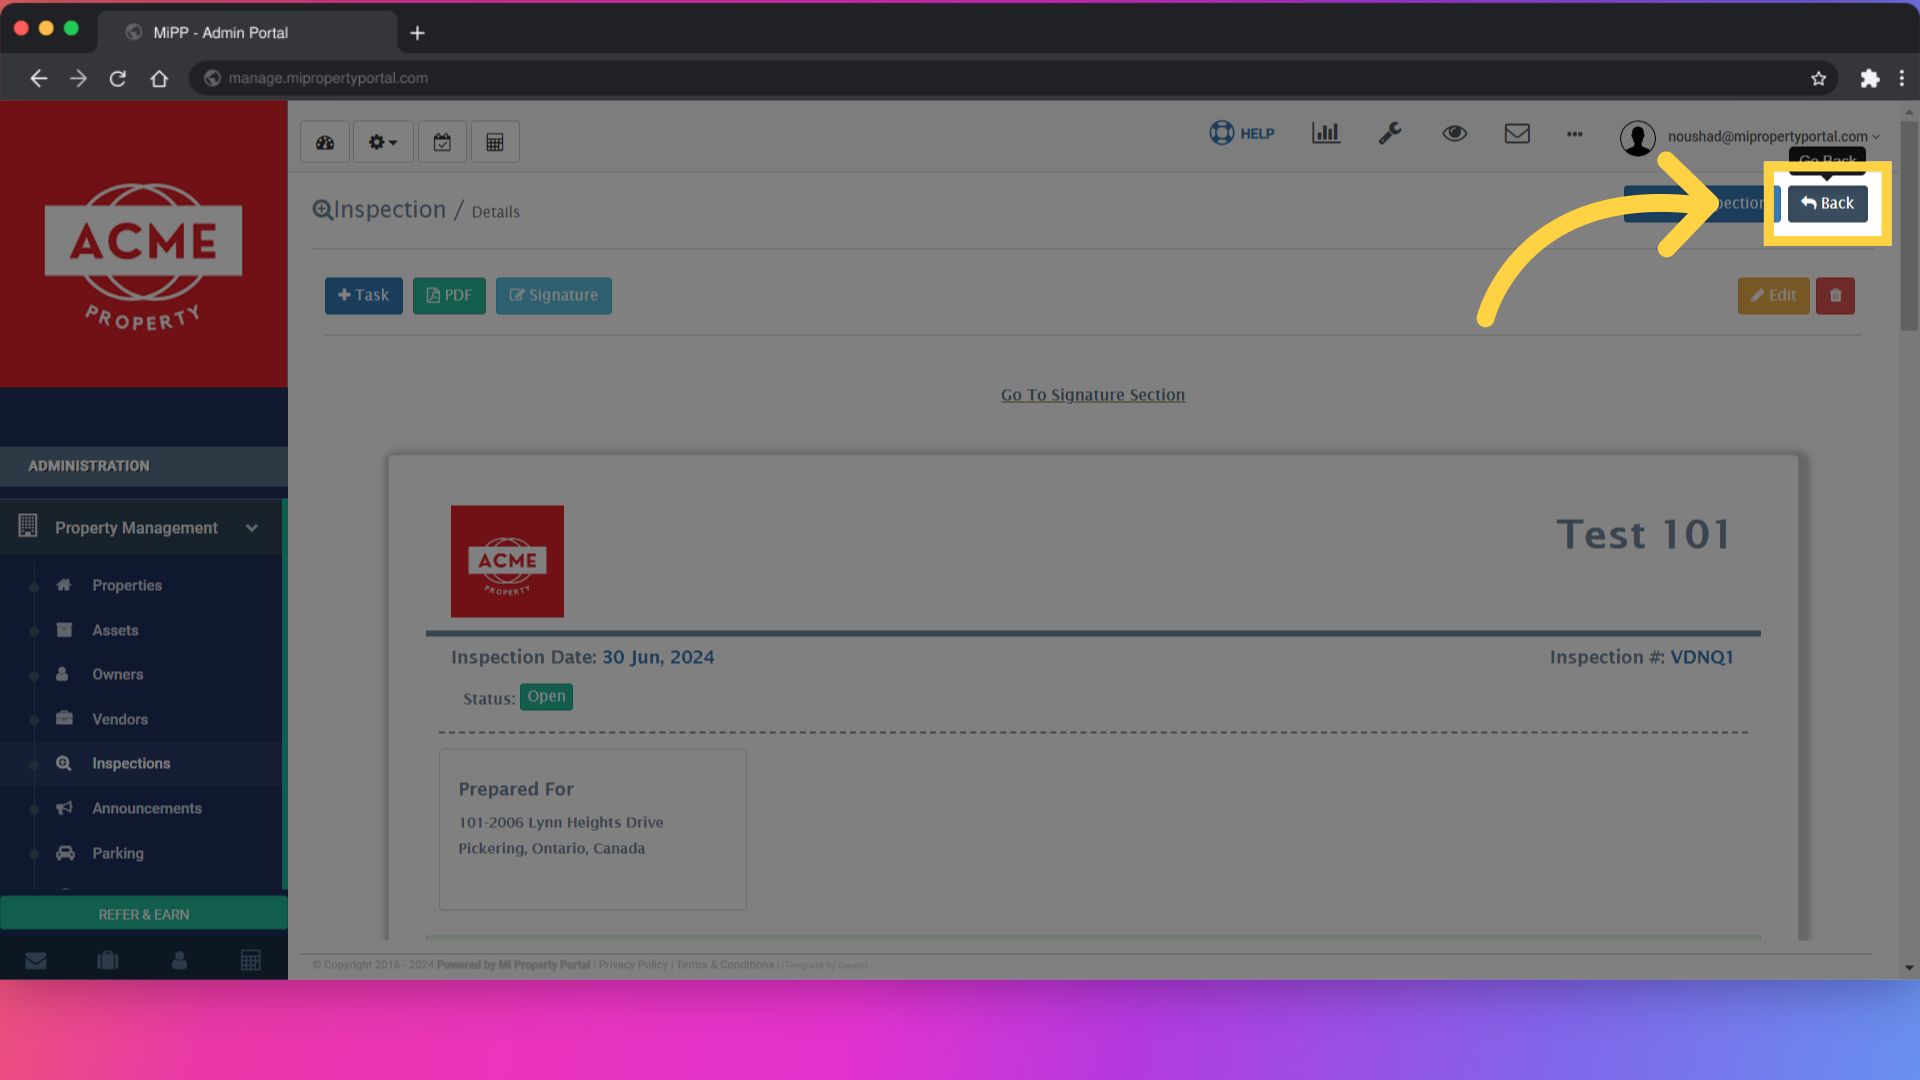
20. Click “Go To Signature Section”

21. Let’s get back to inspection pages again
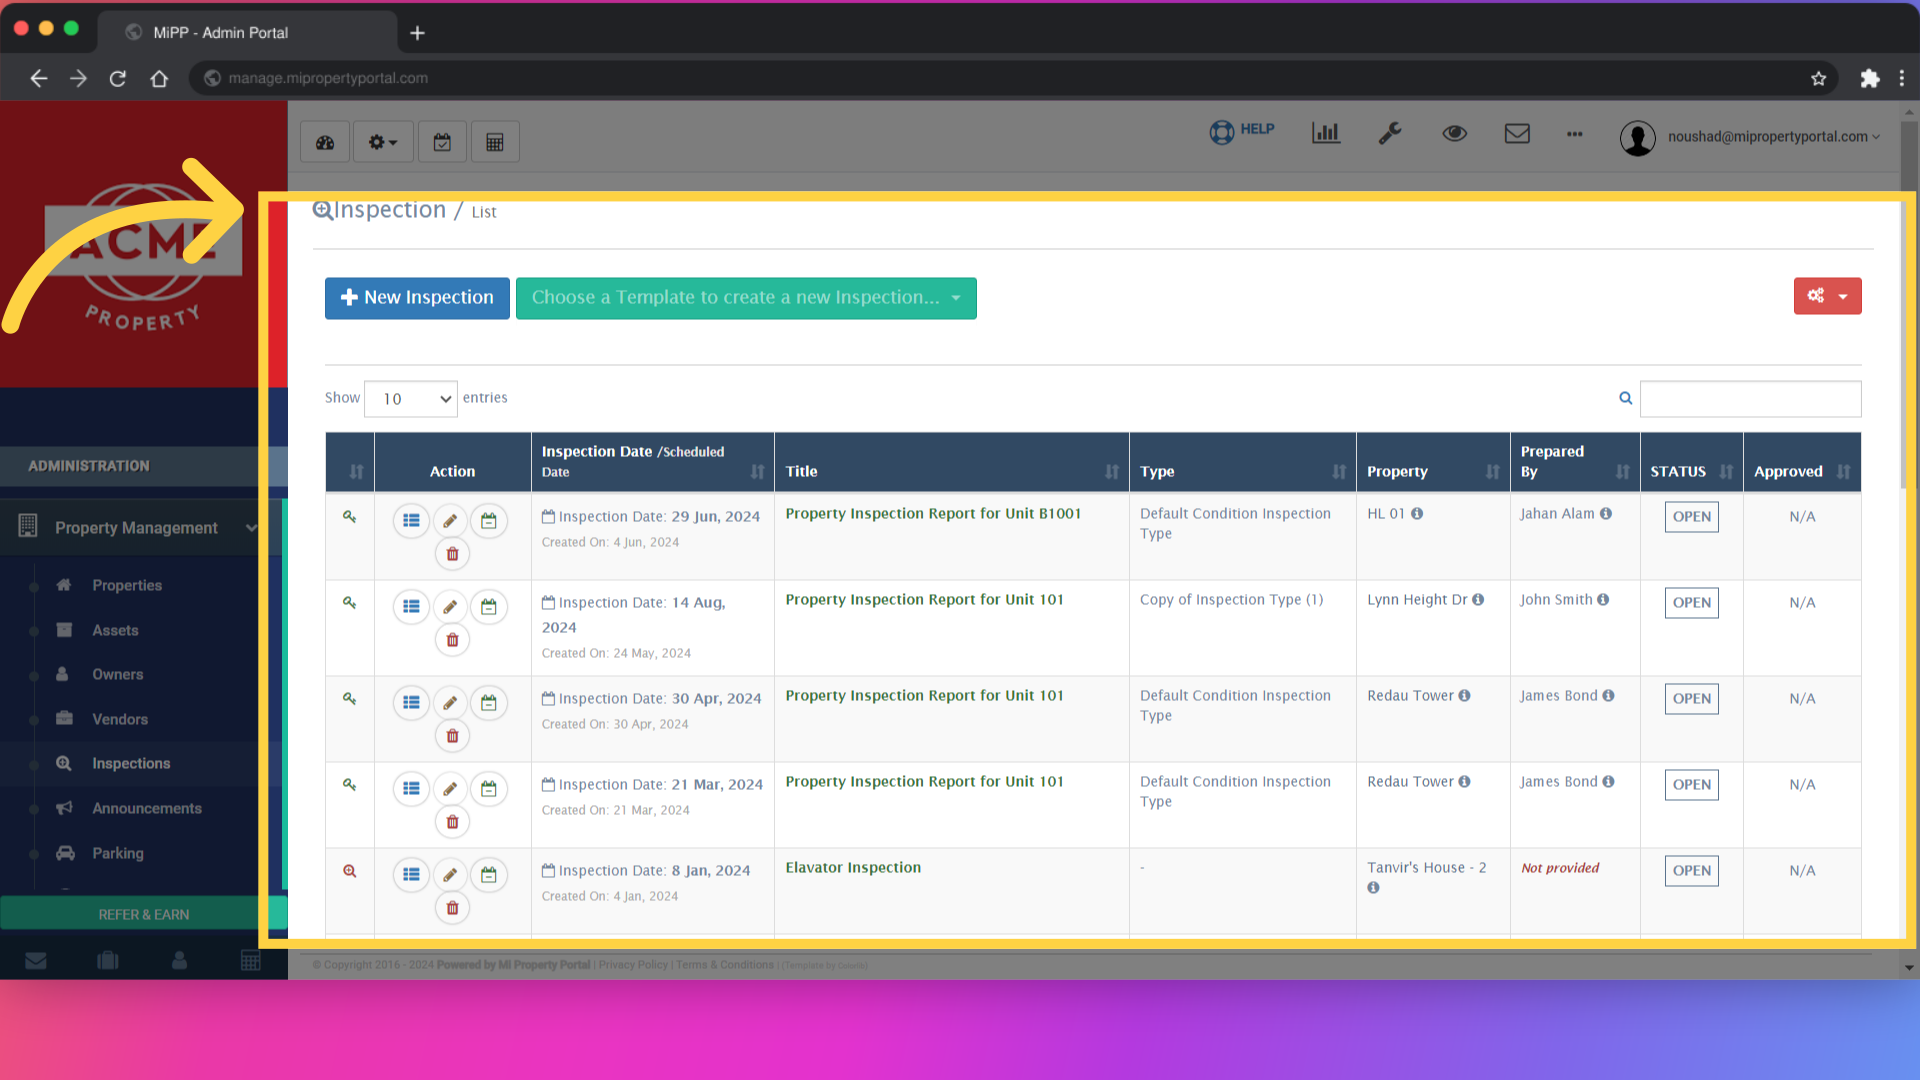
22. go to the Inspection main page and click the “plus New Inspection” button under “Inspection/List” on the left
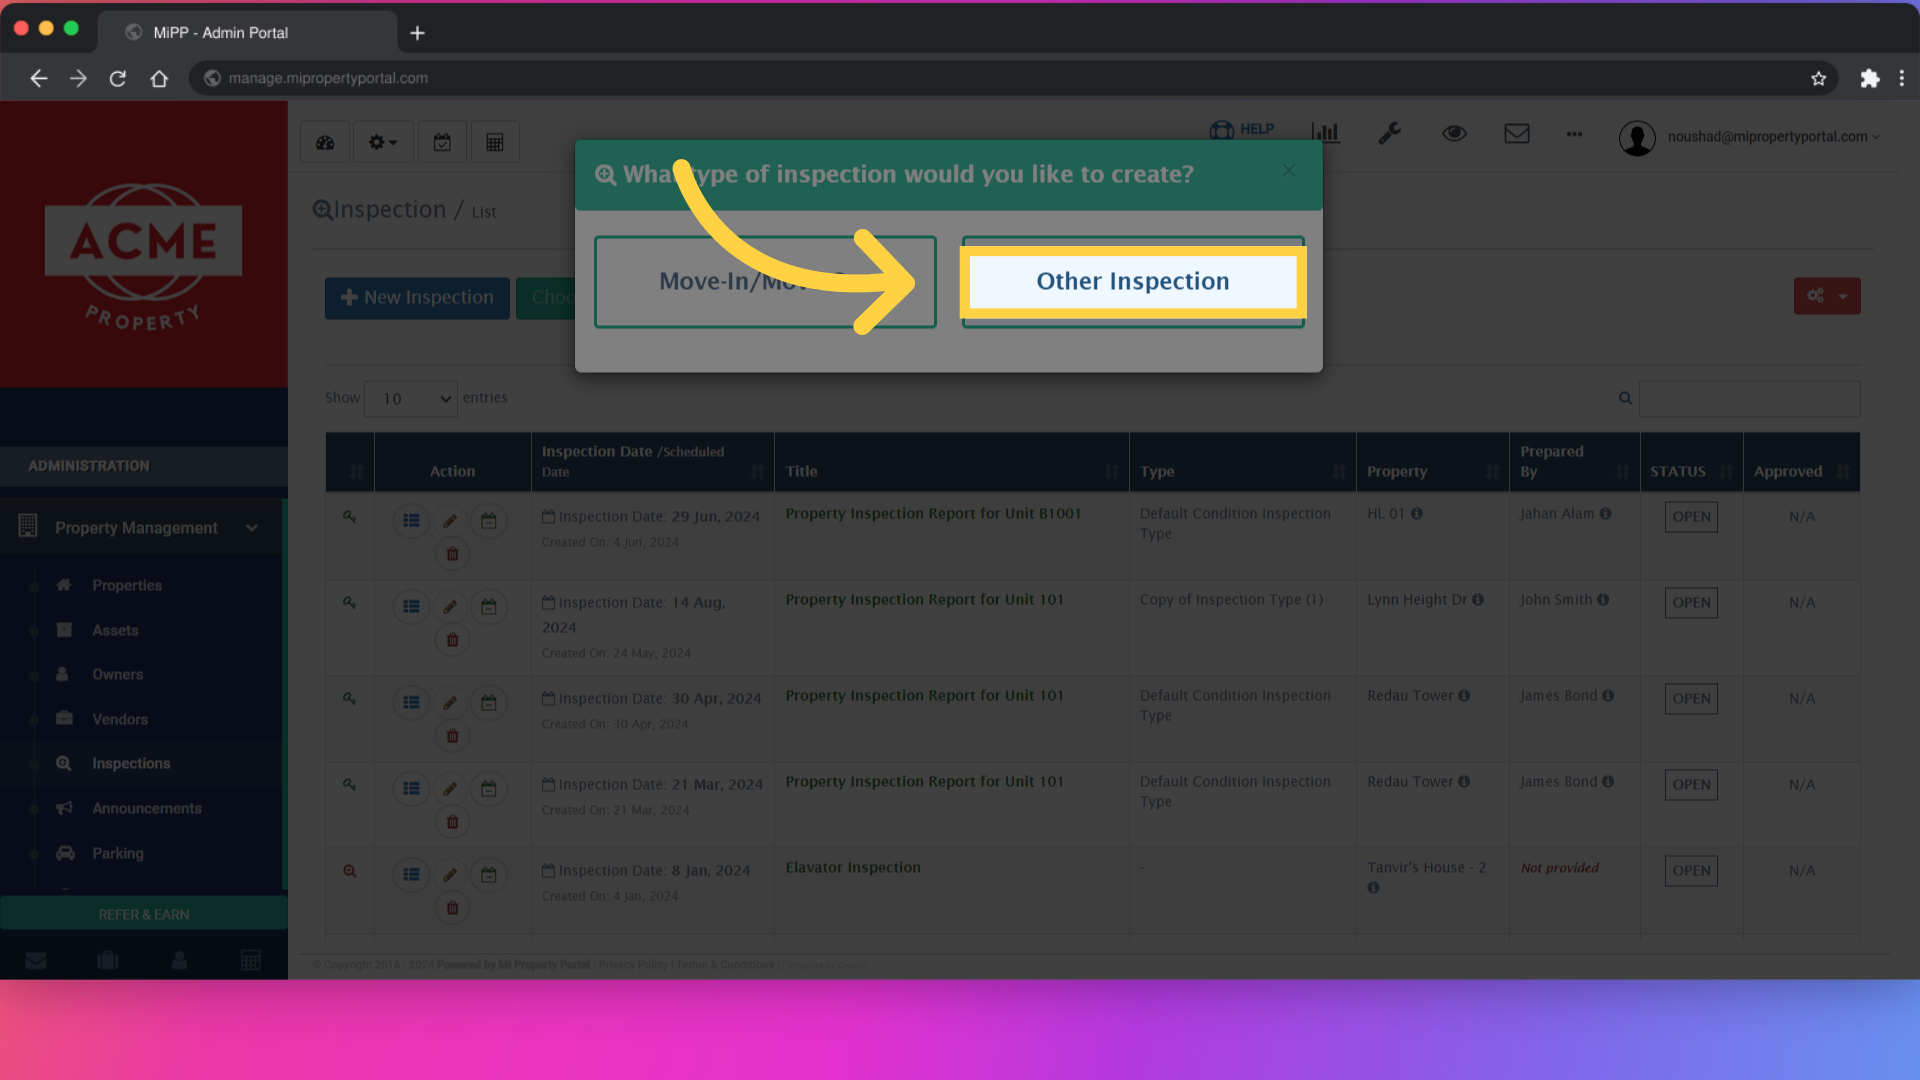
23. Click “Other Inspection”
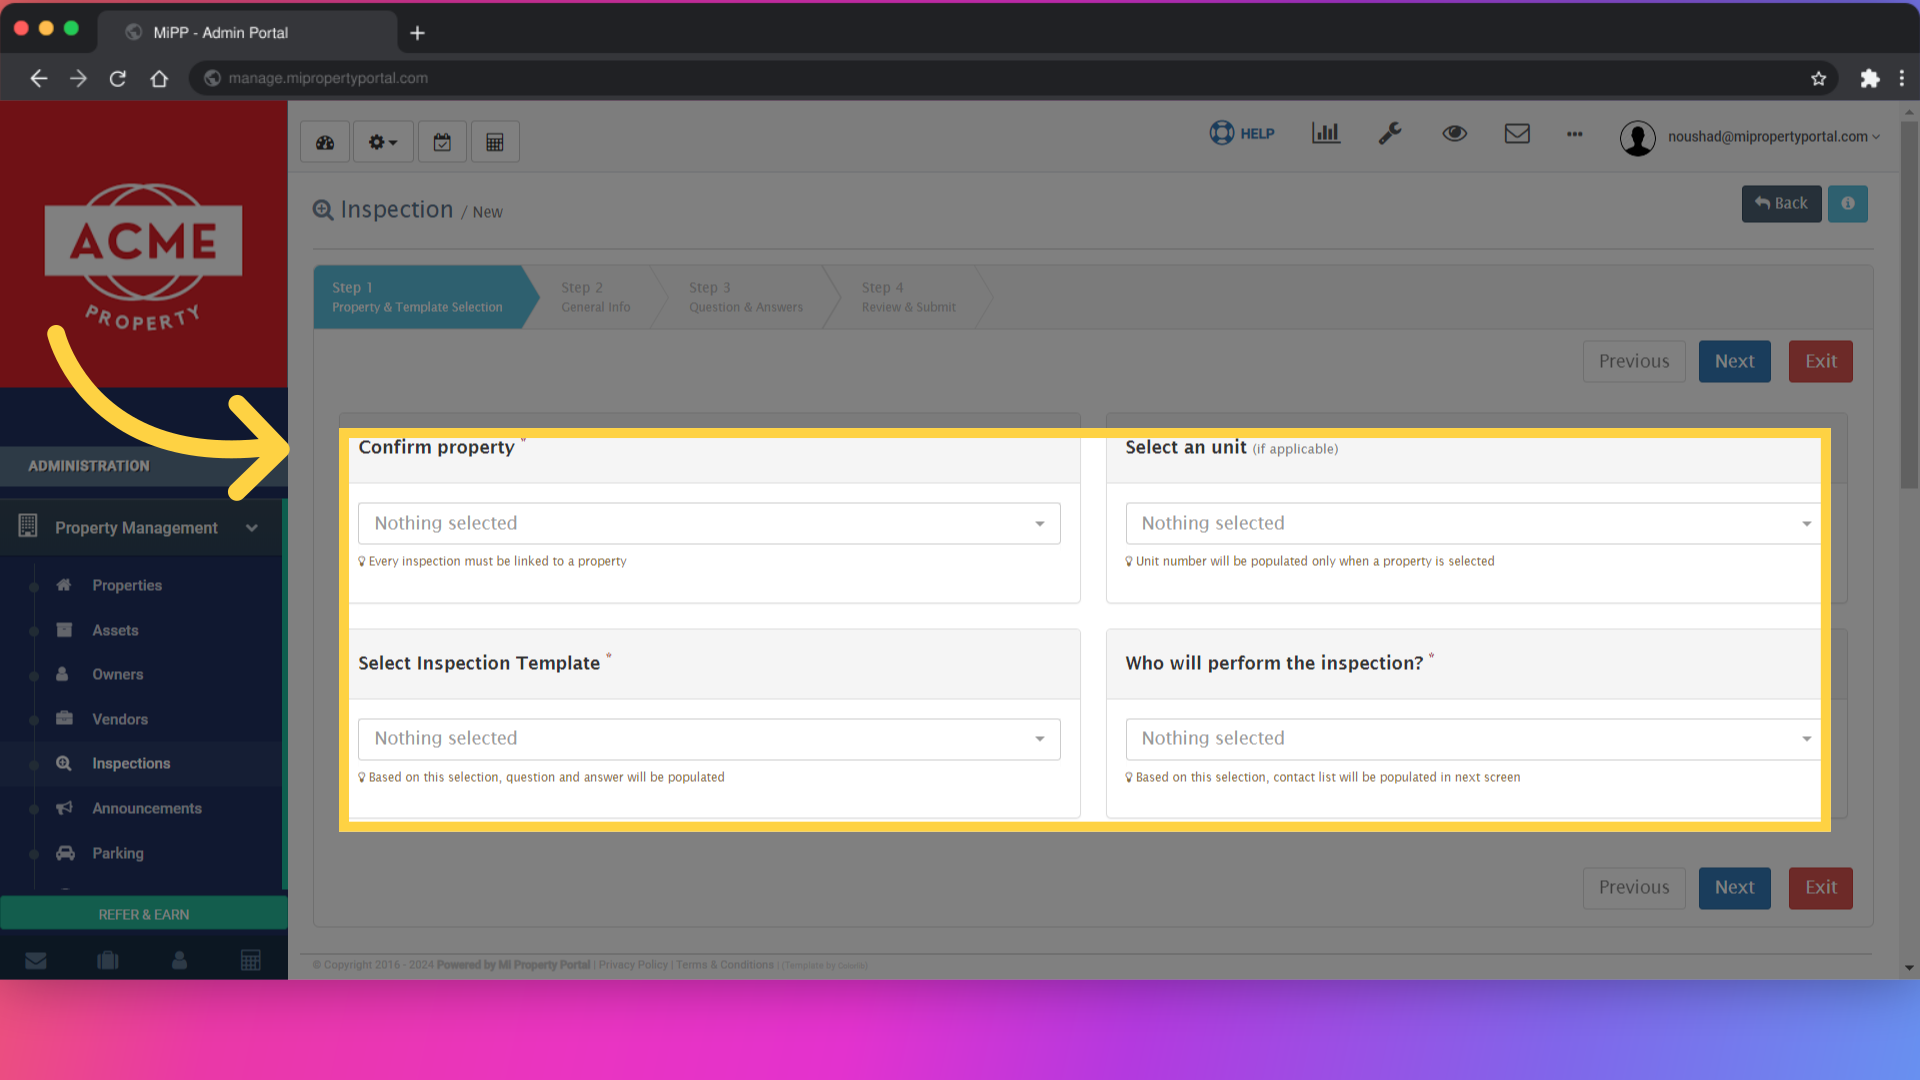
24. fill out the fields for “Confirm Property,” “Select a Unit” (if needed), “Select Inspection Template,” and “Who will perform the inspection”
25. Click on “Next”

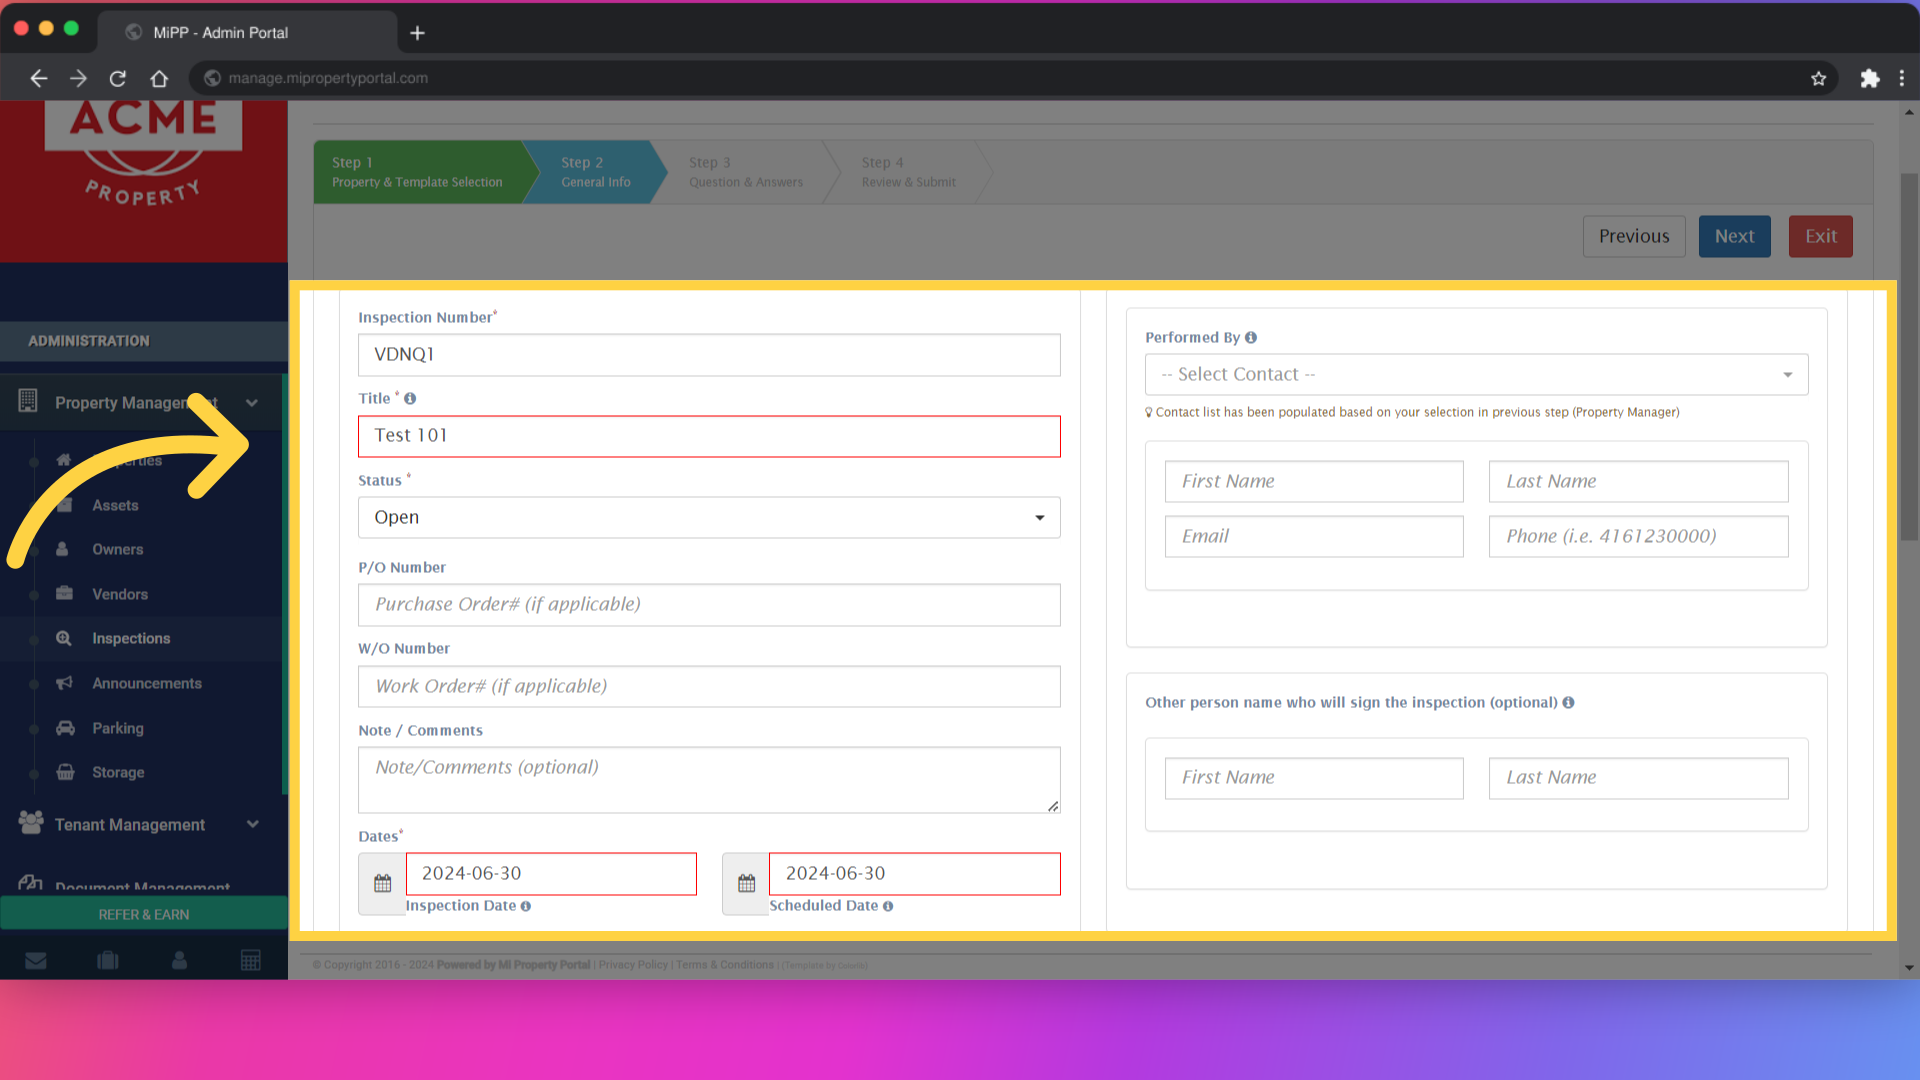
26. In “Step 2,” fill in all the empty fields or select the appropriate options
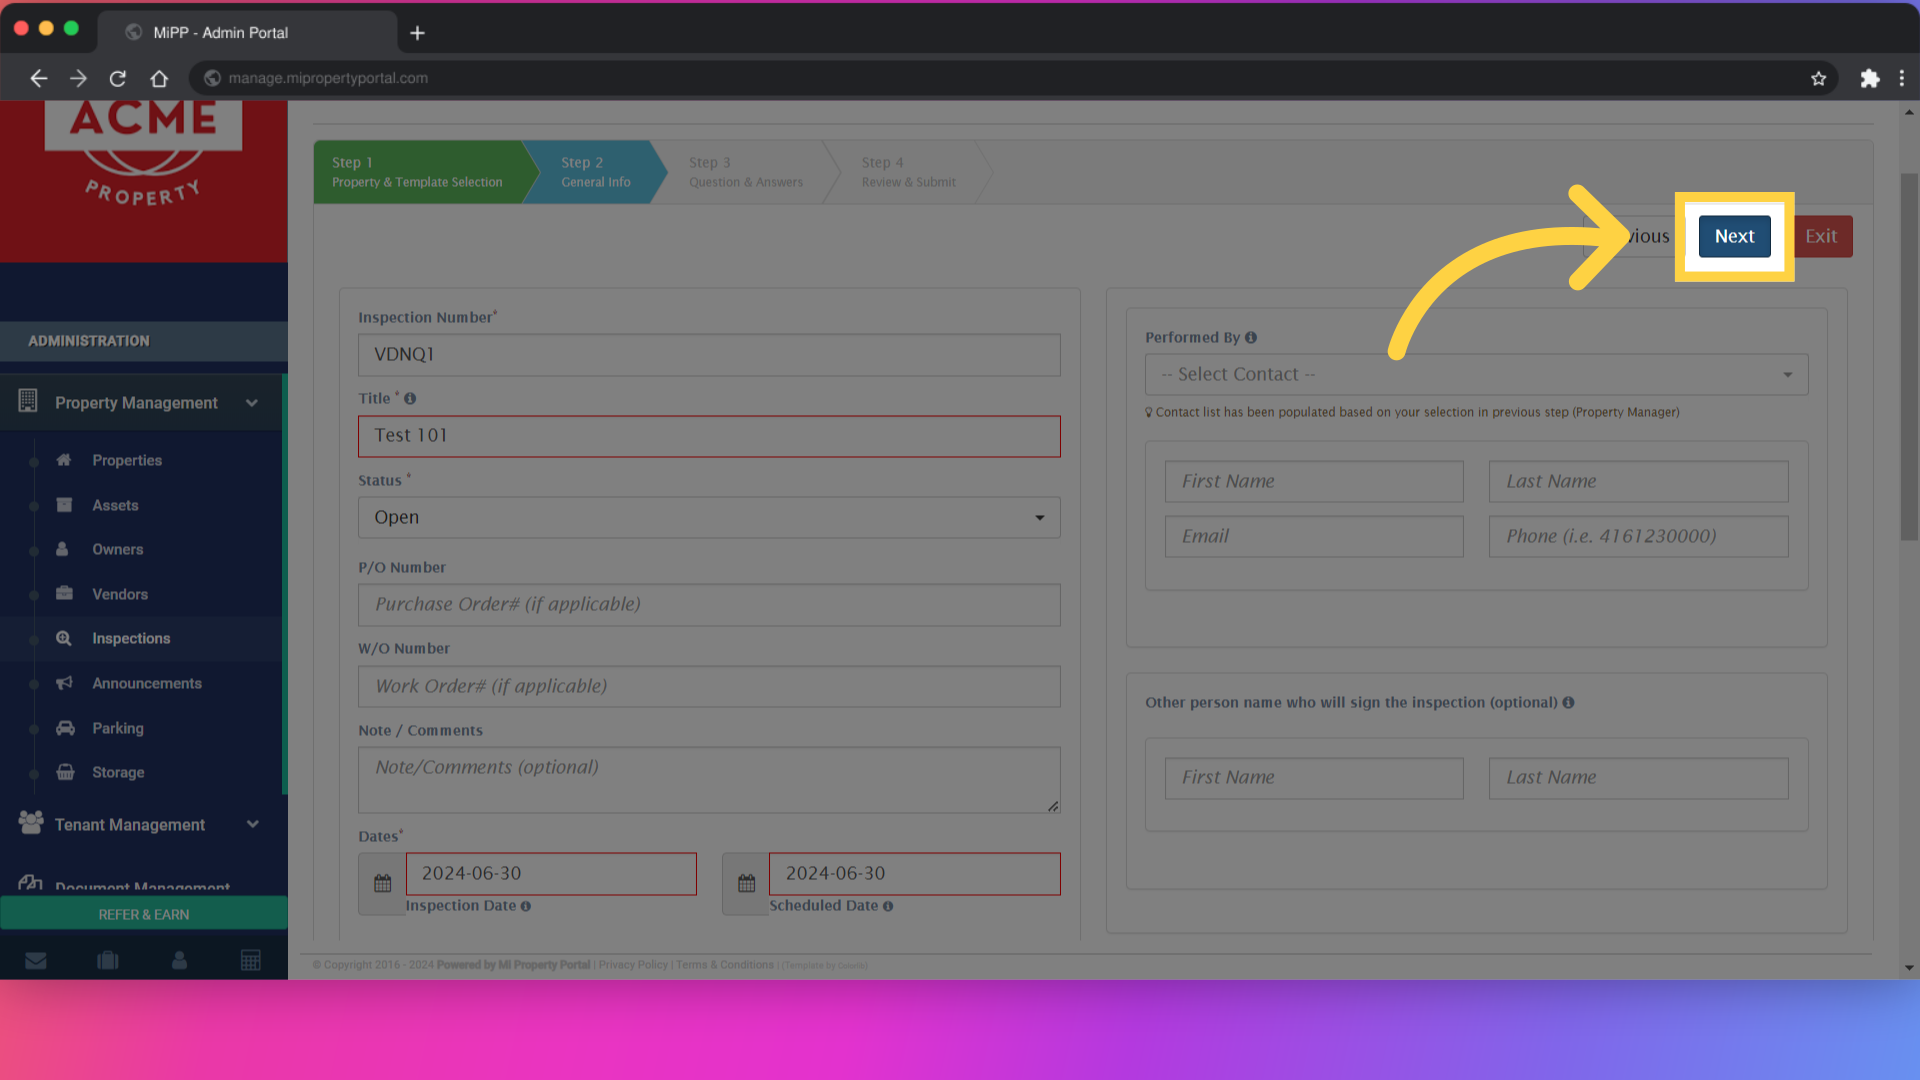
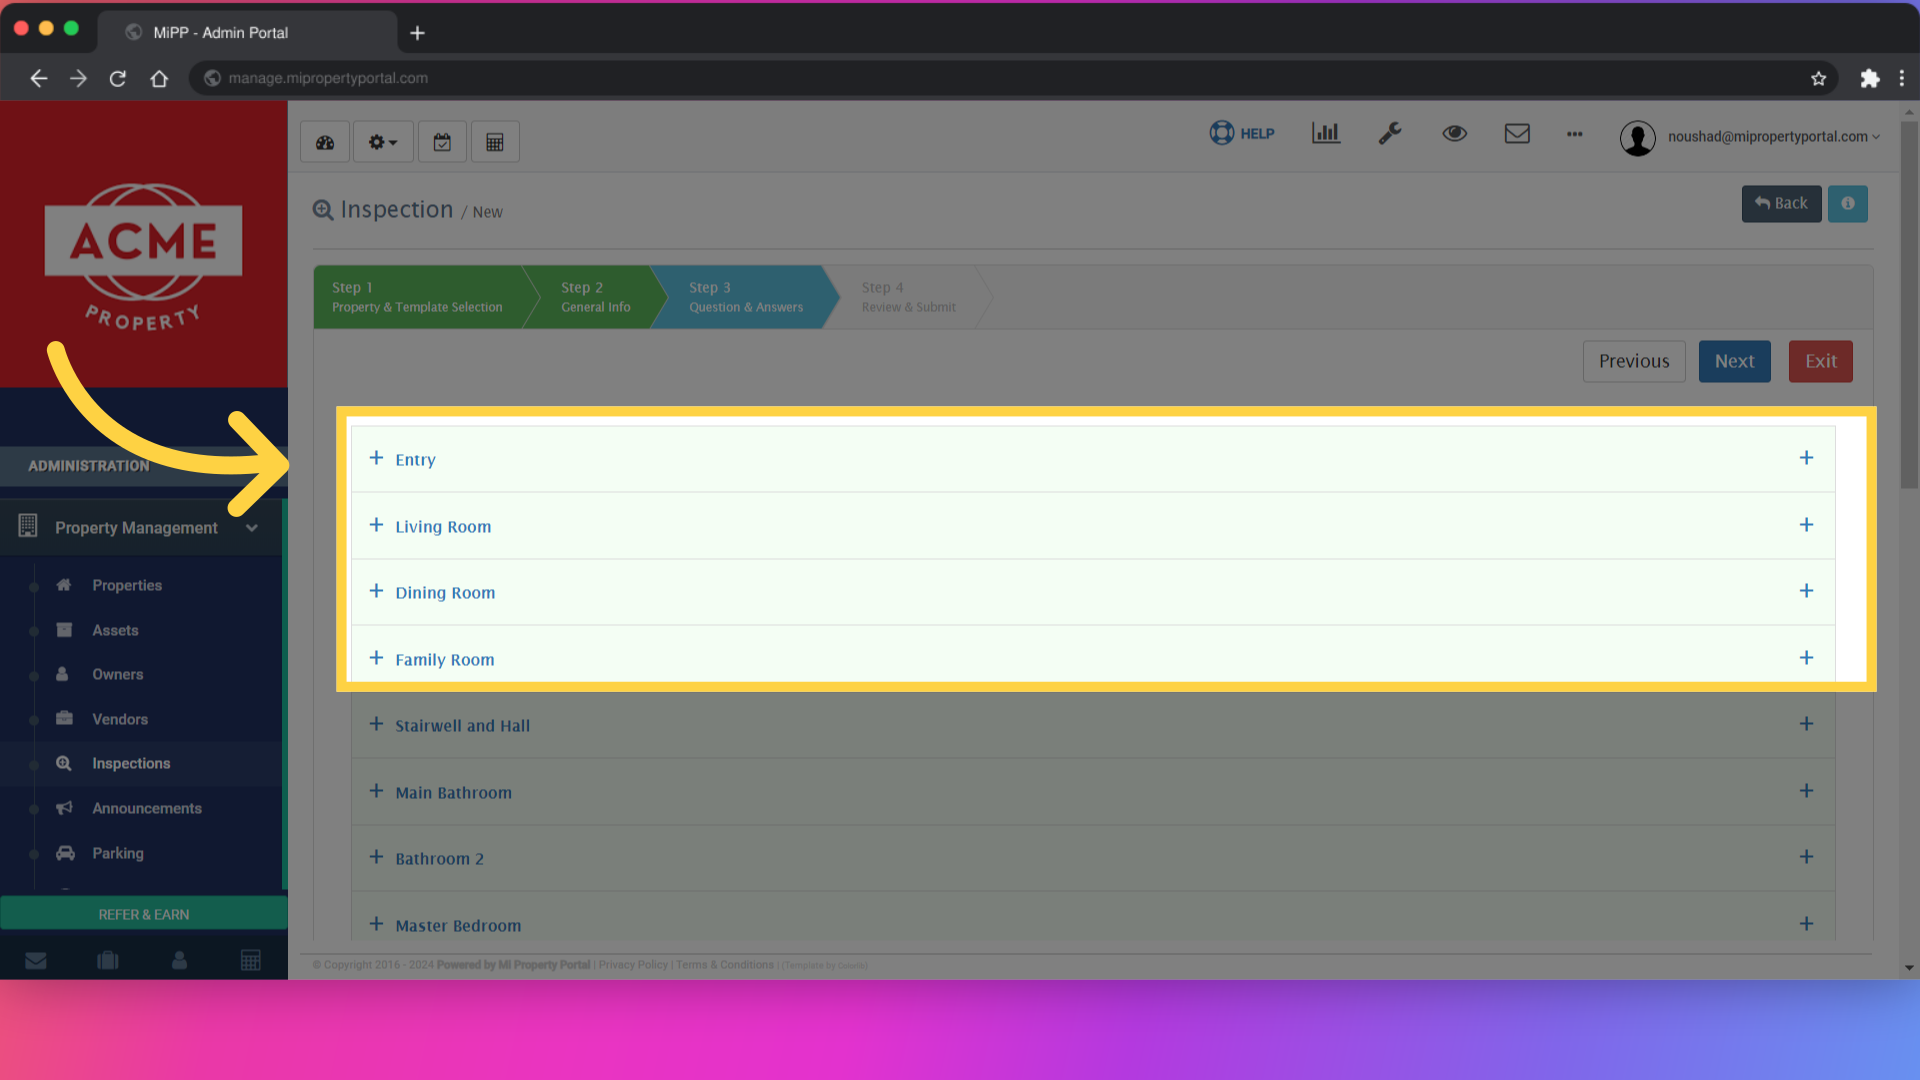
27. Click “Next”
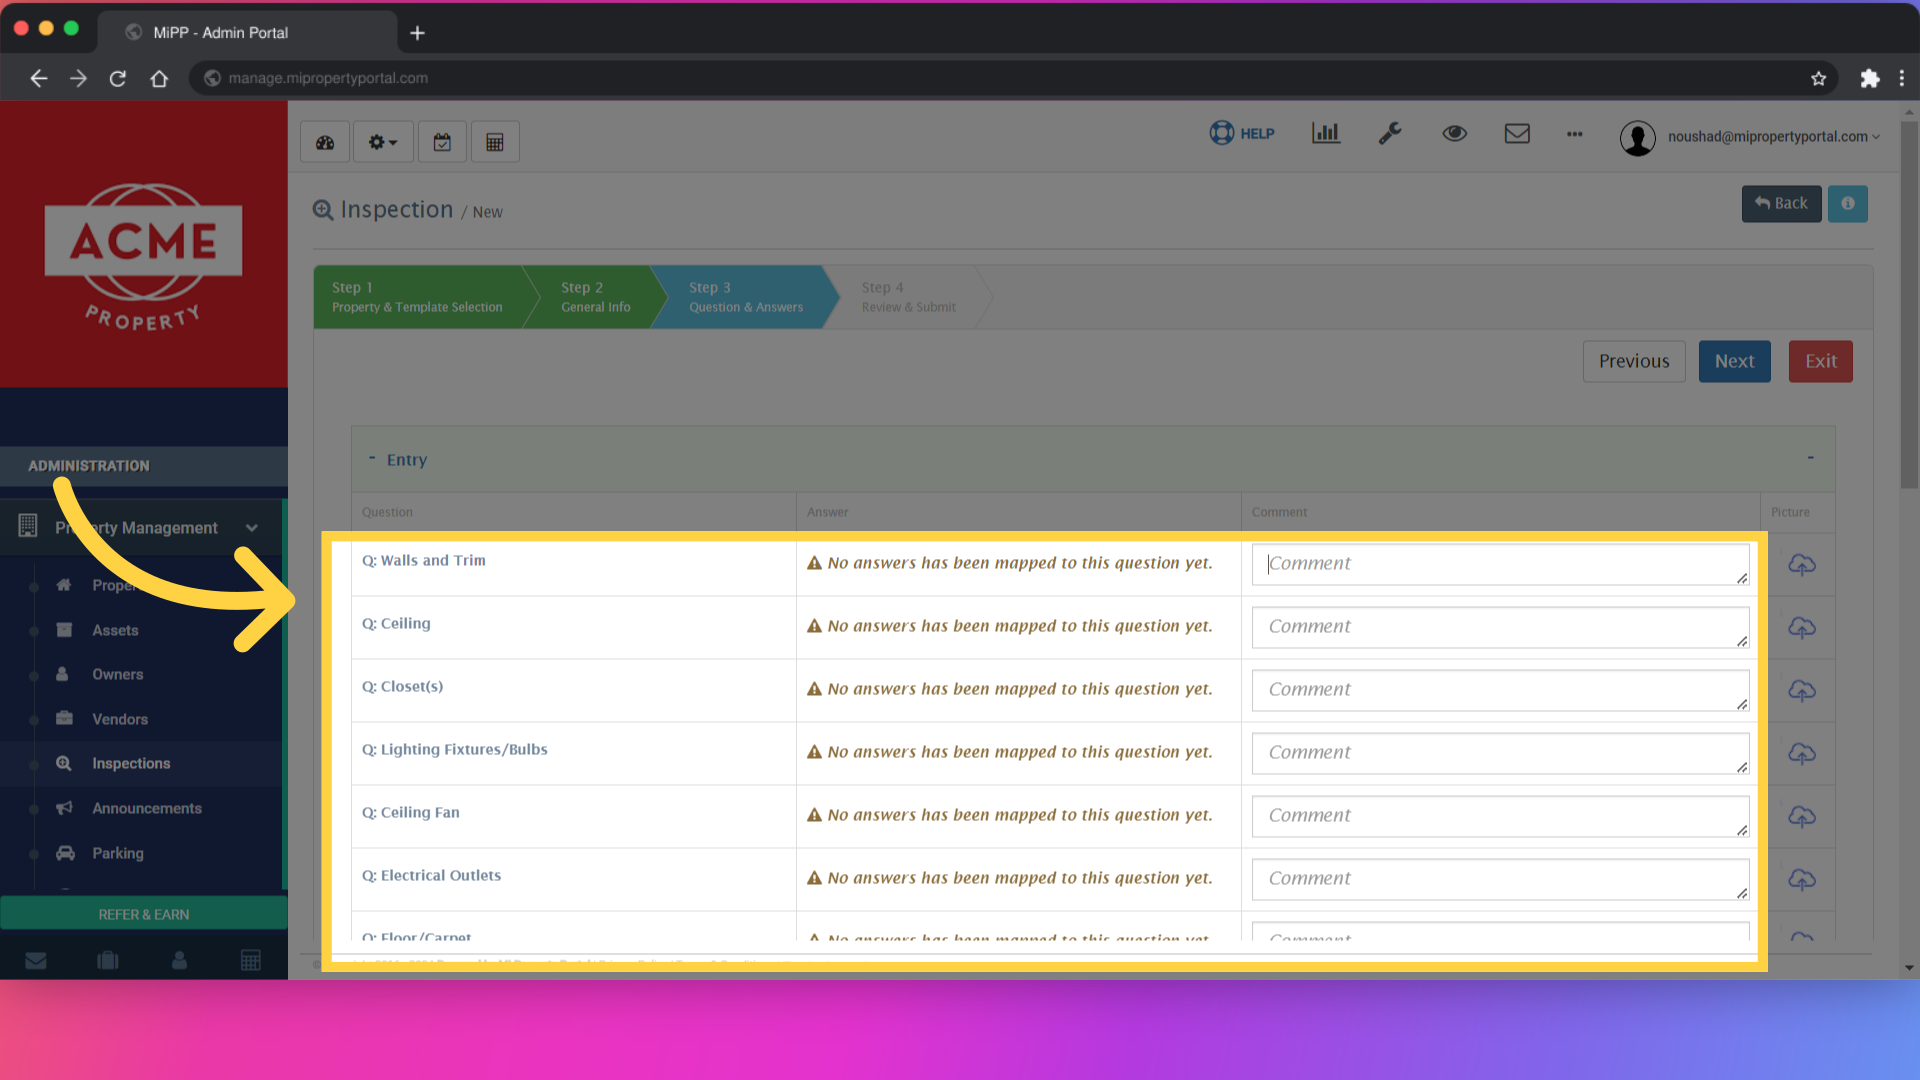
28. In “Step 3,” choose all the appropriate categories
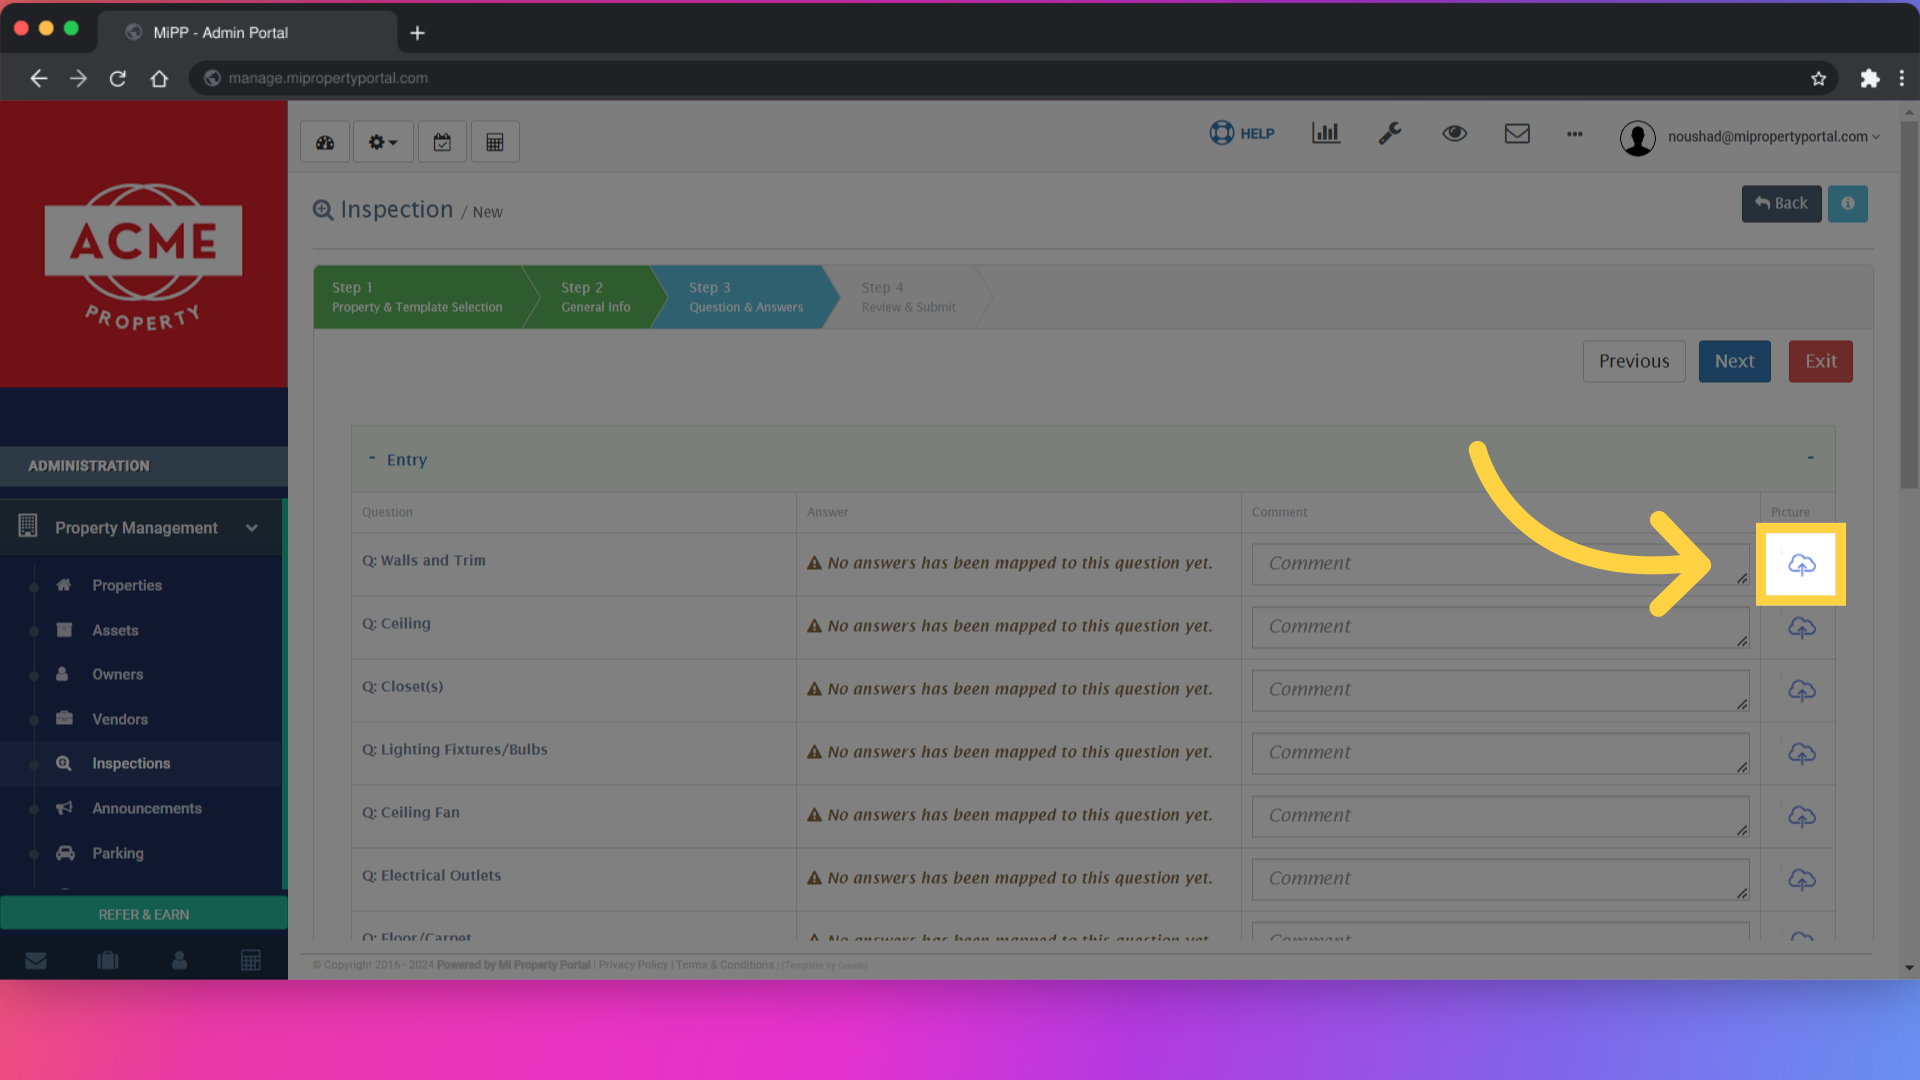
29. Fill in or select all the fields
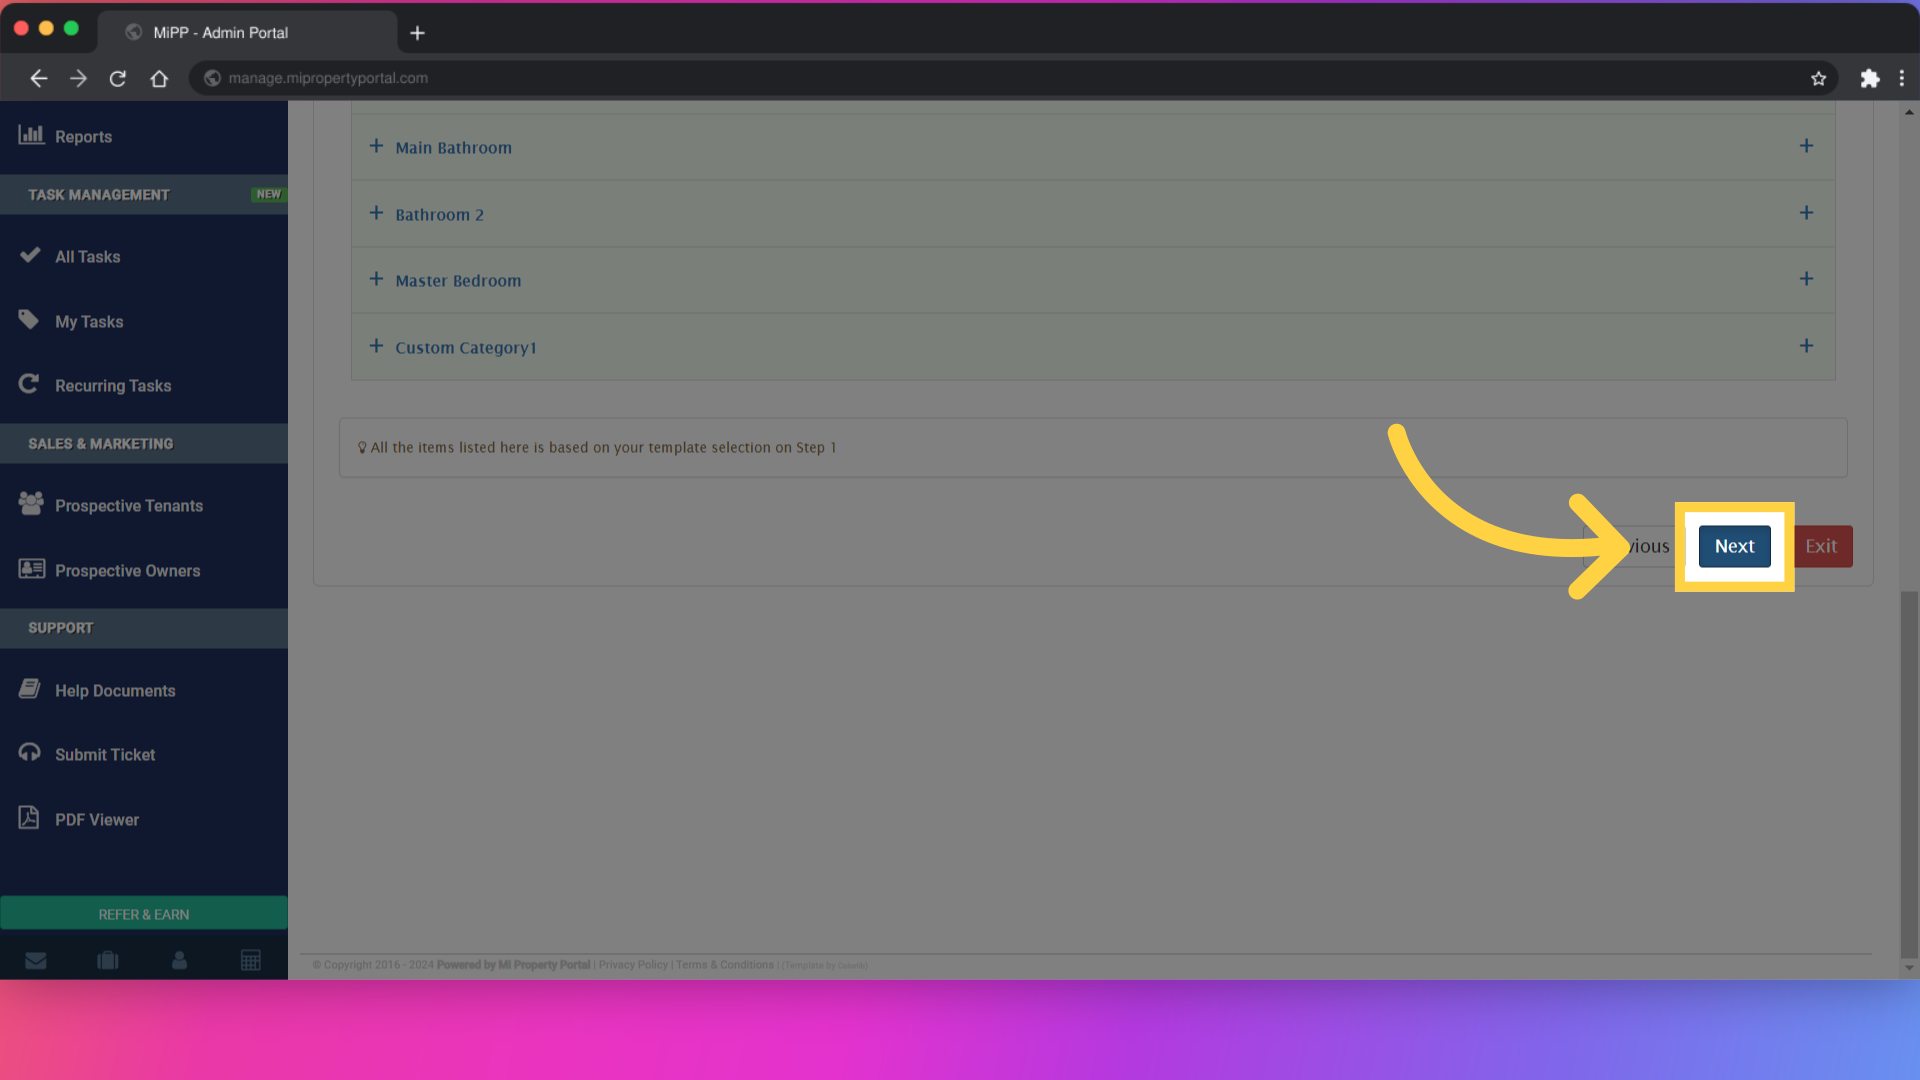
30. Click on the “Cloud-mid-arrow” icon to upload or attach pictures from your device
31. Click on “Next”
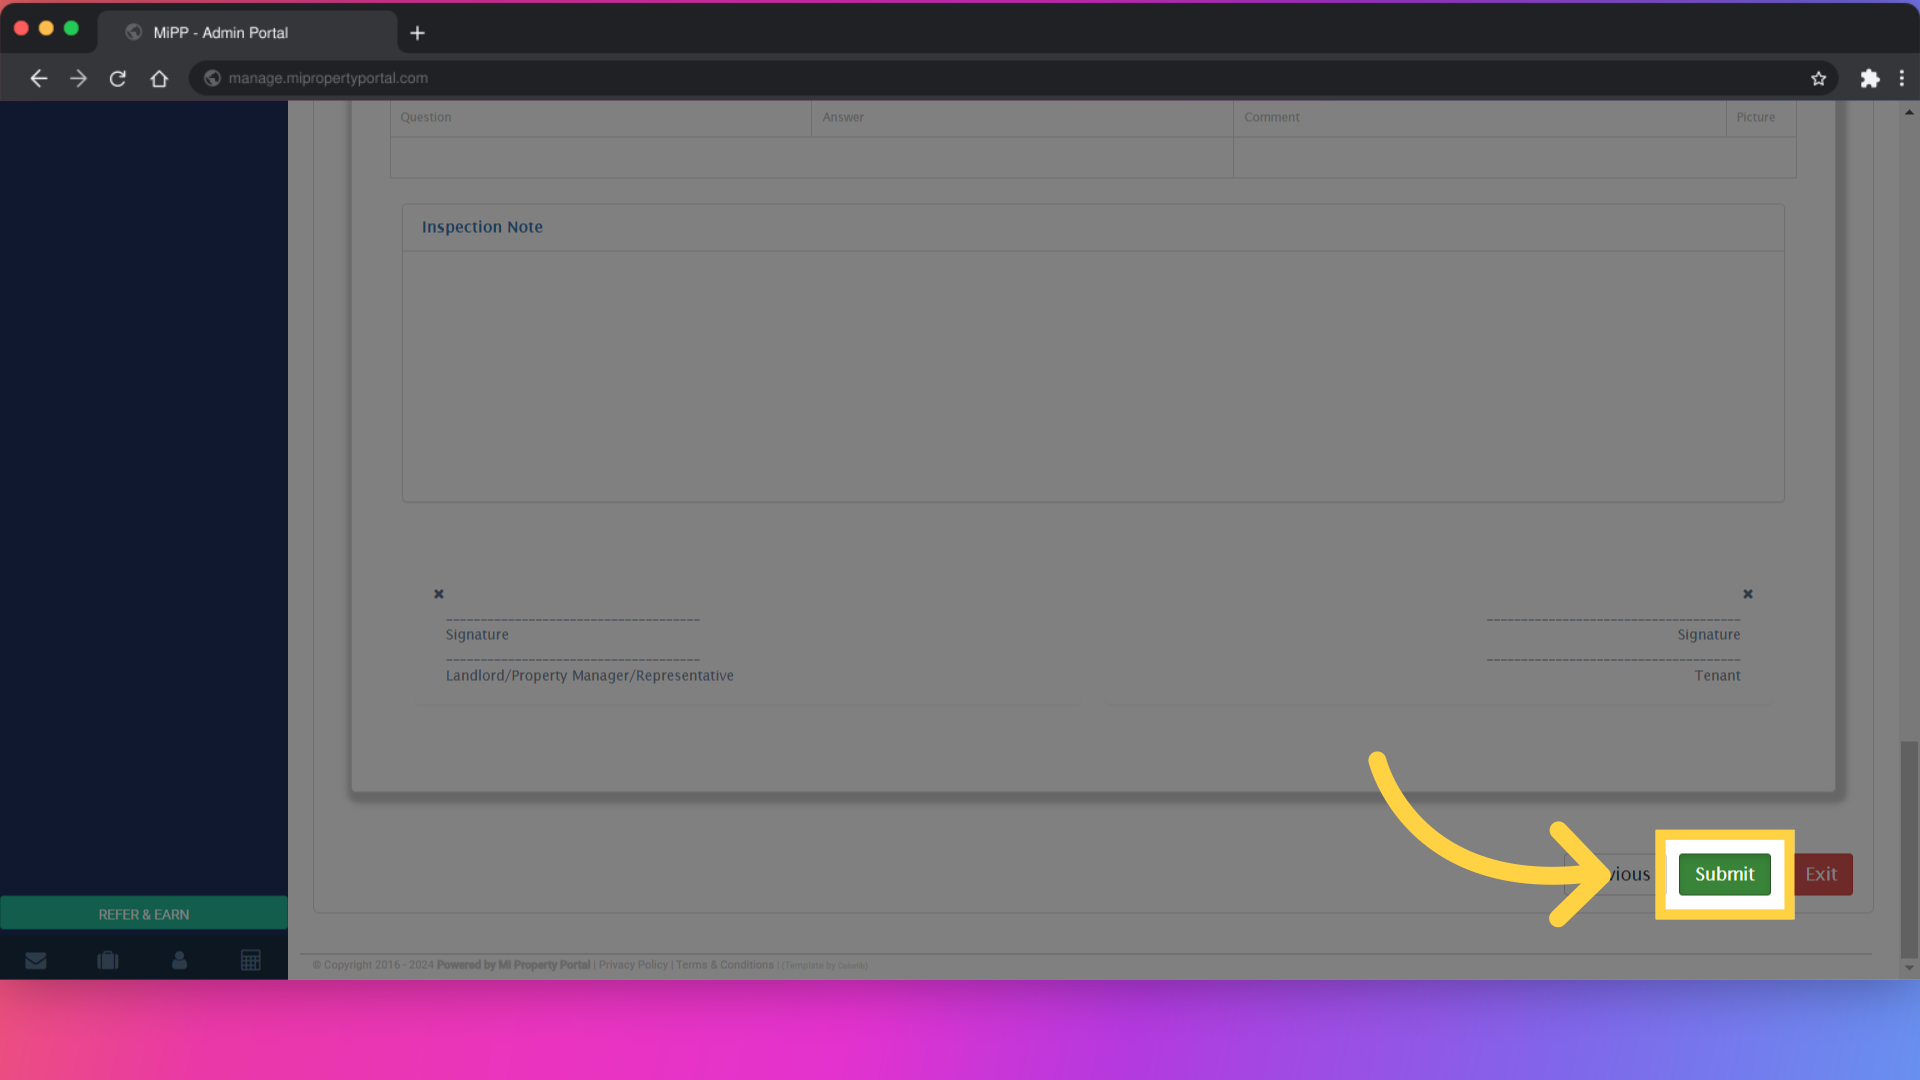
32. In “Step 4,” a preview of the inspection report will show up
33. Scroll down to check the full report, then click on “Submit”
34. Confirm by clicking “Yes, Submit”

35. Click on “Back” to return to the inspection list